Dell Precision 350: Memory
Memory : Dell Precision 350
Back to Contents Page
Memory
DellPrecision™Workstation350ServiceManual
You can increase your computer memory by installing memory modules on the system board. For information on the type of memory supported by your
computer, see "Specifications" in your User's Guide.
Memory Installation Guidelines
l Before you install new memory modules, download the most recent BIOS for your computer from the Dell Support website at support.dell.com.
l Each memory socket on the system board must be occupied by either a RIMM or a CRIMM.
Memory Modules
l Memory sockets must be upgraded in matched pairs. In other words, two sockets in a pair must contain modules of identical capacity with the same
number of components and the same speed. To locate the memory sockets on the system board, see "System Board."
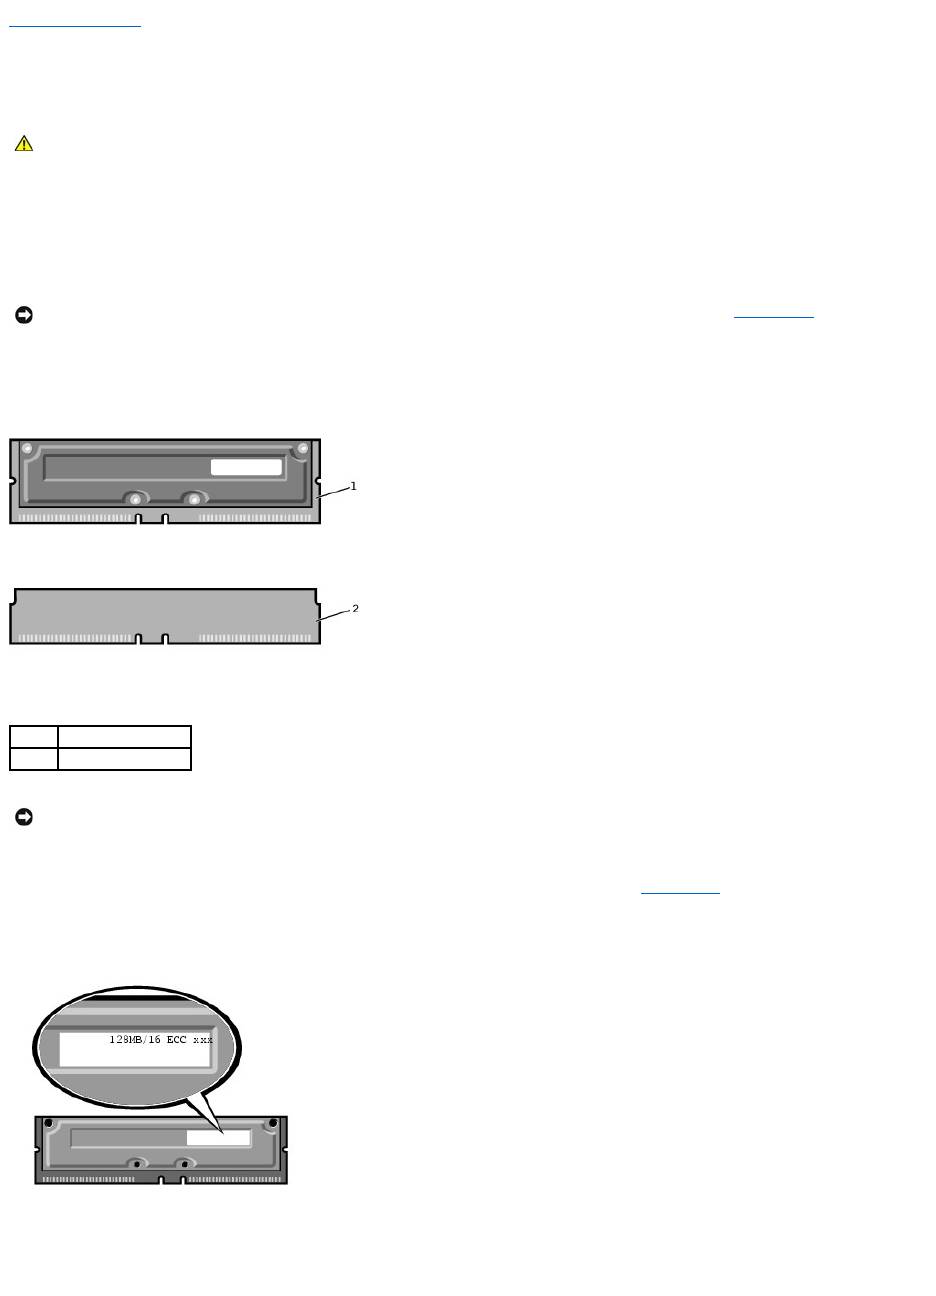
Memory Module Label
l Mixed pairs of ECC and non-ECC modules all function as non-ECC.
l Mixed pairs of PC1066 and PC800 modules all function as PC800.
l Be sure to install a RIMM in socket 1 first (closest to the processor) before installing modules in the other sockets.
CAUTION: Before you begin any of the procedures in this section, follow the safety instructions in the System Information Guide.
NOTICE: YoucanplaceaCRIMMonlyinmemorymoduleconnectorsRIMM3andRIMM4.Tolocatetheconnectors,see"System Board."
1
RIMM
2
CRIMM
NOTICE: If you remove your original memory modules from the computer during a memory upgrade, keep them separate from any new modules that
you may have, even if you purchased the new modules from Dell. You must install your original memory modules in pairs either in connectors RIMM1 and
RIMM 2 or RIMM 3 and RIMM4. Do not pair one original memory module with one new memory module. Otherwise, your computer may not start properly.
Removing a Memory Module
1. Press out the securing clip at each end of the memory module connector.
2. Grasp the module and pull up.
If the module is difficult to remove, gently ease the module back and forth to remove it from the connector.
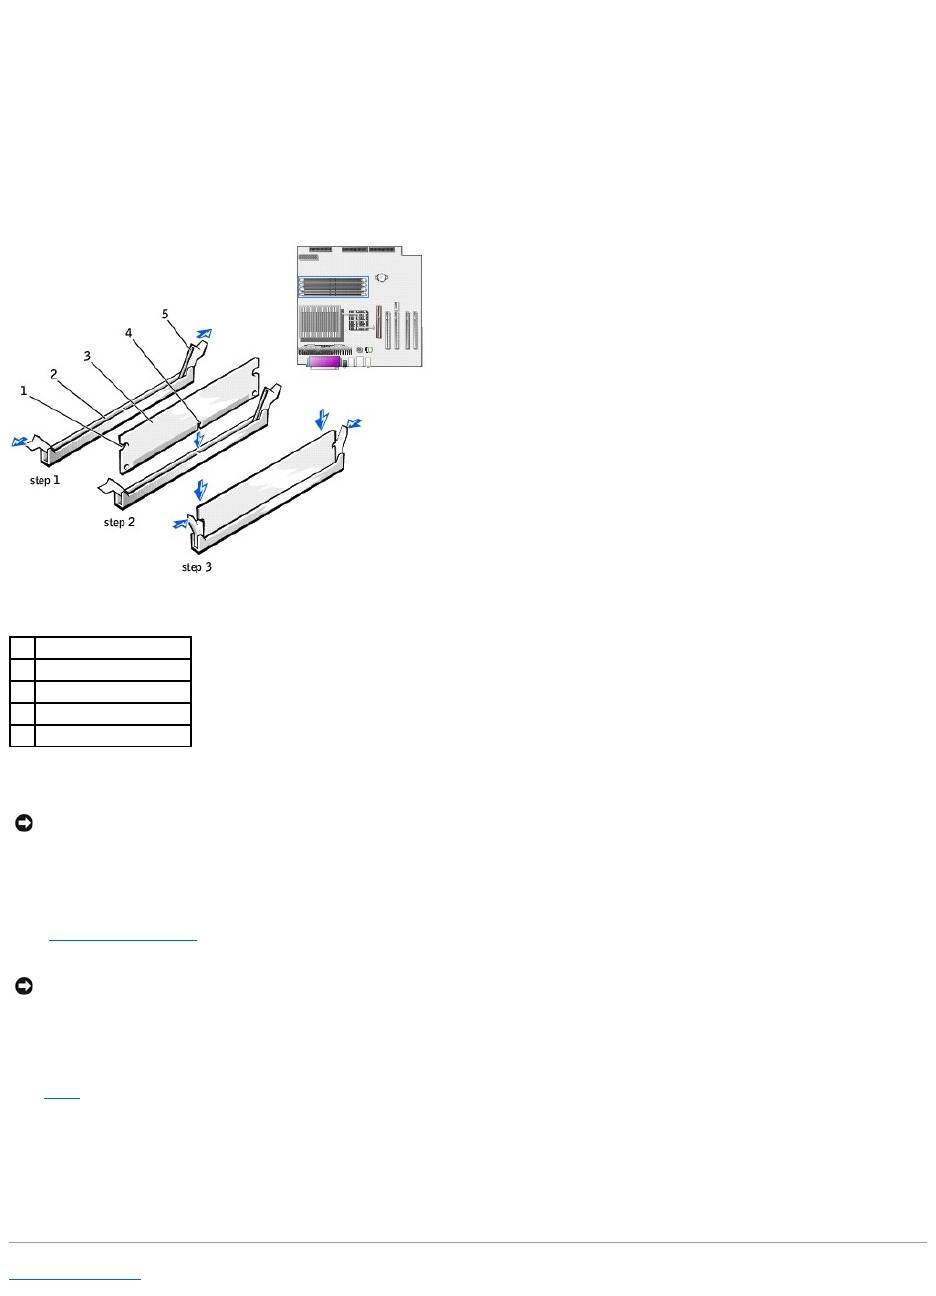
Installing a Memory Module
1. Press out the securing clip at each end of the memory module connector.
2. Align the notch on the bottom of the module with the crossbar in the connector.
3. Insert the module straight down into the connector, ensuring that it fits into the vertical guides at each end of the connector. Press firmly on the ends
of the module until it snaps into place.
If you insert the module correctly, the securing clips snap into the cutouts at each end of the module.
4. Close the computer cover.
5. Connect your computer and devices to electrical outlets, and turn them on.
6. Press <F2> to enter system setup and check the value for System Memory.
The computer should have changed the value of System Memory to reflect the newly installed memory. Verify the new total. If it is correct, skip to
step9.
7. If the memory total is incorrect, turn off and disconnect your computer and devices from electrical outlets.
8. Open the computer cover and check the installed memory modules to ensure that they are seated properly in their sockets. Then repeat steps 4, 5, and
6.
9. When the System Memory total is correct, press <Esc> to exit system setup.
10. Run the Dell Diagnostics to verify that the memory modules are operating properly.
Back to Contents Page
1
cutouts (2)
2
connector
3
memory module
4
notch
5
securing clips (2)
NOTICE: To avoid damage to the memory module, press the module straight down into the socket with equal force applied at each end of the module.
NOTICE: To connect a network cable, first plug the cable into the network wall jack and then plug it into the computer.

