Pioneer S-31C-K: How to install
How to install: Pioneer S-31C-K
Table of contents
3
En
English
How to install
Choosing where to place the speaker systems
• Sounds played through speaker systems are easily affected in
subtle ways by the conditions in the listening space.
• For best sound, choose a solid floor upon which to place the
speakers, and position the speakers as shown below. The level
of low sounds can be adjusted by moving the speakers closer
to or further from the wall. Adjust the speakers so that they are
equidistant from their respective side walls to assure balanced
sound.
• If the room has a lot of reverberation, we recommend hanging
heavy fabric on the walls, and/or putting a carpet on the floor
to damp the sound. For best results, cover walls completely.
• This speaker is a bookshelf-type speaker which will give best
performance when placed on a solid, level surface off the floor.
Placing the speaker directly on the floor will result in boomy,
undefined sound.
• Pioneer assumes no liability whatsoever for damages
resulting from assembly, improper mounting, insufficient
reinforcement, misuse of the product, acts of nature, etc.
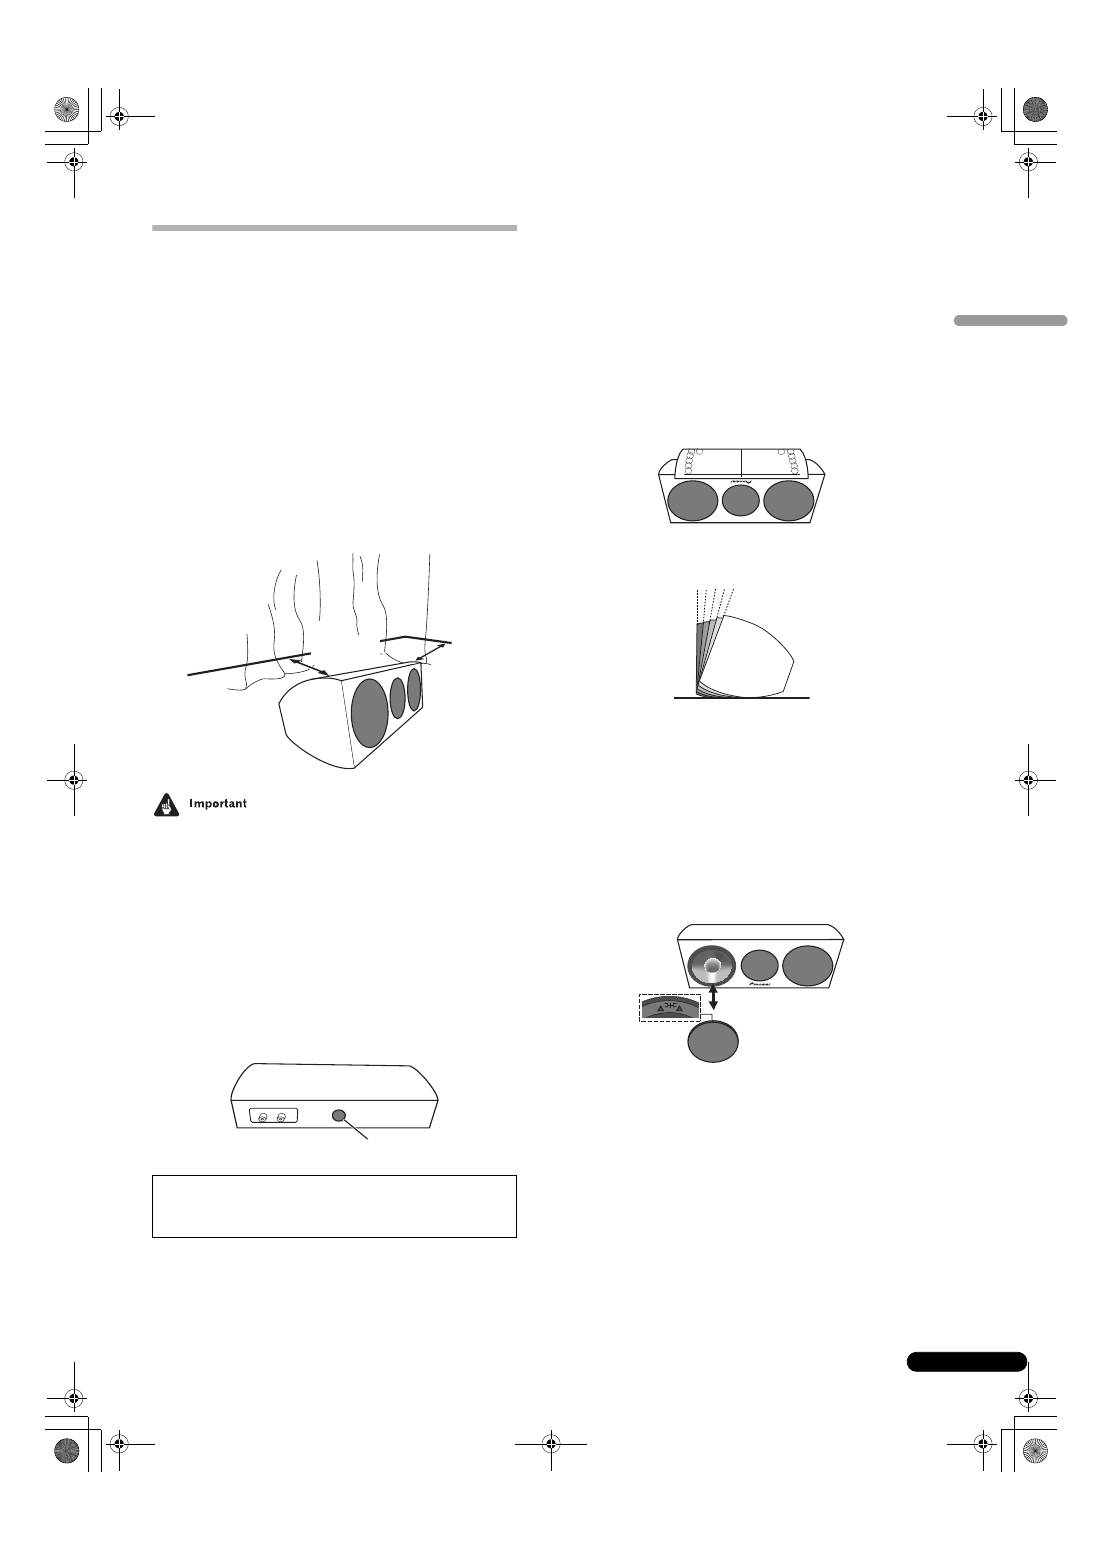
Using the Foam Plug
On the rear side of the unit, a foam plug is provided to allow
adjustment of the bass sound. The foam plug can be removed if
desired to produce a different bass emphasis.
The following can be taken as general guidelines for use of the
foam plug:
• Mounted in the middle of a rack: Leave the foam plug in place
• Mounted on the top of a rack or on the floor: Remove the foam
plug
When using the silicon rubber feet
These speaker systems have been provided with silicon rubber
feet. Use them to adjust the four corners to produce optimum
stability.
Using the template (see end page) will allow easiest adjustment of
the setting angle.
Using the template
1
Open the hole in the template along the line indicating
your desired setting angle.
2
Align the line with the front of the unit, and then align
the template with the cabinet.
3
Affix the four silicon rubber feet in alignment with the
four cut-out holes.
Attaching and Removing the Grille
It is recommended that this speaker system be used with the grille
net attached, but it can be removed if desired. To remove, follow
these instructions:
1
To remove the grille, place your fingers at the outside of
the grille toward the bottom and pull gently outward. Then
do the same at the top to detach.
2
To reattach the grille, hold the speaker grille with the
triangular symbol pointing upward, then align the four pins
on the back side of the grille with the holes in the speaker
and press in firmly.
Do not force the foam plug into the hole excessively,
since it might be pressed inside the speaker and be
impossible to remove.
50 cm
(19
11
/
16
in.)
20 cm
(7
7
/
8
in.)
foam plug
0 5 101520
S-31C_En.fm 3 ページ 2009年7月29日 水曜日 午後4時16分
