Asus D452EP: Chapter 3: Working with Windows® 8
Chapter 3: Working with Windows® 8: Asus D452EP

Chapter 3:
Working with Windows® 8
Notebook PC E-Manual
45

46
Notebook PC E-Manual
Starting for the rst time
When you start your computer for the rst time, a series of screens
appear to guide you in conguring the basic settings of your Windows®
8 operating system.
To start your Notebook PC for the rst time:
1. Press the power button on your Notebook PC. Wait for a few
minutes until the setup screen appears.
2. From the setup screen, pick a language to use on your Notebook
PC.
3. Carefully read the License Terms. Tick I accept the terms for
using Windows then click Accept.
4. Follow the onscreen instructions to congure the following basic
items:
• Keep your PC secure
• Personalize
• Wireless
• Settings
• Sign in to your PC
5. After conguring the basic items, the Windows®8 tutorial appears.
Watch this to learn more about Windows®8 functionalities.
®
Windows
8 lock screen
The Windows®8 lock screen may appear when your Notebook PC enters
the Windows®8 operating system. To proceed, click on the lock screen
or press any key on your Notebook PC's keyboard.
®
Windows
UI
Windows® 8 comes with a tile-based user interface (UI) which allows
you to organize and easily access Windows® apps from the Start screen.
It also includes the following features that you can use while working
on your Notebook PC.
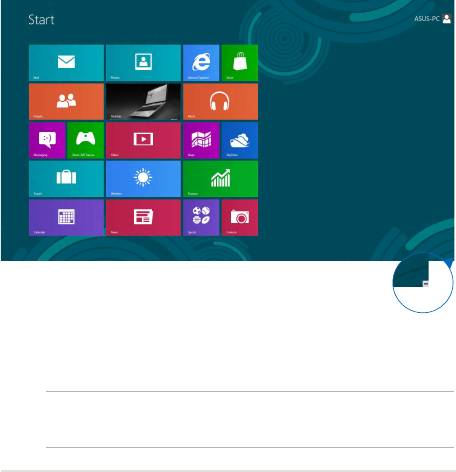
Start screen
The Start screen appears after successfully signing in to your user
account. It helps organize all the applications you need in just one
place.
Zoom in/out button
Windows® Apps
These are apps pinned on the Start screen and displayed on tiled-format
for easy access.
NOTE: Some apps require signing in to your Microsoft account before
they are fully launched.
Notebook PC E-Manual
47
48
Notebook PC E-Manual
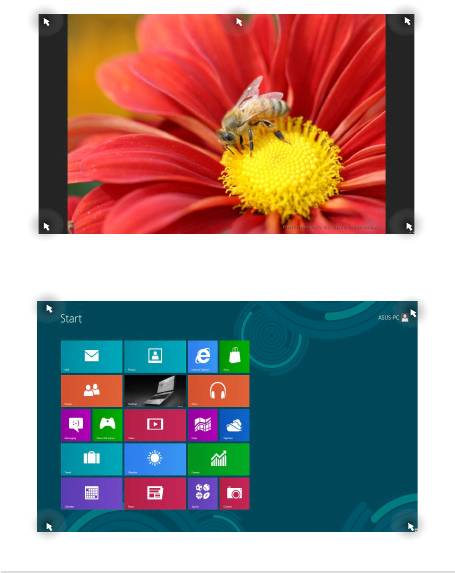
Hotspots
Onscreen hotspots allow you to launch programs and access the
settings of your Notebook PC. The functions in these hotspots can be
activated using the touchpad.
Hotspots on a running app
Hotspots on the Start screen
Hotspot Action
upper left corner Hover your mouse pointer on the upper
left corner then click on the recent app’s
thumbnail to revert back to that running app.
If you launched more than one app, slide
down to show all running apps.
lower left corner From a running app screen:
Hover your mouse pointer on the lower
left corner then click on the Start screen’s
thumbnail to go back to the Start screen.
NOTE: You can also press the Windows key
on your keyboard to go back to the
Start screen.
From the Start screen:
Hover your mouse pointer on the lower
left corner then click on the running app’s
thumbnail to go back to that app.
Notebook PC E-Manual
49

50
Notebook PC E-Manual
Hotspot Action
top side Hover your mouse pointer on the top side
until it changes to a hand icon. Drag then
drop the app to a new location.
NOTE: This hotspot function only works on
a running app or when you want to use the
Snap feature. For more details, refer to the
Snap feature under Working with Windows®
apps.
upper or lower right
Hover your mouse pointer on the upper or
corner
lower right corner to launch the Charms bar.
®
Working with Windows
apps
Use your Notebook PC’s touchpad, or keyboard to launch, customize,
and close apps.
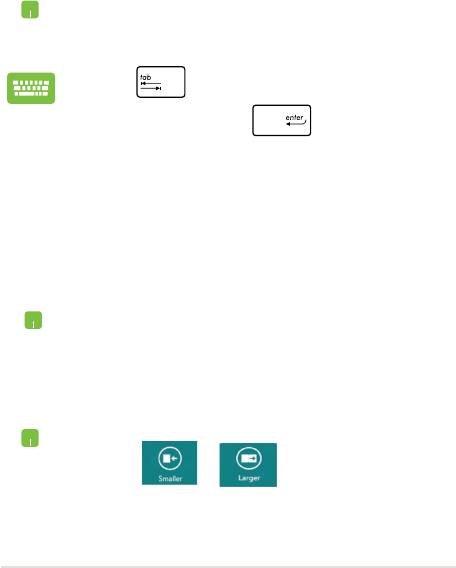
Launching apps
Position your mouse pointer over the app then left-click
or click once to launch it.
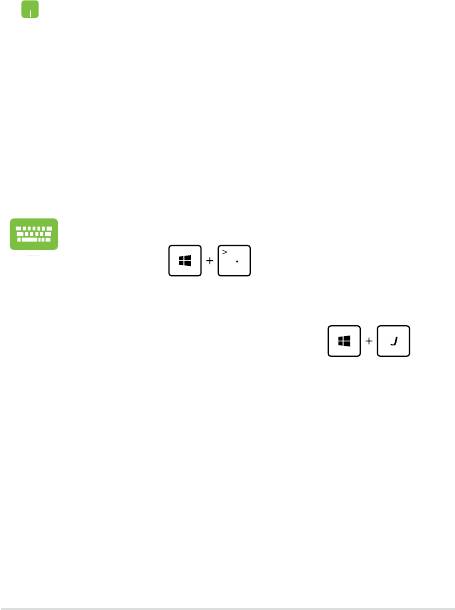
Press twice then use the arrow keys to browse
through the apps. Press to launch an app.
Customizing apps
You can move, resize, unpin, or close apps from the Start screen using
the following steps:
Moving apps
Double-click on the app then drag and drop the app to
a new location.
Resizing apps
Right-click on the app to activate its settings bar then
click or or .
Notebook PC E-Manual
51
52
Notebook PC E-Manual
Unpinning apps
Right-click on the app to activate the settings bar then
click .
Closing apps
1. Move your mouse pointer on the top side of the
launched app then wait for the pointer to change
to a hand icon.
2. Drag then drop the app to the bottom of the
screen to close it.
From the running app’s screen, press .
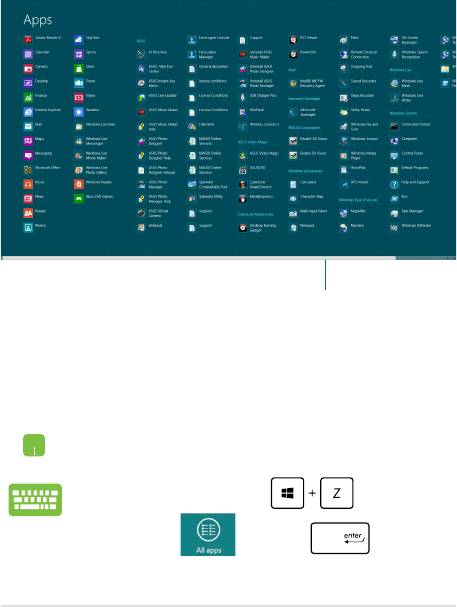
Accessing the Apps screen
Aside from the apps already pinned on your Start screen, you can also
open other applications through the Apps screen.
Horizontal scroll bar
Launching the Apps screen
Launch the Apps screen using your Notebook PC's touchpad or
keyboard.
Swipe from the top edge to launch the All Apps bar.
From the Start screen, press to select the
All Apps icon then press .
Notebook PC E-Manual
53

54
Notebook PC E-Manual
Pinning more apps on the Start screen
You can pin more apps on the Start screen using your touchpad.
1. Position the mouse pointer over the app you
want to pin on the Start screen.
2. Right-click on the app to activate its settings.
3. Click on the icon.

Charms bar
The Charms bar is a toolbar that can be triggered on the right side
of your screen. It consists of several tools that allow you to share
applications and provide quick access for customizing the settings of
your Notebook PC.
Charms bar
Launching the charms bar
NOTE: When called out, the charms bar initially appears as a set of
white icons. The image above shows how the charms bar looks like once
activated.
Use your Notebook PC’s touchpad or keyboard to launch the charms
bar.
Move your mouse pointer on the upper or lower right
corner of the screen.
Press
Notebook PC E-Manual
55
56
Notebook PC E-Manual
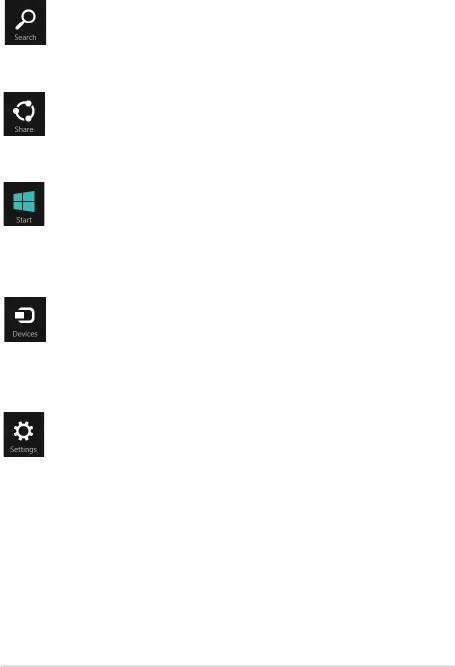
Inside the charms bar
Search
This charm allows you to look for les, applications, or
programs in your Notebook PC.
Share
This charm allows you to share applications via social
networking sites or email.
Start
This charm reverts the display back to the Start screen.
From the Start screen, you can also use this to revert back
to a recently opened app.
Devices
This charm allows you to access and share les with
the devices attached to your Notebook PC such as an
external display or printer.
Settings
This charm allows you to access the PC settings of your
Notebook PC.
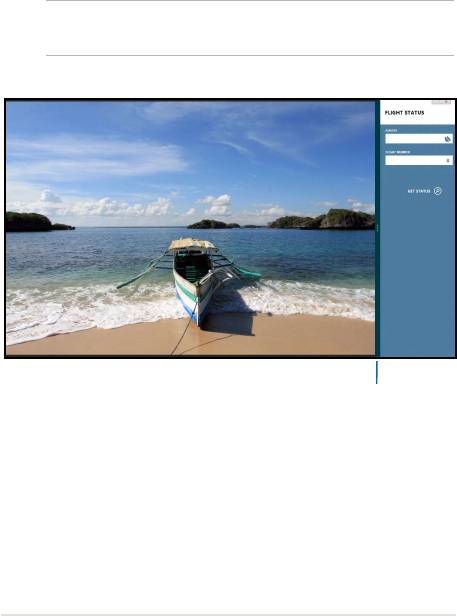
Snap feature
The Snap feature displays two apps side-by-side, allowing you to work
or switch between apps.
IMPORTANT! Ensure that your Notebook PC’s screen resolution is set to
1366 x 768 pixels or higher before using the Snap feature.
Snap bar
Notebook PC E-Manual
57
58
Notebook PC E-Manual
Using Snap
Use your Notebook PC’s touchpad or keyboard to activate and use Snap.
1. Launch the app you wish to snap.
2. Hover the mouse point on the top side of your
screen.
3. Once the pointer changes to a hand icon, drag
then drop the app to the left or right side of the
display panel.
4. Launch another app.
1. Launch the app you wish to snap.
2. Press .
3. Launch another app.
4. To switch between apps, press .
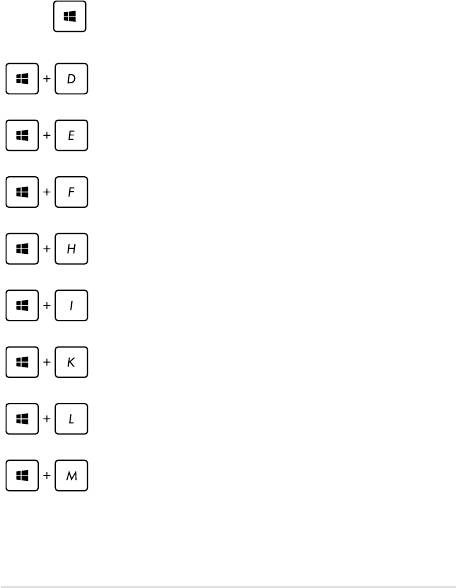
Other keyboard shortcuts
Using the keyboard, you can also use the following shortcuts to help
you launch applications and navigate Windows®8.
Switches between the Start screen and the last
\
running app
Launches the desktop
Launches the Computer window on Desktop
mode
Opens the File charm
Opens the Share charm
Opens the Settings charm
Opens the Devices charm
Activates the Lock screen
Minimizes the Internet Explorer window
Notebook PC E-Manual
59
60
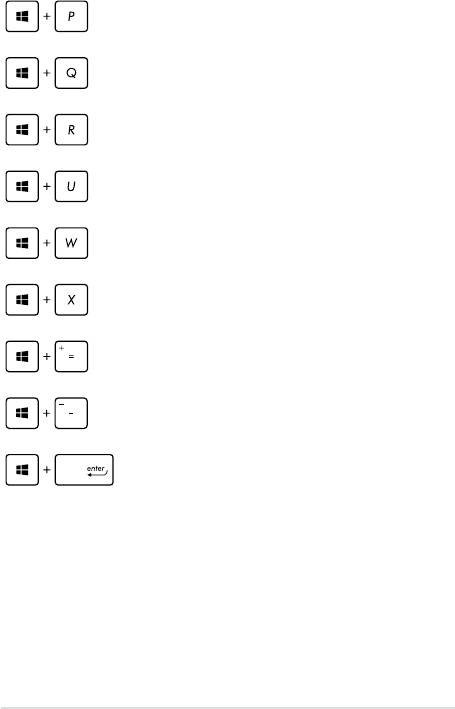
Notebook PC E-Manual
Opens the Second screen pane
Opens the Apps search pane
Opens the Run window
Opens Ease of Access Center
Opens the Settings charm
Opens a menu box of Windows® tools
Launches the magnier icon and zooms in
your screen
Zooms out your screen
Opens the Narrator Settings
Connecting to wireless networks
Wi-Fi
Access emails, surf the Internet, and share applications via social
networking sites using your Notebook PC’s Wi-Fi connection.
IMPORTANT! The Airplane mode disables this feature. Ensure that
Airplane mode is turned o before enabling the Wi-Fi connection of your
Notebook PC.
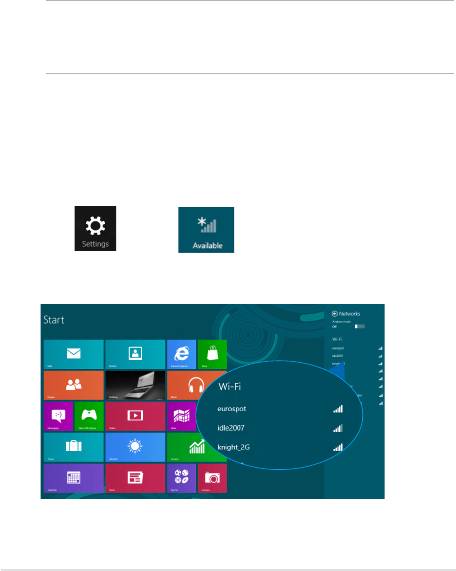
Enabling Wi-Fi
Activate Wi-Fi in your Notebook PC using the following steps on your
touchpad.
1. Launch the Charms bar.
2. Click and click .
3. Select an access point from the list of available Wi-Fi connections.
Notebook PC E-Manual
61

62
Notebook PC E-Manual
4. Click Connect to start the network connection.
NOTE: You may be prompted to enter a security key to activate the Wi-Fi
connection.
5. If you want to enable sharing between your Notebook PC and
other wireless-enabled systems, click Yes, turn on sharing and
connect to devices. Click No, don't turn on sharing or connect
to devices if you do not want to enable the sharing function.

Bluetooth
Use Bluetooth to facilitate wireless data transfers with other Bluetooth-
enabled devices.
IMPORTANT! The Airplane mode disables this feature. Ensure that
Airplane mode is turned o before enabling the Bluetooth connection of
your Notebook PC.
Pairing with other Bluetooth-enabled devices
You need to pair your Notebook PC with other Bluetooth-enabled
devices to enable data transfers. To do this, use your touchpad as
follows:
1. Launch the Charms bar.
2. Click then click Change PC Settings.
3. Under PC Settings, select Devices then click Add a Device to
search for Bluetooth-enabled devices.
Notebook PC E-Manual
63
64
Notebook PC E-Manual
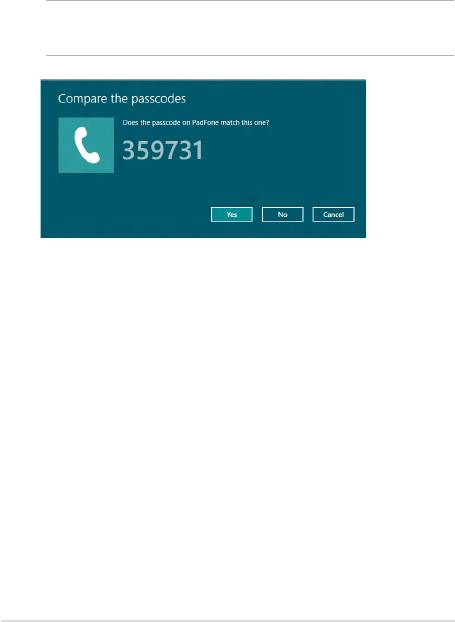
4. Select a device from the list. Compare the passcode on your
Notebook PC with the passcode sent to your chosen device. If
they are the same, click Yes to successfully pair your Notebook PC
with the device.
NOTE: For some bluetooth-enabled devices, you may be prompted to
key in the passcode of your Notebook PC.

Airplane mode
The Airplane mode disables wireless communication, allowing you to
use your Notebook PC safely while in-ight.
Turning Airplane mode on
1. Launch the Charms bar.
2. Click and click .
3. Move the slider to the right to turn the Airplane
mode on.
Press .
Turning Airplane mode o
1. Launch the Charms bar.
2. Click and click .
3. Move the slider to the left to turn the Airplane
mode o.
Press .
NOTE: Contact your airline provider to learn about related inight services
that can be used and restrictions that must be followed when using your
Notebook PC in-ight.
Notebook PC E-Manual
65

66
Notebook PC E-Manual
Connecting to wired networks
You can also connect to wired networks, such as local area networks
and broadband Internet connection, using your Notebook PC’s LAN
port.
NOTE: Contact your Internet Service Provider (ISP) for details or
your network administrator for assistance in setting up your Internet
connection.
To congure your settings, refer to the following procedures.
IMPORTANT! Ensure that a network cable is connected between your
Notebook PC’s LAN port and a local area network before performing the
following actions.
Conguring a dynamic IP/PPPoE network
connection
1. LaunchLaunch Desktop.
®
2. From the Windows
taskbar, right-click the network
icon then click Open Network and Sharing
Center.
3. In the Network and Sharing Center window, click
Change adapter settings.
4. Right-click on your LAN then select Properties.

5. Click Internet Protocol Version 4(TCP/IPv4) then
click Properties.
6. Click Obtain an IP address automatically then
click OK.
NOTE: Proceed to the next steps if you are using PPPoE connection.
7. Return to the Network and Sharing Center
window then click Set up a new connection or
network.
8. Select Connect to the Internet then click Next.
9. Click Broadband (PPPoE).
10. Type your User name, Password, and Connection
name then click Connect.
11. Click Close to nish the conguration.
12. Click on the taskbar then click the
connection you just created.
13. Type your user name and password then click
Connect to start connecting to the Internet.
Notebook PC E-Manual
67

68
Notebook PC E-Manual
Conguring a static IP network connection
1. Repeat steps 1 to 5 under Conguring a dynamic
IP/PPPoE network connection.
2 Click Use the following IP address.
3. Type the IP address, Subnet mask and Default
gateway from your service provider.
4. If needed, you can also type the preferred DNS
server address and alternate DNS server address
then click OK.
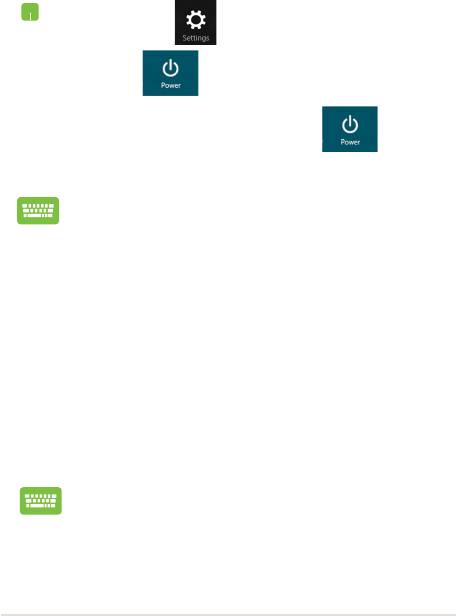
Turning your Notebook PC off
You can turn o your Notebook PC by doing either of the following
procedures:
• Click from the Charms bar then click
> Shut down to do a normal shutdown.
• From the log-in screen, click > Shut
down.
• You can also shut down your Notebook PC using
Desktop mode. To do this, launch the desktop
then press alt + f4 to launch the Shut Down
window. Select Shut Down from the drop-down
list then select OK.
• If your Notebook PC is unresponsive, press
and hold the power button for at least four (4)
seconds until your Notebook PC turns o.
Putting your Notebook PC to sleep
To put your Notebook PC on Sleep mode, press the power button once.
You can also put your Notebook PC to sleep mode using
Desktop mode. To do this, launch the desktop then press
alt + f4 to launch the Shut Down window. Select Sleep
from the drop-down list then select OK.
Notebook PC E-Manual
69

70
Notebook PC E-Manual
