Asus VW225: инструкция
Раздел: Компьютерная техника, комплектующие, аксессуары
Тип: Монитор

Инструкция к Монитору Asus VW225

Table of content
ASUS contact information ............................................................ii
English ....................................................................................... 1
Français ....................................................................................... 7
Deutsch ..................................................................................... 13
Italiano ..................................................................................... 19
Español ..................................................................................... 25
Pyccкий
..................................................................................... 31
Nederlands ................................................................................. 37
繁體中文 ..................................................................................... 43
简体中文 ..................................................................................... 49
日本語
..................................................................................... 55
한국어
..................................................................................... 61
Português .................................................................................. 67
Türkçe ..................................................................................... 73
..................................................................................... 79
ไทย
..................................................................................... 85
Dansk ..................................................................................... 91
Suomi ..................................................................................... 97
Norsk ...................................................................................103
Svenska ...................................................................................109
Polski ...................................................................................115
Česky
...................................................................................121
Magyar ...................................................................................127
Română
...................................................................................133
Srpski ...................................................................................139
Ελληνικά
...............................................................................145
Indonesia
.................................................................................151
Български
..............................................................................157
Slovensky
................................................................................163
iQuick Start Guide

ASUS contact information
ASUSTeK COMPUTER INC.
Address 15 Li-Te Road, Peitou, Taipei, Taiwan 11259
Telephone +886-2-2894-3447
Fax +886-2-2890-7798
E-mail info@asus.com.tw
Web site www.asus.com.tw
Technical Support
Telephone +86-21-38429911
Online support support.asus.com
ASUS COMPUTER INTERNATIONAL (America)
Address 44370 Nobel Drive, Fremont, CA 94538, USA
Fax +1-510-608-4555
Web site usa.asus.com
Technical Support
Telephone +1-812-282-2787
Support fax +1-812-284-0883
Online support support.asus.com
ASUS COMPUTER GmbH (Germany and Austria)
Address HarkortStr.21-23,D-40880Ratingen,Germany
Telephone +49-2102-95990
Fax +49-2102-959911
Web site www.asus.de
Online contact www.asus.de/sales
Technical Support
Telephone +49-1805-010923
Support Fax +49-2102-9599-11
Online support support.asus.com
ii Quick Start Guide
English
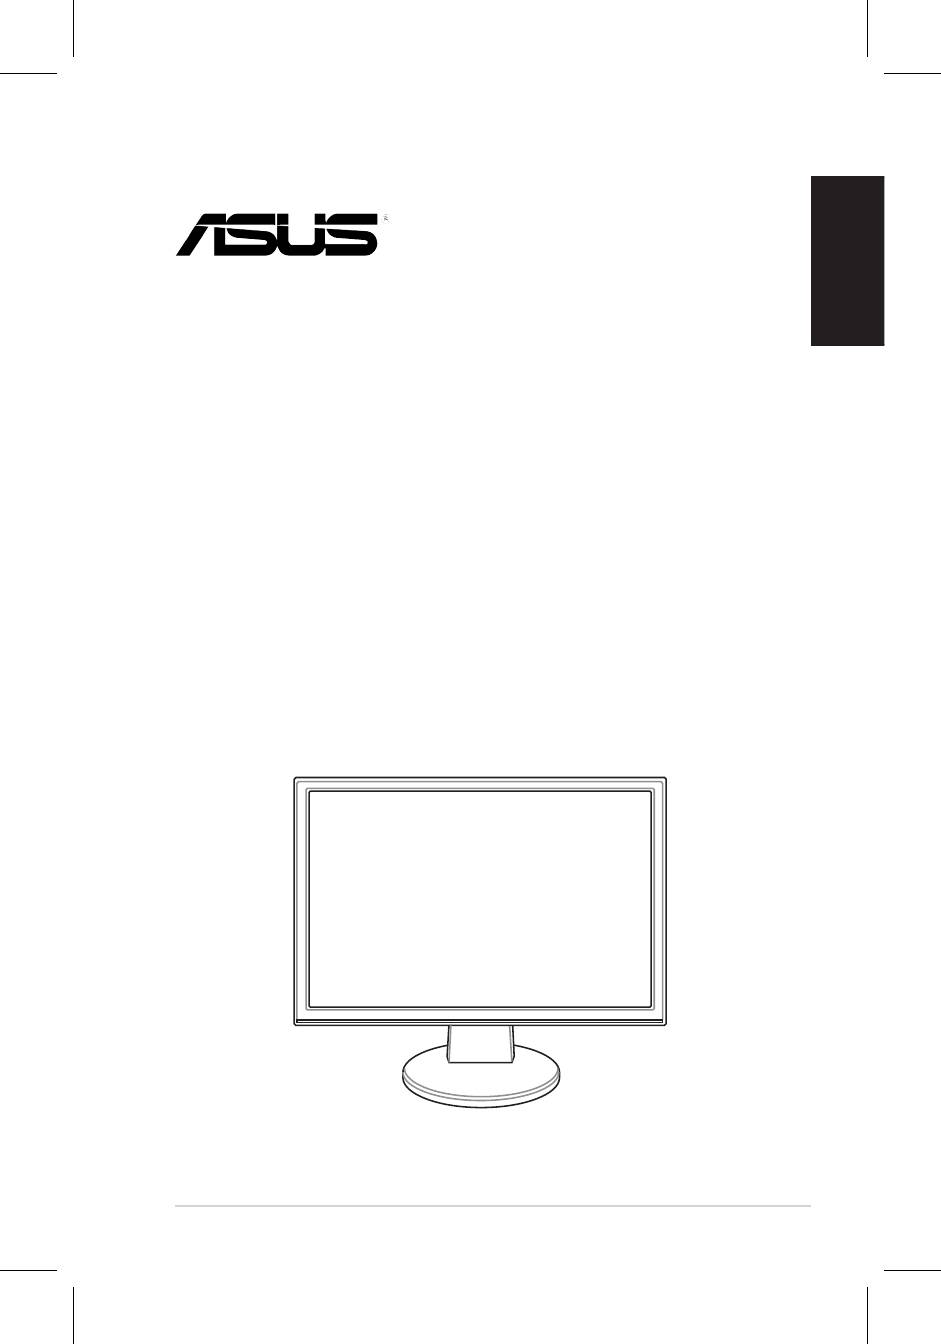
VW195/VW225
Series
LCD Monitor
Quick Start Guide
1Quick Start Guide
English
2 Quick Start Guide
Safety information
• Before setting up the monitor, carefully read all the documentation that came
with the package.
• The monitor should be operated only from the type of power source indicated
on the label. If you are not sure of the type of power supplied to your home,
consult your dealer or local power company.
• Use the appropriate power plug which complies with your local power standard.
• To ensure satisfactory operation, use the monitor only with UL listed computers
technician or your retailer.
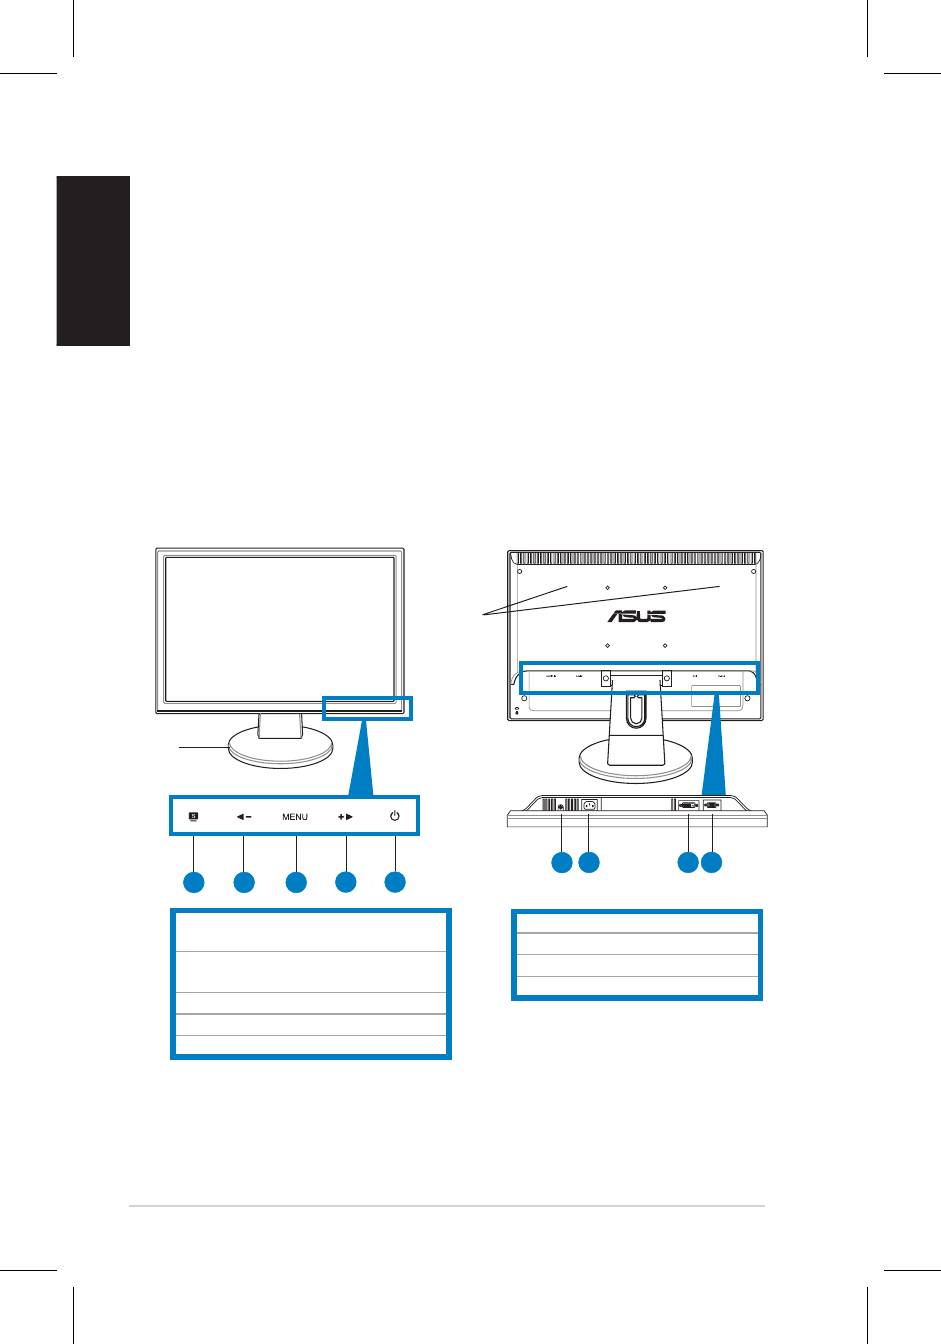
Monitor introduction
Front view Rear view
Stereo
speakers
Base
1
2 3 4
1 2 3
4 5
MENU button
3. MENU / Enter / Selection button
5. Power button
* Hotkey for 5 video preset mode selection.
** Adjusts the image automatically by
pressing the button for 2–3 seconds
(VGA mode only).
*** Volume hotkey for model with speaker.
Contrast hotkey for model without
speaker.
English
3Quick Start Guide
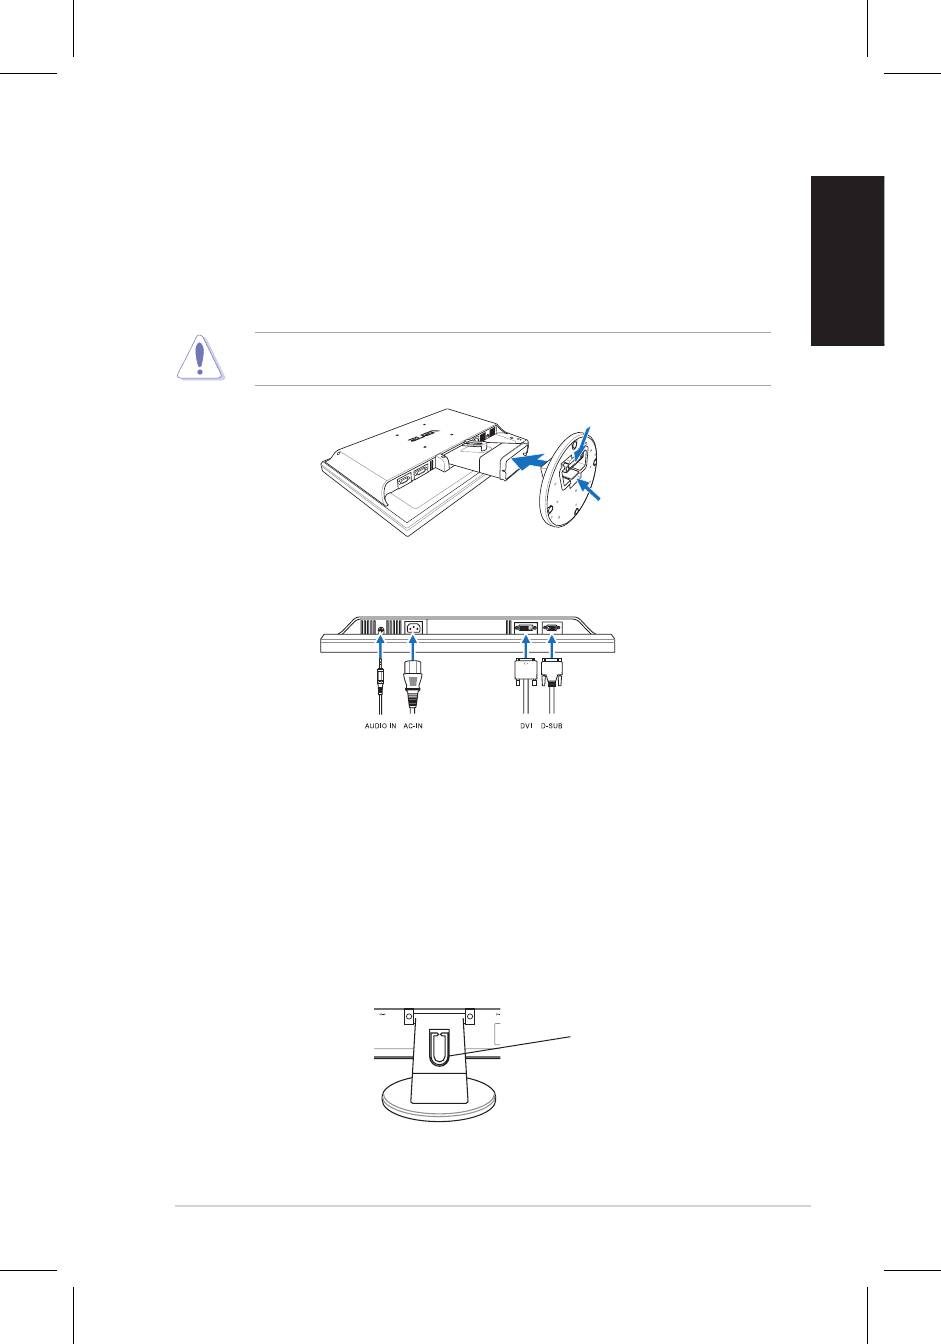
Assembling the monitor base
To assemble the monitor base:
1. Have the front of the monitor face down on a table.
that the base has been connected successfully.
We recommend that you cover the table surface with soft cloth to prevent
damage to the monitor.
Connecting the cables
•
To connect the audio cable
: connect one end of the audio cable to the
•
To connect the power cord
: connect one end of the power cord securely to
•
To connect the VGA/DVI cable
:
2. Gather all the cables with the cable hook.
Cable hook
English
Quick Start Guide
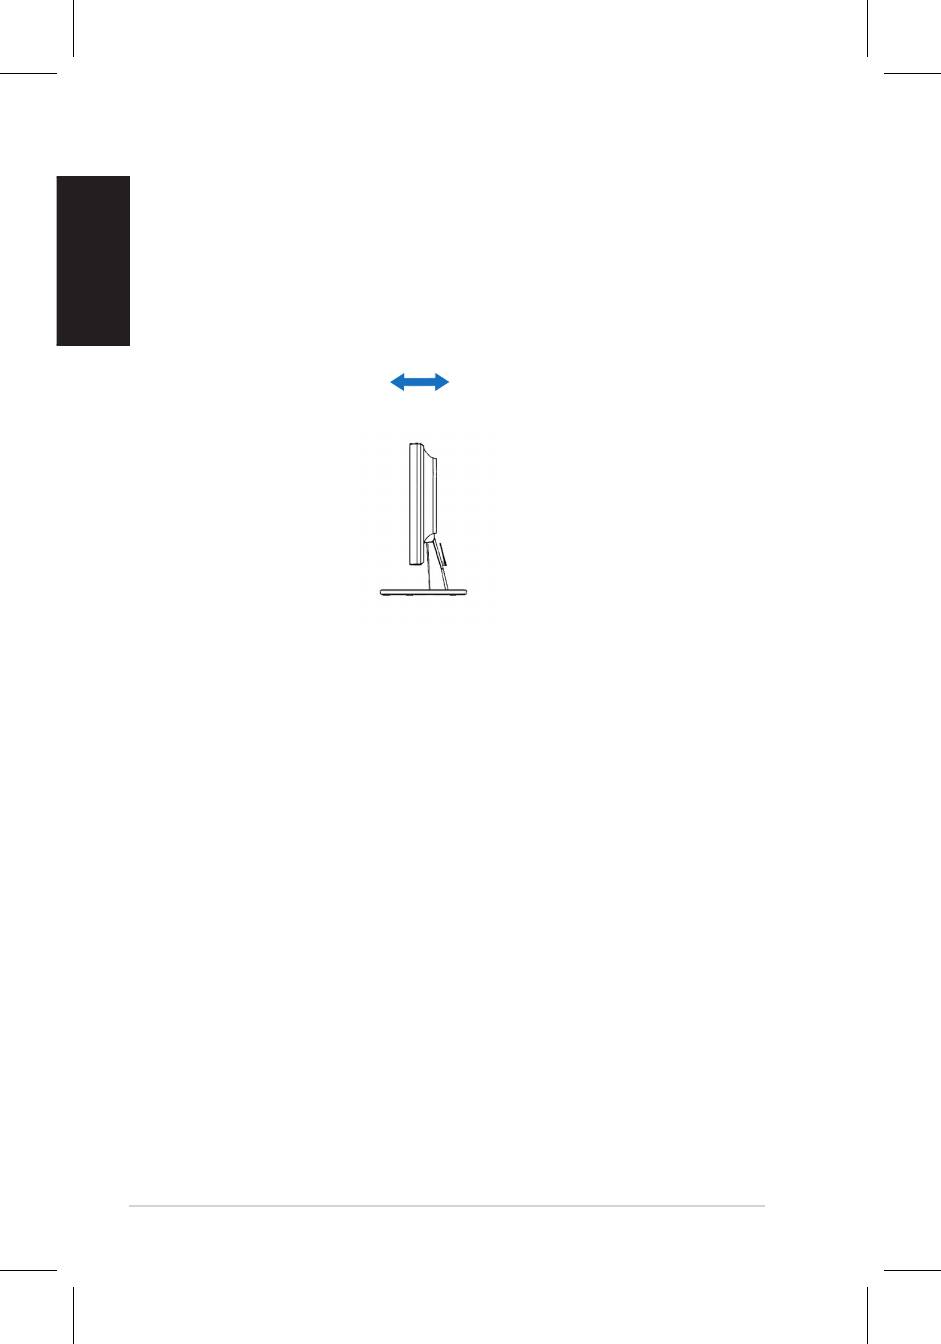
Adjusting the monitor
• For optimal viewing, we recommend that you look at the full face of the monitor,
• Hold the stand to prevent the monitor from falling when you change its angle.
-3º~20º
English
5Quick Start Guide
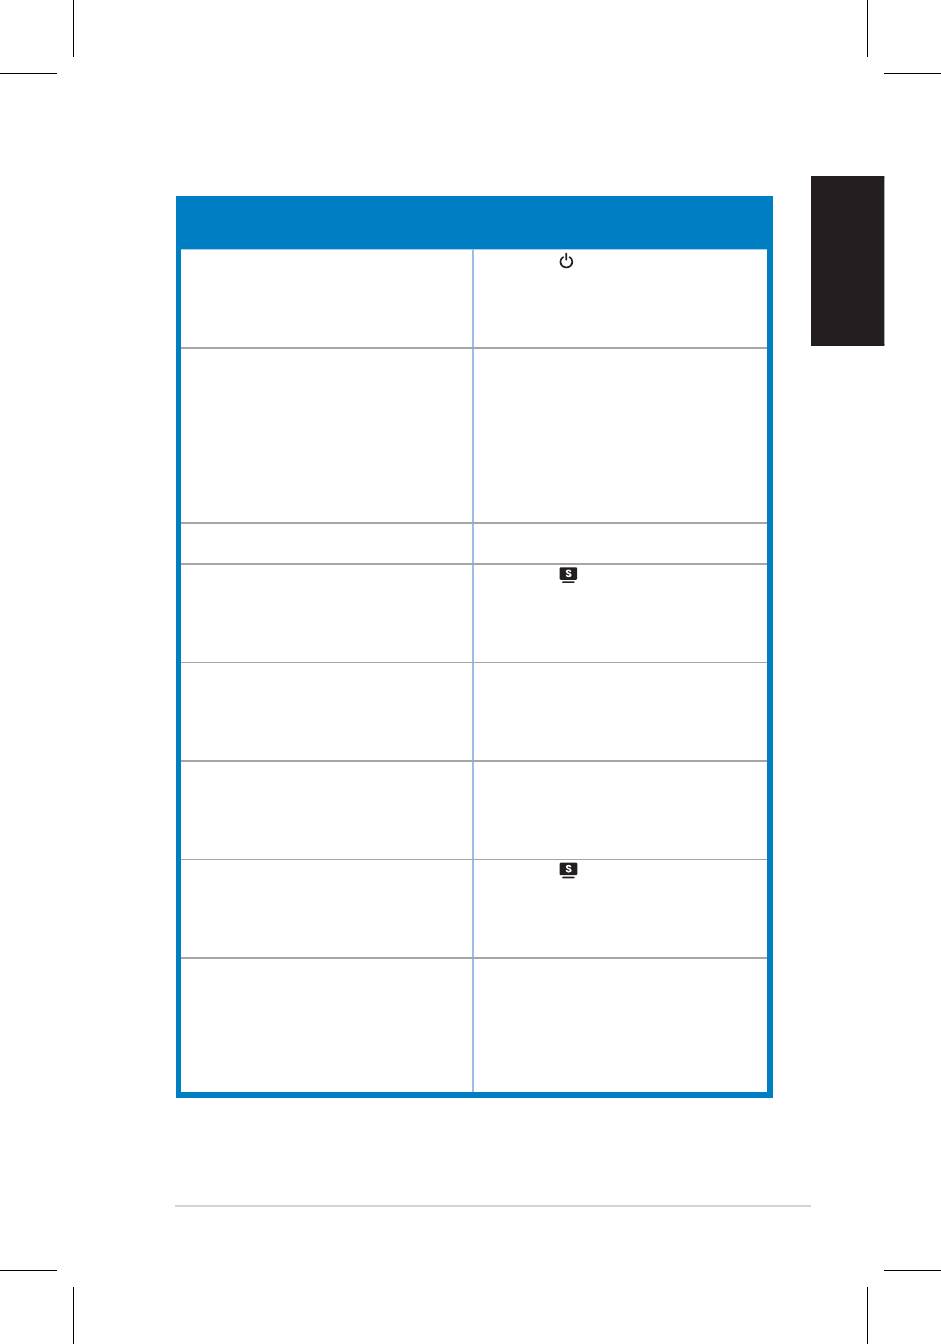
Troubleshooting (FAQ)
Problem Possible Solution
Power LED is not ON • Press the button to check if the monitor
is in the ON mode.
connected to the monitor and the power
outlet.
The power LED lights amber and there is no
screen image
in the ON mode.
• Make sure the signal cable is properly
connected the monitor and the computer.
• Inspect the signal cable and make sure
none of the pins are bent.
available monitor to check if the computer
is properly working.
Screen image is too light or dark
settings via OSD.
• Press the button for two seconds to
properly
settings
via OSD.
Screen image bounces or a wave pattern is
• Make sure the signal cable is properly
present in the image
connected to the monitor and the
computer.
• Move electrical devices that may cause
electrical interference.
Screen image has color defects (white does
• Inspect the signal cable and make sure
not look white)
that none of the pins are bent.
• Perform Reset via OSD.
• Press the button for two seconds to
mode only).
OSD.
No sound or sound is low • Ensure that the audio cable is properly
connected to the monitor and the
computer.
monitor and computer.
• Ensure that the computer sound card
driver is properly installed and activated.
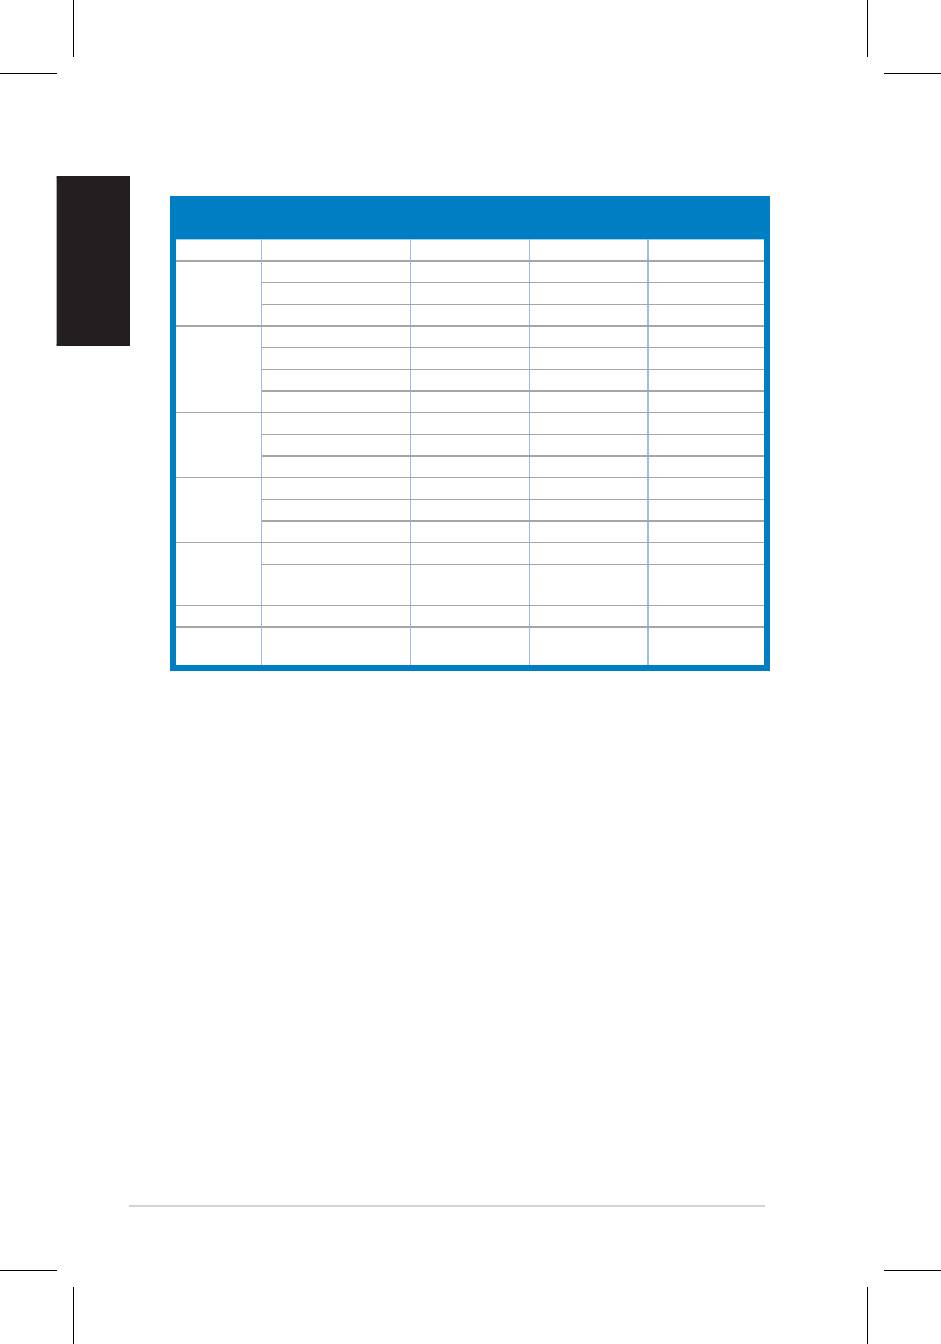
Supported operating modes
Standard Resolution
Horizontal
Vertical
Pixel
English
Frequency
Frequency
Frequency
DOS
* Modes not listed in the table may not be supported. For optimal resolution, we recommend that
you choose a mode listed in the table above.
6 Quick Start Guide
Оглавление
- VW195/VW225 Series
- VW195/
- VW195/VW225 Series
- Serie VW195/VW225
- VW195/VW225 Series Monitor LCD
- VW195/VW225
- VW195/VW225- reeks LCD-monitor
- VW195 / VW225 系列 液晶顯示器
- VW195/VW225 시리즈
- Série VW195/VW225 Monitor LCD
- VW195/VW225 Serisi
- /VW225
- VW195/VW225 Serie
- VW195/VW225 -sarja
- VW195/VW225 serie
- VW195/VW225
- Seria VW195/ VW225
- VW195/VW225 Series
- VW195/VW225 sorozat
- Seriile VW195/ VW225 Monitor LCD
- VW195/VW225 Series
- LCD Οθόνη Σειρά VW195/ VW225
- Monitor LCD VW195/VW225
- VW195/VW225 Series
- Séria VW195/ VW225


