Asus VH198: инструкция
Раздел: Компьютерная техника, комплектующие, аксессуары
Тип: Монитор
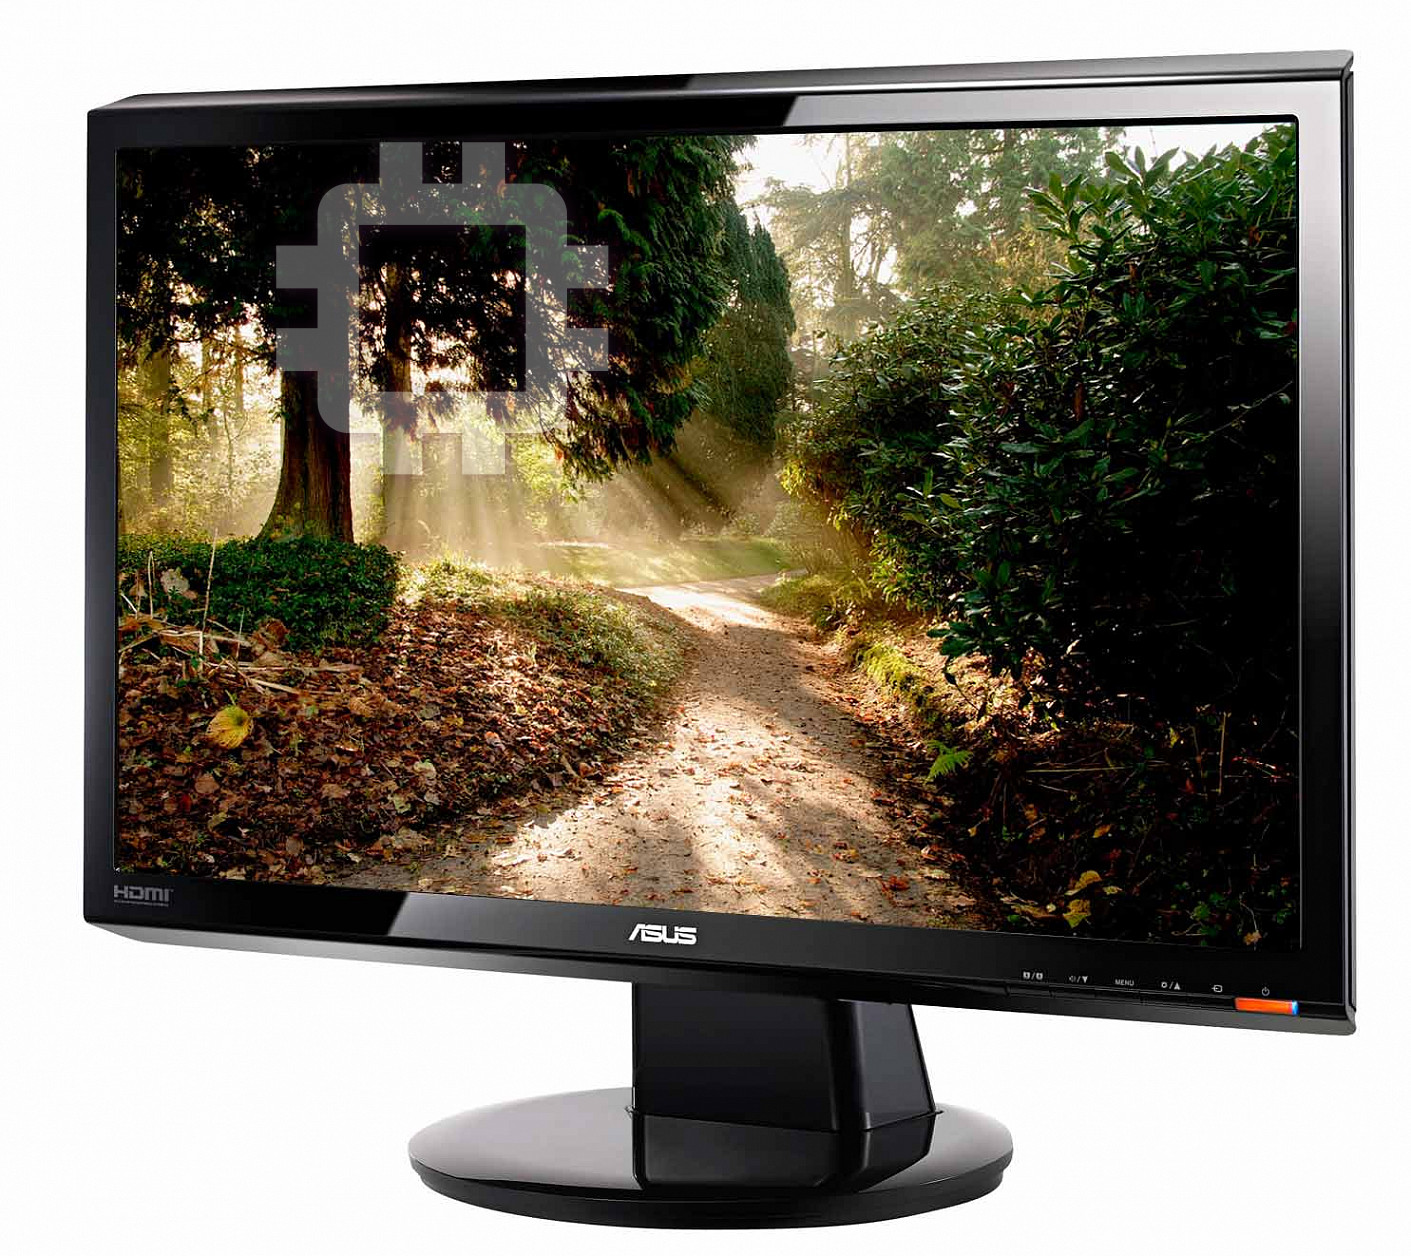
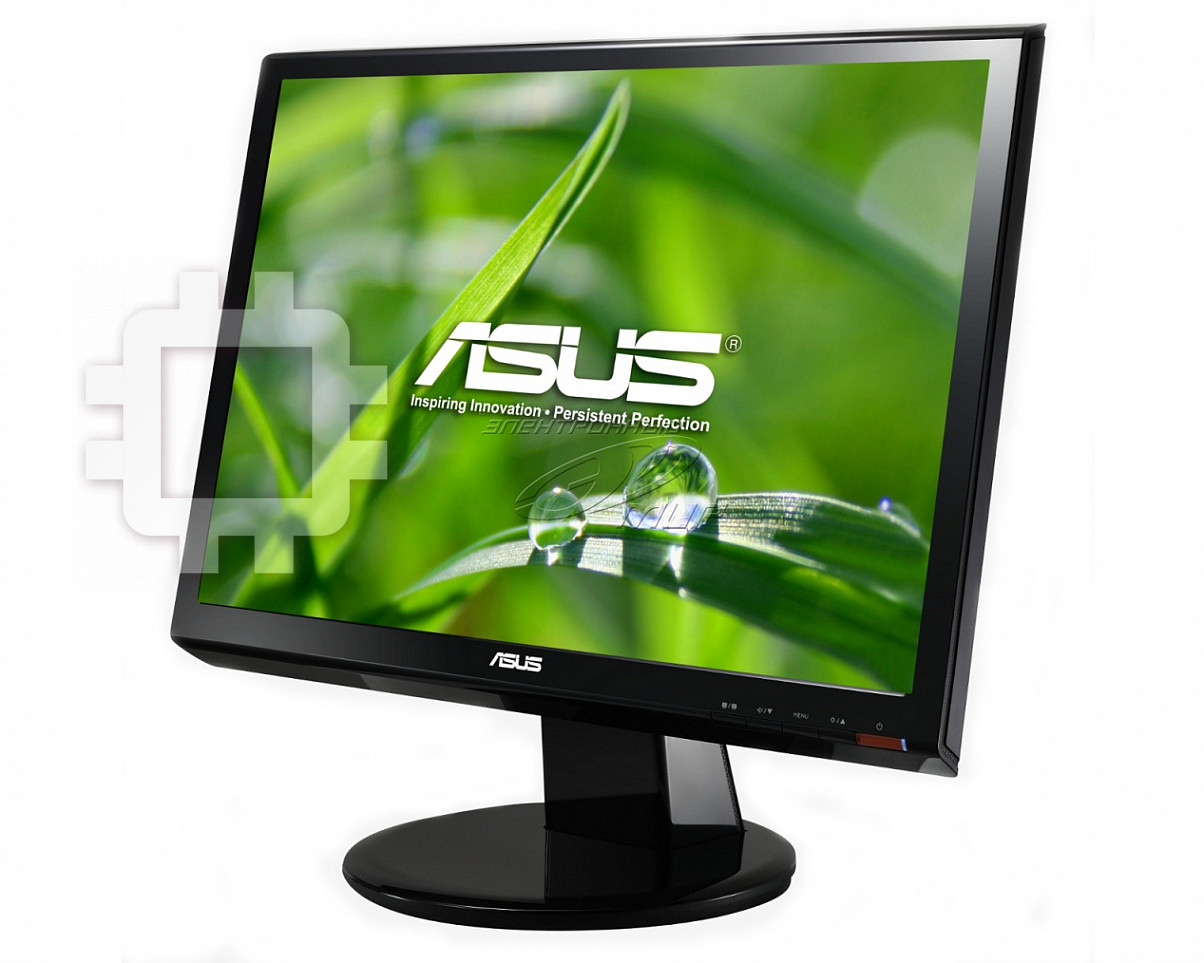
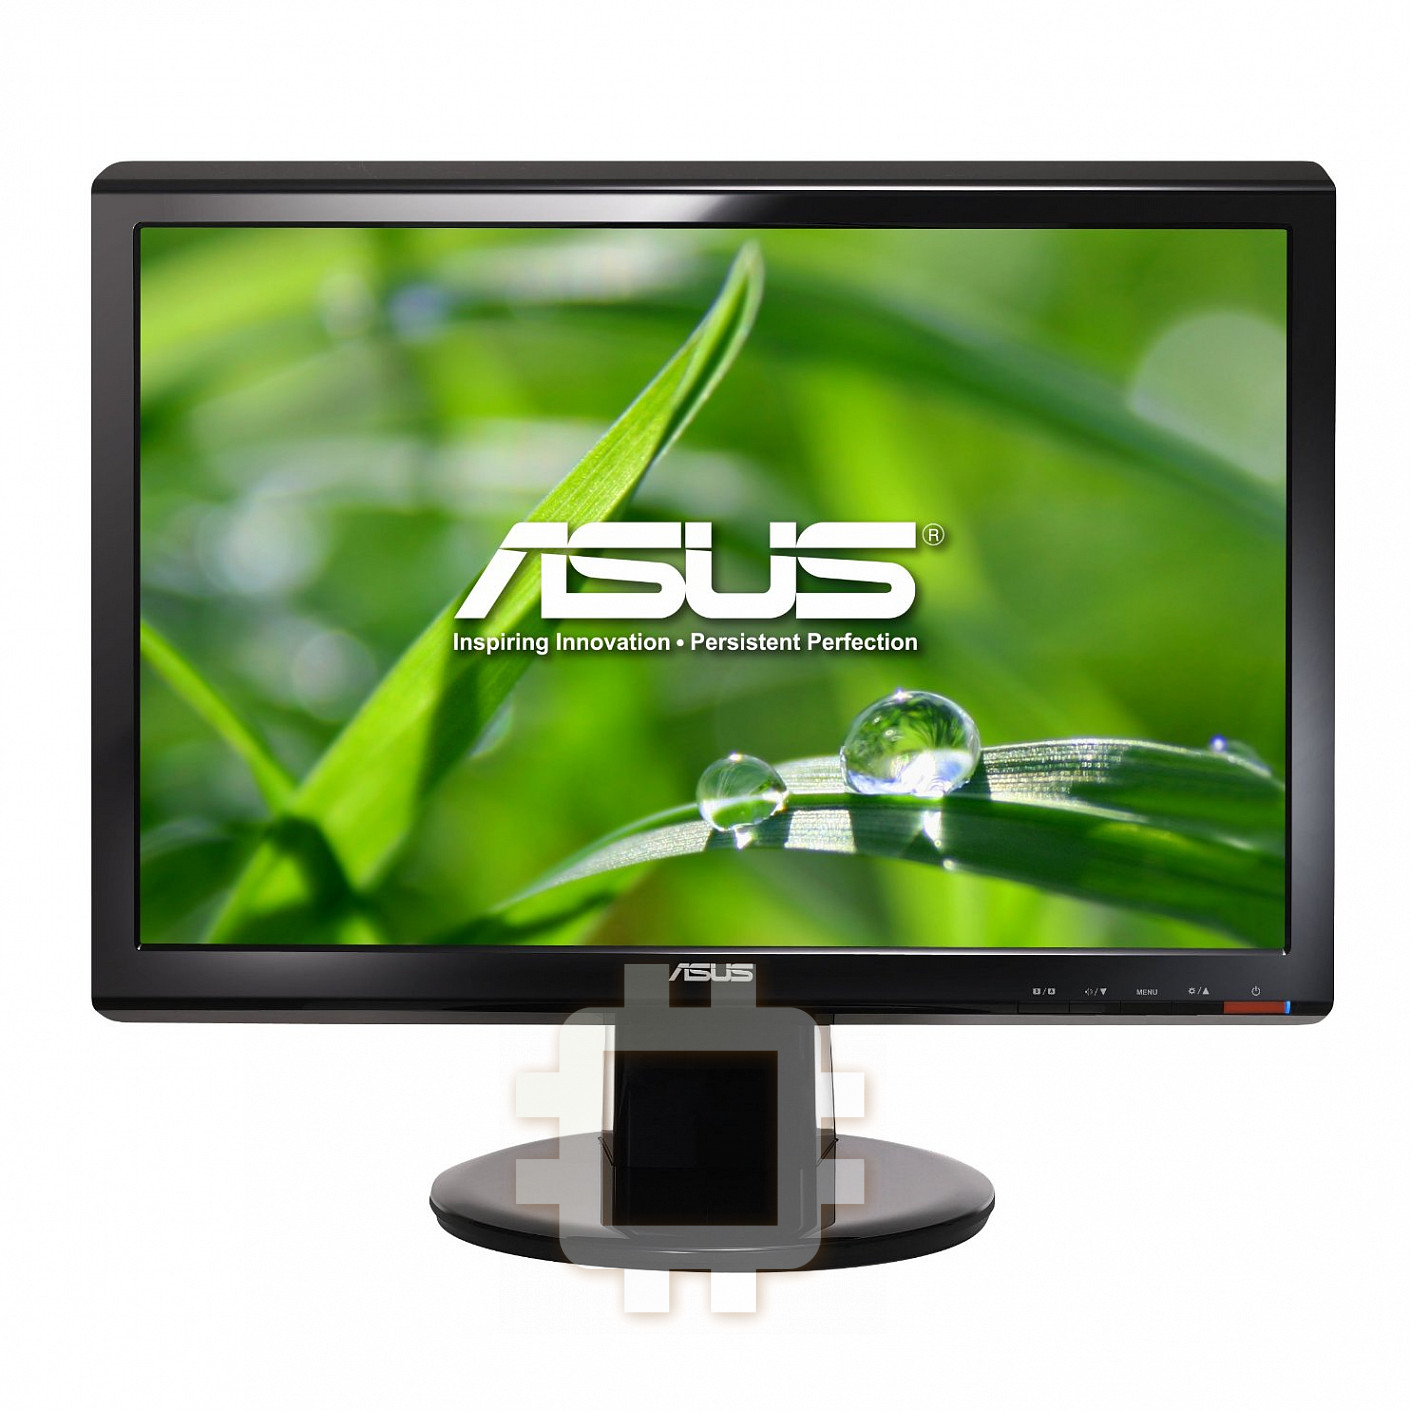
Инструкция к Монитору Asus VH198

Table of content
ASUS contact information ............................................................ii
English ....................................................................................... 1
iQuick Start Guide
Français ....................................................................................... 6
Deutsch ..................................................................................... 11
Italiano .....................................................................................
16
Español .....................................................................................
21
Pyccкий
.....................................................................................
26
Nederlands .................................................................................
31
繁體中文 .....................................................................................
36
简体中文 .....................................................................................
41
日本語
.....................................................................................
46
한국어
.....................................................................................
51
Português ..................................................................................
56
Türkçe .....................................................................................
61
.....................................................................................
66
ไทย
.....................................................................................
71
Dansk .....................................................................................
76
Suomi .....................................................................................
81
Norsk ...................................................................................
86
Svenska ...................................................................................
91
Polski ...................................................................................
96
Česky
...................................................................................
101
Magyar ...................................................................................
106
Română
...................................................................................
111
Srpski ...................................................................................
116
Ελληνικά
...............................................................................
121
Indonesia
.................................................................................
126
Български
..............................................................................
131
Slovensky
................................................................................
136
Eesti
...................................................................................
141
Lietuvių
...................................................................................
146
Latviski
...................................................................................
151

ASUS contact information
ASUSTeK COMPUTER INC.
Address 15 Li-Te Road, Peitou, Taipei, Taiwan 11259
Telephone +886-2-2894-3447
Fax +886-2-2890-7798
E-mail info@asus.com.tw
Web site www.asus.com.tw
Technical Support
Telephone +86-21-38429911
Online support support.asus.com
ASUS COMPUTER INTERNATIONAL (America)
Address 44370 Nobel Drive, Fremont, CA 94538, USA
Fax +1-510-608-4555
Web site usa.asus.com
Technical Support
Telephone +1-812-282-2787
Support fax +1-812-284-0883
Online support support.asus.com
ASUS COMPUTER GmbH (Germany and Austria)
Address HarkortStr.21-23,D-40880Ratingen,Germany
Telephone +49-2102-95990
Fax +49-2102-959911
Web site www.asus.de
Online contact www.asus.de/sales
Technical Support
Telephone +49-1805-010923
Support Fax +49-2102-9599-11
Online support support.asus.com
ii Quick Start Guide
English
1 Quick Start Guide
VH196 Series
LCD Monitor
Quick Start Guide
English
2 Quick Start Guide
Safety information
• Before setting up the monitor, carefully read all the documentation that came
with the package.
• Topreventreorshockhazard,neverexposethemonitortorainormoisture.
• The monitor should be operated only from the type of power source indicated
on the label. If you are not sure of the type of power supplied to your home,
consult your dealer or local power company.
• Use the appropriate power plug which complies with your local power standard.
• To ensure satisfactory operation, use the monitor only with UL listed computers
whichhaveappropriateconguredreceptaclesmarkedbetween100-240VAC.
• Ifyouencountertechnicalproblemswiththemonitor,contactaqualiedservice
technician or your retailer.
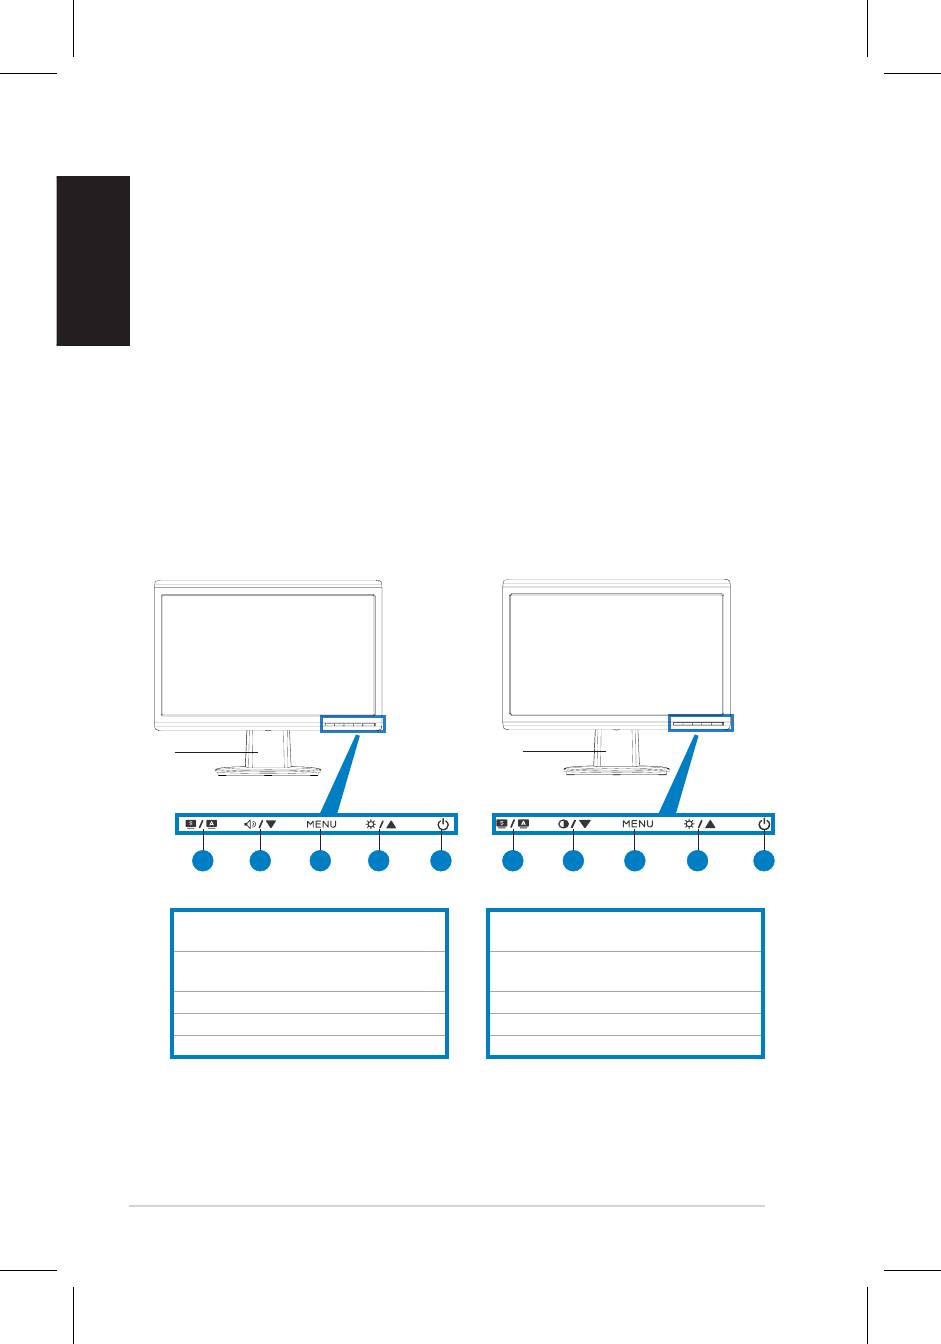
Monitor introduction
Front view
VH196T/S
VH196N/D
Base
Base
21 3 4 5 21 3 4 5
1.SPLENDID™*/Auto-adjust**/Exit
1.SPLENDID™*/Auto-adjust**/Exit
MENU button
MENU button
2.Volumehotkey/Decreasebutton(for
2.Contrasthotkey/Decreasebutton(for
models with speakers)
models without speakers)
3. MENU/Enter/Selection button
3. MENU/Enter/Selection button
4.Brightnesshotkey/Increasebutton
4.Brightnesshotkey/Increasebutton
5 . Power button
5 . Power button
* Hotkey for 5 video preset mode selection.
** Adjusts the image automatically by pressing the button for 2–3 seconds.
English
3 Quick Start Guide
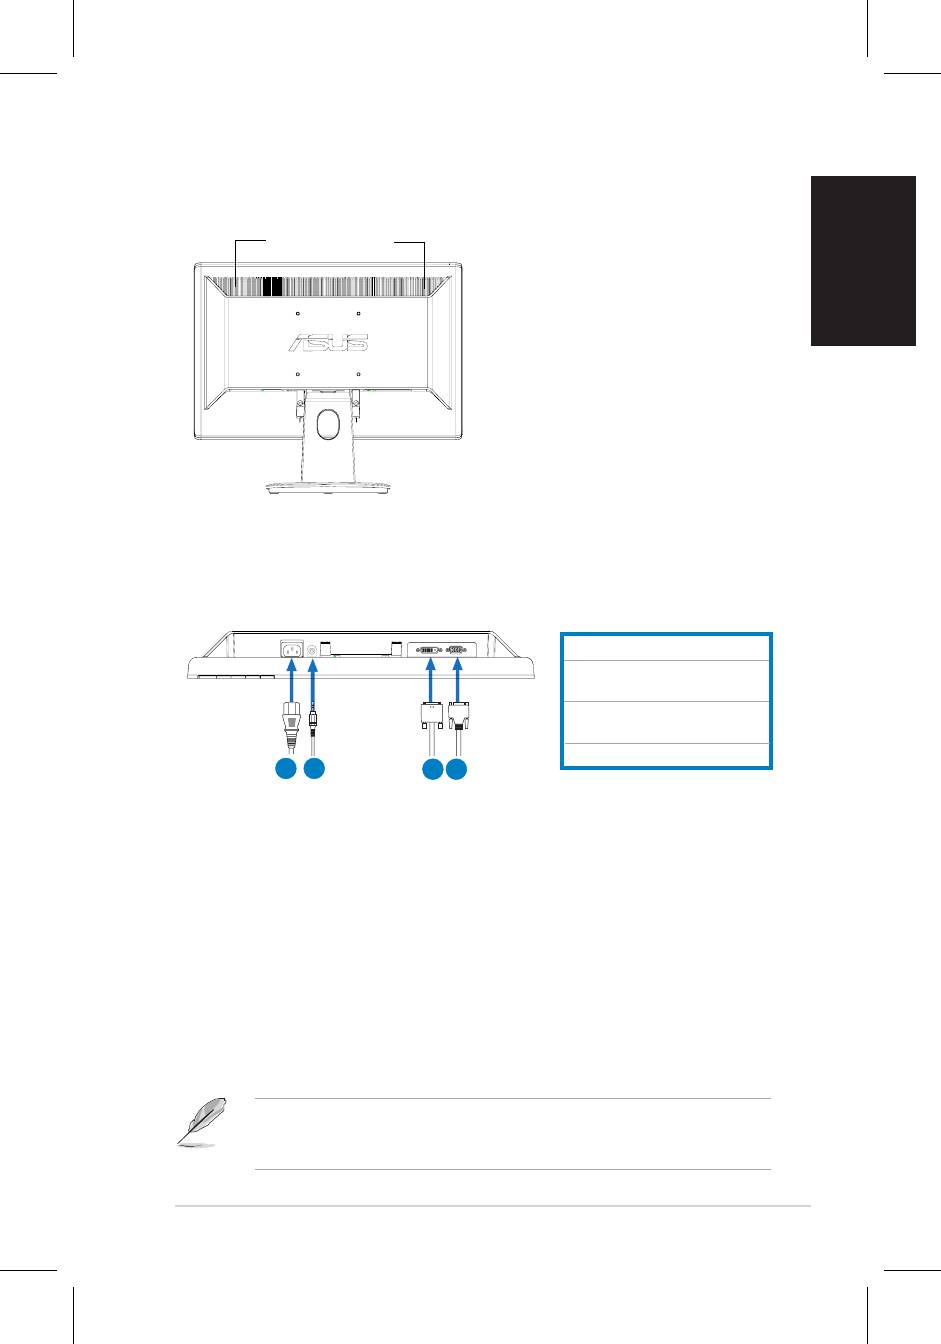
Rear view
Stereo speakers (for
some models)
Connecting the cables
Connectthecablesasshown:
1. Power cord
2.Audio-incable(formodels
with speakers)
3.
DVIsignalcable(forsome
models)
4.
VGAsignal
1
2
3 4
•
To connect the power cord
:connectoneendofthepowercordsecurelyto
themonitor’sACinputport,andtheotherendtoapoweroutlet.
•
To connect the VGA/DVI cable
:
a. PlugtheVGA/DVIconnectortotheLCDmonitor’sVGA/DVIport.
b. ConnecttheotherendoftheVGA/DVIcabletoyourcomputer’sVGA/
DVIport.
c. TightenthetwoscrewstosecuretheVGA/DVIconnector.
•
To connect the audio cable (For those models with speakers)
:connectone
endoftheaudiocabletothemonitor’sAudio-inport,andtheotherendtothe
computer'saudio-outport.
WhenboththeVGAandtheDVIcablesareconnected,youcanchooseeither
VGAmodeorDVImodefromtheInputSelectitemoftheOSDfunctions(for
some models).
4
English
Quick Start Guide
Troubleshooting (FAQ)
Problem Possible Solution
PowerLEDisnotON • Press the button to check if the monitor is in
theONmode.
•Checkifthepowercordisproperlyconnectedto
the monitor and the power outlet.
The power LED lights amber and
•Checkifthemonitorandthecomputerareinthe
there is no screen image
ONmode.
• Make sure the signal cable is properly connected
the monitor and the computer.
• Inspect the signal cable and make sure none of
the pins are bent.
•Connectthecomputerwithanotheravailable
monitor to check if the computer is
properly working.
Screen image is too light or dark •AdjusttheContrastandBrightnesssettingsvia
OSD.
Screen image is not centered or
• Press the button for 2–3 seconds to
sizedproperly
automaticallyadjusttheimage(VGAinputonly).
•AdjusttheH-PositionorV-Positionsettingsvia
OSD(VGAinputonly).
Screen image bounces or a wave
• Make sure the signal cable is properly
pattern is present in the image
connected to the monitor and the computer.
• Move away electrical devices that may cause
electrical interference.
Screenimagehascolordefects(white
• Inspect the signal cable and make sure that
does not look white)
none of the pins are bent.
•PerformAllResetviaOSD.
•AdjusttheR/G/Bcolorsettingsorselectthe
ColorTemperatureviaOSD.
Screenimageisblurryorfuzzy • Press the button for 2–3 seconds to
automaticallyadjusttheimage(VGAinputonly).
•AdjustthePhaseandClocksettingsviaOSD
(VGAinputonly).
Nosoundorsoundislow(formodels
• Ensure that the audio cable is properly
with speakers)
connected to the monitor and the computer
•Adjustthevolumesettingsofbothyour
monitor and computer.
• Ensure that the computer sound card driver
is properly installed and activated.
5
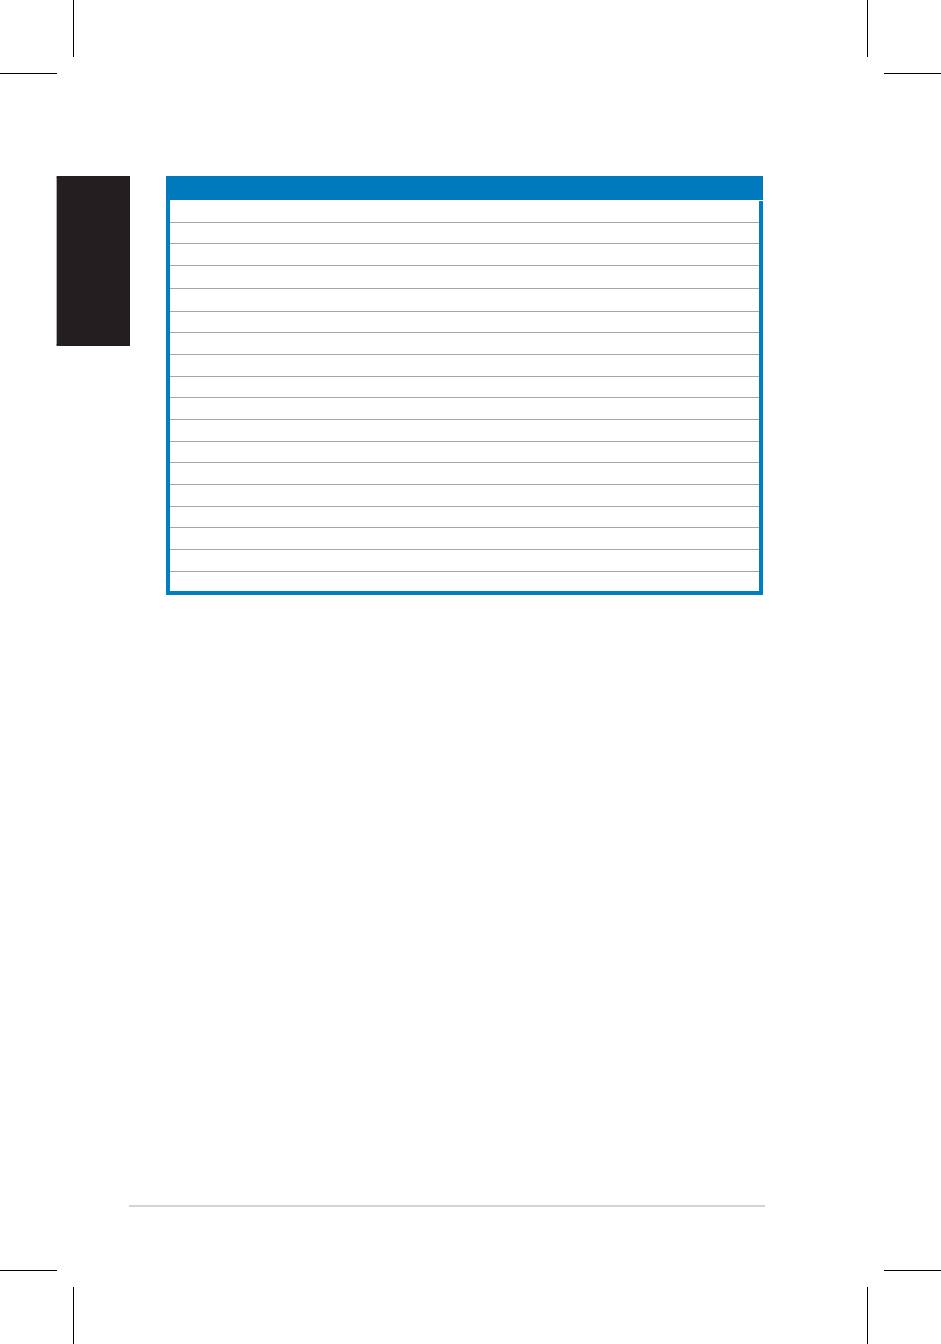
Supported operating modes
English
Quick Start Guide
Resolution Refresh Rate Horizontal Frequency
640x480 60Hz 31.5kHz
640x480 72Hz 37.9kHz
640x480 75Hz 37.5kHz
720x400
70Hz
31.5kHz
800x600 56Hz 35.1kHz
800x600 60Hz 37.9kHz
800x600 75Hz 46.9kHz
1024x768 60Hz 48.4kHz
1024x768 70Hz 56.5kHz
1152x864 75Hz 67.5kHz
1280x720 60Hz 44.7kHz
1280x768 60Hz
47.4/47.8kHz
1280x768 75Hz 60.3kHz
1280x800 60Hz 49.6kHz
1280x960 60Hz 60.0kHz
1280x1024 60Hz 64.0kHz
1360x768 60Hz 47.7kHz
1440 x 900
(Primary)
60Hz
55.5kHz
/
55.9kHz
* Modes not listed in the table may not be supported. For optimal resolution, we recommend that
you choose a mode listed in the table above.
Оглавление
- VH196 Series LCD Monitor
- Moniteur LCD Séries VH196
- VH196 Serie LCD-Monitor
- Monitor LCD Serie VH196
- Guía de inicio rápida
- LCD монитор серии
- VH196 LCD-monitor
- 系列 液晶顯示器
- VH196 シリーズ 液晶ディスプレイ
- VH196 시리즈 LCD 모니터 빠른 시작 안내 설명서
- VH196 Serisi
- VH196
- VH196 Serie
- VH196-sarja
- VH196 serie
- VH196 Serie
- LCD Οθόνη Σειρά VH196
- Séria VH196 LCD monitor Stručnýnávodna spustenie
- VH196 seeria LCD monitor
- VH196 serija LCD monitorius
- VH196 sērijas LCD monitors


