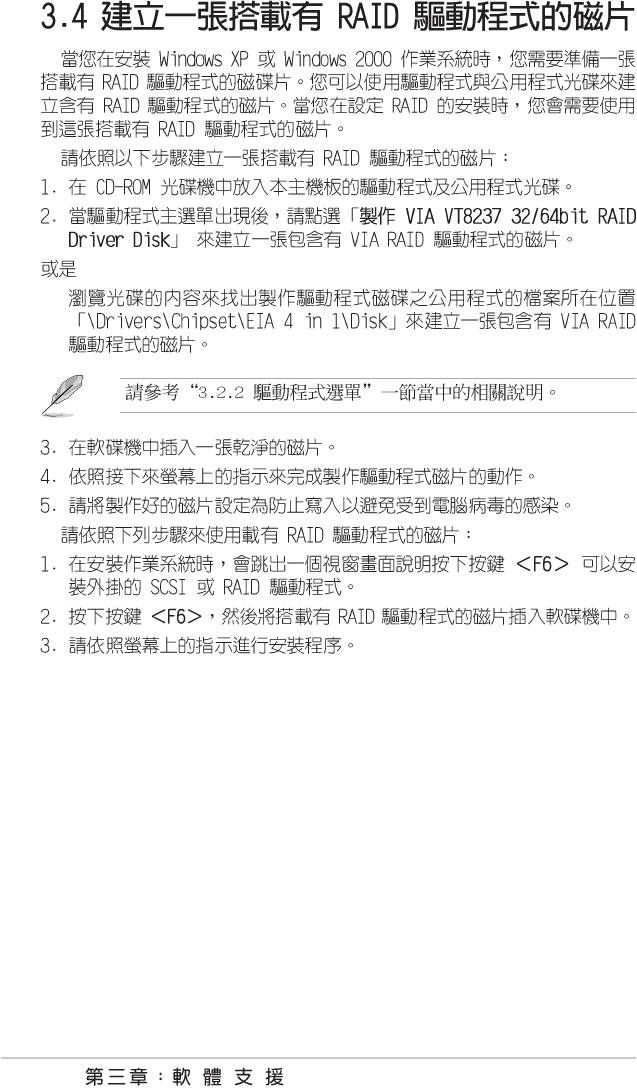
Asus P5V-VM DH – страница 6
Инструкция к Материнской Плате Asus P5V-VM DH

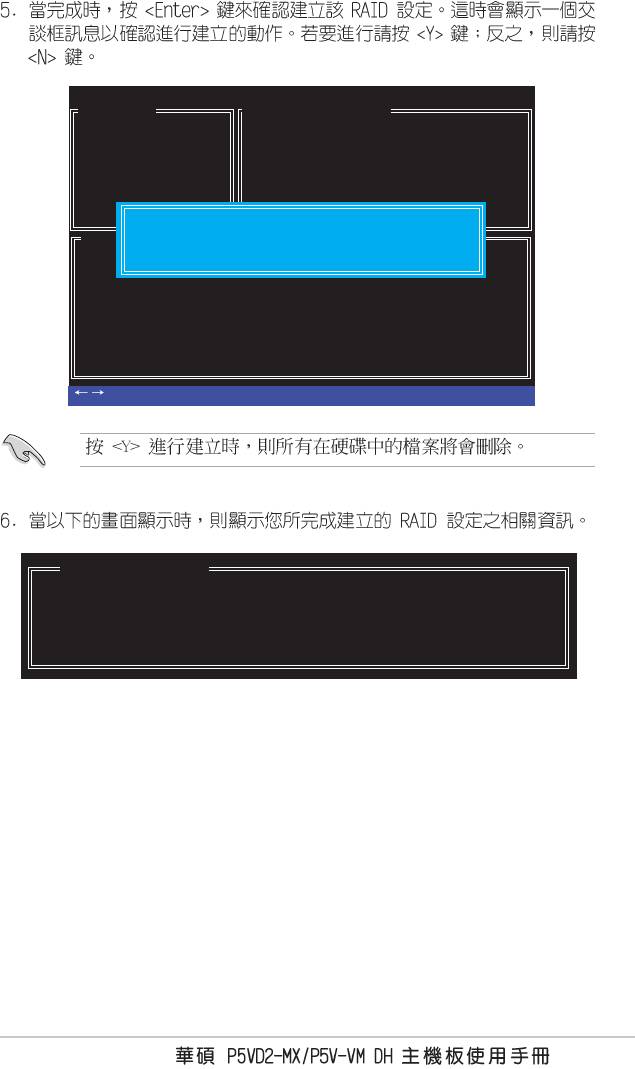
Auto create array will destroy all
data on disks, Continue? (Y/N)
Save the data on source disk to
mirror after creation? (Y/N)
Duplicating.....
RAID 1 for data protection
Press Yes(Y) to Escape
The data on the selected disks will
be destroyed. Continue? (Y/N)
3-11

Phoenix-Award BIOS Setup Utility
Advanced
Onboard Device Configuration
Select Menu
Jmicron RAID controller [IDE]
Item Specific Help
SATA Controller [Enabled]
SATA Controller Mode [IDE]
Press [Enter] to set
Ex-SATA/PCI-E*1 Option [Ex-SATA]
HDA Controller [Auto]
Onboard LAN [Enabled]
Onboard LAN Boot ROM [Disabled]
Serial Port1 Address [3F8/IRQ4]
Parallel Port Address [378/IRQ7]
Parallel Port Mode [Bi-Directional]
ECP Mode Use IMA [3]
F1:Help :Select Item -/+: Change Value F5:Setup Default
ESC:Exit :Select Item Enter:Select Submenu F10:Save and Exit
3-12
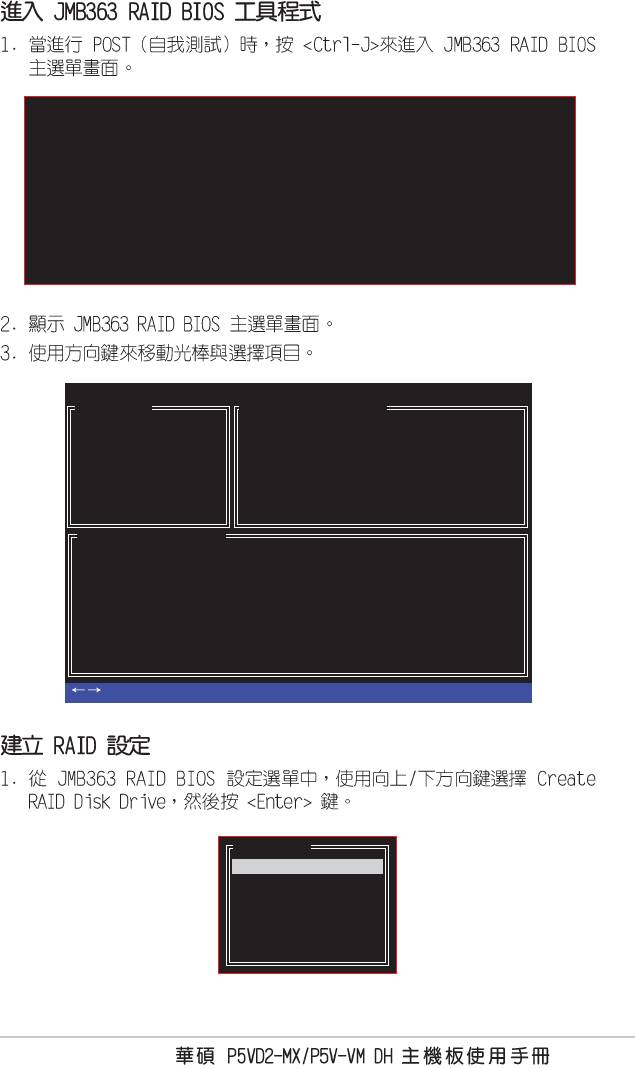
Jmicron Technology Corp. PCI-to-SATA RAID Controller BIOS v0.97
Copyright (C) 2004-2005 JMicron Technology http://www.jmicron.com
HDD0 : HDS722516VLSA80 164 GB Non-RAID
HDD1 : HDS722516DLA380 164 GB Non-RAID
Press <Ctrl-J> to enter RAID Setup Utility...
JMicron Technology Corp. PCI-to-SATA II/IDE RAID Controller BIOS v0.97
[Main Menu]
[Hard Disk Drive List]
Create RAID Disk Drive
Model Name Capacity Type/Status
Delete RAID Disk Drive
HDD0: HDS722516VLSA80 xxx GB Non-RAID
Revert HDD to Non-RAID
HDD1: HDS722516DLA380 xxx GB Non-RAID
Repair Mirror Conflict
Save and Exit Setup
Exit Without Saving
[Raid Disk Drive List]
[ TAB]-Switch Windows [
↑
↑↑
↑↑
↓↓
↓↓
↓
]-Select Item [Enter]-Action [ESC]-Exit
[Main Menu]
Create RAID Disk Drive
Delete RAID Disk Drive
Revert HDD to Non-RAID
Repair Mirror Conflict
Save and Exit Setup
Exit Without Saving
3-13
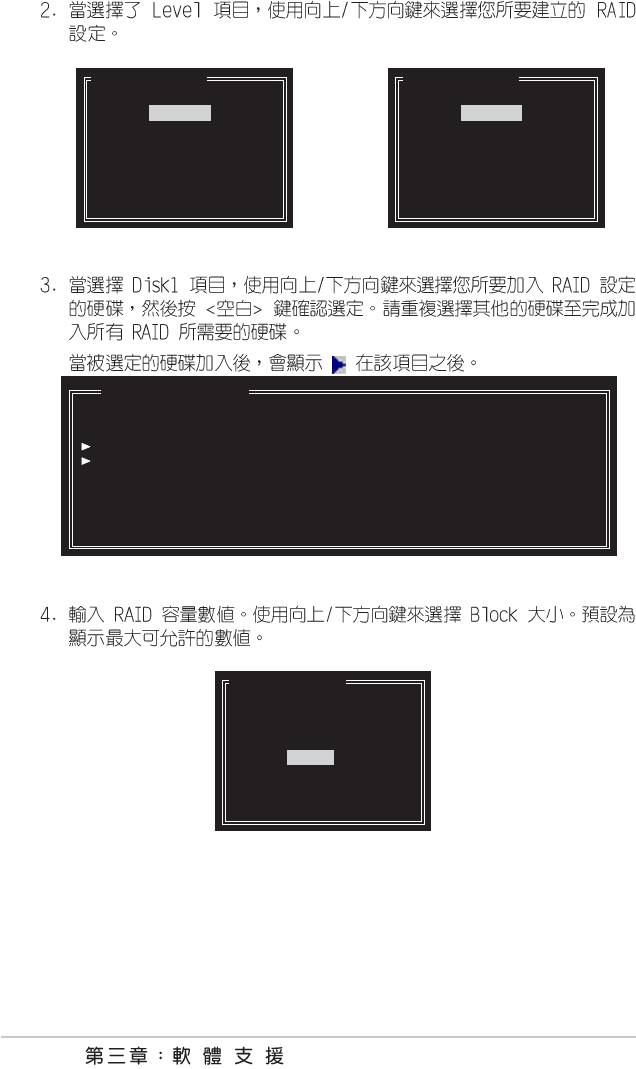
[Create New RAID]
[Create New RAID]
Name : JRAID
Name : JRAID
Level : Q-Stripe
Level : 1-Mirror
Disks : Select Disk
Disks : Select Disk
Block : 128 KB
Block : N/A
Size : 319 GB
Size : 159 GB
Confirm Creation
Confirm Creation
[Raid Disk Drive List]
Model Name Capacity Type/Status
HDD0: HDS722516VLSA80 xxx GB Non-RAID
HDD1: HDS722516DLA380 xxx GB Non-RAID
[Create New RAID]
Name : JRAID
Level : Q-Stripe
Disks : Select Disk
Block : 128 KB
Size : 319 GB
Confirm Creation
3-14
JMicron Technology Corp. PCI-to-SATA II/IDE RAID Controller BIOS v0.97
[Main Menu]
[Hard Disk Drive List]
Create RAID Disk Drive
Model Name Capacity Type/Status
Delete RAID Disk Drive
HDD0: HDS722516VLSA80 xxx GB Non-RAID
Revert HDD to Non-RAID
HDD1: HDS722516DLA380 xxx GB Non-RAID
Repair Mirror Conflict
Save and Exit Setup
Exit Without Saving
[Raid Disk Drive List]
Create RAID on the selected HDD (Y/N)? Y
[ TAB]-Switch Windows [
↑↑
↑↑
↑
↓↓
↓↓
↓
]-Select Item [Enter]-Action [ESC]-Exit
[Raid Disk Drive List]
Model Name RAID Level Capacity Status Members(HDDx)
RDD0: JRAID 0-Stripe xxx GB Normal 01
3-15
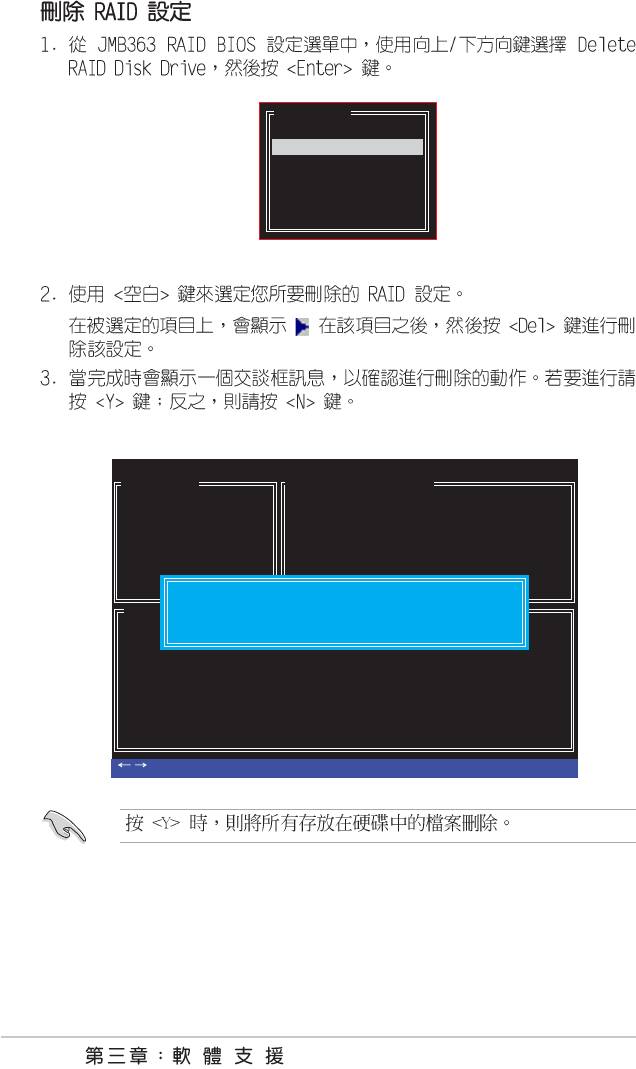
[Main Menu]
Create RAID Disk Drive
Delete RAID Disk Drive
Revert HDD to Non-RAID
Repair Mirror Conflict
Save and Exit Setup
Exit Without Saving
JMicron Technology Corp. PCI-to-SATA II/IDE RAID Controller BIOS v0.97
[Main Menu]
[Hard Disk Drive List]
Create RAID Disk Drive
Model Name Capacity Type/Status
Delete RAID Disk Drive
HDD0: HDS722516VLSA80 xxx GB RAID Inside
Revert HDD to Non-RAID
HDD1: HDS722516DLA380 xxx GB RAID Inside
Repair Mirror Conflict
Save and Exit Setup
Exit Without Saving
ALL DATA ON THE RAID WILL BE LOST!!
[Raid Disk Drive List]
ARE YOU SURE TO DELETE (Y/N)? Y
[ TAB]-Switch Windows [
↑↑
↑↑
↑
↓↓
↓↓
↓
]-Select Item [Enter]-Action [ESC]-Exit
3-16
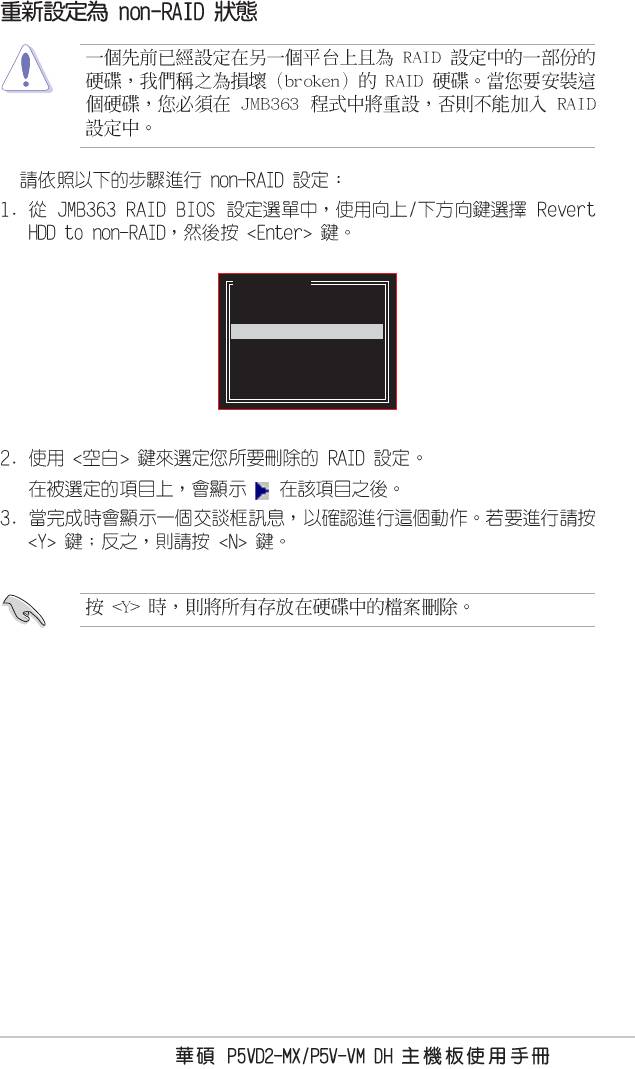
[Main Menu]
Create RAID Disk Drive
Delete RAID Disk Drive
Revert HDD to Non-RAID
Repair Mirror Conflict
Save and Exit Setup
Exit Without Saving
3-17
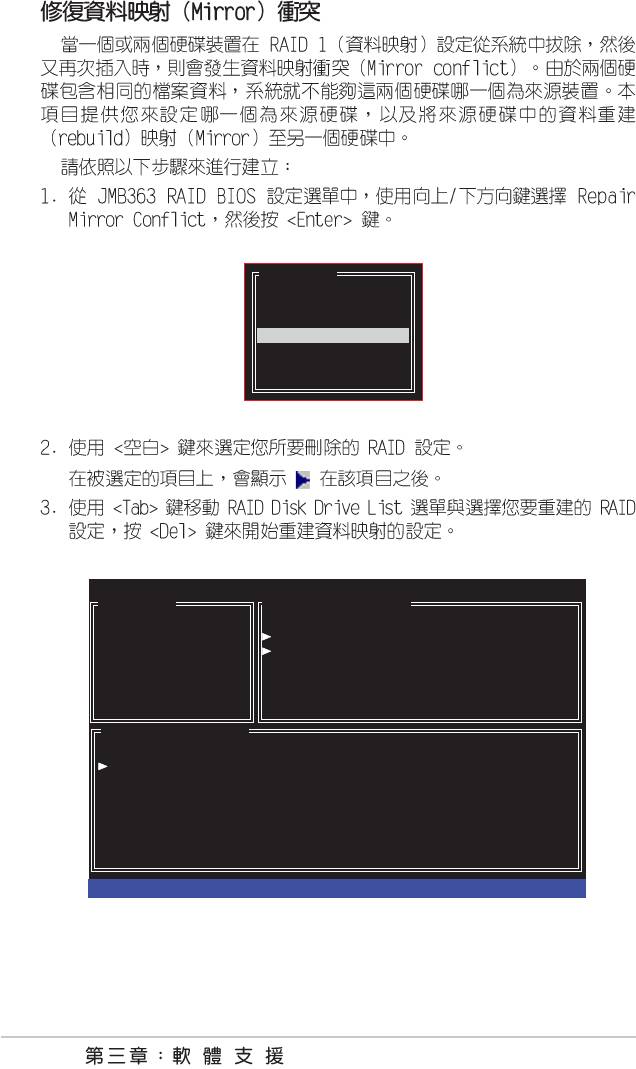
[Main Menu]
Create RAID Disk Drive
Delete RAID Disk Drive
Revert HDD to Non-RAID
Repair Mirror Conflict
Save and Exit Setup
Exit Without Saving
JMicron Technology Corp. PCI-to-SATA II/IDE RAID Controller BIOS v0.97
[Main Menu]
[Hard Disk Drive List]
Create RAID Disk Drive
Model Name Capacity Type/Status
Delete RAID Disk Drive
HDD0: HDS722516VLSA80 164 GB RAID Inside
Revert HDD to Non-RAID
HDD1: HDS722516DLA380 164 GB RAID Inside
Repair Mirror Conflict
Save and Exit Setup
Exit Without Saving
[Raid Disk Drive List]
Model Name RAID Level Capacity Status Members(HDDx)
HDD0: HDS722516VLSA80 1-Mirror xxx GB Rebuild 01
Rebuilding...01%, please wait...
3-18
3-19
3-20
3-21