Asus P4V533-MX – страница 3
Инструкция к Материнской Плате Asus P4V533-MX
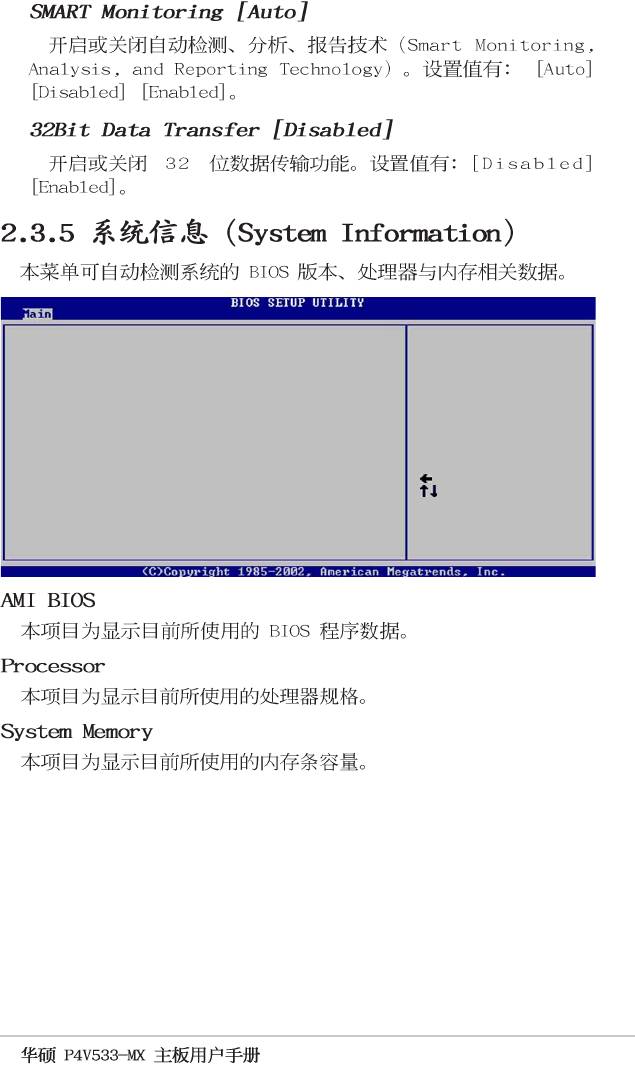
AMI BIOS
Version : 08.00.09
Build Date : 07/07/03
Processor
Type : Intel(R) Pentium(R) 4 CPU 1500MHz
Speed : 1500 MHz
Count : 1
System Memory
Size : 256MB
Select Screen
Select Item
+- Change Option
F1 General Help
F10 Save and Exit
ESC Exit
2-9
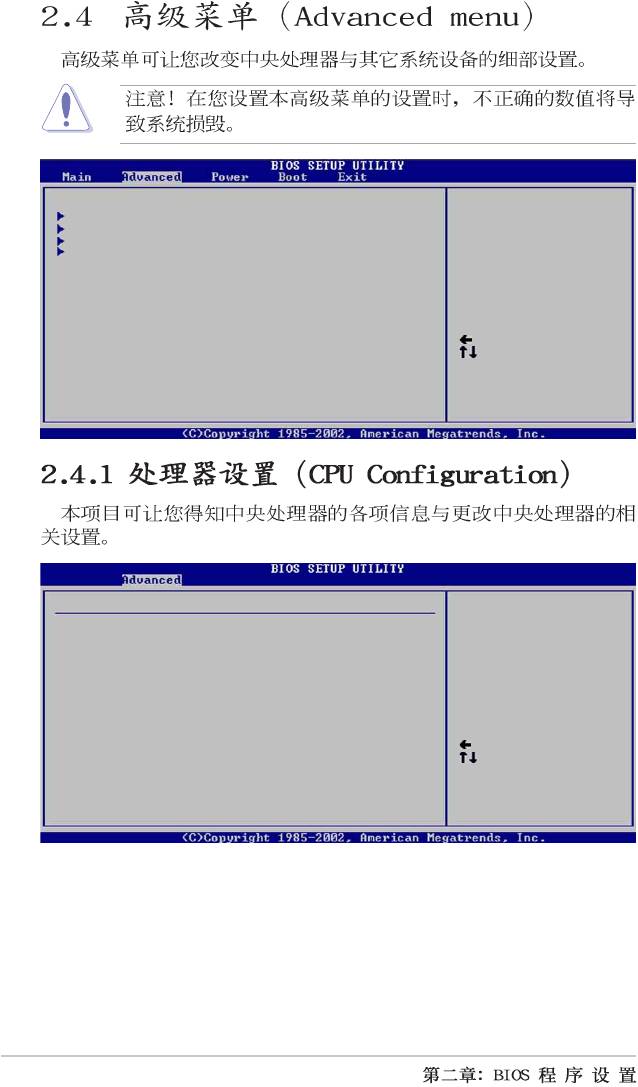
Configure CPU.
CPU Configuration
Chipset
Onboard Devices Configuration
PCI PnP
Select Screen
Select Item
Enter Go to Sub-screen
F1 General Help
F10 Save and Exit
ESC Exit
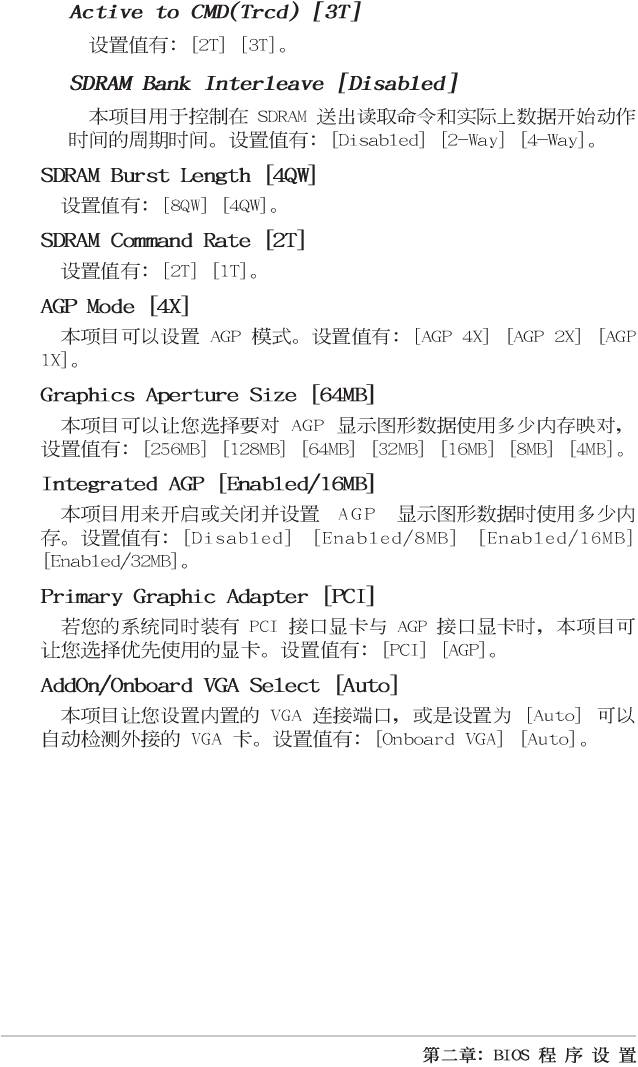
Configure advanced CPU settings
Manufacturer : Intel(R)
Brand String : Intel(R) Pentium(R) 4 CPU 1500MHz
Frequency : 1500MHz
Ratio Status : Locked
Ratio Actual Value : 15
Select Screen
Select Item
+- Change Option
F1 General Help
F10 Save and Exit
ESC Exit
2-10
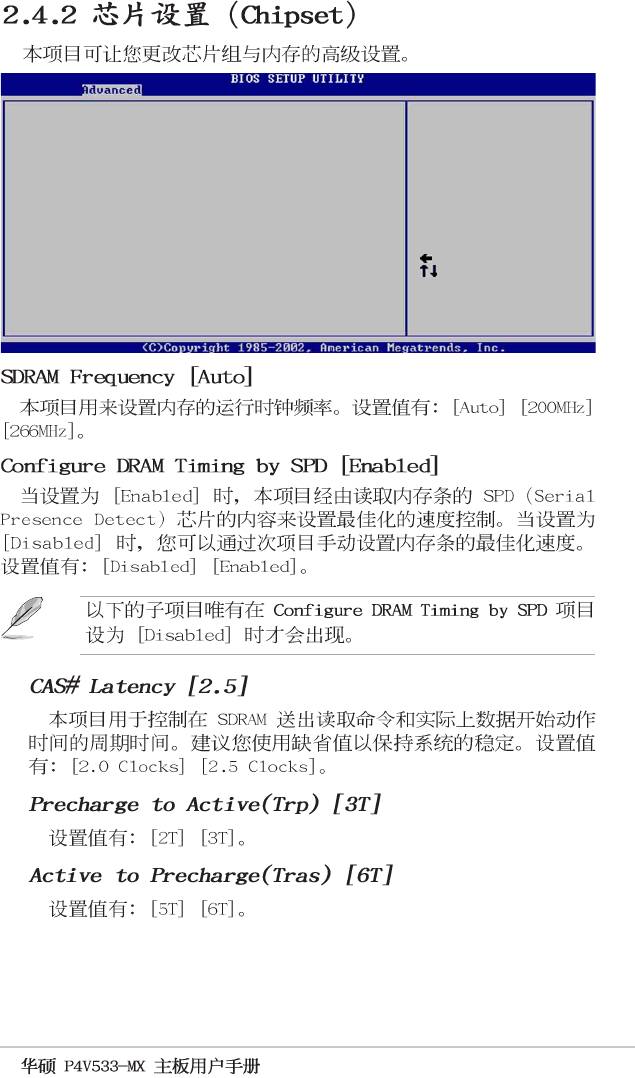
******** DRAM Timing ********
SDRAM Frequency [Auto]
Configure SDRAM Timing by SPD [Enabled]
SDRAM Burst Length [4QW]
SDRAM Command Rate [2T]
AGP Mode [AGP 1X]
Graphics Aperture Size [64MB]
Integrated AGP [Enabled/16MB]
Primary Graphics Adapter [PCI]
AddOn/Onboard VGA Select [Auto]
Select Screen
Select Item
+- Change Option
F1 General Help
F10 Save and Exit
ESC Exit
2-11
2-12
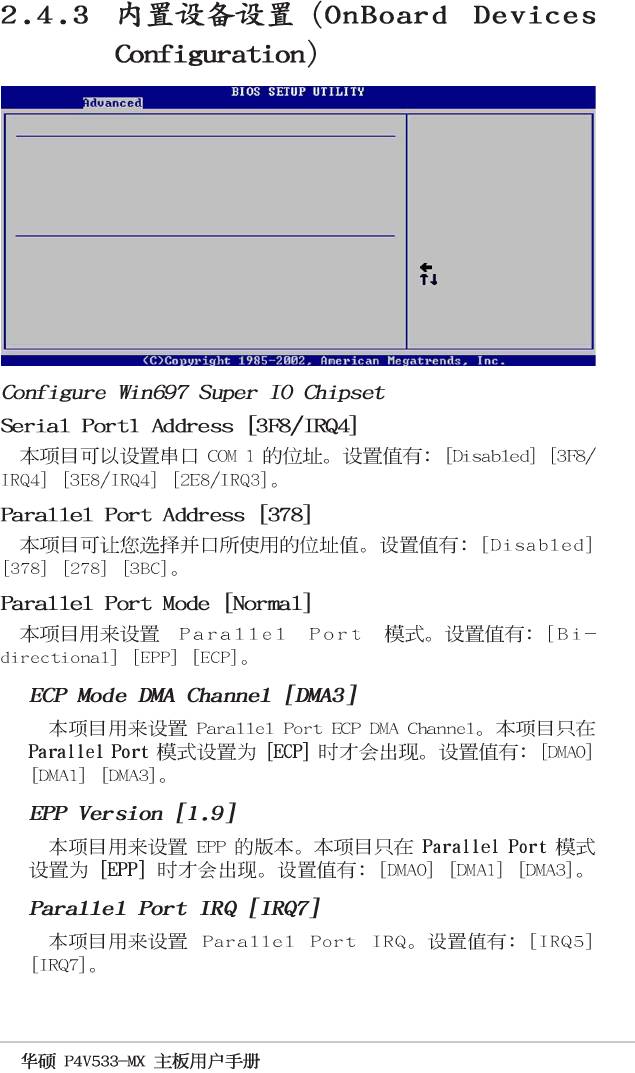
Configure Win697 Super IO Chipset
Serial Port1 Address [3F8/IRQ4]
Parallel Port Address [Disabled]
Onboard Game Port [Disabled]
Onboard MIDI Port [Disabled]
Configure South Bridge Chipset
OnBoard LAN [Enabled]
OnBoard LAN Boot ROM [Enabled]
OnBoard AC’97 Audio [Disabled]
Select Screen
OnBoard MC’97 Modem [Disabled]
Select Item
+- Change Option
F1 General Help
F10 Save and Exit
ESC Exit
2-13
2-14
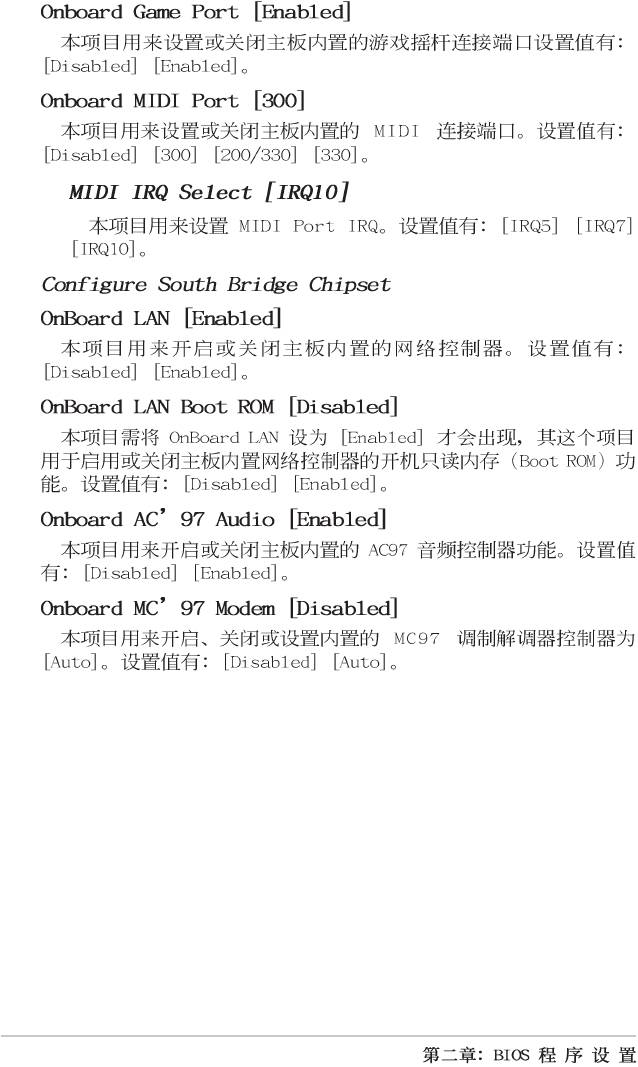
Advanced PCI/PnP settings
NO: Lets the bIOS
WARNING: Setting wrong values in the sections below
configure all the
may cause system to malfunction.
devices in the system.
YES: Lets the
Plug and Play OS [No]
operating system
PCI Latency Timer [64]
configure Plug and
Allocate IRQ to PCI VGA [Yes]
Play (PnP) devices not
required for boot if
IRQ3 [Available]
your system has a Plug
IRQ4 [Available]
and Play operating
IRQ5 [Available]
system.
IRQ7 [Available]
IRQ9 [Available]
Select Screen
IRQ10 [Available]
Select Item
IRQ11 [Available]
+- Change Option
IRQ14 [Available]
F1 General Help
IRQ15 [Available]
F10 Save and Exit
ESC Exit
2-15
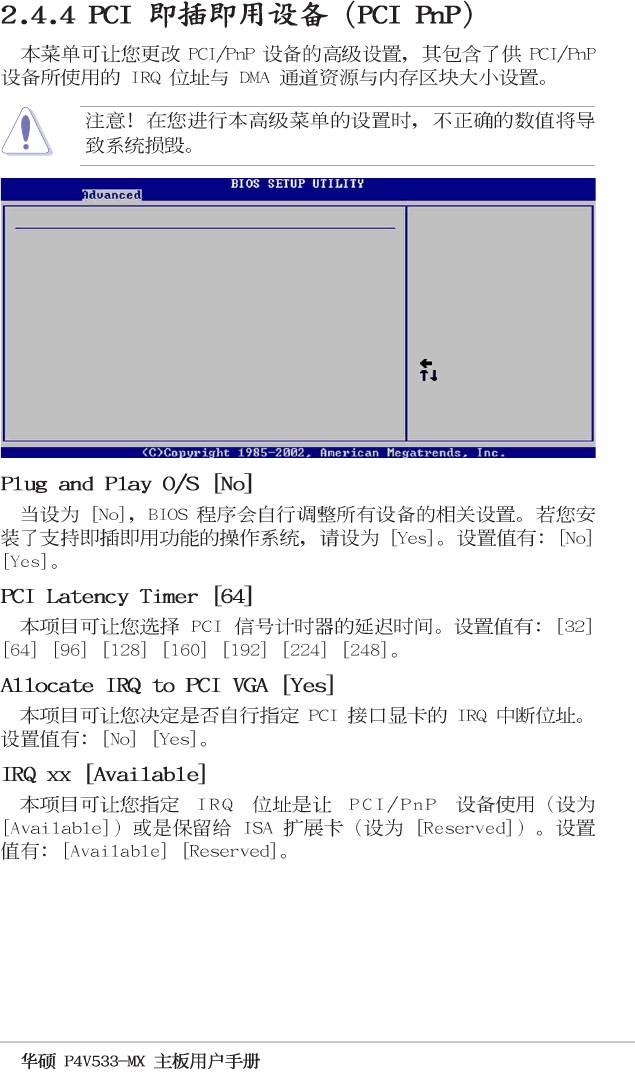
Suspend Mode [Auto]
Configure CPU.
Repost Video on S3 Resume [Yes]
ACPI 2.0 Support [No]
ACPI APIC Support [Enabled]
APM Configuration
Hardware Monitor
Select Screen
Select Item
Enter Go to Sub-screen
F1 General Help
F10 Save and Exit
ESC Exit
2-16
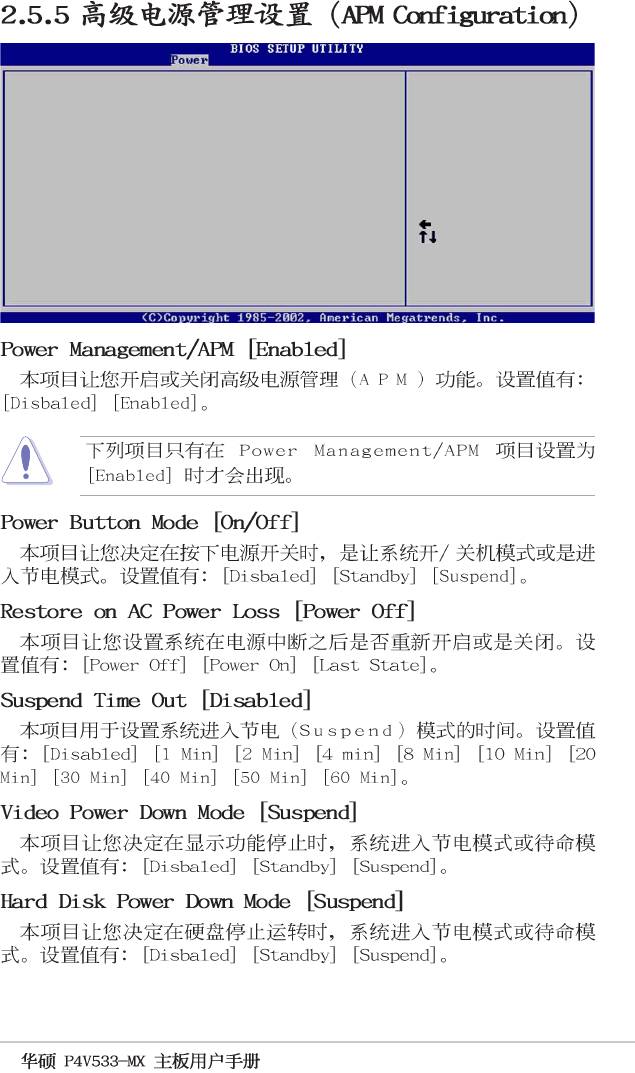
Power Management/APM [Enabled]
Power Button Mode [On/Off]
Restore on AC Power Loss [Power Off]
Suspend Time Out [Disabled]
Video Power Down Mode [Suspend]
Hard Disk Power Down Mode [Suspend]
Power On Ring [Disabled]
Power On Lan [Disabled]
Power On PME# [Disabled]
Power On KBC [Disabled]
Power On PS/2 Mouse [Disabled]
Select Screen
Power On RTC Alarm [Disabled]
Select Item
+- Change Option
F1 General Help
F10 Save and Exit
ESC Exit
2-17
2-18
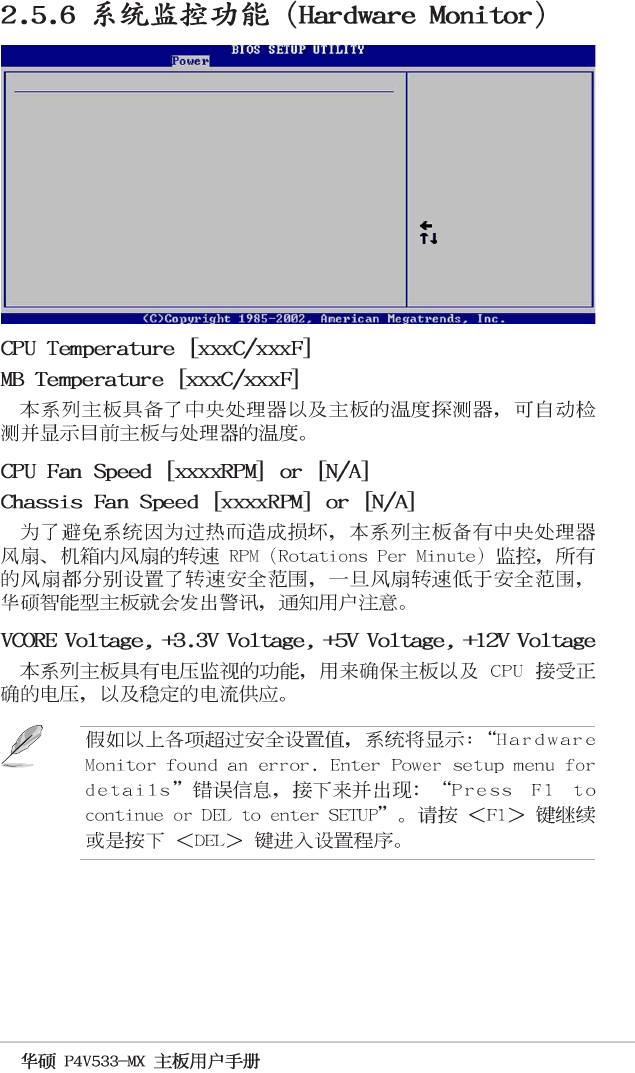
Hardware Monitor
CPU temperature
CPU Temperature [45°C/113°F]
MB Temperature [40°C/104°F]
CPU Fan Speed [3479RPM]
Chassis Fan Speed [N/A]
VCORE Voltage [1.744V]
3.3V Voltage [3.360V]
5V Voltage [4.919V]
12V Voltage [12.032V]
Select Screen
Select Item
+- Change Option
F1 General Help
F10 Save and Exit
ESC Exit
2-19
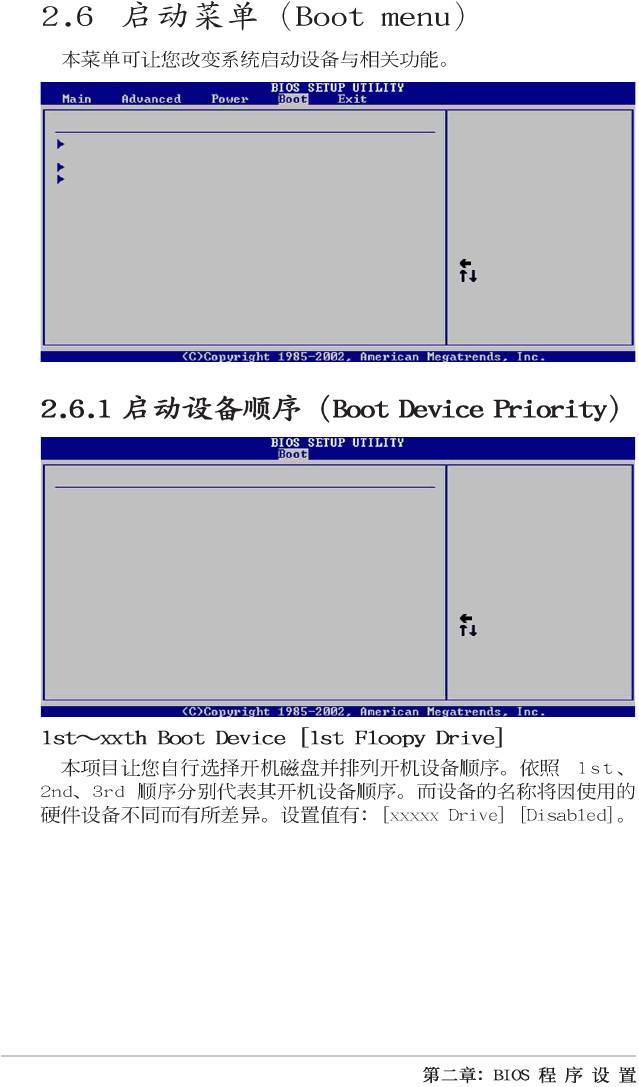
Boot Settings
Specifies the Boot
Boot Device Priority
Device Priority
sequence.
Boot Settings Configuration
Security
Select Screen
Select Item
Enter Go to Sub-screen
F1 General Help
F10 Save and Exit
ESC Exit
Boot Device Priority
Specifies the boot
sequence from the
1st Boot Device [1st Floppy Drive]
available devices.
2nd Boot Device [PM-ST330620A]
3rd Boot Device [SM-ASUS CD-S360]
A device enclosed in
parenthesis has been
disabled in the
corresponding type
menu.
Select Screen
Select Item
+- Change Option
F1 General Help
F10 Save and Exit
ESC Exit
2-20
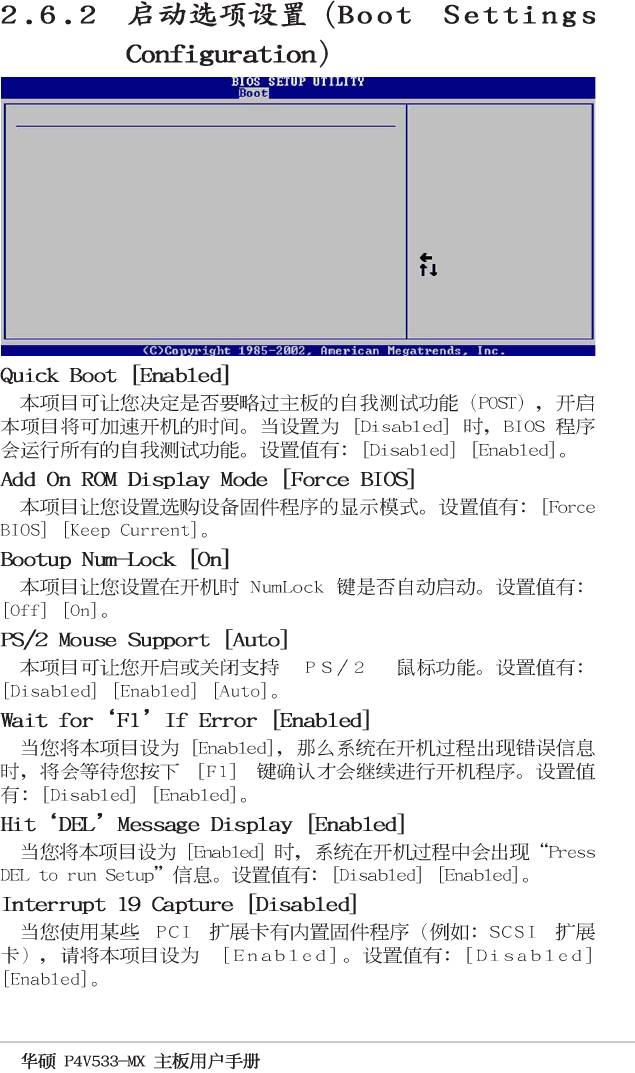
Boot Settings Configuration
Allows BIOS to skip
certain tests while
Quick Boot [Enabled]
booting. This will
Add On ROM Display Mode [Force BIOS]
decrease the time
Bootup Num-Lock [On]
needed to boot the
PS/2 Mouse Support [Auto]
system.
Wait for ‘F1’ If Error [Enabled]
Hit ‘DEL’ Message Display [Enabled]\
Interrupt 19 Capture [Disabled]
Select Screen
Select Item
+- Change Option
F1 General Help
F10 Save and Exit
ESC Exit
2-21
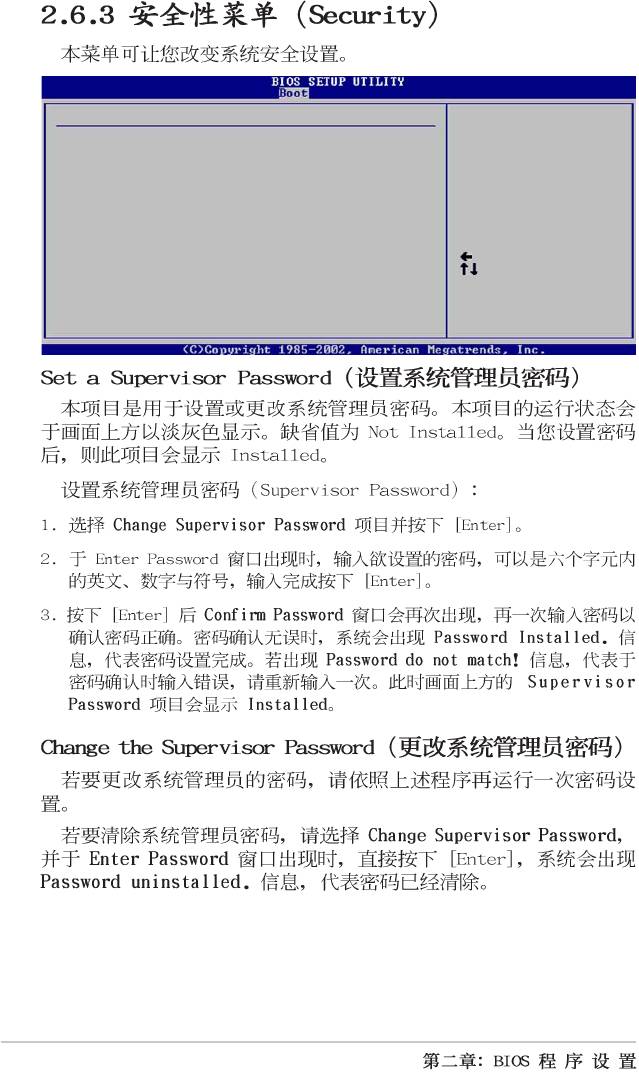
Security Settings
<Enter> to change
password.
Supervisor Password Installed
<Enter> again to
User Password Not Installed
disable password.
Change Supervisor Password
Change User Password
Clear User Password
Boot Sector Virus Protection [Disabled]
Select Screen
Select Item
+- Change Option
F1 General Help
F10 Save and Exit
ESC Exit
2-22
2-23
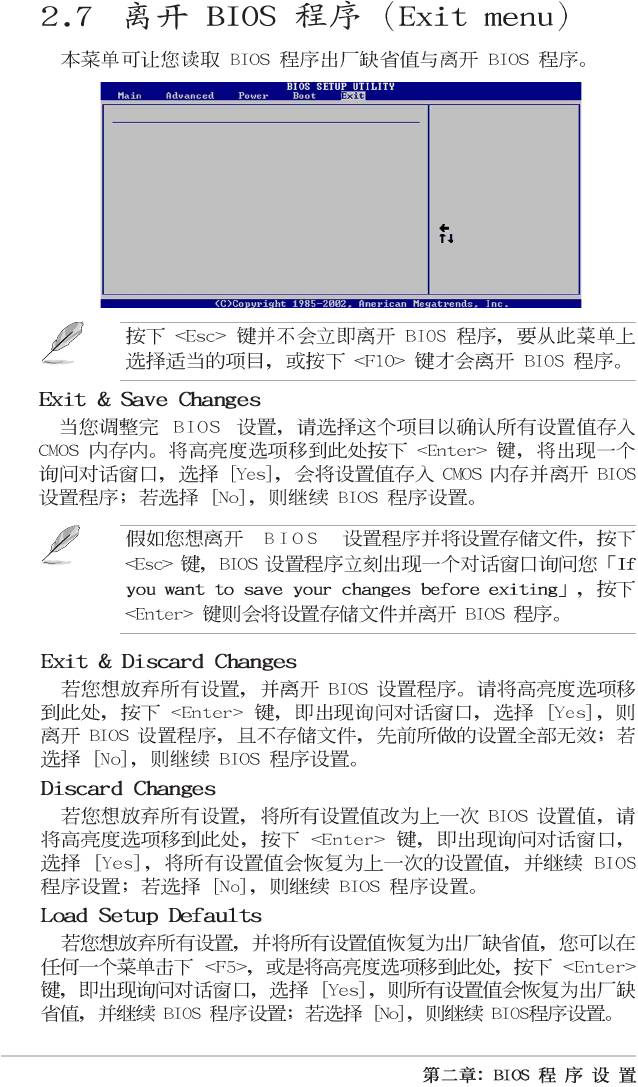
Exit Options
Exit system setup
Exit & Save Changes
after saving the
Exit & Discard Changes
changes.
Discard Changes
F10 key can be used
Load Setup Defaults
for this operation.
Select Screen
Select Item
Enter Go to Sub-screen
F1 General Help
F10 Save and Exit
ESC Exit
2-24
3-1
3-2
3-3

