Asus M3N78-VM – страница 5
Инструкция к Материнской Плате Asus M3N78-VM
2-33
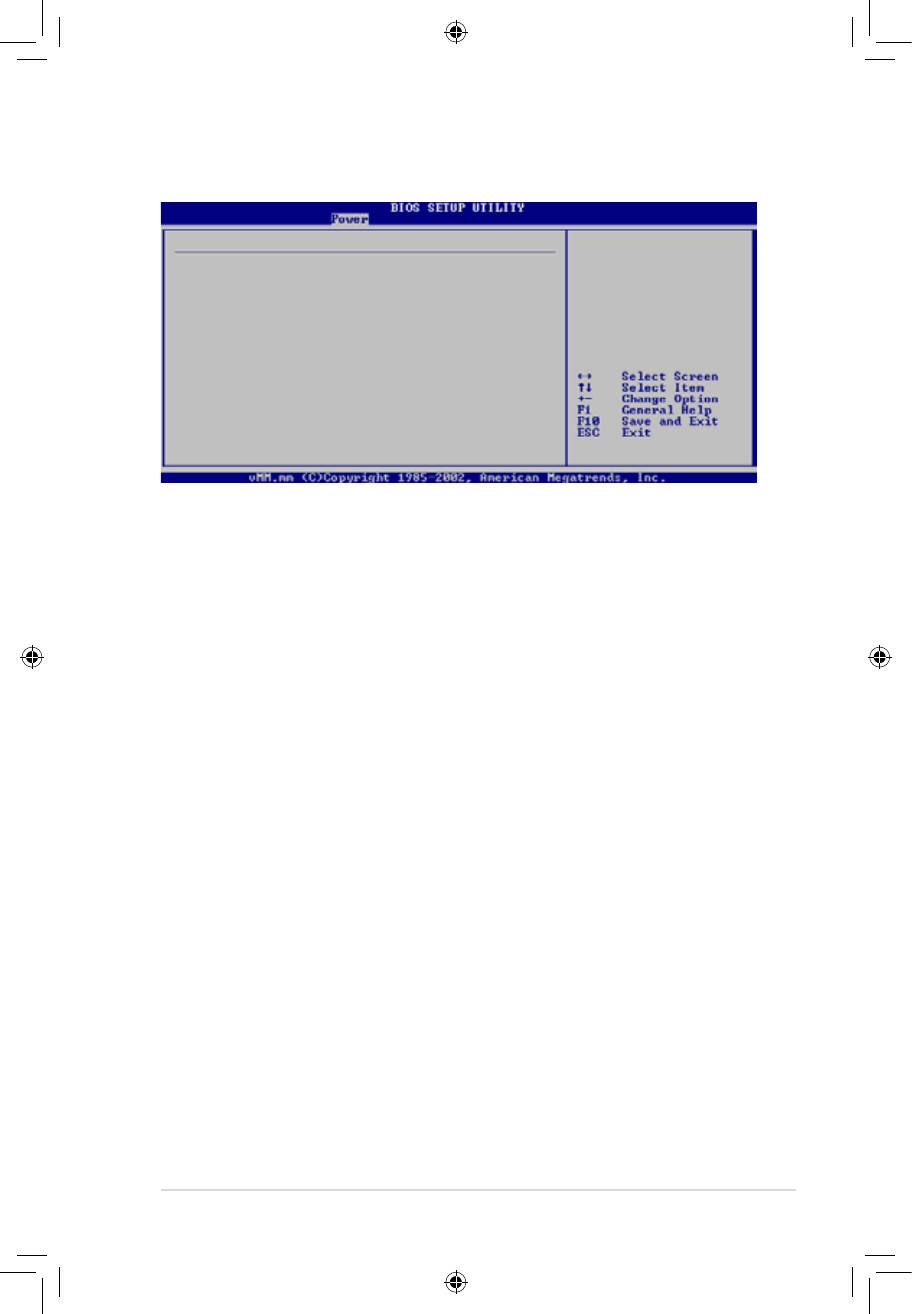
Hardware Monitor
CPU Temperature
CPU Temperature [46ºC/114.5ºF]
MB Temperature [34ºC/93ºF]
CPU Fan Speed [3276RPM]
Chassis Fan Speed [N/A]
Power Fsn Speed [N/A]
VCORE Voltage [ 1.232V]
3.3V Voltage [ 3.328V]
5V Voltage [ 4.915V]
12V Voltage [11.916V]
Smart Q-FAN Function [Disabled]
ººº
º
2-34
Select Screen
Select Item
+- Change Option
F1 General Help
F10 Save and Exit
ESC Exit
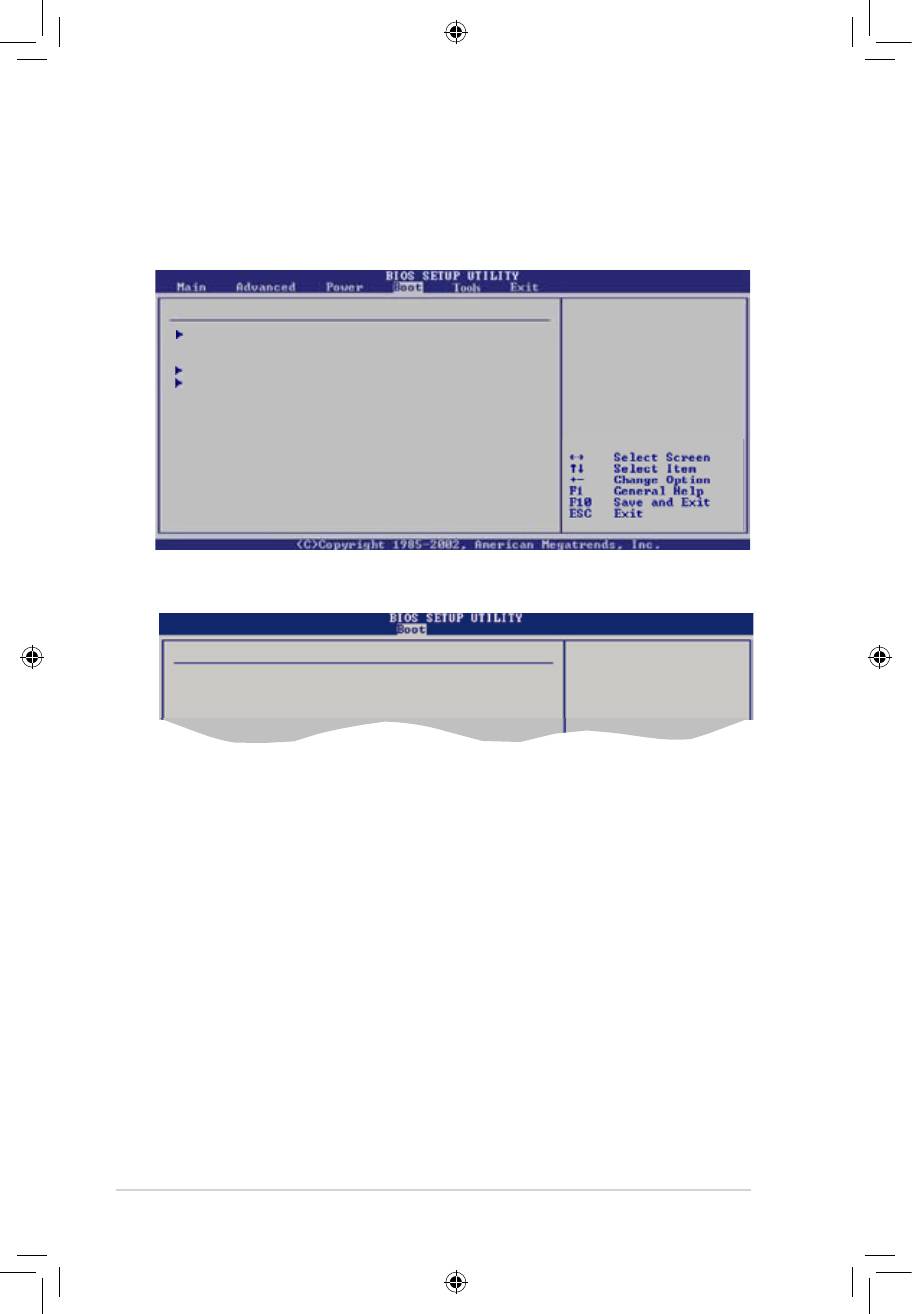
Boot settings
SpeciestheBoot
Device Priority
Boot Device Priority
sequence.
Avirtualoopydisk
BootSettingsConguration
drive (Floppy Drive
Security
B:) may appear when
you set the CD-ROM
driveastherst
boot device.
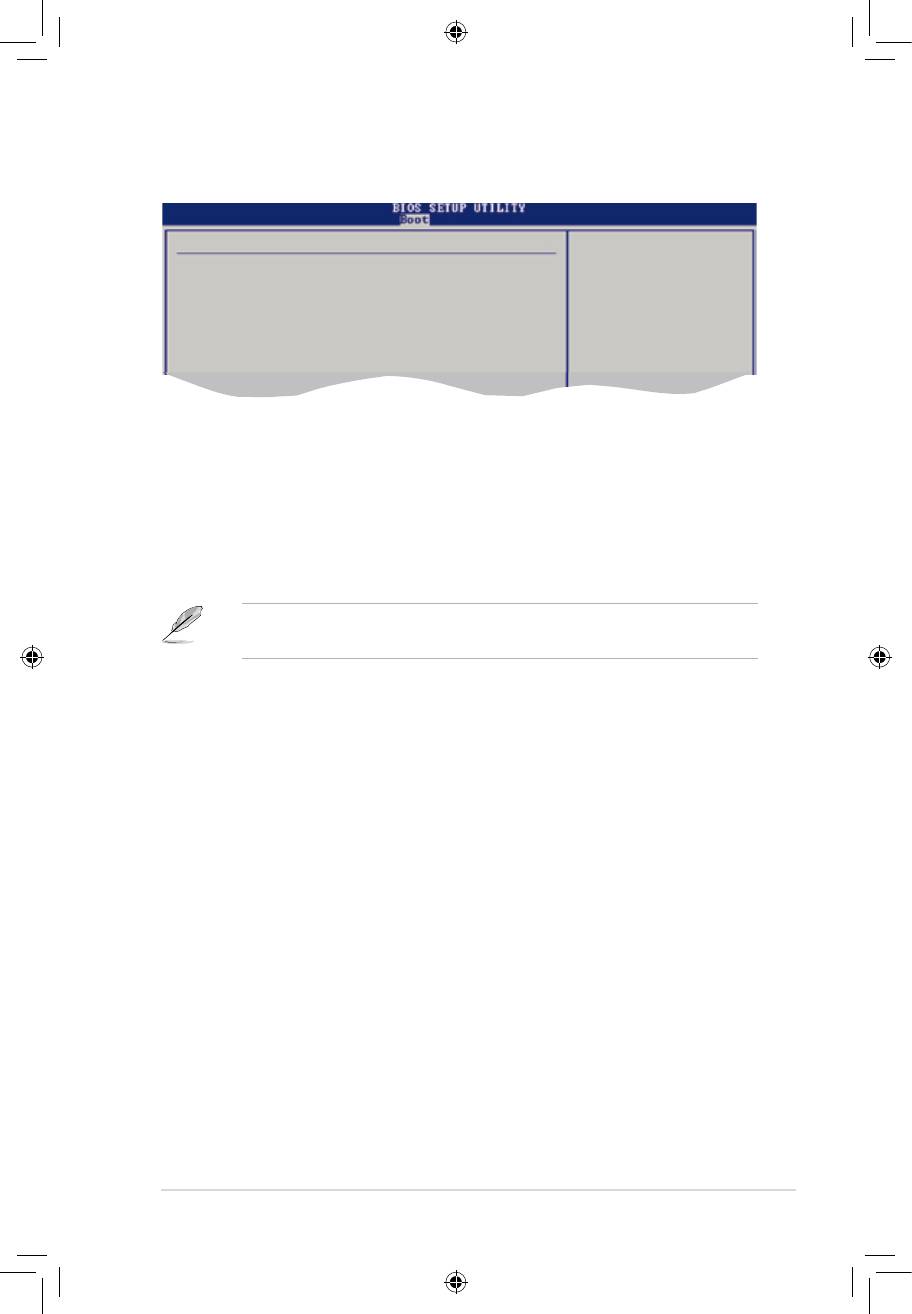
Boot Device Priority
Speciestheboot
sequence from the
1st Boot Device [1st FLOPPY DRIVE]
available devices.
2nd Boot Device [SATA:3M-ST380011AS]
3rd Boot Device [CDROM:PS-PIONEER D]
2-35
Select Screen
Select Item
+- Change Option
F1 General Help
F10 Save and Exit
ESC Exit
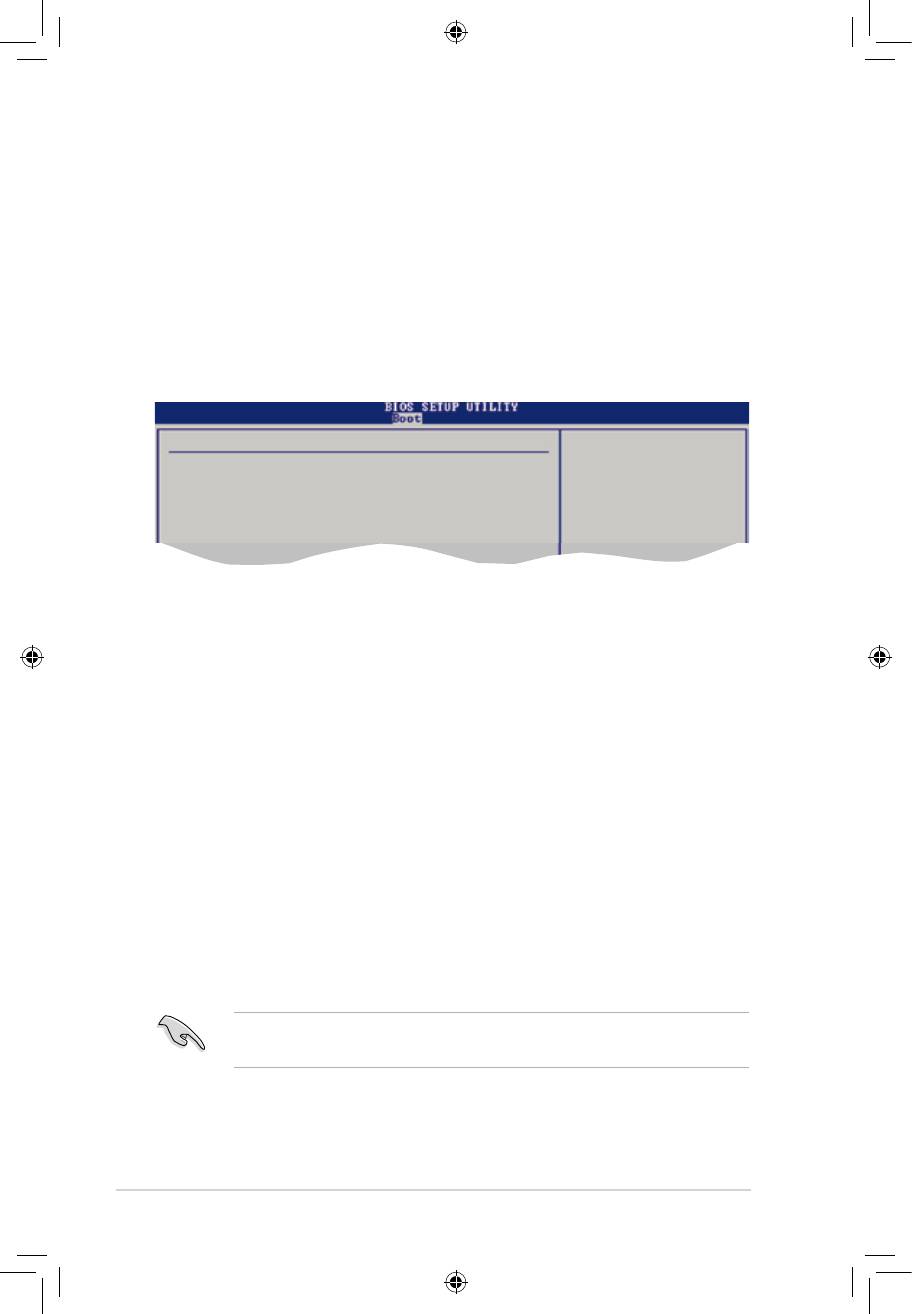
BootSettingsConguration
Allows BIOS to skip
certain tests while
Quick Boot [Enabled]
booting. This will
Full Screen Logo [Enabled]
decrease the time
AddOn ROM Display Mode [Force BIOS]
needed to boot the
Bootup Num-Lock [On]
system.
PS/2 Mouse Support [Auto]
Wait For ‘F1’ If Error [Enabled]
Hit ‘DEL’ Message Display [Enabled]
Interrupt 19 Capture [Disabled]
2-36
Select Screen
Select Item
+- Change Option
F1 General Help
F10 Save and Exit
ESC Exit
Security Settings
<Enter> to change
Supervisor Password : Not Installed
password.
User Password : Not Installed
<Enter> again to
disabled password.
Change Supervisor Password
Change User Passward

2-37
Select Screen
Select Item
+- Change Option
F1 General Help
F10 Save and Exit
ESC Exit
Security Settings
<Enter> to change
password.
Supervisor Password : Installed
<Enter> again to
User Password : Installed
disabled password.
Change Supervisor Password
User Access Level [Full Access]
Change User Password
Clear User Password
Password Check [Setup]
2-38
Press ENTER to run
ASUS EZ Flash 2
the utility to select
and update BIOS.
This utility doesn’t
Express Gate [Enabled]
support:
Enter OS Timer [10 Seconds]
1. NTFS format
Reset User Data [No]
AI NET 2
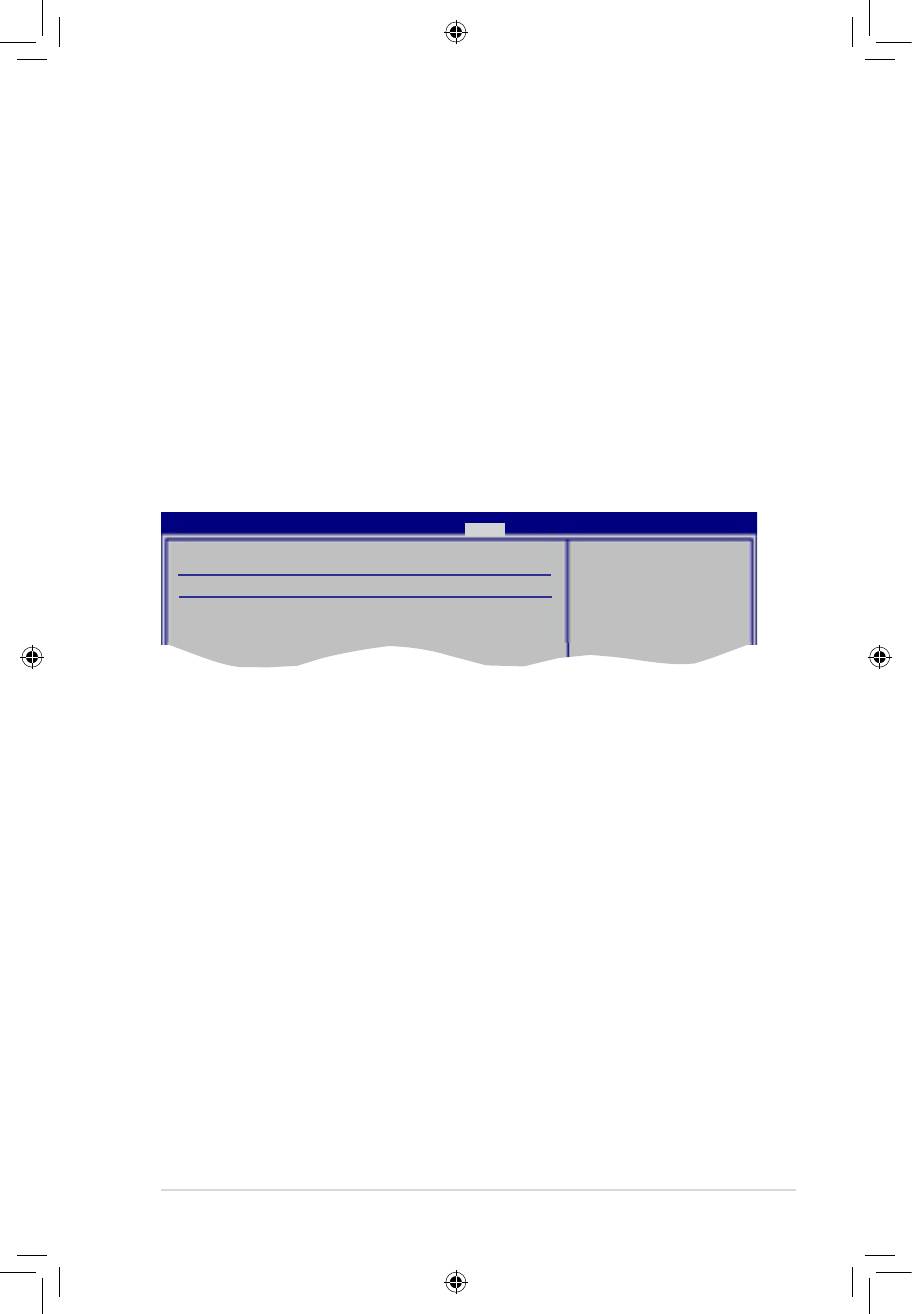
ASUSTek EZ Flash 2 BIOS ROM Utility V3.21
FLASH TYPE: MXIC 25L8005
Current ROM
Update ROM
BOARD: M3N78-VM
BOARD: Unknown
VER: 0403 (H:01 B:18)
VER: Unknown
DATE: 03/25/2008
DATE: Unknown
PATH: A:\
A:
Note
[Enter] Select or Load [Tab] Switch [V] Drive Info
[Up/Down/Home/End] Move [B] Backup [Esc] Exit
2-39
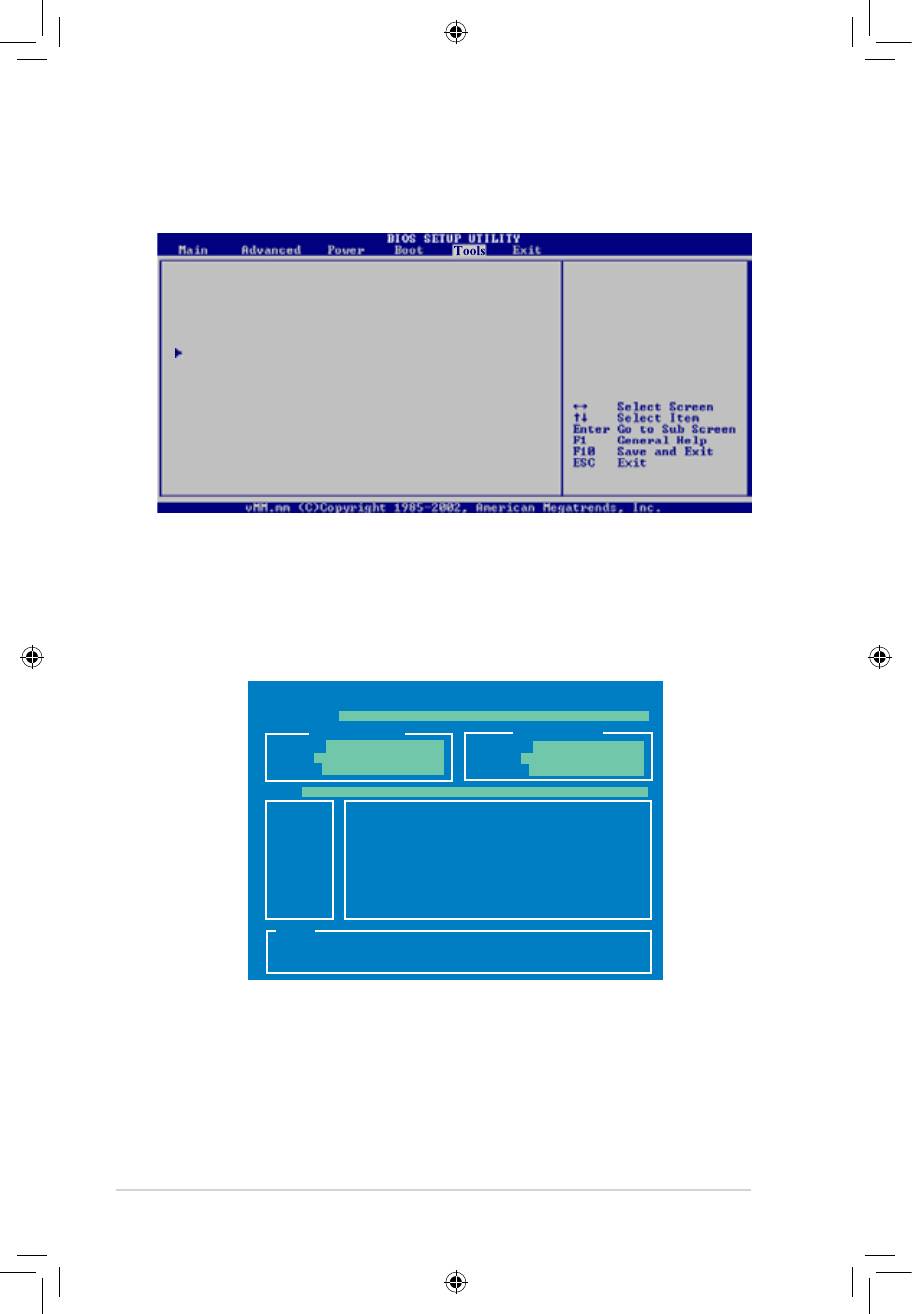
BIOS SETUP UTILITY
Tools
AI NET 2
Check Realtek Phy
Pair Status Length
LAN cable during
POST.
Check Realtek Phy LAN cable [Disabled]
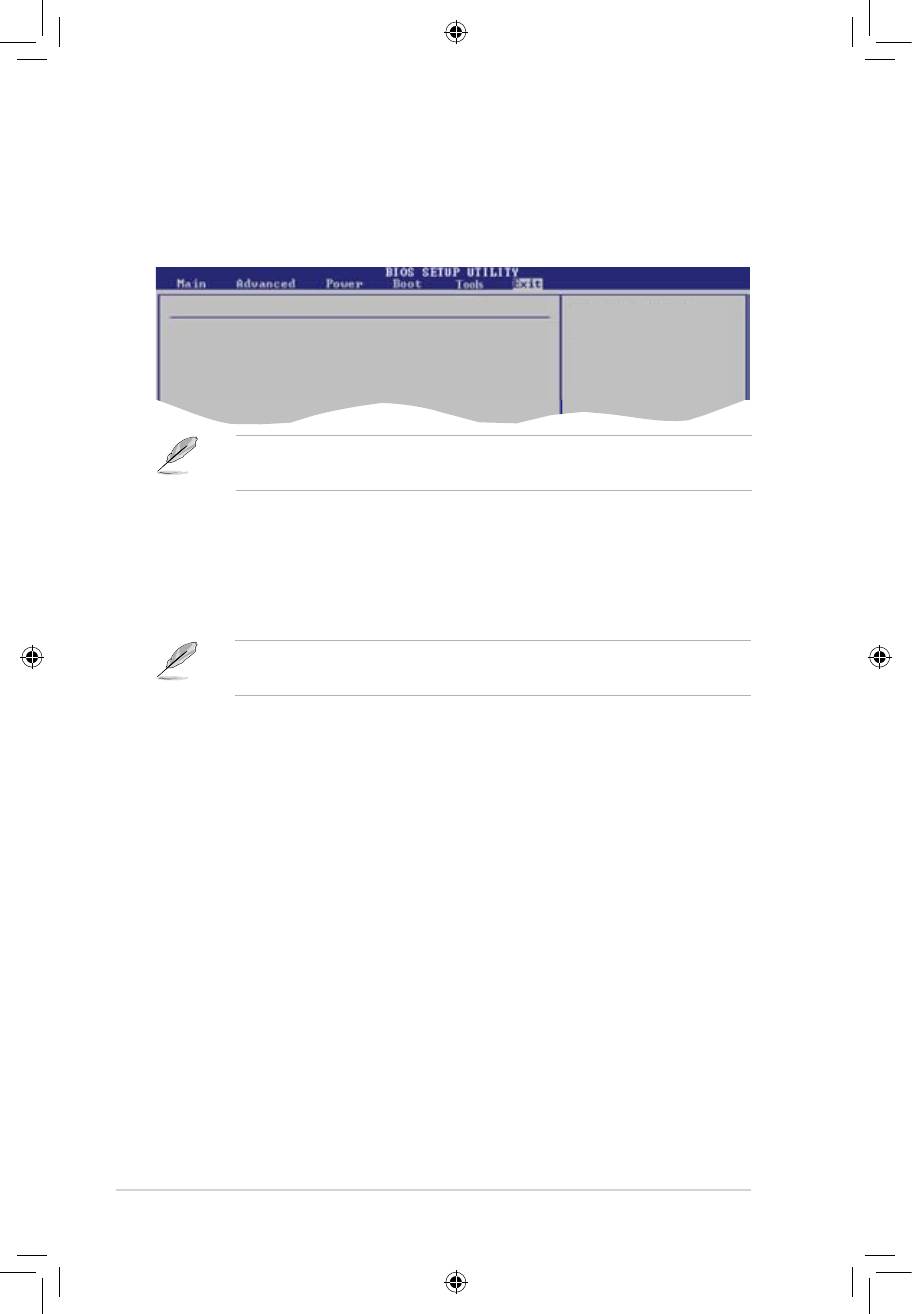
Exit Options
Exit system setup
after saving the
Exit & Save Changes
changes.
Exit & Discard Changes
Discard Changes
F10 key can be used
for this operation.
Load Setup Defaults
2-40

3
3-2
®
®
3-3
3-4
®
®
®
3-5
3-6
®
®
®
3-7
®
®
3-8
®
®
3-9
3-10

3-11

3-12
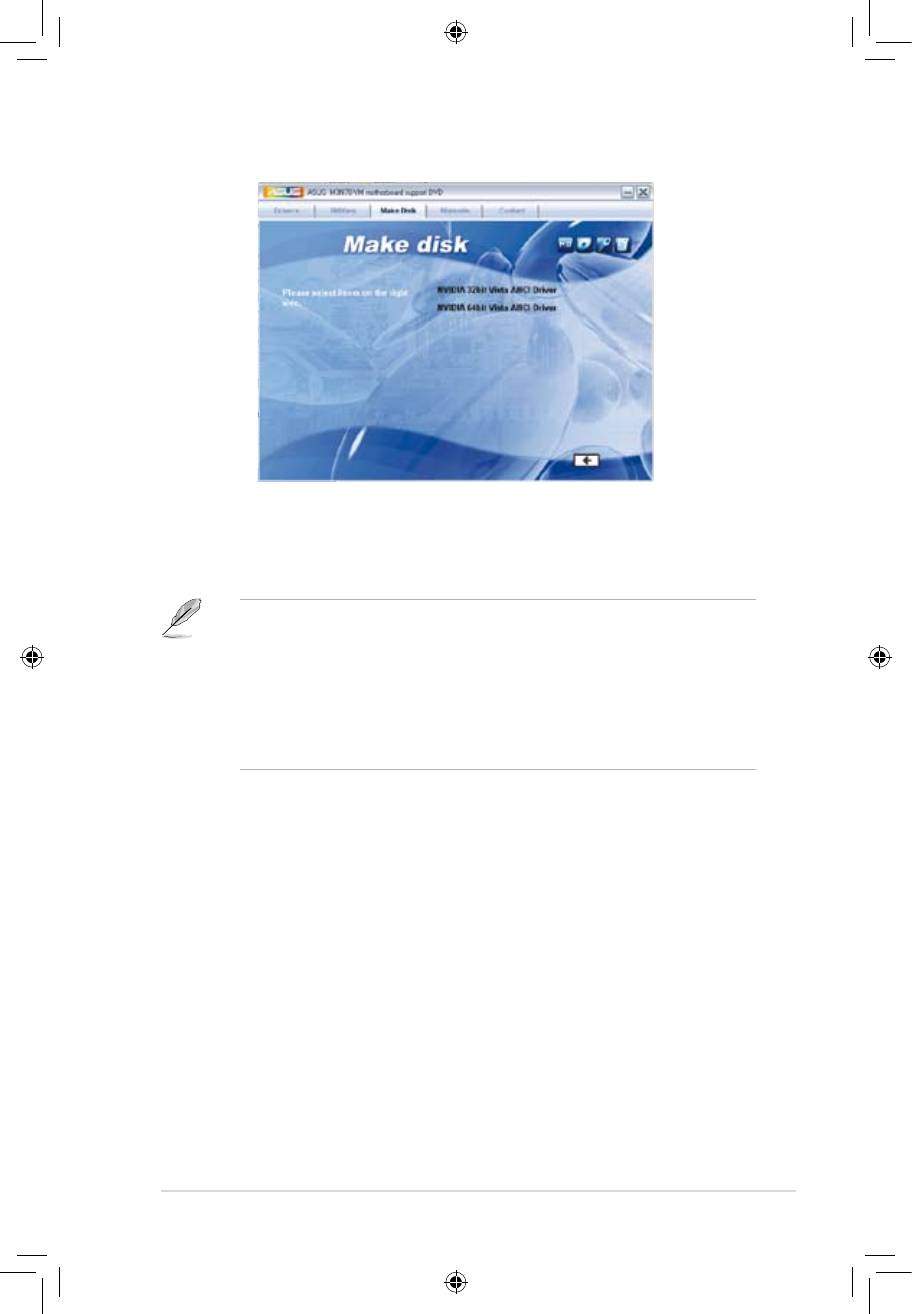
Windows Setup
Please insert the disk labeled
Manufacturer-supplied hardware support disk
into Drive A:
* Press ENTER when ready.
ENTER=Continue ESC=Cancel F3=Exit
Windows XP Professional Setup
Insert the disk labeled:
NVIDIA RAID DRIVER <SCSI> disk 2
into Drive A:
* Press ENTER when ready.
F3=Exit ENTER=Continue
