Sony CPD-E500E: Adjusting the size of the picture Adjusting the shape of the picture (SIZE) (GEOM) Adjusting the centering of the picture (CENTER) Enlarging or reducing the picture (ZOOM)
Adjusting the size of the picture Adjusting the shape of the picture (SIZE) (GEOM) Adjusting the centering of the picture (CENTER) Enlarging or reducing the picture (ZOOM): Sony CPD-E500E
Table of contents
- Owner’s Record
- Table of Contents
- Precautions
- Identifying parts and controls
- Setup Step 1:Connect your monitor to your computer Step 2:Connect the power cord
- Step 3:Turn on the monitor and Selecting the on-screen menu computer language (LANG)
- Customizing Your Monitor Navigating the menu
- Adjusting the brightness and contrast
- Adjusting the size of the picture Adjusting the shape of the picture (SIZE) (GEOM) Adjusting the centering of the picture (CENTER) Enlarging or reducing the picture (ZOOM)
- Adjusting the convergence (CONV) Adjusting the quality of the picture (SCREEN)
- Adjusting the color of the picture (COLOR)
- Additional settings (OPTION)
- Resetting the adjustments Technical Features Preset and user modes Power saving function
- Troubleshooting
- Trouble symptoms and remedies Symptom Check these items
- Symptom Check these items
- Self-diagnosis function Specifications
Adjusting the size of the picture
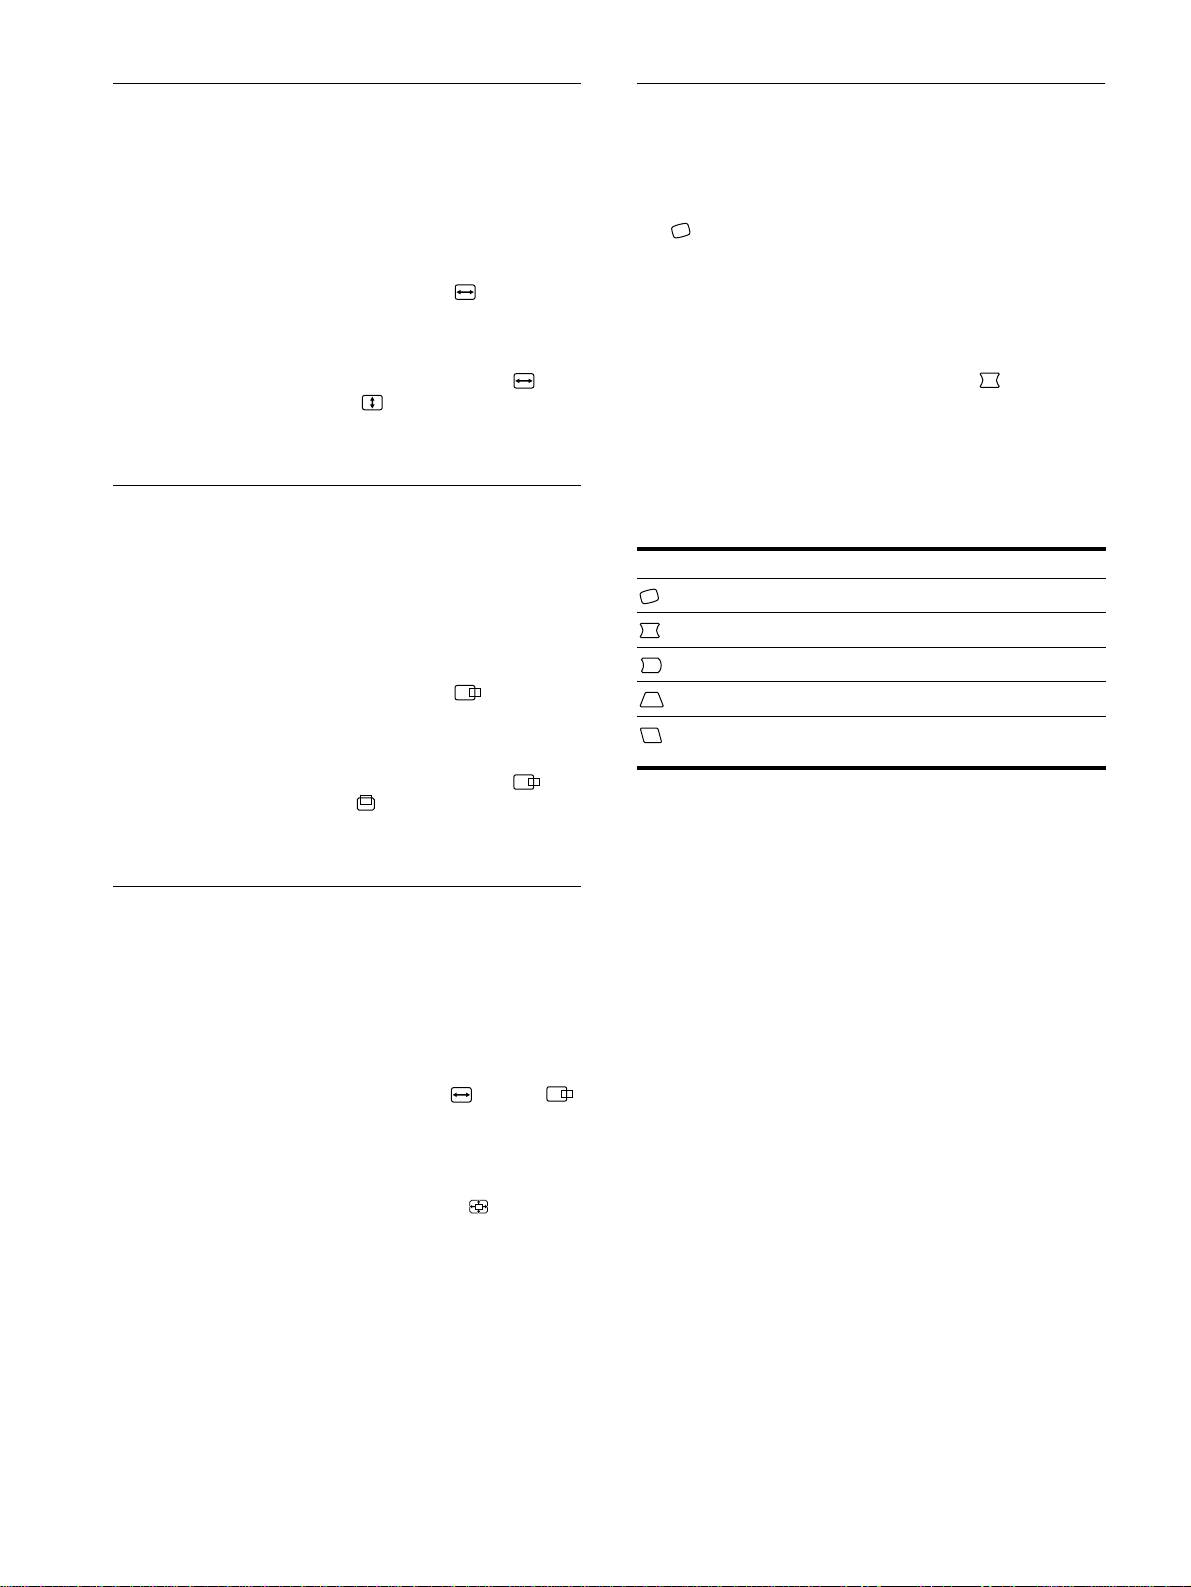
Adjusting the shape of the picture
(SIZE)
(GEOM)
This setting is stored in memory for the current input signal.
The GEOM settings allow you to adjust the rotation and shape of
the picture.
1
Press the center of the control button.
The (rotation) setting is stored in memory for all input signals.
The main MENU appears on the screen.
All other settings are stored in memory for the current input
signal.
2
Move the control button to highlight SIZE and
press the center of the control button again.
1
Press the center of the control button.
The SIZE/CENTER menu appears on the screen.
The main MENU appears on the screen.
3
First move the control button
m
/
M
to select for
2
Move the control button to highlight GEOM and
horizontal adjustment, or for vertical
press the center of the control button again.
adjustment. Then move the control button
<
/
,
to
The GEOMETRY menu appears on the screen.
adjust the size.
3
First move the control button
m
/
M
to select the
desired adjustment item. Then move the control
Adjusting the centering of the
button
<
/
,
to make the adjustment.
picture (CENTER)
Select To
This setting is stored in memory for the current input signal.
rotate the picture
1
Press the center of the control button.
expand or contract the picture sides
The main MENU appears on the screen.
shift the picture sides to the left or right
2
Move the control button to highlight CENTER
adjust the picture width at the top of the screen
and press the center of the control button again.
shift the picture to the left or right at the top of the
The SIZE/CENTER menu appears on the screen.
screen
3
First move the control button
m
/
M
to select for
horizontal adjustment, or for vertical adjustment.
Then move the control button
<
/
,
to adjust the
centering.
Enlarging or reducing the picture
(ZOOM)
This setting is stored in memory for the current input signal.
1
Press the center of the control button.
The main MENU appears on the screen.
2
Move the control button to highlight SIZE or
CENTER and press the center of the control button
again.
The SIZE/CENTER menu appears on the screen.
3
Move the control button
m
/
M
to select (zoom),
and move
<
/
,
to enlarge or reduce the picture.
Note
Adjustment stops when either the horizontal or vertical size reaches its
maximum or minimum value.
10
