Sony CPD-E500E: Adjusting the color of the picture (COLOR)
Adjusting the color of the picture (COLOR): Sony CPD-E500E
Table of contents
- Owner’s Record
- Table of Contents
- Precautions
- Identifying parts and controls
- Setup Step 1:Connect your monitor to your computer Step 2:Connect the power cord
- Step 3:Turn on the monitor and Selecting the on-screen menu computer language (LANG)
- Customizing Your Monitor Navigating the menu
- Adjusting the brightness and contrast
- Adjusting the size of the picture Adjusting the shape of the picture (SIZE) (GEOM) Adjusting the centering of the picture (CENTER) Enlarging or reducing the picture (ZOOM)
- Adjusting the convergence (CONV) Adjusting the quality of the picture (SCREEN)
- Adjusting the color of the picture (COLOR)
- Additional settings (OPTION)
- Resetting the adjustments Technical Features Preset and user modes Power saving function
- Troubleshooting
- Trouble symptoms and remedies Symptom Check these items
- Symptom Check these items
- Self-diagnosis function Specifications
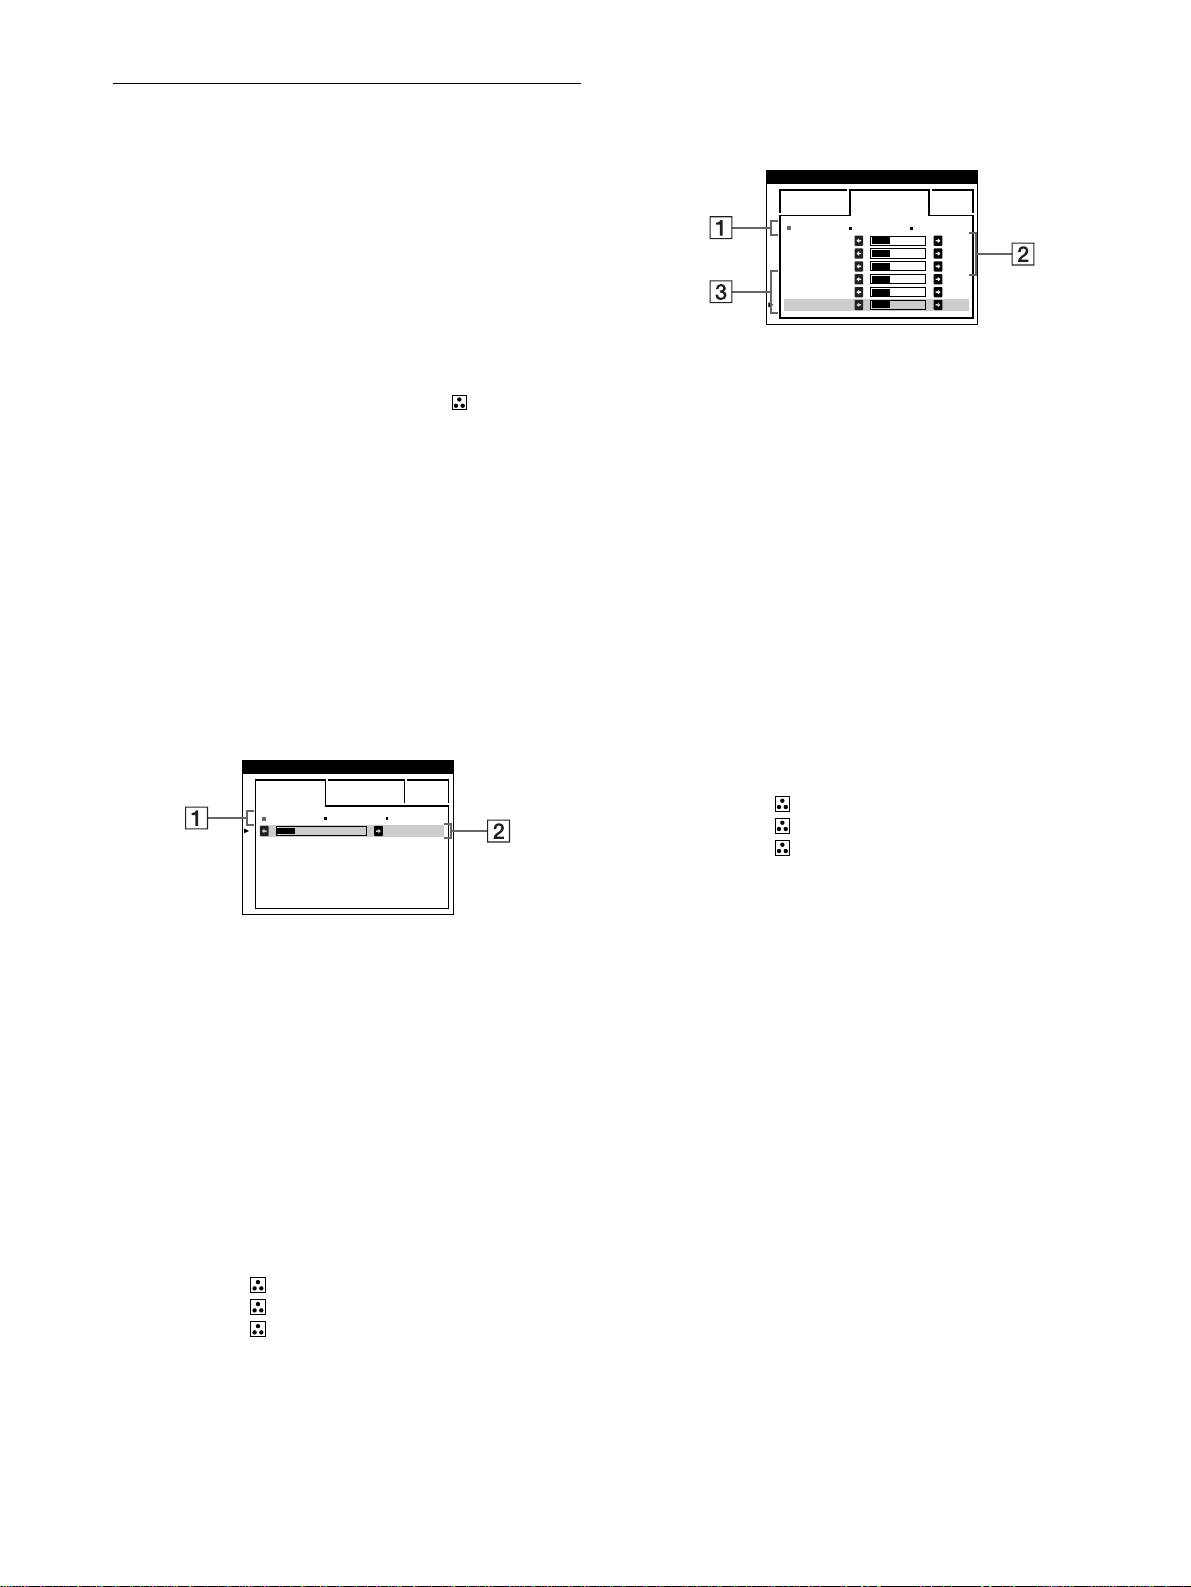
EXPERT mode
Adjusting the color of the picture
You can make additional adjustments to the color in greater detail
(COLOR)
by selecting the EXPERT mode.
COLOR
The COLOR settings allow you to adjust the picture’s color
temperature by changing the color level of the white color field.
EASY EXPERT s BGR
Colors appear reddish if the temperature is low, and bluish if the
5000K 6500K 930 K0
R BIAS 05
temperature is high. This adjustment is useful for matching the
G BIAS 05
B BIAS 05
monitor’s color to a printed picture’s colors.
RGAIN 05
These settings are stored in memory for all input signals.
GGAIN 05
BGAIN 05
1
Press the center of the control button.
The main MENU appears on the screen.
1
Move the control button
mm
m
m
/
M
MM
M
to select the color
temperature row
1
11
1
. Then move the control button
2
Move the control button to highlight COLOR and
<
<<
<
/
,
,,
,
to select a color temperature.
press the center of the control button again.
The COLOR menu appears on the screen.
2
Move the control button
m
mm
m
/
M
MM
M
to select the
adjustment item
2
22
2
. Then move the control button
3
Move the control button
<
<<
<
/
,
,,
,
to select the
<
<<
<
/
,
,,
,
to adjust the BIAS (black level).
adjustment mode.
This adjusts the dark areas of an image.
There are three types of adjustment modes, EASY, EXPERT
and sRGB.
3
Move the control button
m
mm
m
/
M
MM
M
to select the
adjustment item
3
33
3
. Then move the control button
4
First move the control button
m
/
M
to select the
<
<<
<
/
,
,,
,
to adjust the GAIN (white level).
desired adjustment item. Then move the control
This adjusts the light areas of an image.
button
<
/
,
to make the adjustment.
Adjust the selected mode according to the following
You can adjust the R (red), G (green), B (blue) component of
instructions.
the input signal when making changes to items 2 and 3.
EASY mode
If you fine tune the color temperature, the new color settings
are stored in memory for each of the three color temperatures
COLOR
and item 1 of the on-screen menu change as follows.
EASY EXPERT s BGR
• [5000K]t[1]
5000K 6500K 930 K0
50 K00
• [6500K]t[2]
• [9300K]t[3]
1
Move the control button
m
mm
m
/
M
MM
M
to select the color
temperature row
1
11
1
. Then move the control button
<
<<
<
/
,
,,
,
to select a color temperature.
The preset color temperatures are 5000K, 6500K, and 9300K.
Since the default setting is 9300K, the whites will change
from a bluish hue to a reddish hue as the temperature is
lowered to 6500K and 5000K.
2
If necessary, fine tune the color temperature.
Move the control button
m
mm
m
/
M
MM
M
to select the color
temperature row
2
22
2
. Then move the control button
<
<<
<
/
,
,,
,
to fine tune the color temperature.
If you fine tune the color temperature, the new color settings
are stored in memory for each of the three color temperatures
and item 1 of the on-screen menu changes as follows.
• [5000K]t[1]
• [6500K]t[2]
• [9300K]t[3]
12
