JVC KD-SHX751: ! Adjust the effect level (1 – 3).
! Adjust the effect level (1 – 3).: JVC KD-SHX751
Sound adjustments
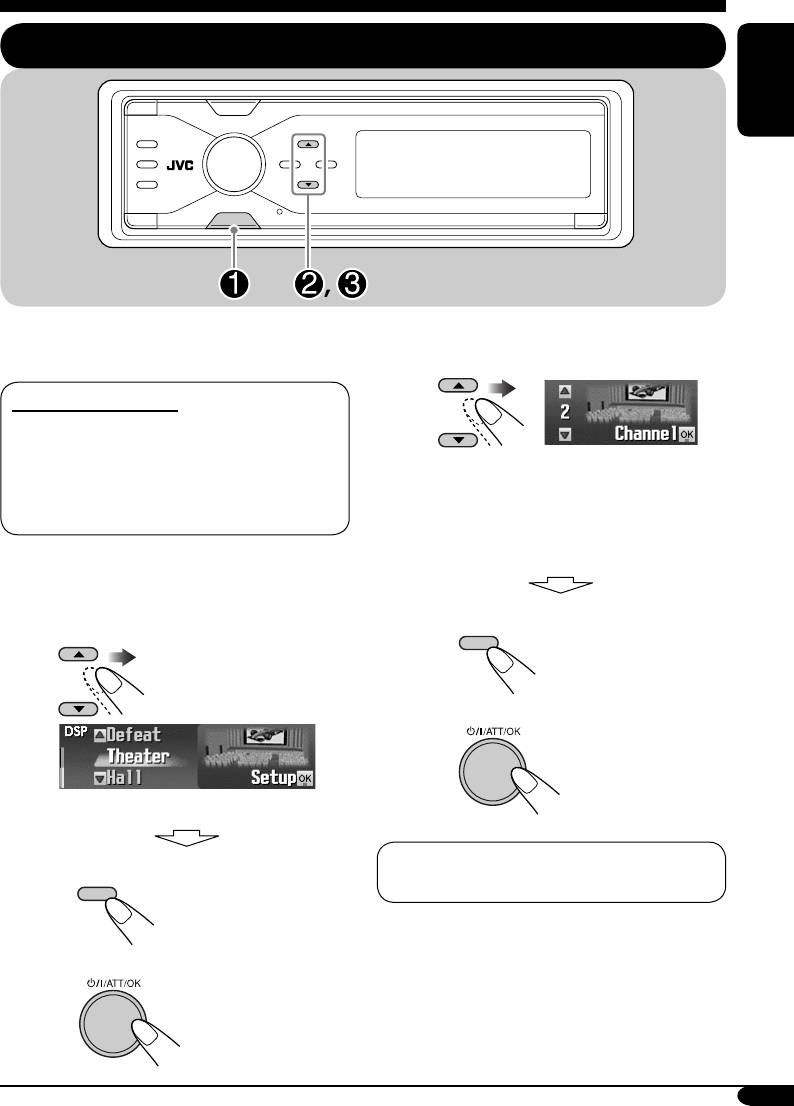
Selecting the DSP modes —DSP
ENGLISH
MENU
You can create a more acoustic sound field such
as in a theater, hall, etc.
! Adjust the effect level (1 – 3).
Available DSP modes
Defeat (No DSP mode is applied)
Theater, Hall, Club, Dome, Studio,
V.Cancel (Voice Cancel: Reduces the
The selected DSP effect level is valid
vocal sounds. Good for mastering your
for all DSP modes except “V.Cancel.”
favorite songs—Karaoke.)
• As the number increases, the effect
level becomes stronger.
~ Enter the DSP menu (see page
5).
• To finish the procedure
Ÿ Select one of the DSP modes.
DISP
• To make further precise settings
\ See page 26.
Ex.: When “Theater” is selected
To cancel the DSP modes, select “Defeat”
• To finish the procedure
in step Ÿ.
DISP
• To adjust the effect level
\ Go to step !.
To be continued...
25
EN25-30_KD-SHX751[EY]f.indd 25EN25-30_KD-SHX751[EY]f.indd 25 05.2.15 8:16:21 PM05.2.15 8:16:21 PM
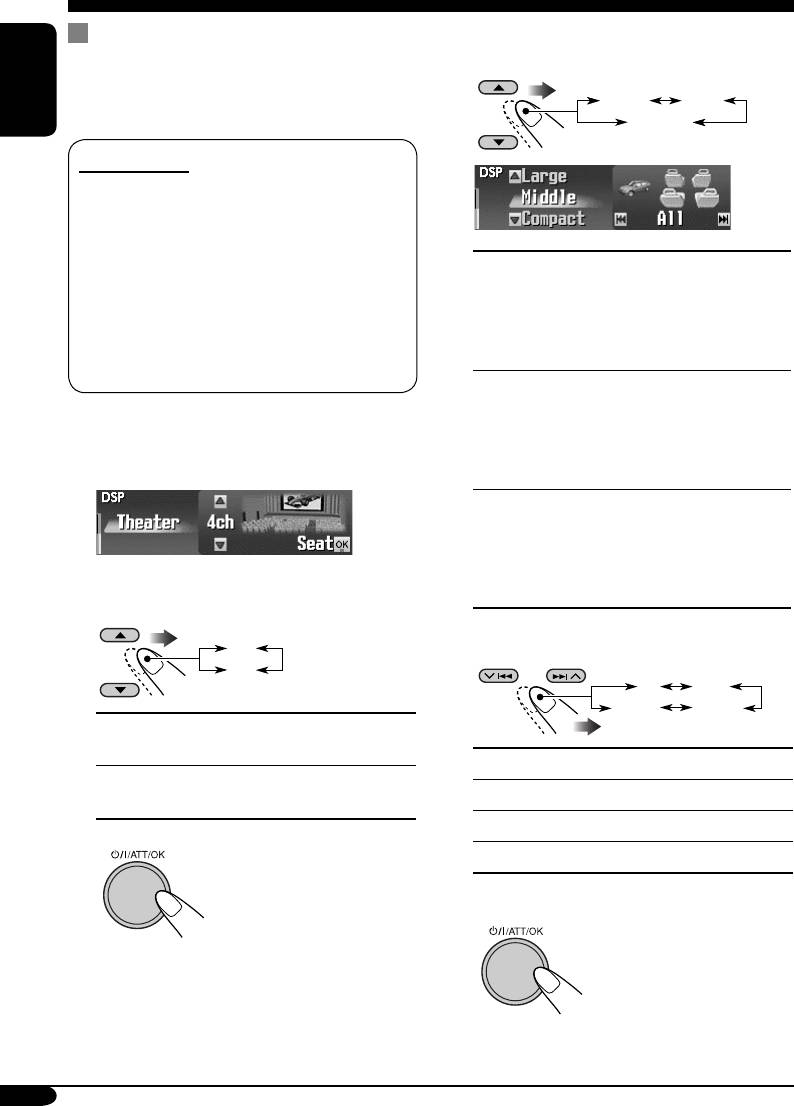
To make further precise settings for
4 If you select “4ch,” select your car
size.
the DSP modes
These settings you make are valid for all DSP
Middle Large
modes except “V.Cancel.”
ENGLISH
Compact
Setting items:
The number of the built-in speakers:
Select the number of the speakers built in
your car—“2ch” or “4ch.”
• When you have four speakers (4ch) built
Middle:
Select when the distance
in your car, select your car size (see step 4
from the rear speakers to
that follows).
the listening seat position is
Listening seat position:
almost equal to that from the
Select the listening seat position where you
front speakers.
want to locate the sound image.
Large:
Select when the distance
from the rear speakers to
1 Repeat steps ~ to ! on page
the listening seat position is
25 to select DSP mode (except
longer than that from the front
“V.Cancel”).
speakers.
Compact:
Select when the distance
from the rear speakers to
the listening seat position
is shorter than that from the
2 Select the number of the built-in
front speakers.
speakers.
2ch
5 Select your listening seat position.
4ch
All Front
R.FrontL.Front
2ch:
Select for the two speaker
system.
All:
For all front and rear seats.
4ch:
Select for the four speaker
Front:
For the both front seats.
system.
R.Front:
For the front right seat.
3
L.Front:
For the front left seat.
• If you select “2ch,” go
to step 5.
6 Finish the procedure.
26
EN25-30_KD-SHX751[EY]f.indd 26EN25-30_KD-SHX751[EY]f.indd 26 05.2.15 8:16:22 PM05.2.15 8:16:22 PM
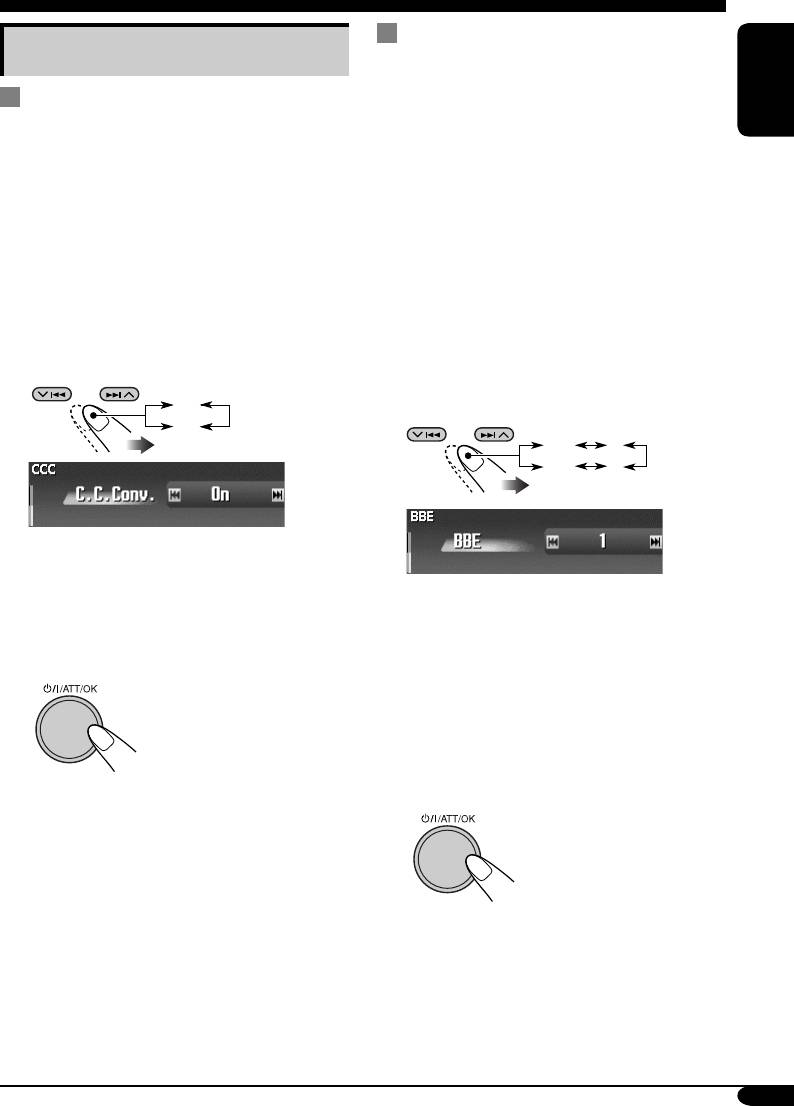
To activate BBE Digital
Making sound natural
BBE
Digital* is a digital processing method to
restore the brilliance and clarity of the original
To activate Compression
live sound in recording, broadcasts, etc.
ENGLISH
Compensative (CC) Converter
When a speaker reproduces sound, it introduces
frequency-dependent phase shifting, causing
CC Converter eliminates jitter and ripples,
high-frequency sounds to take longer to reach
achieving a drastic reduction in digital
the ear than low frequency sounds. BBE Digital
distortion. This processing can be applied to the
adjusts the phase relationship between the
analog sources as well as the digital sources;
low, mid and high frequencies by adding a
therefore, you can obtain a natural sound field
progressively longer delay time to the low and
from any source.
mid frequencies, so that all frequencies reach
the listener’s ears at the proper time.
1 Enter the CCC menu (see page 5).
1 Enter the BBE menu (see page 5).
2 Select “On.”
On
2
Select the effect level.
Off
Off 1
23
• When “C.C.Conv.” is turned on, the CCC
indicator is brightened in yellow on the
display.
Ex.: When “1” is selected
• To cancel CC Converter, select “Off.”
• As the number gets higher, the effect
3 Finish the procedure.
level becomes stronger. When “BBE” is
turned on, the BBE indicator is brightened
in green (with its current level) on the
display.
• To cancel BBE Digital, select “Off.”
3 Finish the procedure.
* Manufactured under license from BBE Sound,
Inc.
Licensed by BBE Sound, Inc. under
USP4638258, 5510752 and 5736897. BBE and
BBE symbol are registered trademarks of BBE
Sound, Inc.
27
EN25-30_KD-SHX751[EY]f.indd 27EN25-30_KD-SHX751[EY]f.indd 27 05.2.15 8:16:22 PM05.2.15 8:16:22 PM
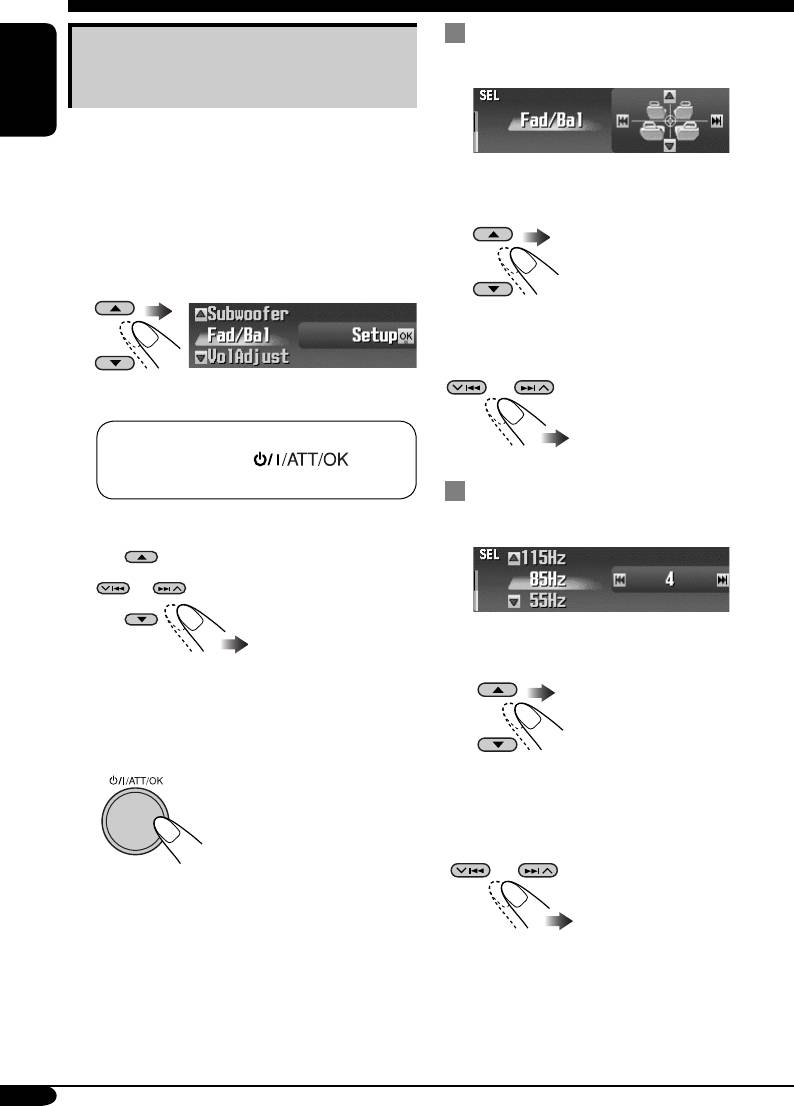
To adjust fader and balance
Setting the basic sound
—Fad/Bal
selection menu—SEL
ENGLISH
You can adjust the sound characteristics to your
preference.
Adjust the fader—speaker output balance
1 Enter the SEL menu (see page
5).
between the front and rear speakers.
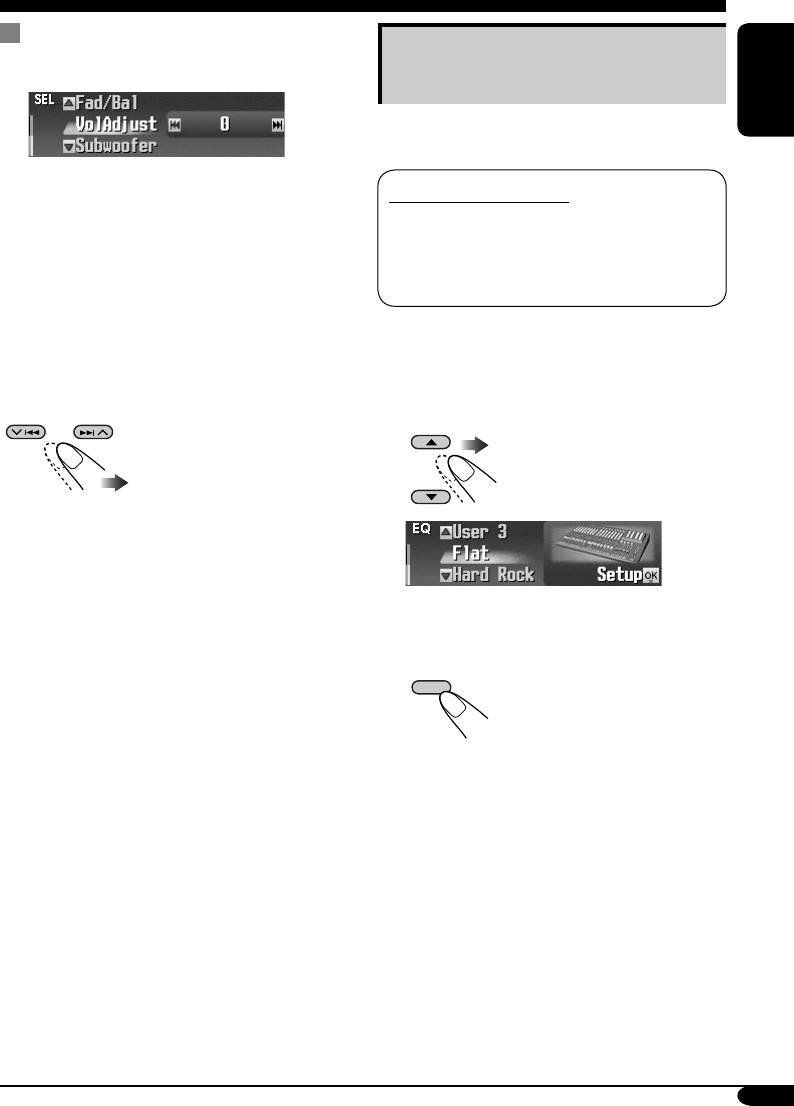
2 Select a setting item—“Fad/Bal,”
• Upmost—front only
• Downmost—rear only
“Subwoofer,” or “VolAdjust.”
Adjust the balance—speaker output balance
between the left and right speakers.
Ex.: When “Fad/Bal” is selected
• Leftmost—left only
• Rightmost—right only
When selecting “Fad/Bal” and
“Subwoofer,” press
to
enter the selected menu.
To adjust subwoofer output—
Subwoofer
3 Adjust the selected setting item.
Select an appropriate cutoff frequency level
according to the subwoofer connected.
• To adjust other SEL settings, press
BACK.
• 55Hz / 85Hz / 115Hz
4 Finish the procedure.
• Frequencies higher than the selected level
are cut off to the subwoofer.
Adjust the subwoofer output level.
• 0 (min.) to 8 (max.)
28
EN25-30_KD-SHX751[EY]f.indd 28EN25-30_KD-SHX751[EY]f.indd 28 05.2.15 8:16:22 PM05.2.15 8:16:22 PM
To adjust the input level of each
Selecting preset sound modes
source—VolAdjust
—EQ
You can select a preset sound mode suitable to
ENGLISH
the music genre.
This setting is required for each source except
Available sound modes
FM. Before making an adjustment, select an
Flat (No sound mode is applied),
appropriate source for which you want to make
Hard Rock, R&B (Rhythm&Blues),
an adjustment.
Pop, Jazz, Dance, Country, Reggae,
Once you have made an adjustment, it
Classic, User 1, User 2, User 3
is memorized, and the volume level will
automatically increase or decrease by adjusted
level whenever you change the source.
1 Enter the EQ menu (see page
5).
Adjust to match the input level to the FM sound
level.
2 Select a sound mode.
• –5 (min.) to +5 (max.)
Ex.: When “Flat” is selected
3 Finish the procedure.
DISP
29
EN25-30_KD-SHX751[EY]f.indd 29EN25-30_KD-SHX751[EY]f.indd 29 05.2.15 8:16:23 PM05.2.15 8:16:23 PM
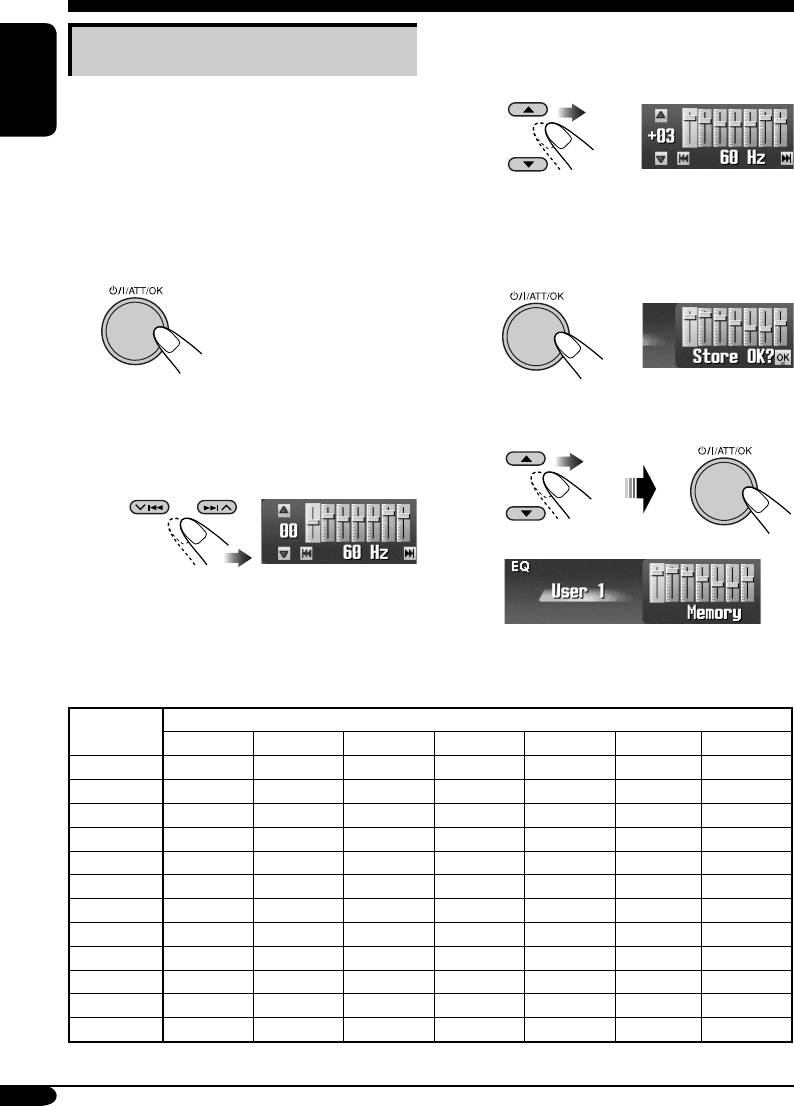
2 Adjust the level of the selected
Storing your own sound modes
band within the range of –05 to
+05.
You can adjust the sound mode and store your
own adjustments in memory.
ENGLISH
1 Enter the EQ menu (see page
5).
3 Repeat steps
1 and 2 to adjust
2 Select a sound mode (see step 2 on
the other frequency bands.
page 29)
.
5 Store the adjustments.
3
1
2 Select one of the user modes—
4 Make adjustments as you like.
User 1/2/3.
1 Select the frequency band
— 60 Hz, 150 Hz, 400 Hz, 1 kHz,
2.4 kHz, 6 kHz, 12 kHz.
Ex.: When “User 1” is selected
The list below shows the preset frequency level settings for each sound mode:
Sound Preset equalizing values
Mode
60 Hz 150 Hz 400 Hz 1 kHz 2.4 kHz 6 kHz 12 kHz
Flat 00 00 00 00 00 00 00
Hard Rock +03 +03 +01 00 00 +02 +01
R&B +03 +02 +02 00 +01 +01 +03
Pop 00 +02 00 00 +01 +01 +02
Jazz +03 +02 +01 +01 +01 +03 +02
Dance +04 +02 00 –02 –01 +01 +01
Country +02 +01 00 00 00 +01 +02
Reggae +03 00 00 +01 +02 +02 +03
Classic +02 +03 +01 00 00 +02 00
User 1 00 00 00 00 00 00 00
User 2 00 00 00 00 00 00 00
User 3 00 00 00 00 00 00 00
30
EN25-30_KD-SHX751[EY]f.indd 30EN25-30_KD-SHX751[EY]f.indd 30 05.2.15 8:16:23 PM05.2.15 8:16:23 PM
Оглавление
- KD-SHX751
- ~ Turn on the power. ⁄ Adjust the volume.
- ~
- ! Select a PTY code.
- ~
- Ÿ
- ! Attach the control panel.
- ! Adjust the effect level (1 – 3).
- ! Select the picture size—“Large”
- Ÿ Turn on the connected component
- ~ ! Start searching for an ensemble.
- ~ Das Gerät einschalten. ⁄ Stellen Sie die Lautstärke ein.
- ~
- ! Wählen Sie einen PTY-Code.
- ~
- Ÿ
- ! Anbringen des Bedienfelds.
- ! Passen Sie die Effektstufe an
- !
- Ÿ Schalten Sie die angeschlossene
- ~ ! Starten Sie die Suche nach einem
- ~ Включение питания. ⁄ Настройка громкости.
- ~
- ! Выберите код PTY.
- ~
- Ÿ
- ! Подключите панель управления.
- ! Настройте уровень эффекта
- Ÿ Войдите в меню PICT (см. стр. 5).
- Ÿ Включите подключенное
- ~ ! Запустите поиск блока


