Sony CPD-G400P: Helpful hints and information (HELP)
Helpful hints and information (HELP): Sony CPD-G400P
Table of contents
- Owner’s Record
- Table of Contents
- Precautions
- Identifying parts and controls RearFront
- Setup Step 1:Connect your monitor to your computer
- Step 2:Connect the power cord Step 3:Turn on the monitor and computer
- Selecting the on-screen menu Selecting the input signal language (LANG)
- Customizing Your Monitor Navigating the menu
- Adjusting the brightness and contrast
- Automatically sizing and centering Adjusting the size of the picture the picture (AUTO) (SIZE) Enlarging or reducing the picture (ZOOM) Adjusting the centering of the picture (CENTER)
- Adjusting the shape of the picture Adjusting the color of the picture (GEOM) (COLOR)
- Adjusting the convergence (CONV) Additional settings (OPTION)
- Helpful hints and information (HELP)
- Resetting the adjustments
- Technical Features Troubleshooting
- Trouble symptoms and remedies Symptom Check these items
- Symptom Check these items
- Specifications
Locking the controls
Helpful hints and information
To protect adjustment data by locking the controls, first
move the control button
m
/
M
to select (CONTROL
(HELP)
LOCK). Then move the control button
,
, to select ON.
Only the 1 (power) switch, EXIT, and (CONTROL LOCK)
The HELP menu contains helpful hints and information about this
of the OPTION menu will operate. If any other items are selected,
monitor. If your monitor is displaying symptoms that match those
the mark appears on the screen.
listed in the HELP menu, follow the on-screen instructions to
resolve the problem. If the symptoms do not match those listed in
To cancel the control lock
the HELP menu or if the problem persists, see “Trouble
Repeat the procedure above and set (CONTROL LOCK) to OFF.
symptoms and remedies” on page 17.
Restoring the color
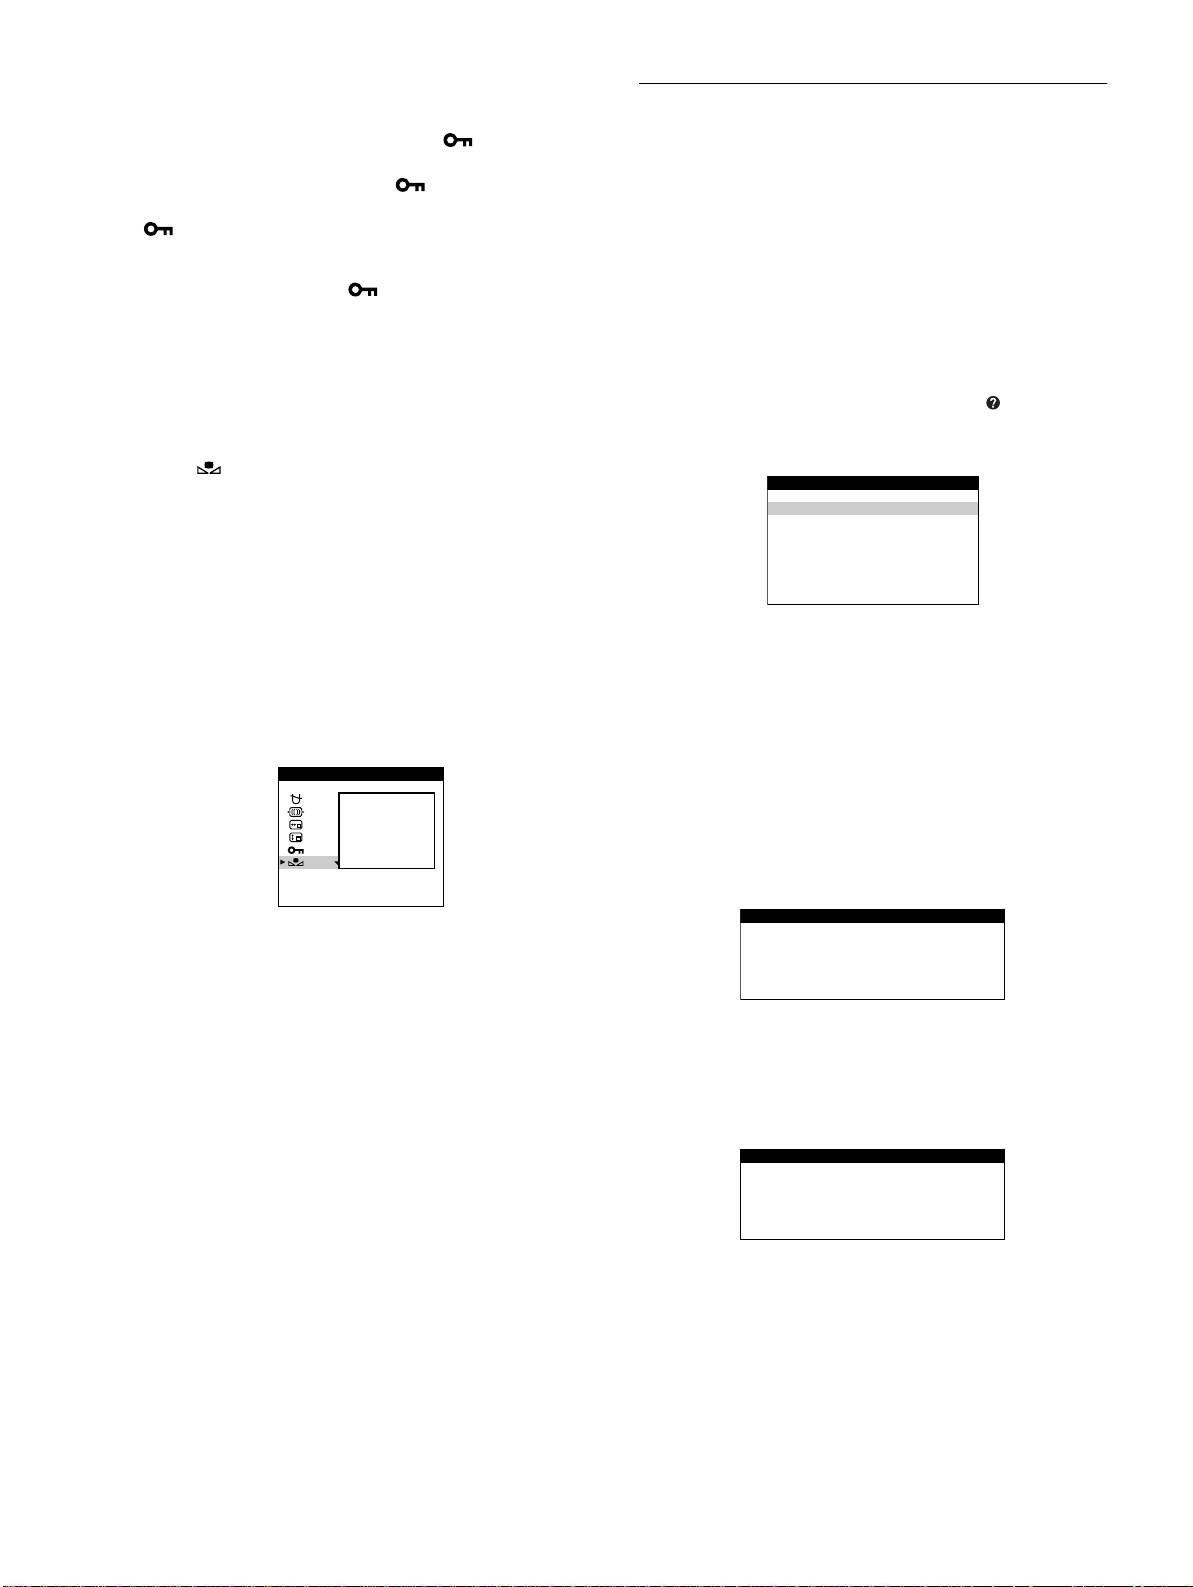
1
Press the center of the control button.
The colors of most display monitors tend to gradually lose brilliance
The main MENU appears on the screen.
over several years of service. The IMAGE RESTORATION feature
allows you to restore the color to the original factory quality levels.
2
Move the control button to highlight HELP and
The explanation below explains how to restore the monitor’s color.
press the center of the control button again.
To restore the color, first move the control button
m
/
M
The following HELP menu appears on the screen.
to select (IMAGE RESTORATION). Then move the
control button
,
.
The picture disappears while the color is being restored (about 2
seconds). After the color is restored, the picture reappears on the
screen again.
Notes
• Before using this feature, the monitor must be in normal operation
mode (green power indicator on) for at least 30 minutes. If the monitor
3
Move the control button
m
/
M
to select a HELP menu
goes into power saving mode, you must return the monitor to normal
item and press the center of the control button
operation mode and wait for 30 minutes for the monitor to be ready.
again.
You may need to adjust your computer’s power saving settings to keep
Instructions or information to resolve the problem appears on
the monitor in normal operation mode for the full 30 minutes. If the
the screen. An explanation of each menu item is given below.
monitor is not ready, the following message will appear.
OPT I ON
RECOMMENDED RESOLUTION
If the picture does not fill the screen to the edges or if the picture
AVAI LABLE
AFTER
appears too large for the screen, adjust the resolution to the figures
WARM– UP
shown in the menu using your computer. If the input signal
matches one of this monitor’s factory preset modes, the resolution
IMAGE
RESTORATION
and refresh rate of the current input signal are displayed.
• The monitor may gradually lose its ability to perform this function due
to the natural aging of the picture tube.
FLICKER
If the picture is flickering, adjust the refresh rate to figures shown
in the menu. If the input signal matches one of this monitor’s
factory preset modes, the refresh rate of the current input signal is
displayed.
14
HELP
RETURN TO MA IN MENU
RECOMMENDED RESOLUT ION
FLICKER
TH I N HOR I ZONTAL L I NE
DISTORTED SHAPE
OUT OF FOCUS
DI SCOLORAT ION
RECOMMENDED RESOLUT ION
SET RESOLUT ION TO
1280X1024 AT 85Hz USING PC.
CURRENT SETT I NG I S
1280X1024 AT 75Hz.
FLICKER
SET REFRESH RATE TO
75Hz OR 85Hz USING PC.
CURRENT SETT I NG I S 60Hz .
