Sony CPD-G400P: Automatically sizing and centering Adjusting the size of the picture the picture (AUTO) (SIZE) Enlarging or reducing the picture (ZOOM) Adjusting the centering of the picture (CENTER)
Automatically sizing and centering Adjusting the size of the picture the picture (AUTO) (SIZE) Enlarging or reducing the picture (ZOOM) Adjusting the centering of the picture (CENTER): Sony CPD-G400P
Table of contents
- Owner’s Record
- Table of Contents
- Precautions
- Identifying parts and controls RearFront
- Setup Step 1:Connect your monitor to your computer
- Step 2:Connect the power cord Step 3:Turn on the monitor and computer
- Selecting the on-screen menu Selecting the input signal language (LANG)
- Customizing Your Monitor Navigating the menu
- Adjusting the brightness and contrast
- Automatically sizing and centering Adjusting the size of the picture the picture (AUTO) (SIZE) Enlarging or reducing the picture (ZOOM) Adjusting the centering of the picture (CENTER)
- Adjusting the shape of the picture Adjusting the color of the picture (GEOM) (COLOR)
- Adjusting the convergence (CONV) Additional settings (OPTION)
- Helpful hints and information (HELP)
- Resetting the adjustments
- Technical Features Troubleshooting
- Trouble symptoms and remedies Symptom Check these items
- Symptom Check these items
- Specifications
Automatically sizing and centering
Adjusting the size of the picture
the picture (AUTO)
(SIZE)
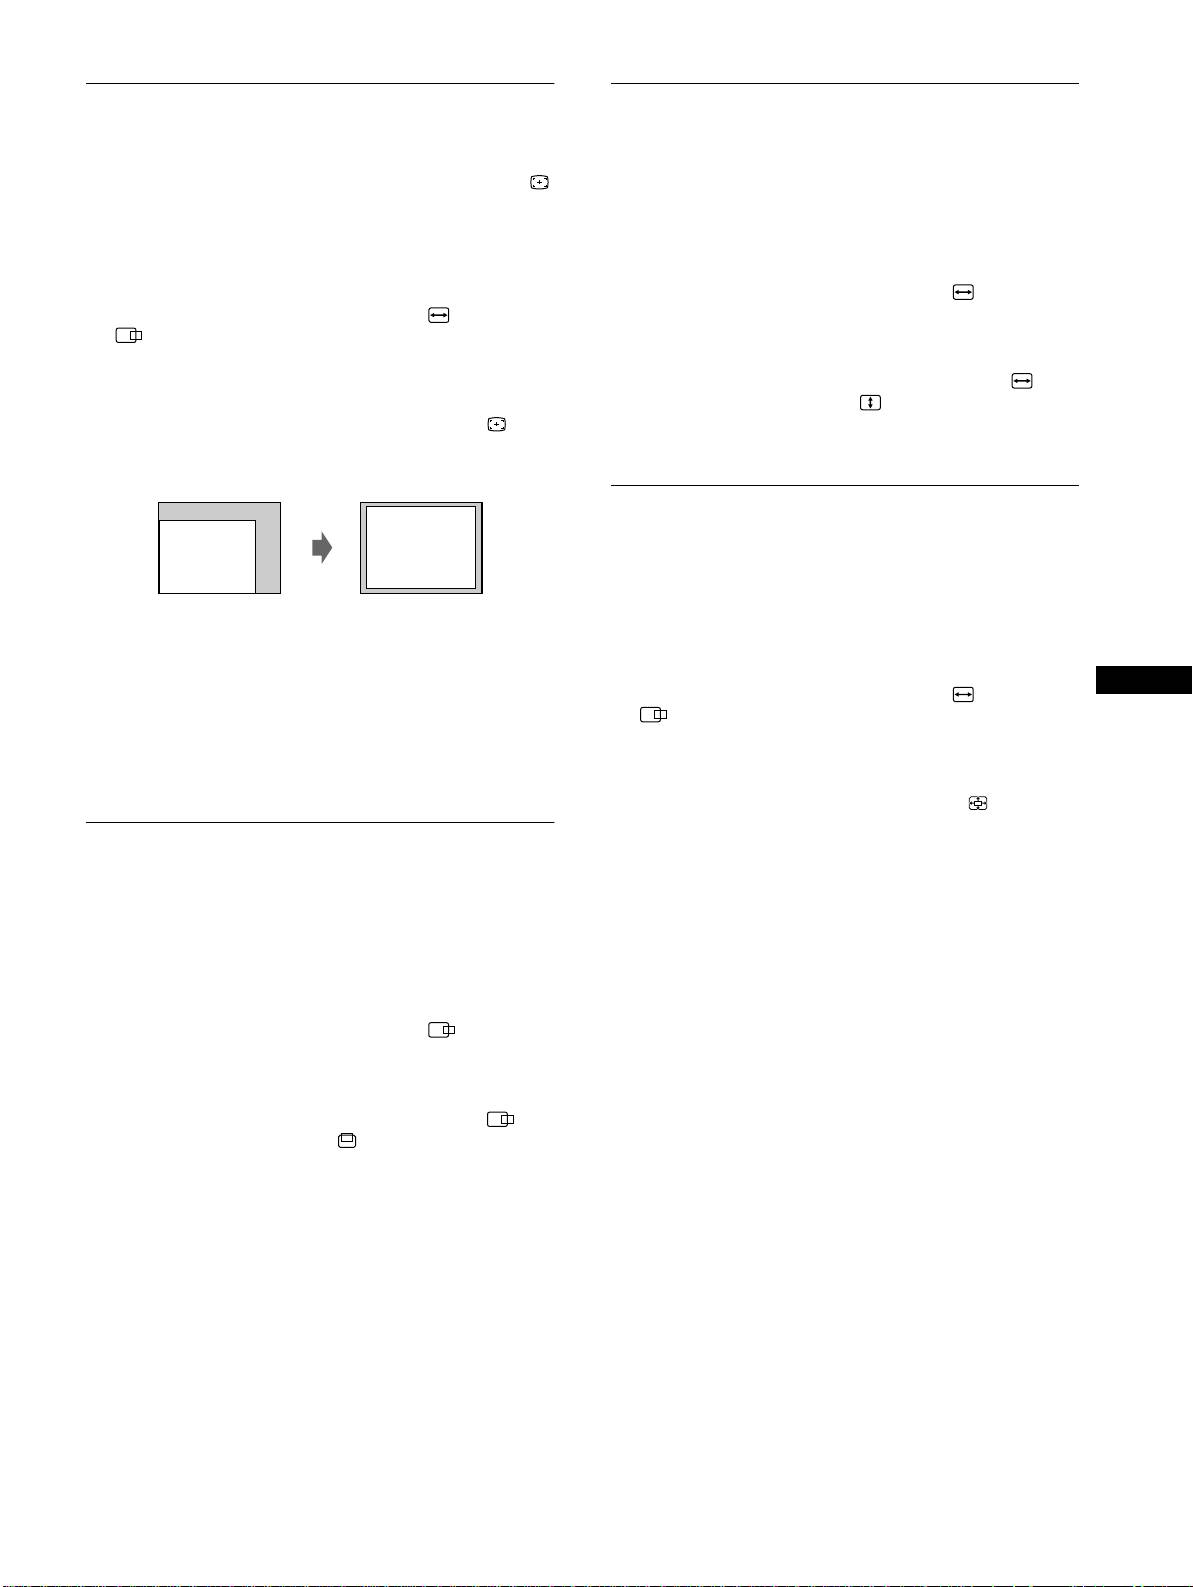
You can easily adjust the picture to fill the screen by using the
This setting is stored in memory for the current input signal.
(AUTO) item in the SIZE/CENTER menu.
1
Press the center of the control button.
1
Press the center of the control button.
The main MENU appears on the screen.
The main MENU appears on the screen.
2
Move the control button to highlight SIZE and
2
Move the control button to highlight SIZE or
press the center of the control button again.
CENTER and press the center of the control
The SIZE/CENTER menu appears on the screen.
button again.
The SIZE/CENTER menu appears on the screen.
3
First move the control button m/M to select for
horizontal adjustment, or for vertical
3
First move the control button m/M to select
adjustment. Then move the control button </, to
(AUTO). Then move the control button ,.
adjust the size.
The picture automatically fills the screen.
Enlarging or reducing the picture
(ZOOM)
This setting is stored in memory for the current input signal.
1
Press the center of the control button.
Notes
The main MENU appears on the screen.
• This function is intended for use with a computer running Windows or
similar graphic user interface software that provides a full-screen
GB
2
Move the control button to highlight SIZE or
picture. It may not work properly if the background color is dark or if
CENTER and press the center of the control
the input picture does not fill the screen to the edges (such as an MS-
button again.
DOS prompt).
• The displayed image moves for a few seconds while this function is
The SIZE/CENTER menu appears on the screen.
performed. This is not a malfunction.
3
Move the control button m/M to select (zoom),
and move </, to enlarge or reduce the picture.
Adjusting the centering of the
Notes
picture (CENTER)
• Adjustment stops when either the horizontal or vertical size reaches its
maximum or minimum value.
This setting is stored in memory for the current input signal.
• The horizontal adjustment value is not displayed in the menu.
1
Press the center of the control button.
The main MENU appears on the screen.
2
Move the control button to highlight CENTER
and press the center of the control button again.
The SIZE/CENTER menu appears on the screen.
3
First move the control button m/M to select for
horizontal adjustment, or for vertical
adjustment. Then move the control button </, to
adjust the centering.
11
