Indesit WES 9 X: When the new washer arrives
When the new washer arrives: Indesit WES 9 X
Installation and removal
When the new
washer arrives
Whether new or just transported to a new house,
installation is extremely important for the correct
functioning of your washing machine.
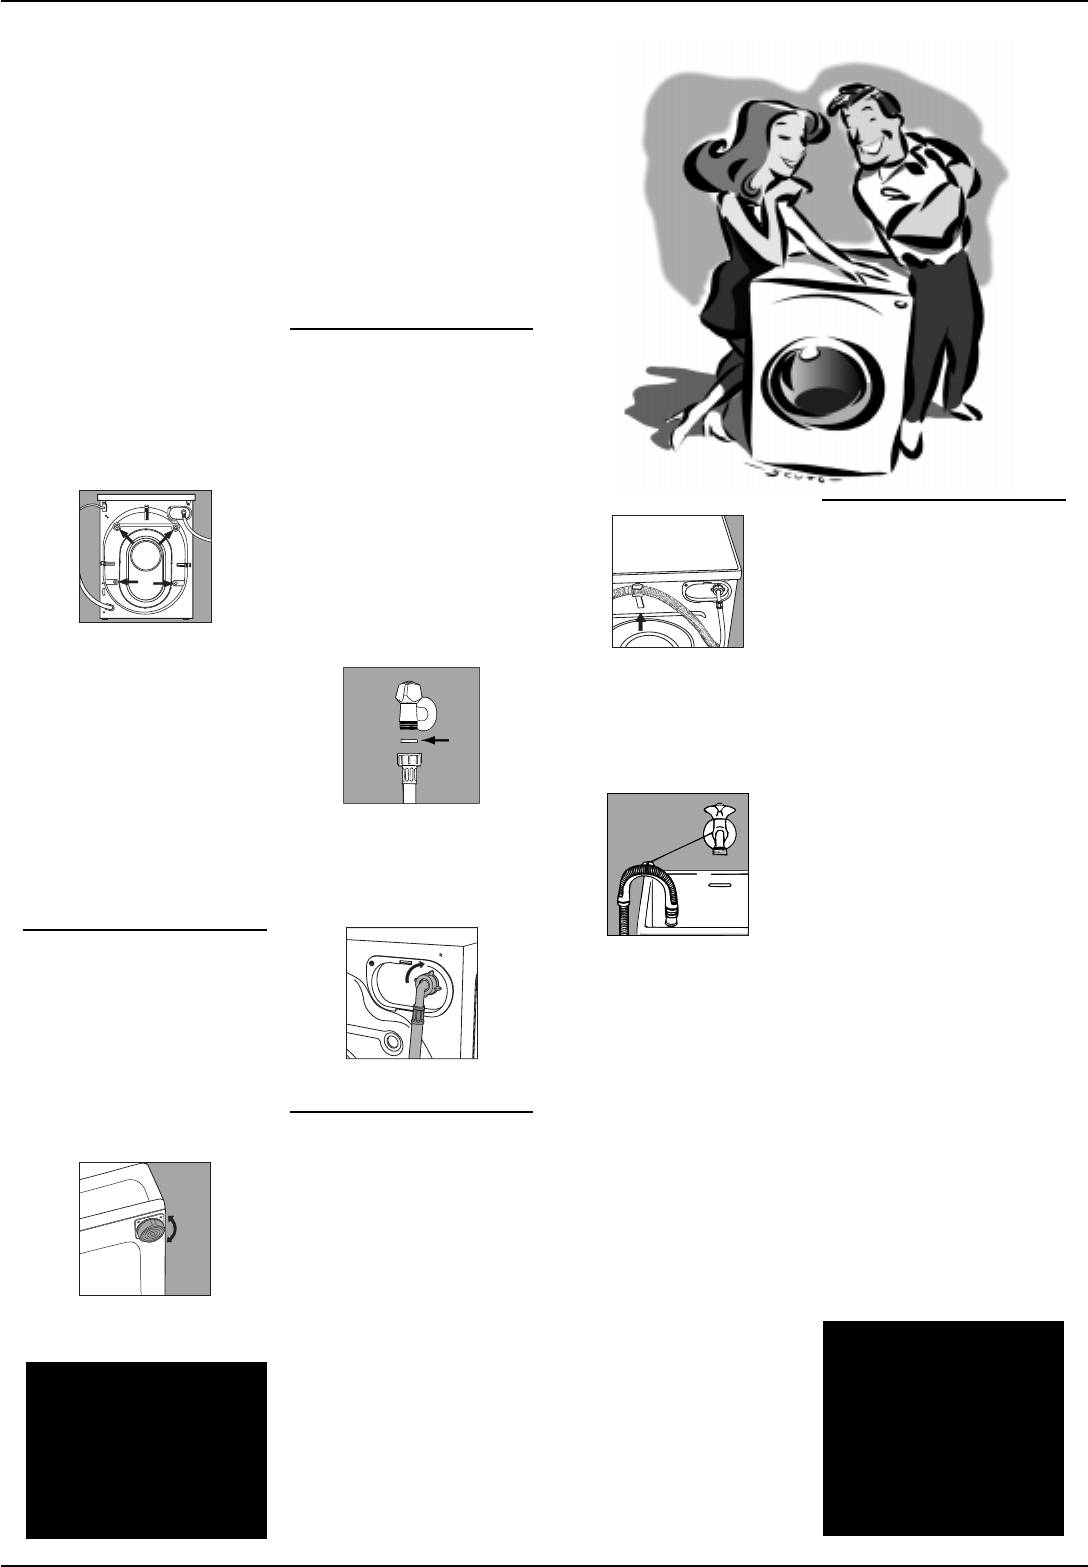
After removing the appliance from
Connection to the water
its packaging, check that it is
mains
intact. If in doubt, contact a
Water pressure must range within
qualified technician immediately.
the values indicated on the data
The inside of the machine is
plate on the rear of your washing
supported, for transportation, by
machine. If the water pipes are new
four screws on the back panel.
or left unused, then before
connecting the machine run the
water until clear to remove debris.
Electric connection
Connect the inlet hose to a cold
Before connecting the appliance
water tap having a ¾ “ BSP thread.
to the electric socket, be sure that:
Ensure that the rubber sealing
1) the electric socket is able to
washers are fitted at each end of
sustain the appliance’s
the inlet hose, with the fitter washer
maximum power load
at the tap end.
indicated on the data plate
Before using the washing
The hook to be used in case the drain
and in compliance with the
machine, remove the screws,
hose ends at a height below 60 cm.
law;
remove the spacers together with
2) the supply voltage is included
the rubber tubes attached to them
If the drains hose empties into a
within the values indicated on
A
(keeping all the parts) and use the
tub or sink then fit the plastic gui-
the data plate;
plastic plugs provided to fill in the
de and secure it to the tap.
3) the socket is compatible with
holes.
the appliance’s plug. If not, do
Important: Use the cap (provided)
not use adapters, but replace
The rubber gasket .
to close the 3 holes which housed
either the socket or the plug;
the stop pin, situated in the right-hand
4) electric household appliances
Connect the inlet hose to the
part of the lower back of the
must be equipped with an
threaded connector on the
washing machine.
“earthing” system.
machine rear.
Levelling
The guide for draining into tubs and
The washing machine must be
sinks.
levelled appropriatey in order to
guarantee its correct functioning. To
The end of the drain hose must
level the appliance, the front feet
be positioned so that it cannot
must be adjusted; the angle of
become submerged.
inclination, measured according to
Extensions are unadvisable. In
Water pipe inlet at the top right.
the worktop, must not exceed 2°.
case of absolute need, the
When placed on carpet, make sure
extension must have the same
Connecting the drain hose
the ventilation is not reduced.
diameter as the original hose and
There are two hooks (right or left)
must not exceed 150 cm. In case
on the rear of your washing
of wall draining pipes, their
machine to which the drain hose
efficiency must be checked by
is to be fixed. Insert the other end
a qualified technician. If the
in a stand pipe or place it on the
dwelling is on one of the upper
edge of a sink or tub avoiding
floors of a building, there may be
excessive kinks and bending. It
drain trap problems causing the
should be placed at a height
washing machine to load and
The front feet are adjustable.
ranging from 60 to 100 cm. If it is
unload water continuously.
necessary to fix the end of the
In order to avoid such an
Warning!
hose at a height below 60 cm from
inconvenience, special anti-drain
The company denies all
Retain the transit screws,
the ground, it must be fixed in the
trap valves are available in
liability if and when these
spacers and washers.
appropriate hook placed on the
shops.
norms are not respected.
Should you move house
upper part of the back panel.
Plastic bags, expanded
then these should be
styrofoam, nails and other
replaced to support the
packaging parts are not
inside of the machine to
children’s toys, and are
prevent damage when
potentially dangerous.
transporting the machine.
Instructions for installation and use
22
Easy Care and Maintenance
Treat your machine well and it will provide
many years of trouble free service
Your washing machine is a reliable companion in life and on the job. It is just as important for you to keep it
in shape.
Your washing machine is
It is important to wash
designed to provide reliable
the detergent dispenser
service over many years. A few
regularly.
simple steps will help to prolong
To prevent dried washing
its life and avoid problems. It is
powder from
advisable, to turn off water taps
accumulating, place the
when the machine is not to be
dispenser under running
used, this protects the hoses,
water for a few minutes.
etc.
If the water in your area is too
hard, use a deliming product
(water is hard if it often leaves
Never exaggerate with doses.
whitish stains around taps or
Normal detergents already
drains, especially of bath tubs.
contain deliming agents. Only if
For more accurate information as
the water is particularly hard,
to the type of water in your
that is, rich in lime content, do
system, call the local water
we recommend the use of a
works or a local plumber).
specific product at every wash.
Pockets must always be
A periodical wash cycle with a
emptied removing even pins,
dose of a deliming product,
badges and any other hard
without detergents or washing,
object.
may prove useful.
The washing machine exterior
Never use too much detergent
should be cleaned with a rag
or additives because this could
dipped in lukewarm water and
cause an excess amount of
soap.
foam, scaling and possible
damage to the component parts
of your washing machine.
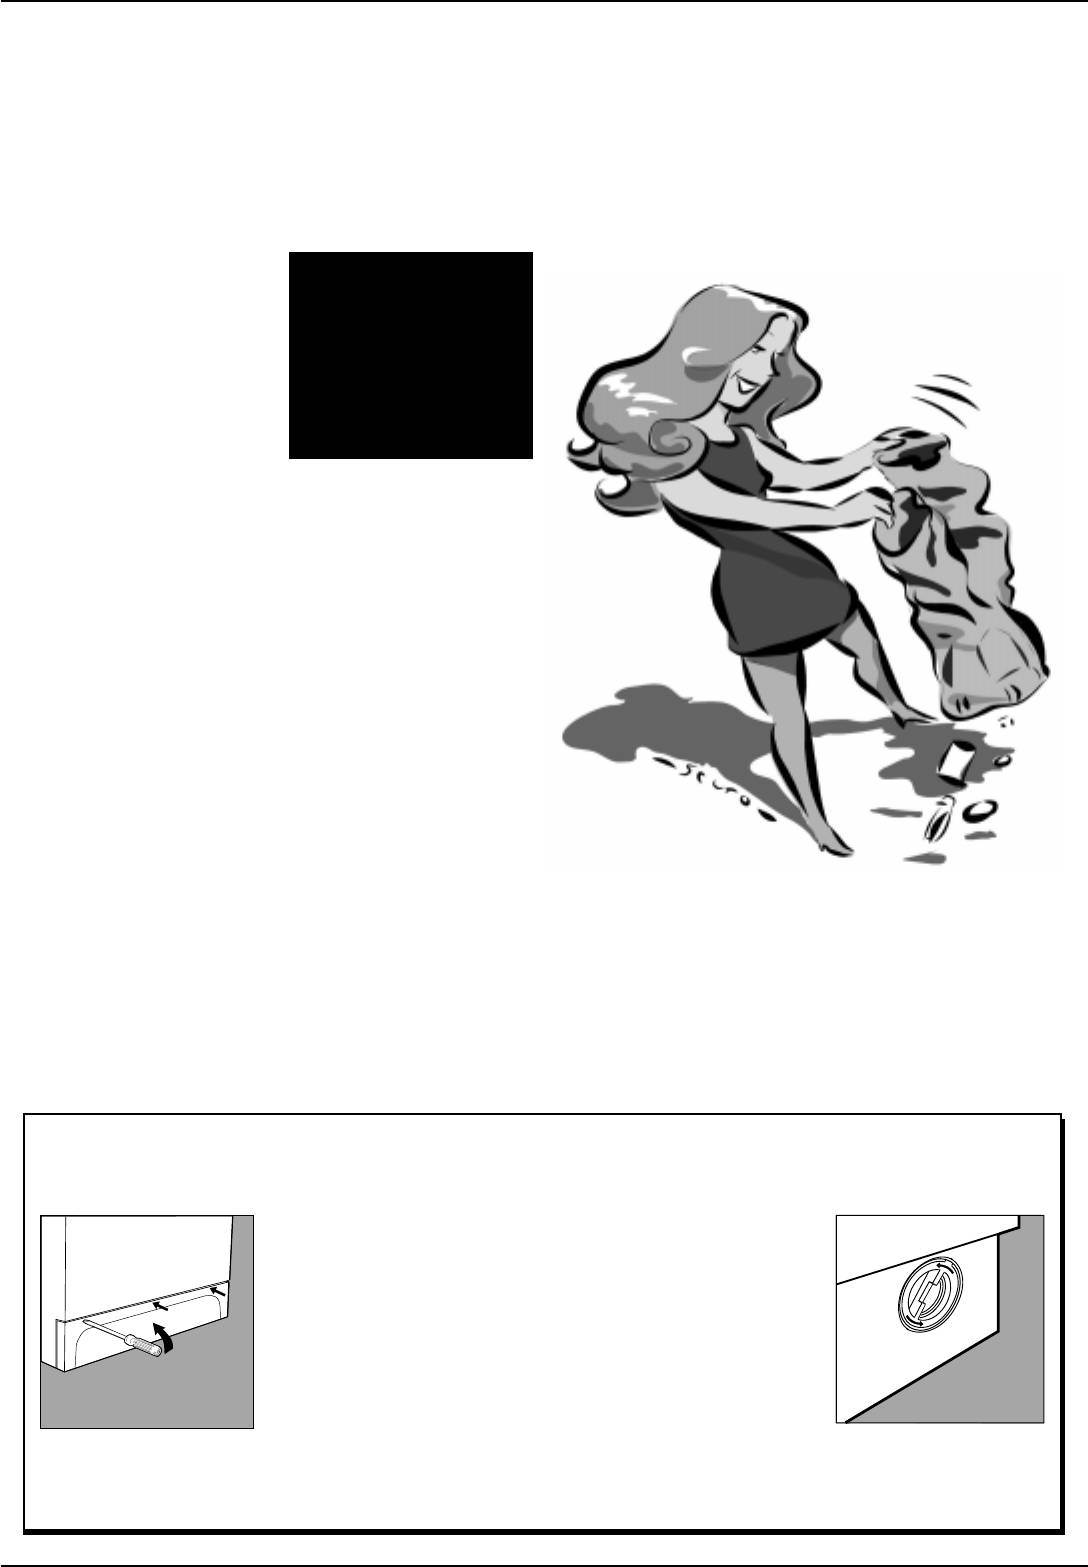
Do not forget to empty all pockets: small objects can
cause damage to your washer.
When in need, check the pump and the rubber hose.
The washer comes equipped with a self-cleaning pump that does not require any cleaning or maintenance. Small
objects may accidentally fall into the pump: coins, hair clips, loose buttons and other small items. To avoid possible
damage, they are withheld in an accessible pre-chamber, situated at the lower end of the pump.
Attention: Before attempting to examine this pre-chamber, first
ensure that the machine has finished its programme and is empty.
Unplug the machine, as with any maintenance.
To gain access gently ease down the top of the plinth panel situated at
the base of the machine, with a screwdriver etc, to release it. Then
ease the top edge forward to allow it to be lifted clear (Fig. 1). Place
a shallow dish or tray below the cover of the pre-chamber to catch
the small amount of water present. Release the cover by turning anti-
clockwise (Fig. 2). Ensure that the cover is securely replaced.
Fig. 1
Fig. 2
Re-fit the plinth cover by inserting the hooks on its lower edge into
the slots and ease the top edge back into position.
The water inlet hose
Check the rubber hose at least once a year. If you see any cracks, replace it immediately. When you use your washing machine,
water pressure is very strong and a cracked tube could easily split open.
23
Instructions for installation and use
Important for the safe use of your washing machine
Your safety and that of
Your washer has been built in compliance with
the strictest international safety regulations. To
protect you and all your family.
your family
Read these instructions and all
5. Never touch the washing
7. Never open the detergent
8. Never pull on the supply
the information in this manual
machine when barefoot or
dispenser while the
cable or the washing
carefully: they are an important
with wet or damp hands
appliance is functioning;
machine to disconnect it
source, not only of numerous
or feet.
do not use hand wash
from the wall socket: it is
useful tips, but also of vital
detergent because the
extremely dangerous.
6. Never use extensions or
information on safety, use and
abundance of foam could
multiple plugs, which are
9. While the appliance is
maintenance.
damage its internal parts.
particularly dangerous in
functioning, do not touch
1. the machine should not be
humid environments. The
the drain water as it could
installed in an outdoor
power supply cable must
reach very high
environment, not even
never be bent or
temperatures. The
when a roof shelters the
dangerously compressed.
appliance door, during
area, because it may be very
wash cycles, tends to
dangerous to leave it
I only want an authorised
become hot; ensure that
exposed to rain and
specialised technician with
children do no touch it.
original Indesit spare parts!
thunderstorms.
Never force the washing
machine door because
2. It must only be used by
this could damage the
adults and exclusively for
safety lock which prevents
washing clothes following
accidental opening when the
the instructions provided in
nachine is working. Allow a
this manual.
few minutes at the end of the
3. Should it have to be moved,
program for the lock to
proceed with the help of two
release.
or three people and handle
10. In case of malfunctio-ning,
it with the utmost care.
first close the water tap
Never try to do this alone,
and unplug the appliance
because the appliance is
from the wall socket; do
very heavy.
not under any
4. Before loading the washing
circumstances touch
machine, make sure the
internal parts in order to
drum is empty.
attempt repairs.
How to change the power supply cable
The washing machine
2. Remove the covering lid by
symbol
are indicated on the
To put the covering lid back on,
power supply cable is
unscrewing the two screws I, and
radio interference suppressor.
rest it on the washing machine
special and can be purchased
then pull it towards you [fig. 3].
4. Remove the upper part of the
[fig. 6] and let it slide forwards
exclusively from authorised
3. Disconnect the wires from
cable slightly from the back
until the hooks situated on the
Technical Service Centres.
the radio interference
panel of the appliance, pull the
front slide into the special slots
suppressor F [fig. 4] noting as
power supply cable upwards and
formed into the control panel
To replace the cable:
to their position (Blue=N wire;
take it out [fig. 5].
and tighten the screws back on.
1. Make sure that the
Brown=L wire) leaving the
To connect the new power
machine is switched off and
earth wire until last
.
supply cable, reverse the pro-
unplugged.
N.B.: letters L, N and the
cedure.
I
N
L
F
Fig. 3 Fig. 4 Fig. 5 Fig. 6
Instructions for installation and use
24


