Yamaha RX-V365 Silver: BASIC OPERATION
BASIC OPERATION: Yamaha RX-V365 Silver
BASIC OPERATION
Playback
Caution
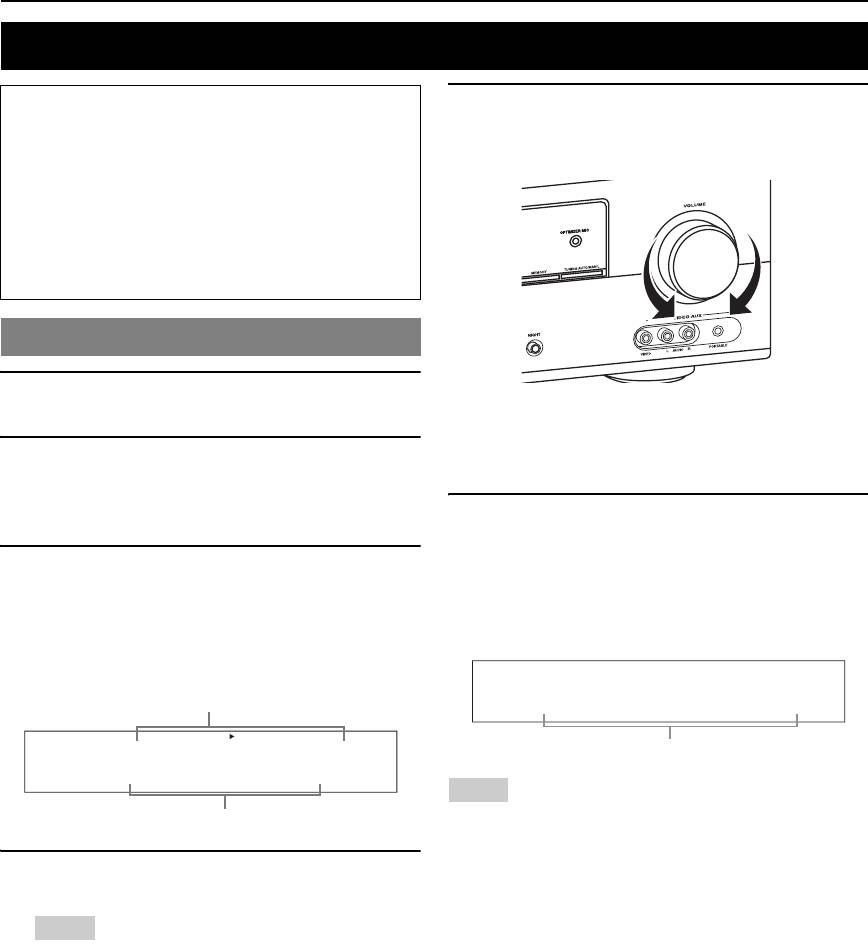
5 Rotate PVOLUME (or press gVOLUME +/–)
Extreme caution should be exercised when you play
to adjust the volume to the desired output
back CDs encoded in DTS. If you play back a CD
level.
encoded in DTS on a DTS-incompatible CD player,
you will only hear some unwanted noise that may
damage your speakers. Check whether your CD player
supports CDs encoded in DTS. Also, check the sound
output level of your CD player before you play back a
CD encoded in DTS.
Basic procedure
1 Turn on external components (TV, DVD
player, etc.) connected to this unit.
y
• See page 20 to adjust the level of each speaker.
• This does not affect the AUDIO OUT (REC) level.
2 Press CSPEAKERS repeatedly to select the
• You can set the initial volume level and maximum volume level
front speakers you want to use.
(see page 34).
The respective speaker indicators lights up on the
6 Press LPROGRAM l / h (or press
front panel display.
uPROG l / h) repeatedly to select the
3 Press NINPUT l / h repeatedly (or press
desired sound field program.
one of the input selector buttons (e)) to
The name of the selected sound field program appears
on the front panel display.
select the desired input source.
See page 22 for details about sound field programs.
The name of the currently selected input source
appears on the front panel display for a few seconds.
Available input source
Movie Dramatic
DVR DVD CD
V-AUX DTV/CBL
MD/CD-R
TUNER
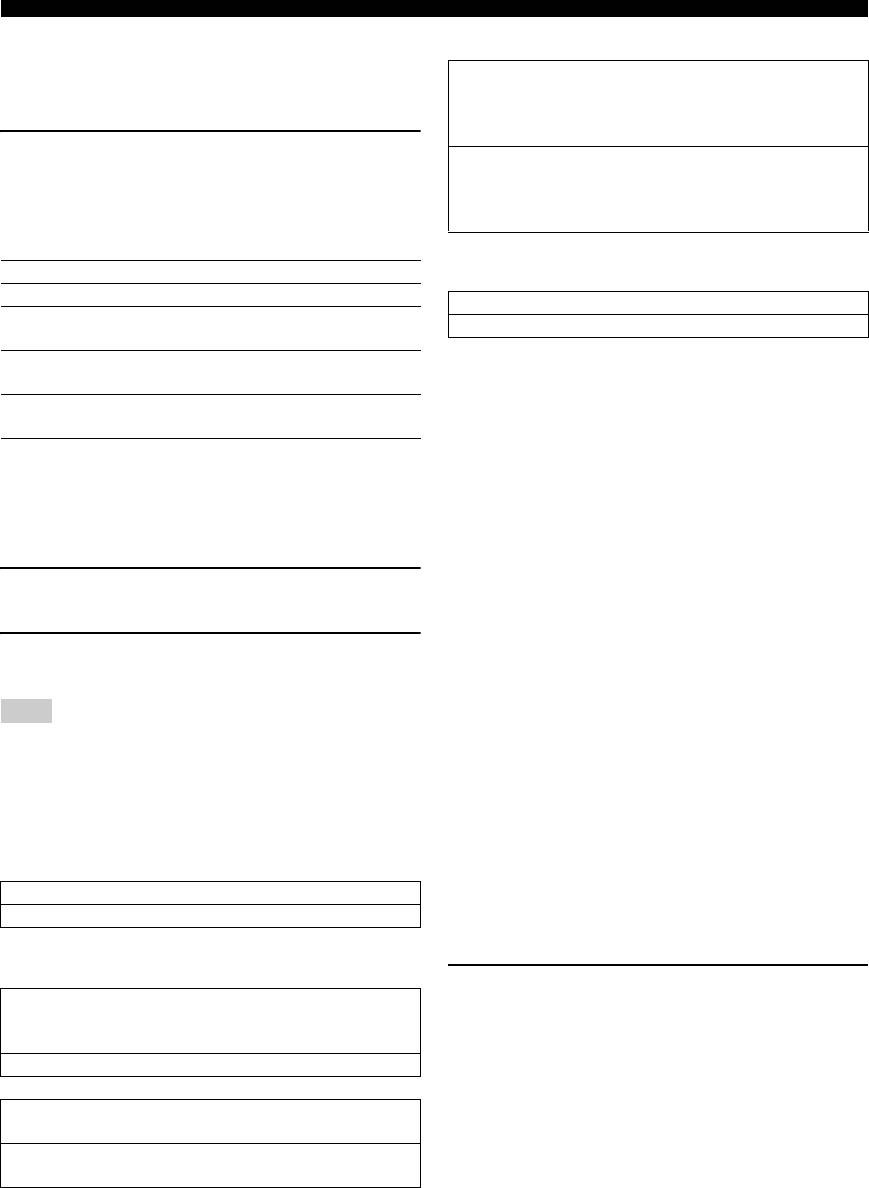
Currently selected surround field program
INPUT:DVD
Notes
• Choose a sound field program based on your listening preference, not
Currently selected input source
merely on the name of the program.
• When you select an input source, this unit automatically selects the last
sound field program used with the corresponding input source.
4 Start playback on the selected component or
• Sound field programs cannot be selected when the component connected
select a broadcast station.
to the MULTI CH INPUT jacks is selected as the input source (see
page 19).
• When PCM signals with a sampling frequency higher than 48 kHz are
Notes
input, this unit is automatically set to the “STRAIGHT” mode (see
• Refer to the operating instructions for the source component.
page 26).
• See page 27 for details about FM or AM tuning instructions.
• To display information about the currently selected input source on the
y
front panel display, see page 21 for details.
• To adjust the level of each speaker, see page 20.
18 En
Playback
■ Selecting the component connected to the
Guide to contents
MULTI CH INPUT jacks as the input source
Use this feature to select the component connected to the
When you want... See page
MULTI CH INPUT jacks (see page 14) as the input
INTRODUCTION
Adjust the tonal quality of the front
20
source.
speakers
Press NINPUT l / h repeatedly (or press
Edit parameters of sound field
26
fMULTI CH IN) to select “MULTI CH.”
programs
“MULTI CH” appears on the front panel display.
Enjoy the sources which have wide
20
y
dynamic range at night
• You can configure the multi channel input settings in “MULTI CH” (see
page 35).
PREPARATION
Use headphones 20
Notes
Select a decoder to play back
26
• Sound field programs, or the night listening mode, etc. cannot be selected
sources with
when “MULTI CH” is selected as the input source.
• When headphones are used, signals are output only from the front left
Set this unit to the standby mode
21
and right channels.
automatically
■ Selecting audio input jacks (AUDIO SELECT)
Use this feature (audio input jack select) to switch the
Additional operations
input jack assigned to an input source when two or more
OPERATION
jacks are assigned to an input source.
BASIC
Using input setting features
y
• We recommend that you set the audio input jack select to “AUTO” in
Use the following features to select input jack or input
most cases.
• You can adjust the default audio input jack select of this unit by using
source.
“AUDIO SELECT” in “OPTION MENU” (see page 36).
■ Selecting the front speaker set
1 Press NINPUT l / h repeatedly (or press
one of the input selector buttons (e)) to
Press CSPEAKERS repeatedly change the
OPERATION
ADVANCED
select the desired input source.
active front speaker set that is connected to the
FRONT A or FRONT B speaker terminals or turn
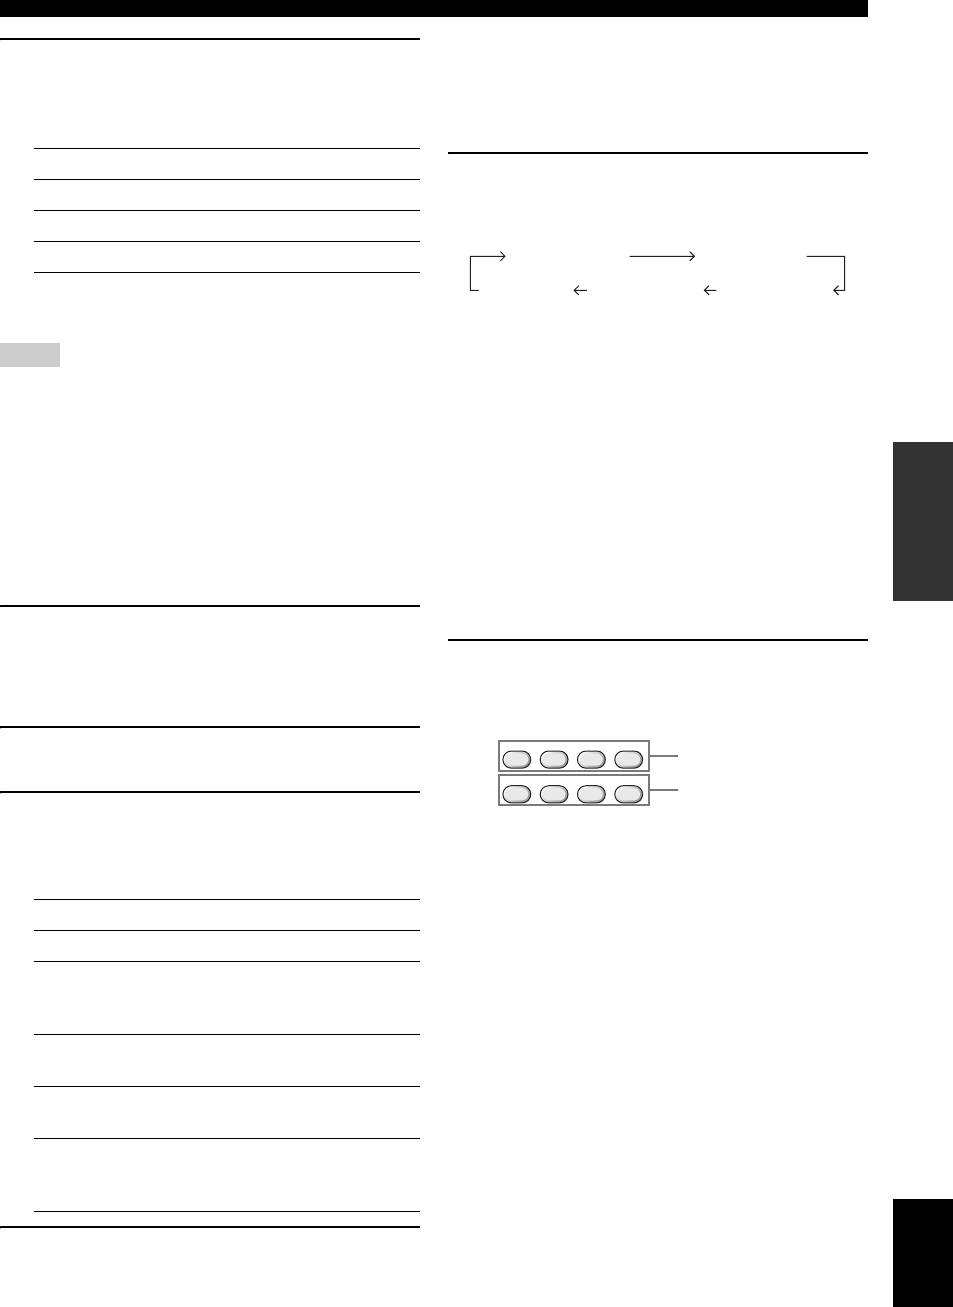
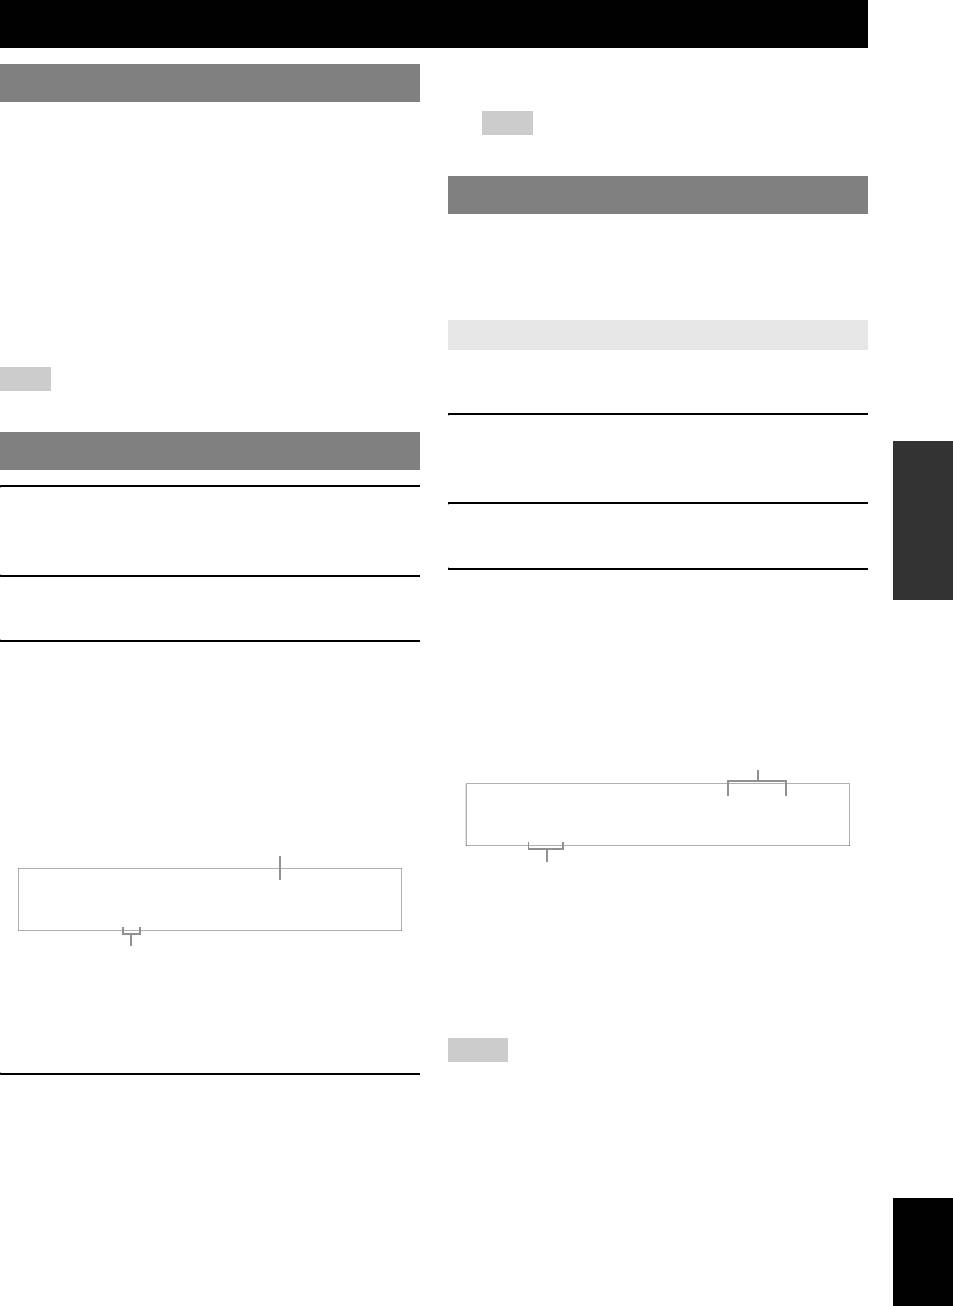
2 Press nAUDIO SEL repeatedly to select the
off the front speakers.
desired Audio input jack select setting.
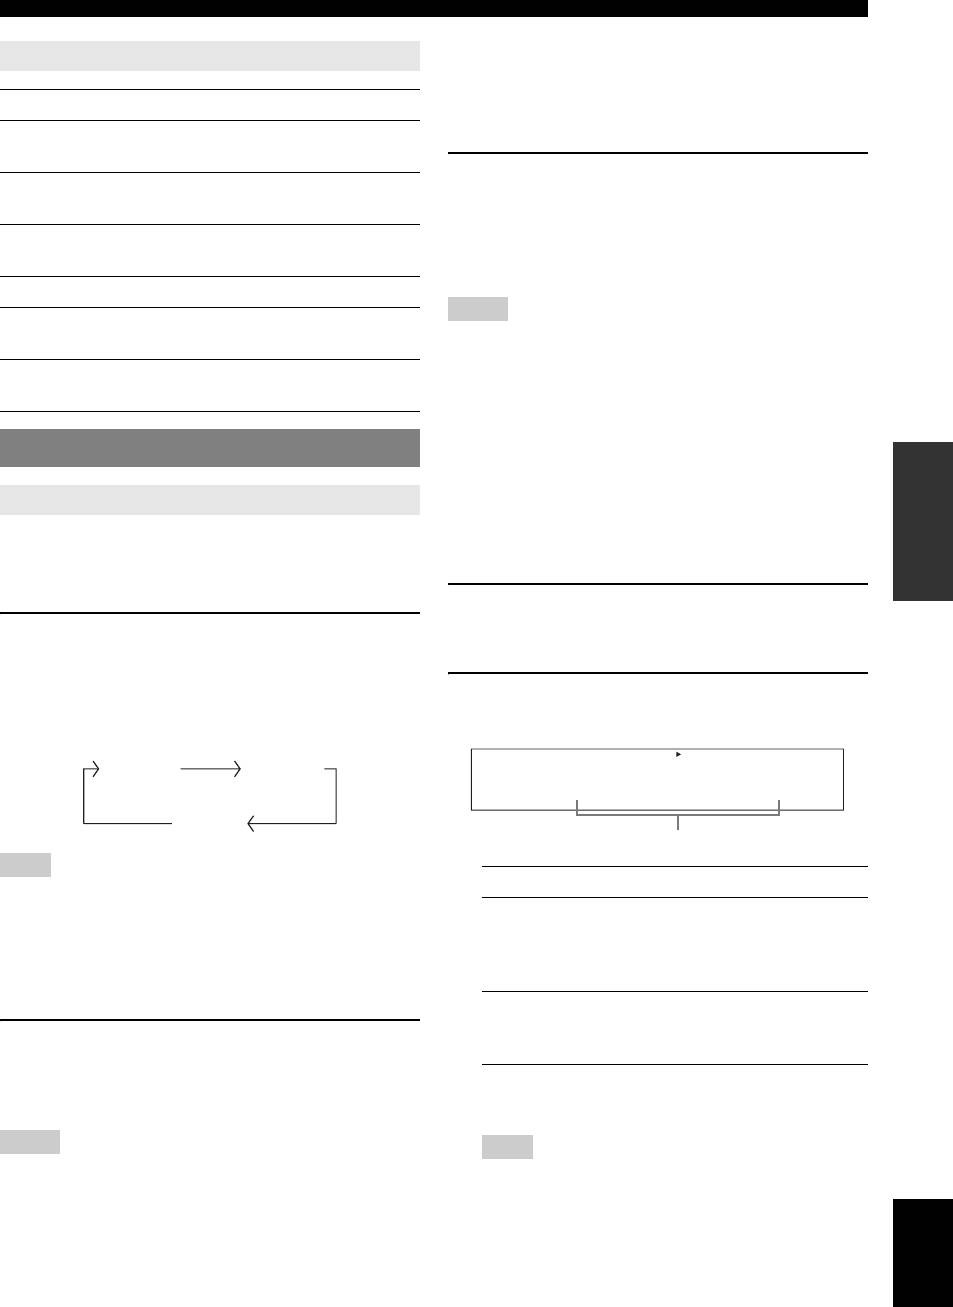
The active front speaker set changes as follows:
DVR DVD CD
V-AUX DTV/CBL
MD/CD-R
TUNER
FRONT A FRONT B
INFORMATION APPENDIX
ADDITIONAL
A.SEL:AUTO
OFF
Audio input jack select setting
Note
Choice Function
• Turn off the volume level of this unit before you switch the front speaker
setting.
AUTO Automatically selects input signals in
■ Using the Zone B feature
the following order:
When you set “FRONT B” to “ZONE B” (see page 32),
(1) Digital signals
you can use the speakers connected to FRONT B speaker
(2) Analog signals
terminals in another room (Zone B).
ANALOG Selects only analog signals. If no
analog signals are input, no sound is
Press CSPEAKERS on the front panel
output.
repeatedly to turn on or off the Zone B speakers.
When you activate the Zone B speakers, all the speakers in
y
• You can configure the audio input jack select setting in “AUDIO
the main room are muted.
SELECT.”
Notes
Note
• You cannot activate both the main room and Zone B speakers
• This feature is not available if no digital input jack is assigned to
simultaneously.
the selected input source in “INPUT ASSIGN” (see page 34).
• If you select CINEMA DSP sound field program and activate the Zone B
speakers, Virtual CINEMA DSP is activated automatically (see page 26).
English
19 En

Playback
y
Using audio features
• Once you press mLEVEL on the remote control, you can also
select the speaker by pressing ok / n.
Use the following features to adjust the audio output or
• The available speaker channels differ depending on the speaker
settings.
speaker level.
2 Press ol / h on the remote control (or
■ Muting the audio output
press FPRESET/TUNING l / h) to adjust
Press hMUTE on the remote control to mute the
the speaker output level.
audio output. Press hMUTE again to resume
Control range: –10.0 dB to +10.0 dB
the audio output.
Using optional features
y
• You can also rotate PVOLUME (or press gVOLUME +/–) to
Use the following features to utilize various useful
resume the audio output.
functions equipped on this unit.
• You can configure the muting level by using “MUTE TYP.” in “SOUND
MENU” (see page 34).
y
• The MUTE indicator flashes on the front panel display when the audio
• Initial settings are indicated by (*) in this following each parameter.
output is muted and disappears from the front panel display when the
audio output is resumed.
■ Using your headphones
■ Adjusting the tonal quality
Connect a pair of headphones with a stereo
Use this feature to adjust the balance of bass and treble for
analog audio cable plug to the PHONES jack on
the front left and right speaker channels.
the front panel.
Press KTONE CONTROL repeatedly to select
y
“BASS” or “TREBLE” and then press
• When you select a sound field program, SILENT CINEMA mode is
automatically activated (see page 26).
LPROGRAM l / h to adjust the corresponding
frequency response level.
Notes
• When you connect headphones, no signals are output at the speaker
Control range: –10 dB to +10 dB
terminals.
Each choice is defined as follows.
• All Dolby Digital and DTS audio signals are mixed down to the left and
right headphone channels.
Choice Function
■ Selecting the night listening mode
BASS Adjusts the low-frequency response.
The night listening modes are designed to improve
TREBLE Adjusts the high-frequency response.
listenability at lower volumes or at night.
1 Press ONIGHT (or press pNIGHT)
Notes
repeatedly to select “NIGHT:CINEMA” or
• Speaker and headphone adjustments are stored independently.
• If you increase or decrease the high-frequency or low-frequency sound to
“NIGHT:MUSIC.”
an extreme level, the tonal quality of the surround speakers may not
Each choice is defined as follows.
match that of the front left and right speakers.
• This does not affect recorded material.
Choice Function
■ Adjusting the speaker level
NIGHT:CINEMA Narrows the dynamic range of film
You can adjust the output level of each speaker while
soundtracks and makes dialog easier to
listening to a music source. This is also possible when
hear at lower volumes.
playing sources input at the MULTI CH INPUT jacks.
NIGHT:MUSIC Preserves ease-of-listening for all
Note
sounds.
• This operation will override the level adjustment made in “SP LEVEL”
(see page 33).
NIGHT OFF Disables this feature.
1 Press mLEVEL repeatedly to select the
y
• When a night listening mode is selected, the NIGHT indicator
speaker you want to adjust.
lights up on the front panel display.
Choice Description
FRONT L Front left speaker
FRONT R Front right speaker
CENTER Center speaker
SWFR Subwoofer
SUR.L Surround left speaker
SUR.R Surround right speaker
20 En
Playback
■ Using the sleep timer
2 Press ol / h to adjust the effect level while
Use this feature to automatically set this unit to the
“NIGHT:CINEMA” or “NIGHT:MUSIC” is
standby mode after a certain amount of time. The sleep
displayed on the front panel display.
timer is useful when you are going to sleep while this unit
INTRODUCTION
Each choice is defined as follows.
is playing or recording from a source.
Choice Function
Press lSLEEP repeatedly to set the amount of
MIN Slightly lowers the effect level.
time.
The sleep timer setting changes as follows.
MID* Moderately lowers the effect level.
MAX Considerably lowers the effect level.
SLEEP 120min SLEEP 90min
PREPARATION
y
SLEEP 60minSLEEP 30minSLEEP OFF
• “NIGHT:CINEMA” and “NIGHT:MUSIC” adjustments are stored
independently.
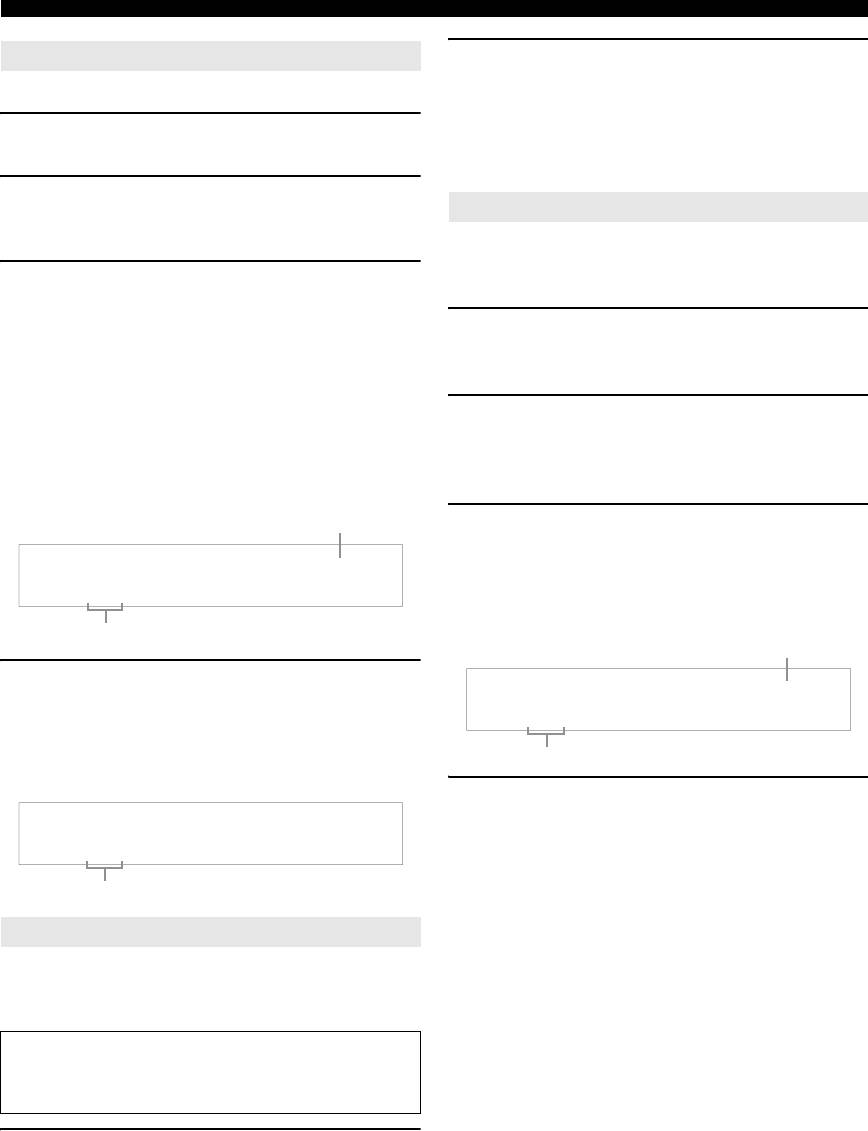
Once the sleep timer is set, the SLEEP indicator lights up
on the front panel display, and the display returns to the
Notes
selected sound field program.
• You cannot use the night listening modes in the following cases:
– when the component connected to the MULTI CH INPUT jacks is
To cancel the sleep timer
selected as the input source.
Press lSLEEP on the remote control repeatedly to
– when headphones are connected to the PHONES jack.
– when the sampling frequency of the input sources are higher than 48
select “SLEEP OFF.”
kHz.
OPERATION
• The effect of night listening modes may vary depending on the input
y
source and surround sound settings you use.
• If you set the main zone to the standby mode, the sleep timer is
BASIC
automatically canceled.
■ Displaying the input source information
■ Playing video sources in the background
(SIGNAL INFO)
You can combine a video image from a video source with
You can display the format, sampling frequency, channel,
sound from an audio source. For example, you can enjoy
bit rate and flag data of the current input signal.
listening to classical music while viewing beautiful
scenery from the video source on the video monitor.
1 Press kMENU on the remote control.
OPERATION
ADVANCED
“AUTO SETUP” appears on the front panel display.
Press the input selector buttons (e) on the
remote control to select a video source and then
;AUTO SETUP
an audio source.
2 Press ok / n repeatedly to select “SIGNAL
MD/CD-RCD
TUNER
MULTI CH IN
Audio sources
INFO” and then press oENTER.
DVD DVR V-AUX
DTV/CBL
Video sources
INFORMATION APPENDIX
ADDITIONAL
3 Press ok / n to switch the displayed
information.
The following information about the input source
appears on the front panel display.
Choice Description
FORMAT Signal format.
SAMPLING The number of samples per second
taken from a continuous signal to
make discrete signals.
CHANNEL The number of source channels in the
input signal (front/surround/LFE).
BITRATE The number of bits passing a given
point per second.
FLAG Flag data encoded in DTS, Dolby
Digital, or PCM signals that cue this
unit to automatically switch decoders.
English
4 Press kMENU on the remote control again
to exit from “SET MENU.”
21 En
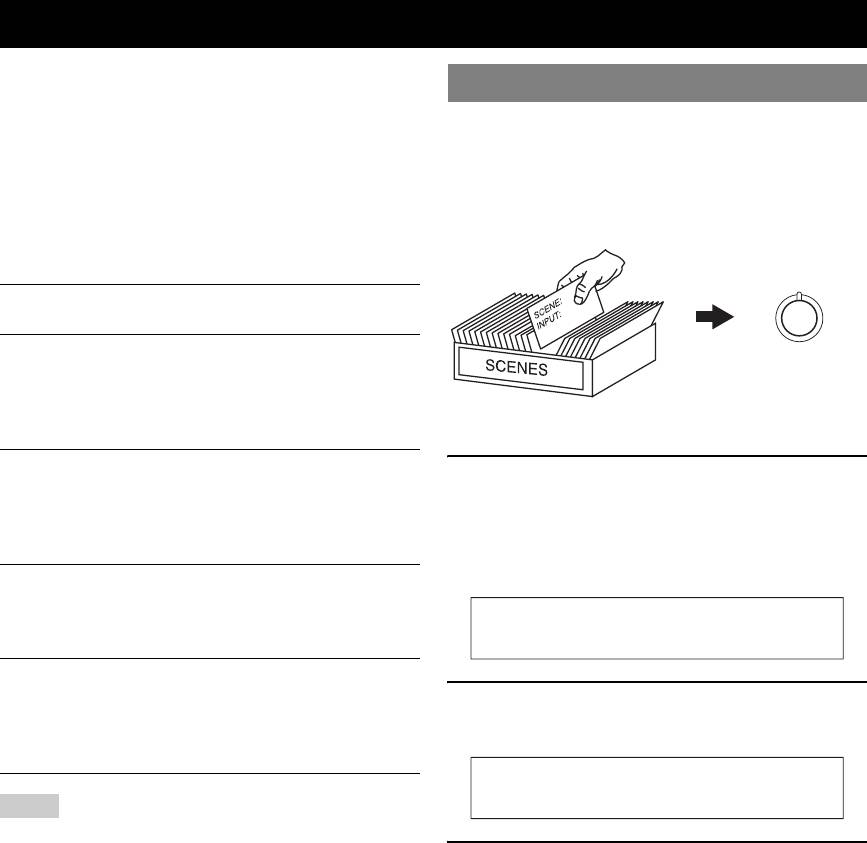
Selecting the SCENE templates
Just by pressing one SCENE button, you can recall your
favorite input source and sound field program according to
Selecting the desired SCENE template
the SCENE template that has been assigned to the SCENE
If you want to use other SCENE templates, you can select
button. The SCENE templates are built combinations of
the desired SCENE templates from the SCENE template
input sources and sound field programs.
library and assign the templates to the selected SCENE
buttons on the front panel and the remote control.
This unit is equipped with 12 preset SCENE templates for
various situations. The following SCENE templates are
Select the desired SCENE template
assigned to respective SCENE buttons in the default
settings.
Default SCENE
The name of the SCENE template and
button
its description
1
DVD Movie Viewing
Assign the
– input source: DVD
SCENE template
to the SCENE
SCENE 1
– sound field program: STRAIGHT
button
SCENE template library
For when you want to enjoy a DVD
(Image)
playback.
Music Disc Listening
1 Press and hold the desired JSCENE (or
– input source: DVD
dSCENE) button for 3 seconds.
SCENE 2
– sound field program: 2ch Stereo
The MEMORY indicator on the front panel starts to
For when you want to listen to a music disc
from the connected DVD player.
flash, and the name of currently assigned SCENE
template appears on the front panel display.
TV Viewing *1
– input source: DTV/CBL
SCENE 3
– sound field program: STRAIGHT
For when you want to watch a TV program.
DVD Movie View
Radio Listening *2, *3, *4
– input source: TUNER
2 Press NINPUT l / h (or press ol / h) to
SCENE 4
– sound field program: Music Enh. 5ch
select the desired template.
For when you want to listen to a music
program from the FM radio station.
Notes
DVD Viewing
*1 You must connect a cable TV or a satellite tuner to this unit in advance.
See page 13 for details.
*2 You need to connect the supplied FM and AM antennas to this unit in
3 Press the JSCENE (or dSCENE) button
advance. See page 15 for details.
again to confirm the selection.
*3 You have to tune into the desired radio station. See pages 27 to 28 for
the tuning information.
The MEMORY indicator stops flashing and the select
*4 To achieve the best possible reception, orient the connected AM loop
SCENE template is assigned to the button.
antenna, or adjust the position of the end of the indoor FM antenna.
y
• To cancel the procedure, press qRETURN.
22 En

Selecting the SCENE templates
Which SCENE template would you like to select?
The following tables indicate preset SCENE template descriptions. Select the corresponding SCENE templates for the
desired source. The illustrations of the SCENE button in the following table indicate that the SCENE templates in those
INTRODUCTION
cells are assigned to the SCENE buttons, respectively.
You can also create your original SCENE templates by editing the preset SCENE templates. See page 24 for details.
■ Video sources (DVD video, Recorded video)
SCENE template Input source Playback mode Features
Select this SCENE template when you play back
DVD Viewing DVD STRAIGHT
general contents on your DVD player.
PREPARATION
Select this SCENE template when you play back
1
DVD Movie Viewing DVD Movie Dramatic
movies on your DVD player.
Select this SCENE template when you enjoy music
DVD Live Viewing DVD Pop/Rock
live video on your DVD player.
Select this SCENE template when you play back
DVR Viewing DVR Movie Dramatic
movies on your digital video recorder.
OPERATION
■ Music discs (CD, SA-CD or DVD-Audio)
BASIC
SCENE template Input source Playback mode Features
Select this SCENE template when you play back
2
Music Disc Listening DVD 2ch Stereo
music discs on your DVD player.
Select this SCENE template when you play back
Disc Listening DVD 5ch Stereo
music sources as the back ground music on your
DVD player.
OPERATION
ADVANCED
Select this SCENE template when you play back
CD Listening CD 5ch Stereo
music source as the back ground music on your CD
player.
Select this SCENE template when you play back
CD Music Listening CD 2ch Stereo
music discs on your CD player.
■ Radio programs
INFORMATION APPENDIX
ADDITIONAL
SCENE template Input source Playback mode Features
Select this SCENE template when you enjoy FM or
4
Radio Listening TUNER Music Enh. 5ch
AM radio programs.
■ TV programs
SCENE template Input source Playback mode Features
Select this SCENE template when you enjoy TV
3
TV Viewing DTV/CBL STRAIGHT
programs.
Select this SCENE template when you enjoy sports
TV Sports Viewing DTV/CBL TV Sports
programs on TV.
■ Video games
SCENE template Input source Playback mode Features
Select this SCENE template when you play video
Game Playing V-AUX Game
games.
English
23 En

Selecting the SCENE templates
2 Press ok / n to select the desired parameter
Creating your original SCENE
of the SCENE template and then ol / h to
templates
select the desired value of the selected
You can create your original SCENE templates for each
parameter.
SCENE button. Refer to the preset 12 SCENE templates
You can adjust the following parameters for a SCENE
to create the original SCENE templates.
template:
Customizing the preset SCENE templates
• The input source component
Use this feature to customize the preset SCENE templates.
• The active sound field programs or STRAIGHT
mode
Select the desired SCENE
Create an original SCENE
• The night listening mode setting (see page 20)
template
template
– SYSTEM: Keeps the current night listening
mode.
– CINEMA: Sets the night listening mode to the
SCENE : DVD Viewing
CINEMA mode.
– MUSIC: Sets the night listening mode to the
: DVD
INPUT
: DVD Viewing
SCENE
MUSIC mode.
SCENE template library
3 Press the iSCENE button again to confirm
(Image)
the edit.
1
1
Assign the SCENE
y
template to the SCENE
• An asterisk mark (*) appears by the name of the original SCENE
button
template.
• To cancel the procedure, press qRETURN.
Notes
1 Press and hold the desired dSCENE button
• You can create a customized SCENE template for each dSCENE
for 3 seconds.
button, and if you create another customized SCENE template, this unit
The MEMORY indicator on the front panel starts to
overwrites the old customized SCENE template with the new one.
• The customized SCENE template is only available for the assigned
flash.
dSCENE button.
1
3 seconds
Note
• When the SCENE template you want to customize is not assigned
to any of the dSCENE button, press ol / h repeatedly to
recall the desired SCENE template (see page 22).
24 En

Sound field programs
This unit is equipped with a variety of precise digital
Notes
decoders that allow you to enjoy multi-channel playback
• When you select an input source, this unit automatically selects the last
from almost any stereo or multi-channel sound source.
sound field program used with corresponding input source.
INTRODUCTION
This unit is also equipped with a Yamaha digital sound
• Sound field programs cannot be selected when the component connected
to the MULTI CH INPUT jacks is selected as the input source (see
field processing (DSP) chip containing several sound field
page 19).
programs which you can use to enhance your playback
• When PCM signals with a sampling frequency higher than 48 kHz are
experience.
input, this unit is automatically set to the “STRAIGHT” mode (see
page 26).
Selecting sound field programs
y
• Choose a sound field program based on your listening preference, not
merely on the name of the program itself.
• You can select “Music Enh. 2ch” and “Music Enh. 5ch” by pressing
PREPARATION
Press LPROGRAM l / h (or press uPROG l
vENHANCER repeatedly.
/ h repeatedly).
The name of the selected sound field program appears on
the front panel display and on the OSD.
Sound field program descriptions
y
• Select a sound field program based on your listening preference, not merely on the name of the program, etc.
• The available sound field parameters differ depending on the settings of the speakers.
OPERATION
BASIC
Category Program Features
Pop/Rock CINEMA DSP processing. This program presents an image of pop, rock, or jazz live concert. The
sound field reproduces the spaciousness of a massive pavilion with an emphasis on the vividness of
vocals on the stage and solo instruments and the beats of rhythm instruments.
Hall CINEMA DSP processing. This sound field is suitable for classic and orchestral music. The
MUSIC
OPERATION
ADVANCED
program uses data collected in a large concert hall in Munich. You can enjoy delicate and beautiful
reverberation and a majestic atmosphere.
Jazz CINEMA DSP processing. The sound field is suitable for jazz and fusion music.
It uses data collected in a famous jazz club in New York. You can enjoy clear reverberation.
Game CINEMA DSP processing. You can enjoy dynamic and thrilling sound effects as you play games.
The program lets you feel the depth and three-dimensional surrounding sounds of the field where
you are playing, and offers cinema-like surrounding sound effects for the scenes of movies.
INFORMATION APPENDIX
ADDITIONAL
ENTERTAIN
TV Sports CINEMA DSP processing. You can enjoy sports relays broadcast in stereo and variety shows with
a live sound environment. For sports relays, the voices of commentators and announcers come
clearly from the center; the cheers and atmosphere in the stadium spread around within a
comfortable range, and you can feel like as if you are in the stadium.
Movie Spacious CINEMA DSP processing. The sound field is suitable for movies with an emphasis on spectacular
sound effects, and is a perfect fit with a wide screen. The program reproduces a wide dynamic
range from minimum sound effects to powerful sounds.
MOVIE
Movie Dramatic CINEMA DSP processing. This sound field is also suitable for movies with an emphasis on three-
dimensional sound effects. It restrains reverberation to an moderate extent, but reproduces sound
effects and background music in a soft, three-dimensional manner with clarity and center
orientation of voices as pivots.
2ch Stereo Downmixes multi-channel sources to 2 channel or plays back 2-channel sources as they are.
STEREO
5ch Stereo CINEMA DSP processing. Using this program increases the listening position range. This is a
sound field suitable for background music at parties.
Music Enh. 2ch
Select these programs to play back compression artifacts (such as the MP3 format) in 2-channel or
ENHANCER
Music Enh. 5ch
5-channel stereo. This program enhances your listening experience by regenerating the missing
harmonics in a compression artifact.
English
25 En
Sound field programs
■ Selecting decoders for 2-channel sources
Center width CT WIDTH
(surround decode mode)
Function: Adjusts the center image from all three front
Signals input from 2-channel sources can also be played
speakers to varying degrees. A larger value
back on multi-channels.
adjusts the center image towards the front
left and right speakers.
Press rSUR. DECODE repeatedly to select a
Control range: 0 (center channel sound is output only from
decoder.
center speaker) to 7 (center channel sound is
You can select from the following decoders depending on
output only from front left and right
the type of source you are playing and your personal
speakers), initial setting is 3.
preference.
For Music Enh. 2ch and Music Enh. 5ch
STANDARD Function
Effect level
PRO LOGIC Dolby Pro Logic processing for any sources
Function: Adjusts the effect level.
PLII Movie Dolby Pro Logic II processing for movie
Choices: LOW, HIGH*
sources
PLII Music Dolby Pro Logic II processing for music
■ Using sound field programs without
sources
surround speakers (Virtual CINEMA DSP)
PLII Game Dolby Pro Logic II processing for game
Virtual CINEMA DSP allows you to enjoy the CINEMA
sources
DSP sound field programs without surround speakers.
When you set “SUR. L/R” to “NONE” (see page 33),
■ Editing sound field parameters
Virtual CINEMA DSP is activated automatically
Although you can enjoy good quality sound with the
whenever you select a CINEMA DSP sound field program
factory default parameters, you can change some of the
(see page 25).
parameters to better suit the input source or your listening
room.
■ Enjoying multi-channel sources and sound
field programs with headphones (SILENT
1 While listening to a source, press ok / n to
CINEMA)
select desired parameter.
SILENT CINEMA allows you to enjoy multi-channel
music or movie sound through ordinary headphones.
2 Press ol / h to change the parameter
SILENT CINEMA is activated automatically whenever
value.
you connect headphones to the PHONES jack while
listening to CINEMA DSP sound field programs (see
Note
page 25).
• You cannot change parameter values when “MEM.GUARD” in
“OPTION MENU” is set to “ON” (see page 35).
y
• When it is activated, the SILENT CINEMA indicator lights up on the
y
front panel display.
• Initial settings are indicated by (*) in the following each parameter.
■ Enjoying unprocessed input sources
For Pop/Rock, Hall, Jazz, Game, TV Sports, Movie
(Straight decoding mode)
Spacious and Movie Dramatic:
When this unit is in the “STRAIGHT” mode, 2-channel
DSP level DSP LEVEL
stereo sources are output from only the front left and right
Function: Adjusts the effect level.
speakers. Multi-channel sources are decoded straight into
Choices: MIN, MID*, MAX
the appropriate channels without any additional effect
For PRO LOGIC II Music:
processing.
Panorama PANORAMA
Press MSTRAIGHT (or press tSTRAIGHT) to
Function: Sends stereo signals to the surround
select “STRAIGHT.”
speakers as well as the front speakers for a
“STRAIGHT” appears on the front panel display.
wraparound effect.
Choices: OFF*, ON
To deactivate the “STRAIGHT” mode
Dimension DIMENSION
Press MSTRAIGHT (or tSTRAIGHT) again so that
Function: Gradually adjusts the sound field either
“STRAIGHT” disappears from the front panel display.
towards the front or towards the rear.
Control range: –3 (towards the rear) to +3 (towards the
front), initial setting is STD (standard).
26 En
FM/AM tuning
• To tune into a lower frequency, press FPRESET/
Overview
TUNING l.
INTRODUCTION
You can use two tuning modes to tune into a desired FM/
Note
AM station:
• If the signal from the station you want to select is weak, tune into it
manually.
■ Frequency tuning mode
You can search or specify the frequency of the desired
Preset FM/AM stations
FM/AM station automatically or manually (see “FM/AM
Use this feature to store up to 40 stations (A1 to E8: 8
tuning operations” on this page).
preset station numbers in each of 5 preset station groups).
■ Preset tuning mode
Preset the desired stations to this unit by using the
PREPARATION
You can preset the desired FM/AM station in advance, and
automatic or manual station preset.
then recall the station by specifying the preset group and
Automatic station preset
number (see “Selecting preset stations” on page 28).
You can use the automatic preset tuning feature to store up
Note
to 40 FM stations with strong signals in order.
• Orient the connected AM loop antenna, or adjust the position of the end
of the indoor FM antenna for the best reception.
1 Press NINPUT l / h repeatedly so that
FM/AM tuning operations
“TUNER” is displayed on the front panel
OPERATION
display.
BASIC
1 Press NINPUT l / h repeatedly so that
2 Press GBAND to select “FM” as the
“TUNER” is displayed on the front panel
reception band.
display.
3 Press and hold HMEMORY for more than 3
2 Press GBAND to select the reception band
seconds.
(FM or AM).
OPERATION
The preset station number as well as the MEMORY
ADVANCED
3 To search the station automatically, press
and AUTO indicators flashes. After approximately 5
ITUNING AUTO/MAN’L so that the AUTO
seconds, automatic presetting status from the current
frequency and proceeds toward the higher
indicator lights up on the front panel display.
frequencies.
To search the station manually, press
ITUNING AUTO/MAN’L again so that the
Flashes
AUTO indicator disappears from the front
INFORMATION APPENDIX
panel display.
AUTO
MEMORY
ADDITIONAL
Lights up during automatic tuning
A1:FM 87.50MHz
Flashes
AUTO
When automatic preset tuning is completed, the front
A
AM
1440
kHz
panel display shows the frequency of the last preset
station.
No colon (:)
y
If a colon (:) appears on the front panel display,
• You can select the preset station group and the preset station number
where the first received station will be stored by pressing EA/B/C/D/E
automatic/manual tuning is not possible. Press
and then FPRESET/TUNING l / h.
DEDIT PRESET/TUNING to turn the colon (:)
off.
Notes
• Any stored station data existing under a preset station number is cleared
4 To begin automatic tuning, press
when you store a new station under the same preset station number.
• Only FM stations with sufficient signal strength are stored automatically
FPRESET/TUNING l / h once. To tune
by automatic preset tuning. If the station you want to store is weak in
into the desired station manually, press
signal strength, tune it manually and store it as described in “Manual
station preset” on page 28.
FPRESET/TUNING l / h repeatedly.
• Only Radio Data System broadcasting station are stored automatically by
When this unit is tuned into a station, the TUNED
automatic preset tuning (Europe model only).
indicator lights up and the frequency of the received
English
station is shown on the front panel display.
• To tune into a higher frequency, press
FPRESET/TUNING h.
27 En
FM/AM tuning
Manual station preset
2 Press FPRESET/TUNING l / h (or
iPRESET l / h) to select the desired
Use this feature to store the FM or AM stations manually.
preset station number (1 to 8).
1 Tune into a station.
The preset station group and number, along with
See page 27 for using instructions.
station band and frequency, appear on the front panel
display.
2 Press HMEMORY.
Exchanging preset stations
The MEMORY indicator flashes on the front panel
display for approximately 30 seconds.
You can exchange the assignments of two preset stations
between the two. The example below describes the
3 Press EA/B/C/D/E and FPRESET/TUNING
procedure to exchange preset station “E1” and “A5.”
l / h repeatedly to select a preset station
group and number (A1 to E8) while the
1 Select preset station “E1” using EA/B/C/D/E
MEMORY indicator is flashing.
and FPRESET/TUNING l / h.
Check that the colon (:) appears on the front panel
See “Selecting preset stations” on this page.
display.
2 Press and hold DEDIT PRESET/TUNING
• To select a higher preset station group and number,
press FPRESET/TUNING h.
for more than 3 seconds.
• To select a lower preset station group and number,
“E1” and the MEMORY indicator flash on the front
press FPRESET/TUNING l.
panel display.
Flashes
3 Select preset station “A5” using EA/B/C/D/E
and FPRESET/TUNING l / h.
TUNED
MEMORY
“A5” and the MEMORY indicator flash on the front
panel display.
C3
:
AM
630
kHz
See “Selecting preset stations” on this page.
Preset station group and number
Flashes
4 Press HMEMORY while the MEMORY
MEMORY
indicator is flashing.
The station band and frequency appear on the front
A5
:
FM
90.50
MHz
panel display with the preset station group and
Flashes
number you have selected.
4 Press DEDIT PRESET/TUNING again.
TUNED
“EXCHANGE E1-A5” appears on the front panel
display and the assignments of the two preset stations
C3
:
AM
630
kHz
are exchanged.
The displayed station has been stored as C3.
Selecting preset stations
You can tune into any desired station simply by selecting
the preset station group and number under which it is
stored.
When performing this operation with the remote
control, press eTUNER to select “TUNER” as the
input source.
1 Press EA/B/C/D/E (or jA/B/C/D/E)
repeatedly to select the desired preset
station group (A to E).
The preset station group letter appears on the front
panel display and changes each time you press the
button.
28 En

Radio Data System tuning (Europe and Russia models only)
Radio Data System is a data transmission system used by FM stations in many countries. This unit can receive various
Radio Data System data such as PS (program service), PTY (program type), RT (radio text), CT (clock time), and EON
(enhanced other networks) when receiving Radio Data System broadcasting stations.
INTRODUCTION
Displaying the Radio Data System
Selecting the Radio Data System
information
program type (PTY SEEK mode)
Use this feature to display the 4 types of the Radio Data
Use this feature to select the desired radio program by
System information: PS (program service), PTY (program
program type from the all preset Radio Data System
type), RT (radio text) and CT (clock time). The
broadcasting stations.
PREPARATION
corresponding indicators light up on the front panel
y
display (see page 4).
• Use the automatic preset tuning feature to preset Radio Data System
broadcasting stations (see page 27).
Notes
• Radio Data System display mode varies depending on the current
1 Press eTUNER on the remote control to
broadcasting station.
select “TUNER” as the input source.
• It may take a while for this unit to receive all of the Radio Data System
data from the station.
• If the signals being received are not strong enough, this unit may not be
2 Press wPTY SEEK MODE on the remote
able to utilize the Radio Data System data.
OPERATION
control to set this unit to the PTY SEEK
• In case of poor reception conditions, press ITUNING AUTO/
BASIC
MAN’L on the front panel so that the AUTO indicator disappears from
mode.
the front panel display.
The name of the program type or “NEWS” flashes on
the front panel display.
1 Tune into the desired Radio Data System
y
broadcasting station.
• To cancel the PTY SEEK mode, press wPTY SEEK MODE on
y
the remote control again.
• We recommend that you use the automatic preset tuning to tune
into the Radio Data System broadcasting stations (see page 27).
OPERATION
3 Press iPRESET l / h on the remote
ADVANCED
• You can also use PTY SEEK mode to tune into the desired Radio
control to select the desired program type.
Data System broadcasting station from the preset ones.
The remote of the selected program type appears on
2 Press wINFO on the remote control
the front panel display.
repeatedly to select the desired Radio Data
Program type Description
System display mode.
NEWS News
CTRTPTYPS
INFORMATION APPENDIX
ADDITIONAL
AFFAIRS Current affairs
Frequency display
INFO General information
SPORT Sports
Choice Function
EDUCATE Education
PS Displays the name of the Radio Data
System program currently being
DRAMA Drama
received.
CULTURE Culture
PTY Displays the type of the Radio Data
SCIENCE Science
System program currently being
received.
VARIED Light entertainment
RT Displays the information on the Radio
POP M Popular music
Data System program currently being
ROCK M Rock music
received.
M.O.R. M Middle-of-the-road music
CT Displays the current time.
(easy-listening)
LIGHT M Light classics
CLASSICS Serious classics
English
OTHER M Other music
29 En

Radio Data System tuning (Europe and Russia models only)
4 Press wPTY SEEK START on the remote
control to start searching for all the available
Radio Data System preset stations.
The name of the selected program type flashes and
the PTY HOLD indicator lights up on the front panel
display.
y
• To stop searching for stations, press wPTY SEEK START on
the remote control again.
Note
• Press wPTY SEEK START again to resume searching for
another station broadcasting the same program type.
Using the enhanced other networks
(EON) data service
Use this feature to receive the EON (enhanced other
networks) data service of the Radio Data System station
network. Once you select one of the 4 Radio Data System
program types (NEWS, AFFAIRS, INFO or SPORT), this
unit automatically searches for all the available preset
stations that are scheduled to broadcast the EON data
service of the selected program type for a certain duration
of time. When the scheduled EON data service starts, this
unit automatically switches to the local station
broadcasting the EON data service and then switches back
to the national station once the EON data service ends.
Notes
• You can use this feature only when the EON data service is available.
• The EON indicator lights up on the front panel display only when the
EON data service is being received from a Radio Data System station.
1 Tune into the desired Radio Data System
broadcasting station.
2 Make sure the EON indicator is lit on the
front panel display.
If the EON indicator is not lit on the front panel
display, select another Radio Data System program so
that the EON indicator lights up.
3 Press wEON on the remote control
repeatedly to select one of the 4 Radio Data
System program types (NEWS, AFFAIRS,
INFO or SPORT).
The name of the selected program type appears on the
front panel display.
y
• To cancel the EON feature, press wEON on the remote control
repeatedly until the name of the program type disappears and
“EON OFF” appears on the front panel display.
30 En


")