Sony VPL-HW55ES: Safety precautions for installing the unit on a ceiling
Safety precautions for installing the unit on a ceiling: Sony VPL-HW55ES
Table of contents
- About the Quick Reference Manual
- WARNING
- For the Customers in Brazil only
- Precautions On preventing internal heat build- up On repacking On watching 3D video images On LCD Projector On condensation
- Notes on Installation and Usage
- Unsuitable Conditions
- Safety precautions for installing the unit on a ceiling
- Preparing Step 1 Checking the Supplied Accessories Inserting the Batteries into the Remote Control Using the CD-ROM manual
- a b Installing the Unit Step 2
- c
- Connecting the Unit Step 3 Connecting to a VCR
- To connect to equipment with component video output connectors
- Connecting to a Computer
- Connecting to a 3D Sync Transmitter
- Selecting the Menu Language Step 4
- Projecting Step 5
- Selecting the Picture Viewing Mode
- Error Handling Warning Indicators
- 1 2 Maintenance Replacing the Lamp
- 3 6
- 7 14
- Cleaning the Air Filter
US
8
When installing the unit at high
altitudes
When using the unit at an altitude of
1,500 m (approx. 4,900 ft) or higher, set
“Cooling Setting” on the Setup
menu to
“High”. Failing to set this mode when using
the unit at high altitudes could have adverse
effects, such as reducing the reliability of
certain components.
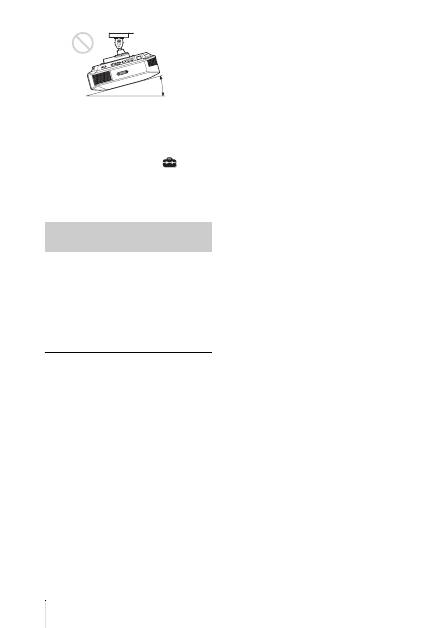
• Never mount the projector on the ceiling
or move it by yourself. Be sure to consult
with qualified Sony personnel (charged).
• When installing the unit on a ceiling, be
sure to use a safety wire, etc., to prevent
the unit from falling. Entrust the
installation to an experienced contractor or
installer.
For dealers
• When the projector is mounted on the
ceiling, a Sony bracket or recommended
equivalent must be used for installation.
• Be sure to secure the cabinet cover firmly
when installing to the ceiling firmly.
Safety precautions for
installing the unit on a ceiling
15° or more
