Yamaha RX-V565 Black: BASIC OPERATION
BASIC OPERATION: Yamaha RX-V565 Black
BASIC OPERATION
Playback
INTRODUCTION
Basic procedure
Using the SCENE function
This unit has a SCENE function that allows you to change
1 Turn on external components (TV, DVD
input sources and sound field programs with one key. Four
player, etc.) connected to this unit.
scenes are available for different usages, such as playing
movies or music. The following input sources and sound
2 Press NINPUT l / h (or gInput
field programs are provided as the initial factory settings.
selection keys) to select an input source.
PREPARATION
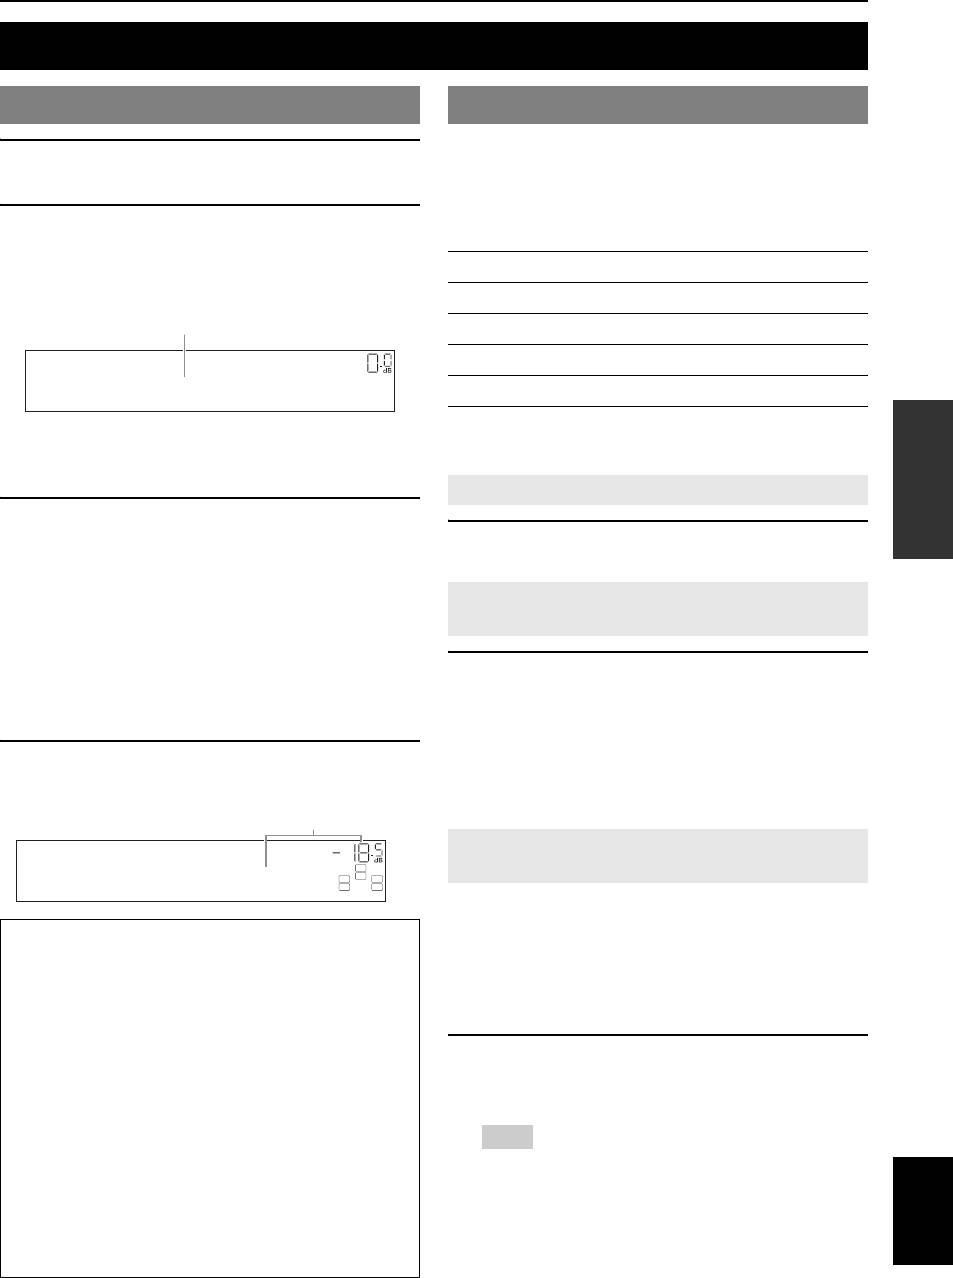
The name of the selected input source is displayed for
Input source Sound field program
a few seconds.
BD/DVD HDMI 1 Straight
Input source name
TV AV 1 Straight
VOL.
CD AV 3 Straight
RADIO TUNER 7ch Enhancer
AV1
OPERATION
y
y
• When this unit is on standby, you can turn on this unit by pressing the
• You can change the input source name displayed on the front panel
BASIC
SCENE key.
display or the OSD on the video monitor as necessary (see
page 45).
Selecting a SCENE
3 Play the external component that you have
selected as the source input, or select a radio
Press ISCENE (or kSCENE).
station on the tuner.
Refer to the operating instructions of the external
OPERATION
ADVANCED
Registering input source/sound field
component for details on playback. For selecting
program
radio stations or playback of an iPod or Bluetooth
component using this unit, see the following.
Select the desired input source/sound field
• FM/AM radio tuning (see page 28)
• Bluetooth component playback (see page 34)
program, and pressing down ISCENE (or
• iPod playback (see page 32)
kSCENE) until “SET Complete” appears on the
front panel display.
INFORMATION APPENDIX
4 Turn the PVOLUME control to adjust the
ADDITIONAL
While display in the OPTION menu or SETUP menu,
volume (or press oVOLUME +/–).
“SCENE Setting Complete” appears on the video monitor
Volu me
(OSD).
VOL.
Switching remotely controlled external
SW
LR
C
components linked to scene selections
SL SR
Volume-18.5dB
You can operate an external component with the remote
control of this unit by setting a remote control code for the
Note
external component for each input source. Setting remote
When you play back a DTS-CD, noise may be output in some
control codes for desired input sources allows you to
conditions, which may cause a speaker malfunction. Make sure
switch between external components linked to scene
that the volume is set to low before starting playback. If noise is
selections.
output, do the following.
1) When only noise is output
1 Register the remote control code of an
If a DTS bitstream signal is not properly input to this unit,
external component to the desired input
only noise is output. Connect the playback component to this
source (see page 46).
unit by digital connection and play back the DTS-CD. If the
condition is not improved, the problem may results from the
Note
playback component. Consult the manufacturer of the
• Remote control codes cannot be registered to TUNER input.
playback component.
English
2) When noise is output during playback or skip operation
Before playing back the DTS-CD, display the option menu
after selecting the input source and set “Decoder Mode” to
“DTS” (see page 35).
21 En

Playback
2 Press gInput selection keys on the
Enjoying pure hi-fi sound
remote control for the input source whose
Use Direct mode to enjoy the pure high fidelity sound of
remote control code was registered in step 1
the selected source. When Direct mode is activated, this
for about 3 seconds while pressing down
unit plays back the selected source with the least circuitry.
kSCENE key whose assignment you want
to change.
Press MDIRECT (or jDIRECT) to turn the
The external component can now be controlled
Direct mode on or off.
remotely just by selecting a scene.
The following features are disabled in Direct mode.
– sound field program, tone control
Muting audio output temporarily
– display and operation of the option menu and setup
(MUTE)
menu
y
1 Press qMUTE on the remote control to mute
• While direct mode is on, the front panel display screen becomes dim.
When setting it back off, the brightness of the screen returns to the
the audio output.
previous setting.
The MUTE indicator on the front panel display
flashes while audio output is muted.
Using the sleep timer
2 Press qMUTE again to resume audio
The sleep timer is useful if you want to go to sleep while
this unit is playing or recording a source.
output.
Press eSLEEP repeatedly to set the amount of
Adjusting high/low frequency sound
time.
(tone control)
Each time you press eSLEEP, the front panel display
changes as shown below.
You can adjust the balance of the high frequency range
(Treble) and low frequency range (Bass) of sounds output
Sleep 120min. Sleep 90min.
from the front left and right speakers to obtain desired tone.
Sleep 60min.Sleep 30min.Sleep Off
y
• The tone control of the speakers or headphones can be set separately. Set
When the sleep timer is set, the SLEEP indicator on the
the headphone tone control with the headphones connected.
front panel display lights up.
1 Press JTONE CONTROL on the front panel
Press eSLEEP on the remote control repeatedly until
“Sleep Off” appears on the front panel display.
repeatedly to select “Treble” or “Bass.”
The current setting is displayed on the front panel
Using your headphones
display.
Plug your headphones in the BPHONES jack on
the front panel.
Treble
0.0dB
When you select a sound field program while using the
headphones, the mode is automatically set to SILENT
2 Adjust the frequency range using
CINEMA mode.
KPROGRAM l / h.
Control range: –10.0 dB to +10.0 dB
Notes
The display returns the previous screen soon after you
• When you connect headphones, no signals are output at the speaker
terminals.
release the key.
• When multi-channel signals are processed, sounds in all channels are
divided to left and right channels.
Notes
• The tone control settings are not effective during playback in direct
mode.
• If you set the balance extremely off, sounds may not match those from
other channels well.
22 En

Playback
Displaying input signal information Changing information on the front
panel display
When HDMI1-4 or AV1-4 is selected as the input source,
INTRODUCTION
you can display audio/video signal information.
Information displayed on the front panel display can be
y
changed by pressing CINFO (or iINFO).
• Input signal information is displayed on both a video monitor and the
The following information can be displayed according to
front panel display.
• Information on the input signal is also displayed on the front panel
the input source.
display. You can select the desired item using nCursor k / n.
For example, if you select HDMI1 input and display “DSP
Program,” the following screen appears on the front panel
1 Select the desired input source, and press
display.
mOPTION.
Input source
PREPARATION
The option menu for the selected input source is
displayed (see page 35).
2 Press nCursor k / n to select “Signal Info,”
Straight
and press nENTER.
Sound field program (DSP program)
Information on input signals is displayed. See
page 36 on messages displayed on the screen.
HDMI1-4: Input, DSP Program, Audio Decoder
Notes
AV1-6: Input, DSP Program, Audio Decoder
OPERATION
• If an HDMI related error occurs, error information is displayed at
AUDIO1-2: Input, DSP Program, Audio Decoder
BASIC
the bottom of the screen.
V-AUX: Input, DSP Program, Audio Decoder
• Information on the input signal is also displayed on the front panel
display. You can select the desired item using nCursor k / n.
FM/AM: Frequency, Program Service, Program
Type, Radio Text, Clock Time, DSP
3 To end the information display, press
Program, Audio Decoder
mOPTION.
iPod (Simple remote mode): Input, DSP Program, Audio Decoder
iPod (Menu browse mode): (in PlayInfo displayed) Artist, Album,
Song, DSP Program, Audio Decoder
OPERATION
ADVANCED
(in Play menu displayed) List
Bluetooth: Input, DSP Program, Audio Decoder
INFORMATION APPENDIX
ADDITIONAL
English
23 En
Enjoy the sound field programs
This unit is also equipped with a Yamaha digital sound field processing (DSP) chip. You can enjoy multi-channel sounds
for almost all input sources using various sound field programs stored on the chip and a variety of surround decoders.
Selecting sound field programs
■ Selecting a sound field program on the front panel
Press KPROGRAM l / h repeatedly to select a desired sound field program.
■ Selecting a sound field program with the remote control
Perform the following operations depending on the category of the sound field programs.
Sound field programs for movies/TV programs ...............................Press jMOVIE repeatedly.
Sound field programs for music........................................................Press jMUSIC repeatedly.
Stereo reproduction ...........................................................................Press jSTEREO repeatedly.
Multi-channel stereo reproduction....................................................Press jSTEREO repeatedly.
Compressed music enhancer.............................................................Press jSTEREO repeatedly.
Surround decoder ..............................................................................Press jSUR.DECODE repeatedly.
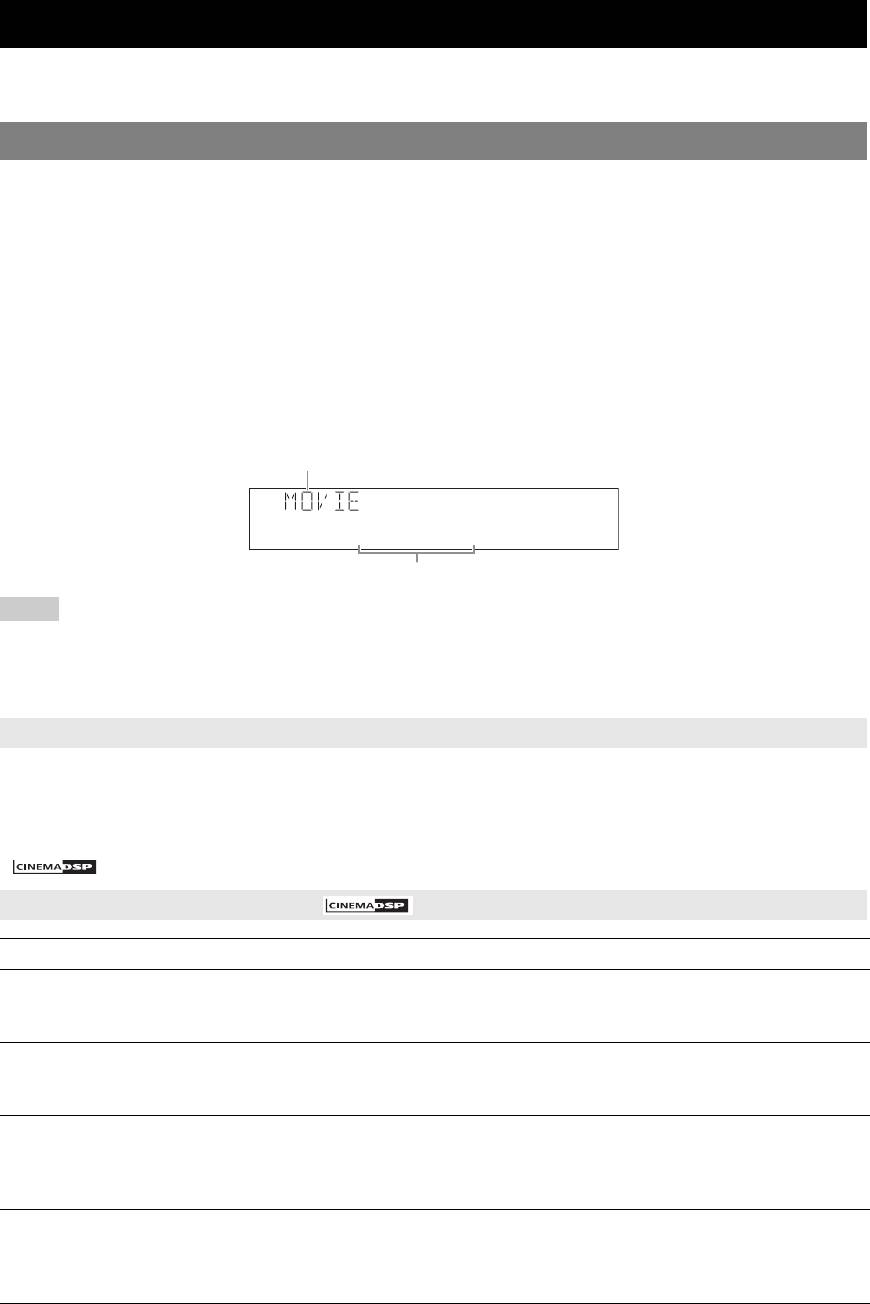
For example, if you select “Sci-Fi” in “movie/TV program,” the following screen appears on the front panel display.
Sound field program category
Sci-Fi
Program name
Notes
• Sound field programs are stored for each input source. When you change the input source, the sound field program previously selected for that input
source is applied again.
• When you play back the Dolby Digital Plus, Dolby TrueHD, DTS Express, DTS-HD Master Audio, or DTS-HD High Resolution Audio sources, this unit
does not apply any sound field program other than the surround decoder and they are played back in straight decode mode.
• If the sampling frequency of an input source is higher than 96 kHz, this unit does not apply any sound field programs.
Sound field program descriptions
This unit provides sound field programs for multiple categories including music, movies and stereo reproduction. Select
a sound field program based on your listening preference, not merely on the name of the program, etc.
y
• You can check what speakers are currently outputting signals with the speaker indicators on the front panel display (see page 6).
• Each program can adjust sound field elements (sound field parameters). For details, see page 38.
• in the table indicates the sound field program with CINEMA DSP.
For movie/TV program sources
Program Descriptions
Standard This program creates a sound field emphasizing the surrounding feeling without disturbing the original acoustic
positioning of multi-channel audio such as Dolby Digital and DTS. It has been designed with the concept of “an
ideal movie theater,” in which the audience is surrounded by beautiful reverberations from the left, right and rear.
Spectacle This program represents the spectacular feeling of large-scale movie productions.
It reproduces a broad theater sound field matching the cinemascope and wider-screen movies with an excellent
dynamic range from very small to extremely large sound.
Sci-Fi This program clearly reproduces the finely elaborated sound design of the latest science fiction and special effects-
featuring movies.
You can enjoy a variety of cinematographically created virtual spaces reproduced with clear separation between
dialog, sound effects and background music.
Adventure This program is ideal for precisely reproducing the sound design of action and adventure movies.
The sound field restrains reverberations but puts emphasis on reproducing a powerful space expanded widely to
the left and right. The reproduced depth is also restrained relatively to ensure the separation between audio
channels and the clarity of the sound.
24 En
Enjoy the sound field programs
Program Descriptions
Drama This sound field features stable reverberations that match a wide range of movie genres from serious dramas to
musicals and comedies. The reverberations are modest but offer an optimum 3D feeling, reproducing effects tones
INTRODUCTION
and background music softly but cubically around clear words and center positioning in a way that does not fatigue
the listener even after long hours of viewing.
Mono Movie This program is provided for reproducing monaural video sources such as a classic movie in an atmosphere of a
good old movie theater.
The program produces the optimum expansion and reverberation to the original audio to create a comfortable
space with a certain sound depth.
Sports This program allows the listeners to enjoy stereo sport broadcasts and studio variety programs with enriched live
PREPARATION
feeling. In sports broadcasts, the voices of the commentator and sportscaster are positioned clearly at the center
while the atmosphere of the stadium expands in an optimum space to offer the listeners with a feeling of presence
in the stadium.
Action Game This sound field has been suitable for action games such as car racing and FPS games. It uses the reflection data
that limits the effects range per channel in order to offer a powerful playing environment with a being-there feeling
by enhancing various effects tones while maintaining a clear sense of directions.
Roleplaying Game This sound field has been suitable for role-playing and adventure games. It combines the sound field effects for
movies and the sound field designs for “Action Game” to represent the depth and 3D feeling of the field during
OPERATION
play, while offering movie-like surround effects in the movie scenes in the game.
BASIC
For audio music sources
Program Descriptions
Hall in Munich This sound field simulates a concert hall with approximately 2500 seats in Munich, using stylish wood for the
interior finishing as normal standards for European concert halls. Fine, beautiful reverberations spread richly,
OPERATION
ADVANCED
creating a calming atmosphere. The listener’s virtual seat is at the center left of the arena.
Hall in Vienna This is an approximately 1700-seated, middle-sized concert hall with a shoebox shape that is traditional in Vienna.
Pillars and ornate carvings create extremely complex reflections from all around the audience, producing a very
full, rich sound.
Chamber This program creates a relatively wide space with a high ceiling like an audience hall in a palace. It offers pleasant
reverberations that are suitable for courtly music and chamber music.
INFORMATION APPENDIX
ADDITIONAL
Cellar Club This program simulates a live house with a low ceiling and homey atmosphere. A realistic, live sound field
features powerful sound as if the listener is in a row in front of a small stage.
The Roxy Theatre This is the sound field of a rock music live house in Los Angeles, with approximately 460 seats. The listener’s
virtual seat is at the center left of the hall.
The Bottom Line This is the sound field at stage front in The Bottom Line, that was a famous New York jazz club once. The floor
can seat 300 people to the left and right in a sound field offering real and vibrant sound.
Music Video This sound field offers an image of a concert hall for live performance of pop, rock and jazz music. The listener
can indulge oneself in a hot live space thanks to the presence sound field that emphasizes the vividness of vocals
and solo play and the beat of rhythm instruments, and to the surround sound field that reproduces the space of a
big live hall.
For stereo reproduction
Program Descriptions
2ch Stereo Use this program to mix down multi-channel sources to 2 channels.
y
• When multi-channel signals are input, they are downmixed to 2 channels and output from the front left and right speakers.
English
25 En
Enjoy the sound field programs
For Multi-channel stereo reproduction
Program Descriptions
7ch Stereo Use this program to output sound from all speakers. When you play back multi-channel sources, this unit
downmixes the source to 2 channels, and then outputs the sound from all speakers. This program creates a larger
sound field and is ideal for background music at parties, etc.
The Compressed Music Enhancer
Program Descriptions
Straight Enhancer Use this program to enhance the sound nearest to the original depth and width of the 2-channel or multi-channel
compression artifacts.
7ch Enhancer Use this program to play back compression artifacts in 7-channel stereo.
Surround decode mode
Select this program to playback sources with selected decoders. You can playback 2-channel sources on multi-channels.
Decoder Descriptions
Pro Logic Dolby Pro Logic decoder suitable for all kinds of sources.
PLIIx Movie /
Dolby Pro Logic IIx (or Dolby Pro Logic II) decoder suitable for movies. If your listening environment is as
PLII Movie
follows, you cannot select the Dolby Pro Logic IIx decoder.
• When the surround back speakers are not connected
• When headphones are connected
PLIIx Music /
Dolby Pro Logic IIx (or Dolby Pro Logic II) decoder suitable for music. If your listening environment is as
PLII Music
follows, you cannot select the Dolby Pro Logic IIx decoder.
• When the surround back speakers are not connected
• When headphones are connected
PLIIx Game /
Dolby Pro Logic IIx (or Dolby Pro Logic II) decoder suitable for games. If your listening environment is as
PLII Game
follows, you cannot select the Dolby Pro Logic IIx decoder.
• When the surround back speakers are not connected
• When headphones are connected
Neo:6 Cinema DTS decoder suitable for movies.
Neo:6 Music DTS decoder suitable for music.
y
• An input source is played back in straight decode mode (see page 27) when multi-channel audio signal is input.
26 En

Enjoy the sound field programs
Enjoying unprocessed input sources
Enjoy sound field programs with
(Straight decoding mode)
headphones (SILENT CINEMA™)
INTRODUCTION
In straight decoding mode, sounds are reproduced without
SILENT CINEMA allows you to enjoy multi-channel
sound field effect. 2-channel stereo sources are output
sources with your headphones. SILENT CINEMA mode
from only the front left and right speakers. Multi-channel
is automatically selected when you connect the headphone
input sources are decoded straight into the appropriate
plug to the PHONES jack.
channels and multi-channel sounds are reproduced
Note
without a sound field effect.
• SILENT CINEMA mode is not available in the following conditions.
– 2ch Stereo of the sound field program is selected.
1 To enable straight decoding mode, press
– direct mode or straight decoding mode is selected.
PREPARATION
LSTRAIGHT (or jSTRAIGHT).
“Straight” appears on the front panel display.
2 To cancel straight decoding mode, press
LSTRAIGHT (or jSTRAIGHT) again.
A sound field program name appears on the front
panel display, and sound is reproduced with that
sound field effect.
OPERATION
BASIC
Enjoying sound field programs without
surround speakers (Virtual CINEMA
DSP)
Virtual CINEMA DSP allows you to enjoy DSP sound
field surround effects even without any surround speakers
by using virtual surround speakers. You can even enjoy
OPERATION
ADVANCED
Virtual CINEMA DSP using a minimal two-speaker
system that does not include a center speaker.
When “Sur. L/R SP” in the setup menu is set to “None”
(see page 42), this unit operates in Virtual CINEMA DSP
mode.
Note
INFORMATION APPENDIX
• Virtual CINEMA DSP mode is not available in the following conditions
ADDITIONAL
even if you set “Sur. L/R SP” to “None” (see page 42).
– headphone plug is connected to the PHONES jack.
– 7ch Stereo of the field sound program is selected.
– direct mode or straight decoding mode is used.
English
27 En

FM/AM tuning
The FM/AM tuner of this unit provides the following two
y
• You can switch between stereo and monaural for FM broadcast in the
modes for tuning.
option menu (see page 36).
■ Frequency tuning mode (Auto tuning /
4 To tune in by direct frequency tuning, enter
Manual tuning)
the frequency of the desired station using
You can tune in to a desired FM/AM station by searching
the numeric keys on the remote control.
or specifying its frequency.
Enter only integers. For example, if you want to set
■ Preset tuning mode (Preset tuning)
the frequency to 88.90 MHz, enter “8890” using
You can preset the frequencies of FM/AM stations by
sNumeric keys.
registering them to specific numbers, and later just select
those numbers to tune in.
Notes
• When you press sNumeric keys during preset tuning, a
Note
preset number is selected. Set tuning mode to normal tuning mode
using HTUNING l / h (or hTUNING k / n) prior to the
• Adjust the FM/AM antennas connected to this unit for the best reception.
operation.
• “Wrong Station!” appears on the front panel display when you
Tuning in to the desired FM/AM station
enter a frequency that is out of receivable range. Make sure that the
entered frequency is correct.
(Frequency tuning)
• You do not need enter zero if it comes at the end of a decimal
number. For example, enter “925” for “92.50 MHz” or “940” for
“94.00MHz.”
1 Press NINPUT l / h (or gTUNER)
repeatedly and switch the input source to
Registering FM/AM stations and
“TUNER.”
tuning in (Preset tuning)
2 Press FFM (hFM) or GAM (hAM) to select
You can register up to 40 FM/AM stations (Preset) using
a band.
“Automatic station preset” or “Manual station preset.”
“FM” or “AM” appears on the front panel display
Registering stations by automatic station
according to the band that you have selected.
preset
3 Press HTUNING l / h (or hTUNING k /
The tuner automatically detects FM stations with strong
n) to specify the frequency.
signals and registers up to 40 stations. AM stations cannot
To adjust the frequency to a higher range, press h (or
be automatically registered. Use manual station preset.
k). To adjust it to the lower range, press l (or n).
The TUNED indicator on the front panel display
1 Press NINPUT l / h repeatedly (or press
lights up when the tuner is tuned in to a station. The
gTUNER) to switch the input source to
STEREO indicator also lights up if the program being
“TUNER.”
broadcasted is in stereo.
2 Press mOPTION on the remote control.
STEREO
TUNED
The option menu screen for setting options of tuner
input appears on the front panel display.
FM92.50MHz
y
The frequency changes in the following manner according
• For details on the option menu, see page 35.
to how you press HTUNING l / h (or hTUNING k
• The option menu is displayed on monitor components.
/ n).
3 Select “Auto Preset,” and press nENTER.
When you press the key more than 1 second
The tuner searches the frequency of a station that is
detectable around the current frequency. This is effective
when the tuner can receive strong signals without any
Auto Preset
interference. Once the search starts, release the key.
Automatic station preset starts about 5 seconds later
When you keep holding the key, the search continues even
from the lowest frequency upwards.
when a station is detected. This is useful when you want to
tune in to a specific station.
When you press and release the key
The tuner increases or decreases the frequency in steps.
Use this method when the tuner cannot receive strong
signals and stations are skipped during the search. You can
listen to better quality sound even when the tuner cannot
receive a strong signal.
28 En
FM/AM tuning
y
• You can select the preset number at which the preset starts by
4 Press DMEMORY (or hMEMORY) again to
pressing hPRESET k / n or nCursor k / n while the front
register.
panel display is in the state as shown in the below figure.
• To cancel registration, press nRETURN on the remote control.
When registration is complete, the screen returns to
INTRODUCTION
the original state.
Status
To end the operation, press mOPTION.
y
• To cancel registration, press nRETURN on the remote control
or leave the tuner without any operations for about 30 seconds.
01:FM87.50MHz
Calling a preset station (Preset tuning)
Preset number Frequency
You can call preset stations registered by automatic station
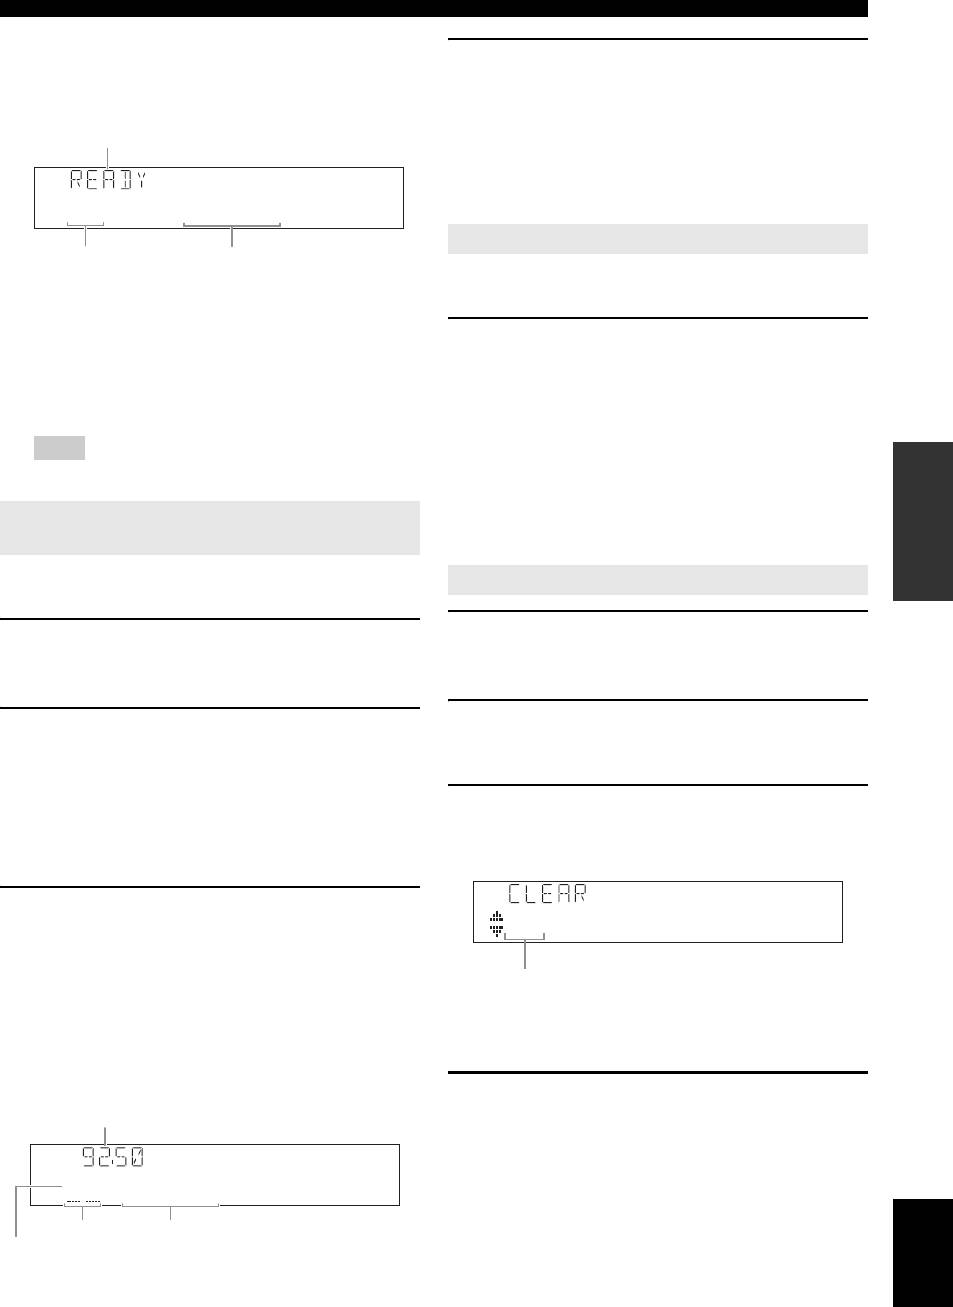
During the automatic station preset, the upper area of
PREPARATION
preset or manual station preset.
the screen changes as follows: READY → SEARCH
→ MEMORY each time a station is registered.
Press EPRESET l / h (or hPRESET k / n) to
When registration is complete, “FINISH” appears
select a preset number.
and the option menu screen automatically reappears.
When you press mOPTION on the remote control,
y
• Preset numbers to which no stations are registered will be skipped.
the screen returns to the original state.
• When “No Presets” or “No Presets in Memory” is displayed it means that
no stations are registered. See page 28 and register stations.
Note
• You can directly select a preset number by pressing a sNumeric
OPERATION
• Only Radio Data System broadcasting station are stored
keys while calling a preset station. “Empty” appears on the display if
automatically by automatic preset tuning (Europe model only).
you enter a preset number to which no station is registered. “Wrong
BASIC
Num.” appears if you enter an invalid number.
Registering stations by manual station
• When you press sNumeric keys during normal tuning, a preset
number is selected. Set tuning mode to preset tuning mode using
preset
EPRESET l / h (or hPRESET k / n) prior to the operation.
You can manually register AM stations or FM stations
Clearing the preset station
with weak signals.
1 Press NINPUT l / h repeatedly (or press
OPERATION
1 Tune in to a station referring to “Tuning in to
ADVANCED
gTUNER) to switch the input source to
the desired FM/AM station (Frequency
“TUNER.”
tuning)” (see page 28).
2 Press mOPTION on the remote control.
2 Press DMEMORY (or hMEMORY).
The option menu screen for setting options of tuner
“Manual Preset” appears on the front panel display,
input appears on the front panel display.
followed soon by the preset number to which the
station will be registered.
INFORMATION APPENDIX
ADDITIONAL
3 Display “Clear Preset” using the nCursor k
y
/ n and press nENTER.
• By pressing down DMEMORY (or hMEMORY) for more
than 2 seconds, you can skip step 3 and register the preset number
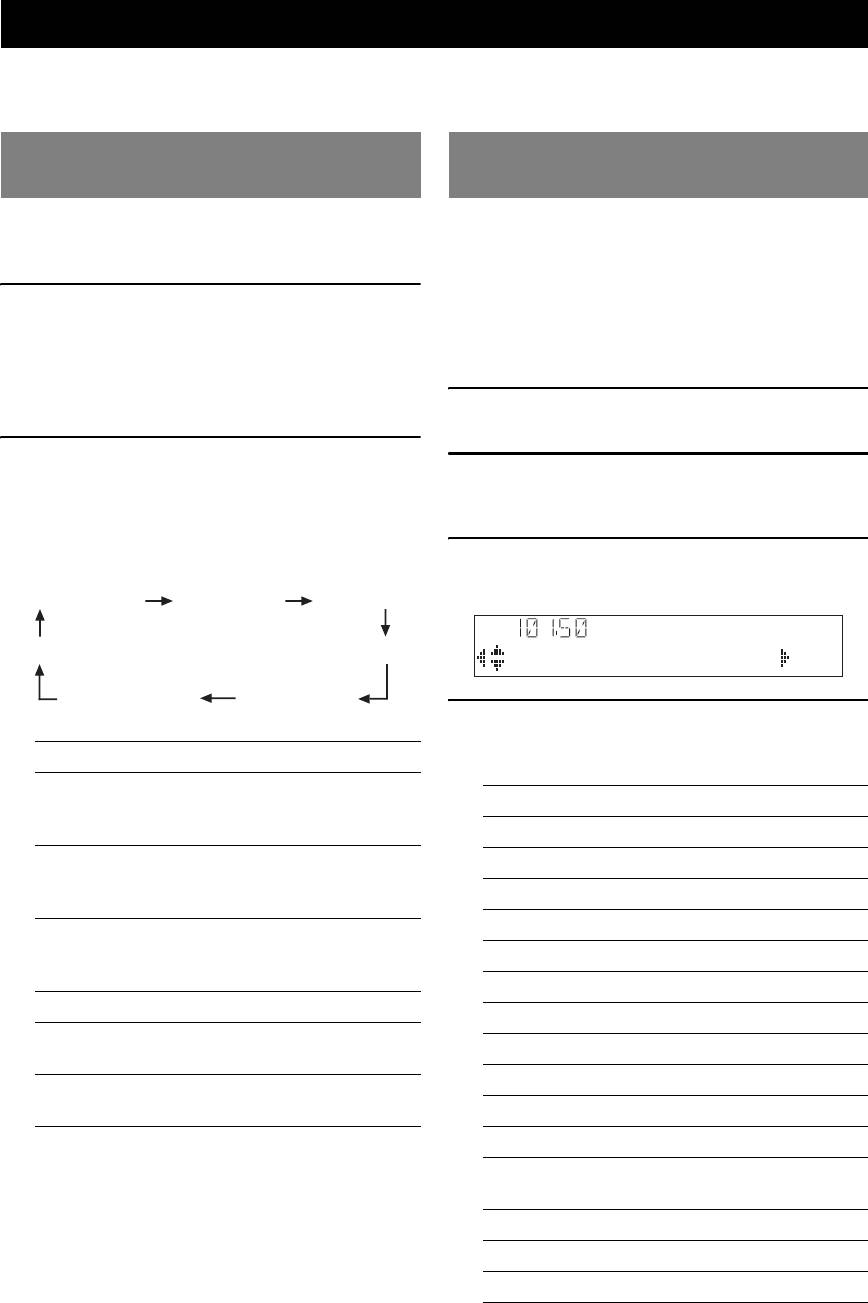
The following screen appears on the display.
to be one higher than the last preset number.
3 Press EPRESET l / h (or hPRESET k / n)
on the remote control to select the preset
01:FM92.50MHz
number to which the station will be
registered.
Preset number of the registered station you want to clear.
When you select a preset number to which no station
is registered, “Empty” appears on the display. When
y
• You can cancel the operation and return to the option menu screen
you select a registered preset number, a registered
by pressing nRETURN on the remote control.
frequency is displayed on the right of the preset
number.
4 Select the preset number of the registered
New registered frequency
station you want to clear using the nCursor
k / n and press nENTER.
The preset station registered to the selected preset
number is cleared. To clear the registration of
01:Empty
multiple preset numbers, repeat the above steps.
English
Flashing
Empty (or frequency that is currently
To end the operation, press mOPTION.
Preset
registered to the preset number)
number
y
• You can select a preset number using the sNumeric keys.
29 En
Radio Data System tuning (Europe and Russia models only)
Radio Data System is a data transmission system used by FM stations in many countries. This unit can receive various
Radio Data System data such as “Program Service,” “Program Type,” “Radio Text,” “Clock Time,” and “EON”
(enhanced other networks) when receiving Radio Data System broadcasting stations.
Displaying the Radio Data System
Selecting the Radio Data System
information
program type (PTY Seek mode)
Use this feature to display the 4 types of the Radio Data
Use this feature to select the desired radio program by
System information: “Program Service,” “Program Type,”
program type from the all preset Radio Data System
“Radio Text,” “Clock Time.”
broadcasting stations.
y
1 Tune into the desired Radio Data System
• You must preset stations prior to using PTY Seek. When “No Presets” or
broadcasting station.
“No Presets in Memory” is displayed, it means that no stations are
registered. See page 29 and register stations.
y
• You can do operation of PTY Seek while looking at the video monitor
• We recommend that you use the automatic preset tuning to tune
screen.
into the Radio Data System broadcasting stations (see page 28).
• You can also use PTY Seek mode to tune into the desired Radio
1 Press gTUNER on the remote control to
Data System broadcasting station from the preset ones.
select “TUNER” as the input source.
2 Press cINFO on the front panel (or iINFO
2 Press mOPTION on the remote control.
on the remote control) repeatedly until the
The tuner option menu appears. See page 35 for
desired information is displayed.
details of the option menu.
Information on the display changes as you press the
key. The kind of information is displayed for a while
3 Press nCursor k / n on the remote control
and then the information is displayed.
to select “PTY Seek,” and press nENTER.
ProgramService ProgramType RadioText
Frequency display
ClockTime
PTY:SPORT
DSPProgramAudioDecoder
Contents of information are as follows.
4 Press nCursor l / h on the remote control
to select a program type for search.
Choice Function
You can select a program type from the following.
Program
Displays the name of the Radio Data
Program type Description
Service
System program currently being
received.
NEWS News
Program Type Displays the type of the Radio Data
AFFAIRS Current affairs
System program currently being
INFO General information
received.
SPORT Sports
Radio Text Displays the information on the Radio
Data System program currently being
EDUCATE Education
received.
DRAMA Drama
Clock Time Displays the current time.
CULTURE Culture
DSP Program Displays the currently selected sound
SCIENCE Science
field program.
VARIED Light entertainment
Audio Decoder Displays the currently selected
surround decoder.
POP M Popular music
ROCK M Rock music
M.O.R. M Middle-of-the-road music
(easylistening)
LIGHT M Light classics
CLASSICS Serious classics
OTHER M Other music
30 En

Radio Data System tuning (Europe and Russia models only)
5 To search a station, press nCursor k / n on
5 After selecting a program type, press
the remote control.
mOPTION to end the option menu.
If you press nCursor n, this unit searches
When an affiliate station starts broadcasting the
INTRODUCTION
downward from the current frequency. If you press
selected program, this unit automatically tunes in to
nCursor k, it searches upward from the current
that station. When the program ends, it automatically
preset station.
switches back to the previous station.
When a station is detected, the search stops. If the
The EON is switches off in the following cases:
station is not the desired one, Press the same key to
– when the EON is activated once
continue the search.
– when this unit is set to standby before EON is
To end the search, press mOPTION.
activated
– when another station is selected before EON is
PREPARATION
Note
activated
• If “Not found” is displayed, no station applicable for the selected
program type is detected.
y
• To cancel the EON, do steps 1 through 5 again and select
“EON:OFF.”
Using the enhanced other networks
(EON) data service
Use this feature to receive the EON (enhanced other
networks) data service of the Radio Data System station
OPERATION
network. Once you select one of the 4 Radio Data System
BASIC
program types (NEWS, AFFAIRS, INFO or SPORT), this
unit automatically searches for all the available preset
stations that are scheduled to broadcast the EON data
service of the selected program type for a certain duration
of time. When the scheduled EON data service starts, this
unit automatically switches to the local station
broadcasting the EON data service and then switches back
OPERATION
ADVANCED
to the national station once the EON data service ends.
y
• You can operate EON while looking at the video monitor screen.
1 Tune into the desired Radio Data System
broadcasting station.
INFORMATION APPENDIX
2 Press mOPTION on the remote control.
ADDITIONAL
The tuner option menu appears. For details on the
option menu, see page 35.
3 Press nCursor k / n on the remote control
to select “EON,” and press nENTER.
“EON:OFF” appears on the front panel display.
Current frequency
EON:OFF
y
• When “No Presets” or “No Presets in Memory” is displayed it
means that no stations are registered. See page 29 and register
stations.
• If the affiliate station of the selected preset station or the EON data
service is not available, “Not Available” appears.
4 Press nCursor l / h to select a program
English
type.
NEWS AFFAIRS INFO
OFF
SPORT
31 En

Using iPod™
Once you have stationed your iPod in a Yamaha iPod universal dock (such as the YDS-11, sold separately) connected to
the DOCK terminal on the rear panel of this unit (see page 16), you can enjoy playback of your iPod using the supplied
remote control or the menu displayed on the video monitor. You can also use the Compressed Music Enhancer mode of
this unit to improve the sound quality of the compression artifacts (such as MP3 format) stored on your iPod (see
page 24).
Notes
• iPod touch, iPod (Click and Wheel including iPod classic), iPod nano, and iPod mini are supported.
• Some features may not be compatible depending on the model or the software version of your iPod.
• Some features may not be available depending on the model of Yamaha iPod universal dock. The following sections describe the procedure when using
the YDS-11.
y
• Once the connection between your iPod and this unit is complete, “iPod connected” appears on the front panel display.
• For a complete list of status messages that appear on the front panel display and on the video monitor, see the “iPod” section on page 52.
Controlling iPod in menu browse mode
Controlling iPod™
You can perform advanced iPod operations using the
You can control your iPod when you set it in the iPod
remote control while looking at the menu displayed on the
universal dock and switch the input source to DOCK. The
video monitor. You can browse the song files or video files
operations of your iPod can be done with the aid of the
stored on your iPod and displayed on the monitor, and
video display (menu browse mode) or without it (simple
change the settings of your iPod to suit your personal
remote mode).
preferences. You cannot directly control your iPod in this
When you connect your iPod to this unit, you can perform
mode.
the following operations with the remote control.
y
Key Function
• “_”(underscore) is displayed for characters that this unit cannot display.
ENTER Subsequent menu
1 Change the input source to “iPod (DOCK)”
k Menu up
using NINPUT l / h (or gDOCK).
n
n Menu down
2 Press pDISPLAY on the remote control.
l Previous menu
The following screen appears on the video monitor.
h Subsequent menu
iPodTop
w Search backward (Press and hold)
Music>
Videos>
f Search forward (Press and hold)
a Skip forward
b Skip backward
r
s Stop
3 Press nCursor k / n to select “Music,”
Pause (Menu browse mode)
“Videos” or “Settings” and press nCursor
e
Play/Pause (Simple remote mode)
h.
• Select “Music” to browse music files.
Play (Menu browse mode)
p
• Select “Videos” to browse video files.
Play/Pause (Simple remote mode)
Switch between Menu browse mode and
Note
p DISPLAY
Simple remote mode
• “Videos” will not be displayed when your iPod or Yamaha iPod
universal dock do not support the browser function for browsing
video files.
Controlling iPod in simple remote mode
You can perform basic iPod operations (play, stop, skip,
etc.) using the supplied remote control without displaying
the menu on the video monitor. You can also directly
control your iPod in this mode.
32 En
Using iPod™
4 Press nCursor k / n / l / h to select a
menu item and then nENTER to start
You can use a special playback function such as shuffle
playback.
playback and repeat playback by setting the option menu.
INTRODUCTION
Menu items of “Music”
1 Press pDISPLAY to switch to menu browse
Playlists, Artists, Albums, Songs, Genres, Composers
mode while “DOCK” is selected as the input
• Playlists > Songs
• Artists > Albums > Songs
source.
• Albums > Songs
The option menu can be displayed only in menu
• Songs
browse mode. Press pDISPLAY to switch to menu
• Genres > Artists > Albums > Songs
browse mode before starting shuffle or repeat
PREPARATION
• Composers > Albums > Songs
playback.
Menu items of “Videos”
2 Press mOPTION.
Menu items vary depending on the files stored on
The option menu is displayed.
your iPod.
3 Press nCursor k / n to select the desired
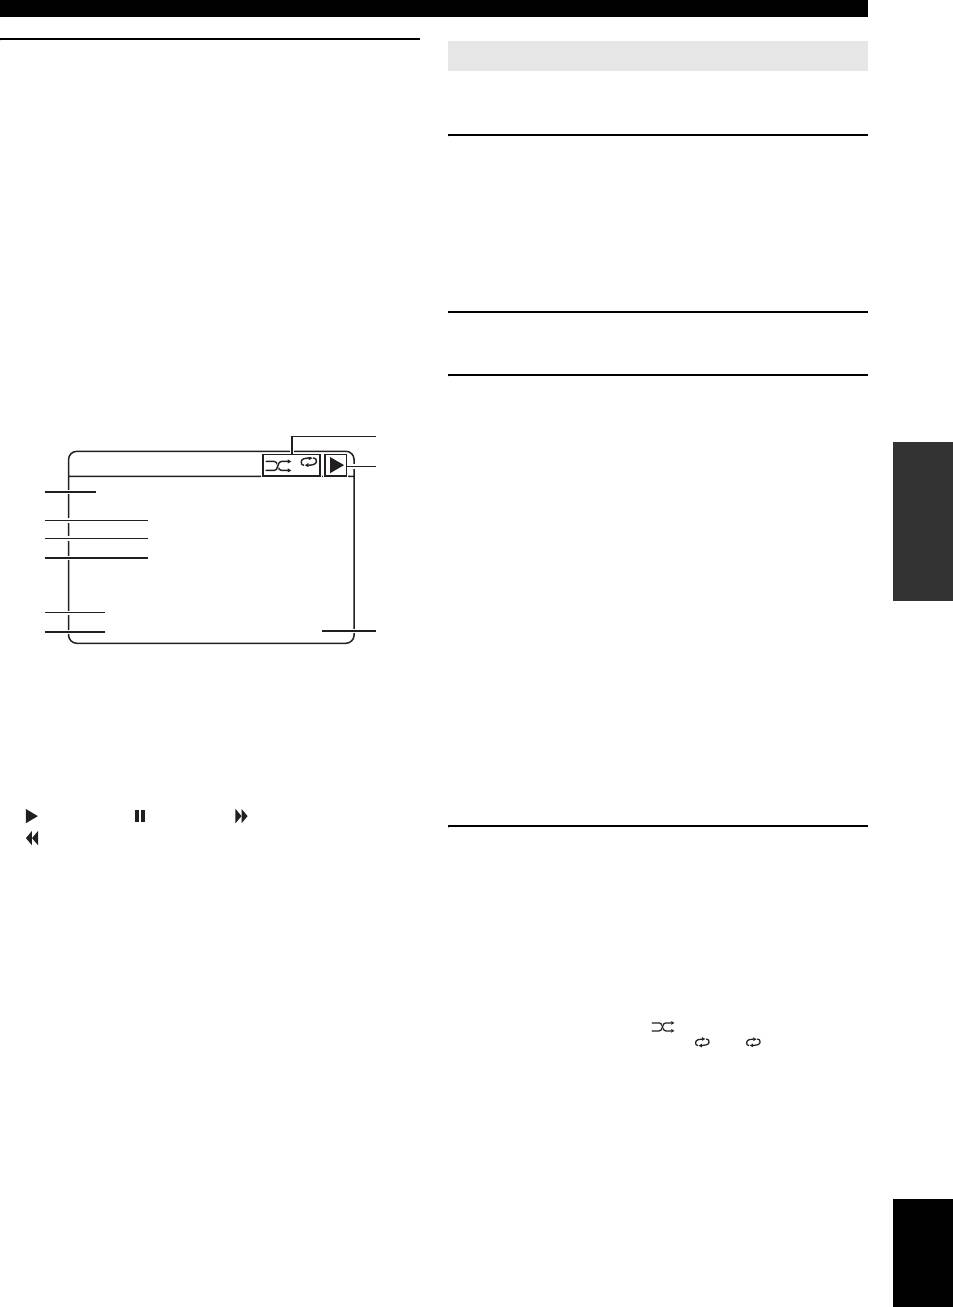
■ Description of the play information display
playback function, Shuffle or Repeat, then
press nENTER.
OPERATION
iPod[Play]
All
The following playback styles are available
depending on the playback function selected.
BASIC
a
1/9
b
FrankieZipper
Shuffle: Plays back songs or albums in random
c
Made-to-order
order (Choices: Off, Songs, Albums).
d
RoadtoIndia
• Select “Off” if you do not want to play back in
random order.
e
• Select “Songs” to play back songs in random order.
|||||;;;;;;;;;;;;;;;
f
0:51-7:44
OPERATION
• Select “Albums” to play back albums in random
ADVANCED
order.
a Track number/total tracks
b Artist name
Repeat: Plays back songs or albums repeatedly
c Album title
(Choices: Off, One, All).
d Song title
• Select “Off” if you do not want to play back
e Progress bar
repeatedly.
f Elapsed time
• Select “One” to repeat each song.
INFORMATION APPENDIX
g Shuffle and repeat icons
ADDITIONAL
• Select “All” to repeat all songs.
h (playback), (pausing), (search forward) and
(search backward)
4 Select the desired style using nCursor l /
i Remaining time
h.
y
The style is selected. Playback starts with the
• You can change information screens on the front panel display using
function selected in step 3.
CINFO (or iINFO) (see page 23). Items displayed on the front panel
display vary depending on mode that is currently selected.
To return to the previous screen, press nRETURN.
To return to the previous playback function, redo the
above steps.
y
• When the shuffle function is on, “ ” appears on the video monitor.
• When “Repeat” is set to “One” or “All,” “ ” or “ ” appears on the
video monitor.
English
33 En
g
Shuffle/repeat playback
h
i
1 All

Using Bluetooth™ components
You can connect a Yamaha Bluetooth wireless audio receiver (such as YBA-10, sold separately) to the DOCK terminal of
this unit and enjoy the music contents stored in your Bluetooth component (such as a portable music player) without
wiring between this unit and the Bluetooth component. You need to perform “Pairing” the connected Bluetooth wireless
audio receiver and your Bluetooth component in advance.
Note
• This unit supports A2DP (Advanced Audio Distribution Profile) of the Bluetooth profile.
5 Make sure the Bluetooth component
Pairing the Bluetooth™ wireless audio
recognizes the Bluetooth wireless audio
receiver and your Bluetooth™
receiver.
component
If the Bluetooth have recognized the Bluetooth
wireless audio receiver, “YBA-10 YAMAHA,” for
“Pairing” refers to the operation of registering a Bluetooth
instance, is displayed in the Bluetooth device list.
component for Bluetooth communications. Pairing must
be performed when using a Bluetooth component with the
6 Select the Bluetooth wireless audio receiver
Bluetooth wireless audio receiver connected to this unit
from the Bluetooth device list, and enter a
for the first time or if the pairing data has been deleted.
path key “0000” into the Bluetooth
y
• You only need the pairing operation for the first time that you use the
component.
Bluetooth component with the Bluetooth wireless audio receiver.
When pairing is complete, “Completed” appears on
• Pairing requires operations on this unit and on the other component with
the front panel display.
which Bluetooth communications are to be established. If necessary,
refer to the other component’s operating instructions.
y
• The Yamaha Bluetooth wireless audio receiver can be paired with up to
■ Pairing the Bluetooth wireless audio receiver
eight Bluetooth components. When pairing is conducted successfully
and your Bluetooth component
with a ninth component and the pairing data is registered, the pairing data
for the least recently used other component is cleared.
To ensure security, a time limit of 8 minutes is set for
the pairing operation. You are recommended to read
Playback of the Bluetooth™
and fully understand all the instructions before starting.
component
1 Change the input source to “DOCK” using
1 Change the input source to “DOCK” using
NINPUT l / h (or gDOCK).
NINPUT l / h (or gDOCK).
2 Turn on the Bluetooth component you want
2 Press mOPTION.
to pair with and set it to pairing mode.
3 Press nCursor n repeatedly to select
For details on operation of the Bluetooth component,
“Connect” and press nENTER.
refer to its operating instructions.
After you execute “Connect,” communication with
3 Press mOPTION.
the Bluetooth component is established. When the
The option menu for DOCK input appears on the
connected Bluetooth wireless audio receiver
video monitor.
recognizes the Bluetooth component, “BT
Connected” appears on the front panel display.
DOCKOPTION
y
• When you press nENTER on the remote control, the connected
.VolumeTrim
Connect
Bluetooth wireless audio receiver searches and connects to the last
Pairing
connected Bluetooth component. If the Bluetooth wireless audio
receiver cannot find the Bluetooth component, “Not found”
appears on the front panel display.
[
• To disconnect the Bluetooth wireless audio receiver from the
[]/[]:Up/Down
[
[ENTER]:Select
Bluetooth component, display the option menu again, select
“Disconnect,” and press nENTER.
4 Press nCursor n to select “Pairing” and
4 Start playback of the Bluetooth component.
press nENTER.
“Searching” appears on the front panel display and
the pairing operation starts.
y
• To cancel pairing, press nRETURN.
• You can also start pairing operation by pressing and holding
DMEMORY on the front panel.
34 En


