Sony CPD-E200E: Additional settings (OPTION)
Additional settings (OPTION): Sony CPD-E200E
Table of contents
- Owner’s Record
- Table of Contents
- Precautions
- Identifying parts and controls
- Setup Step 1:Connect your monitor to your computer Step 2:Connect the power cord
- Step 3:Turn on the monitor and Selecting the on-screen menu computer language (LANG)
- Customizing Your Monitor Navigating the menu
- Adjusting the brightness and contrast Adjusting the centering of the picture (CENTER) Adjusting the size of the picture (SIZE)
- Enlarging or reducing the picture Adjusting the color of the picture (ZOOM) (COLOR) Adjusting the shape of the picture (GEOM) Adjusting the convergence (CONV)
- Additional settings (OPTION)
- Helpful hints and information Resetting the adjustments
- Technical Features Troubleshooting
- Trouble symptoms and remedies Symptom Check these items
- Symptom Check these items
- Self-diagnosis function Specifications
D:\###sagyou\0622-yama\386765711CPDE200EAEP\01GB03BAS-AEP.fm
masterpage:Right
01GB01COV-AEP.book Page 11 Monday, June 21, 1999 7:09 PM
Changing the menu’s position
Additional settings (OPTION)
Change the menu’s position if it is blocking an image on the
screen.
You can manually degauss (demagnetize) the monitor, adjust the
To change the menu’s on-screen position, first move
moire cancellation level, change the menu position, and lock the
the control button
m
/
M
to select (OSD H POSITION)
controls.
for horizontal adjustment, or (OSD V POSITION) for
vertical adjustment. Then move the control button
1
Press the center of the control button.
<
/
,
to shift the on-screen menu.
The main MENU appears on the screen.
2
Move the control button to highlight OPTION and
Locking the controls
press the center of the control button again.
To protect adjustment data by locking the controls, first
The OPTION menu appears on the screen.
move the control button
m
/
M
to select (CONTROL
LOCK). Then move the control button
,
, to select ON.
3
Move the control button
m
/
M
to select the desired
Only the
1
(power) switch, EXIT, and (CONTROL LOCK)
adjustment item.
of the OPTION menu will operate. If any other items are selected,
Adjust the selected item according to the following
the mark appears on the screen.
instructions.
To cancel the control lock
Degaussing the screen
Repeat the procedure above and set (CONTROL LOCK) to OFF.
The monitor is automatically demagnetized (degaussed) when the
power is turned on.
To manually degauss the monitor, first move the
control button
m
/
M
to select (DEGAUSS). Then move
the control button
,
.
The screen is degaussed for about 5 seconds. If a second degauss
cycle is needed, allow a minimum interval of 20 minutes for the
best result.
GB
Adjusting the moire*
If elliptical or wavy patterns appear on the screen, adjust the
moire cancellation level.
To adjust the amount of moire cancellation, first move
the control button
m
/
M
to select (MOIRE ADJUST).
Then move the control button
<
/
,
until the moire
effect is at a minimum.
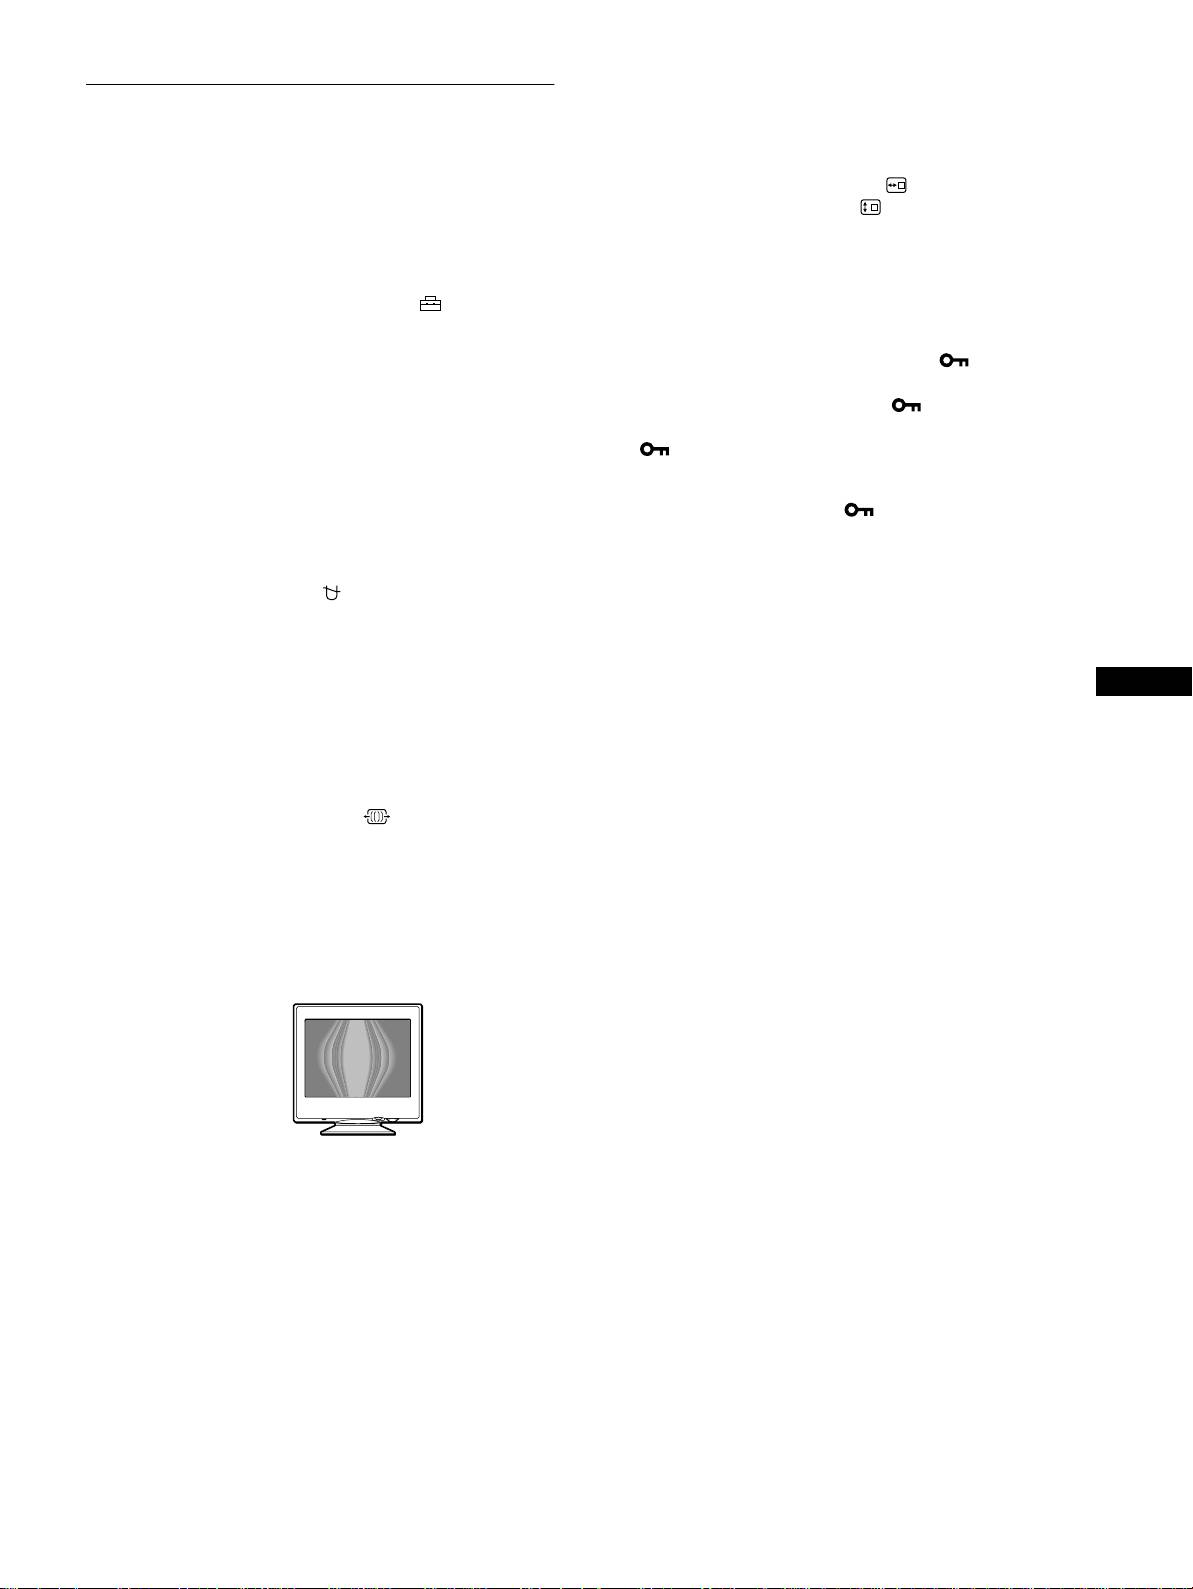
* Moire is a type of natural interference which produces soft, wavy lines
on your screen. It may appear due to interference between the pattern
of the picture on the screen and the phosphor pitch pattern of the
monitor.
Example of moire
11
3-867-657-11 (1)
CPD-E200E
