Sony CPD-E430: On-Screen menu adjustments
On-Screen menu adjustments: Sony CPD-E430
Table of contents
On-Screen menu adjustments
Main menu icons and adjustment
Sub menu icons and adjustment items
items
Horizontal position
Horizontal size
Adjusting the size or centering of
Vertical position
the picture
*
1
Ve rt i ca l si z e
Auto Size Center
Rotating the picture
Expanding or contracting the picture sides
*
1
Shifting the picture sides to the left or right*
1
Adjusting the shape of the picture
Adjusting the picture width at the top of the screen*
1
Shifting the picture to the left or right at the top of the screen*
1
0 RESET: Returns all settings to their factory default settings.
Horizontally shifts red or blue shadows
Vertically shifts red or blue shadows
Adjusting the convergence
*
2
T
Vertically shifts red or blue shadows at the top of the screen
B
Vertically shifts red or blue shadows at the bottom of the screen
0 RESET: Returns all settings to their factory default settings.
DEGAUSS: demagnetizes the monitor.
Adjusting the picture quality
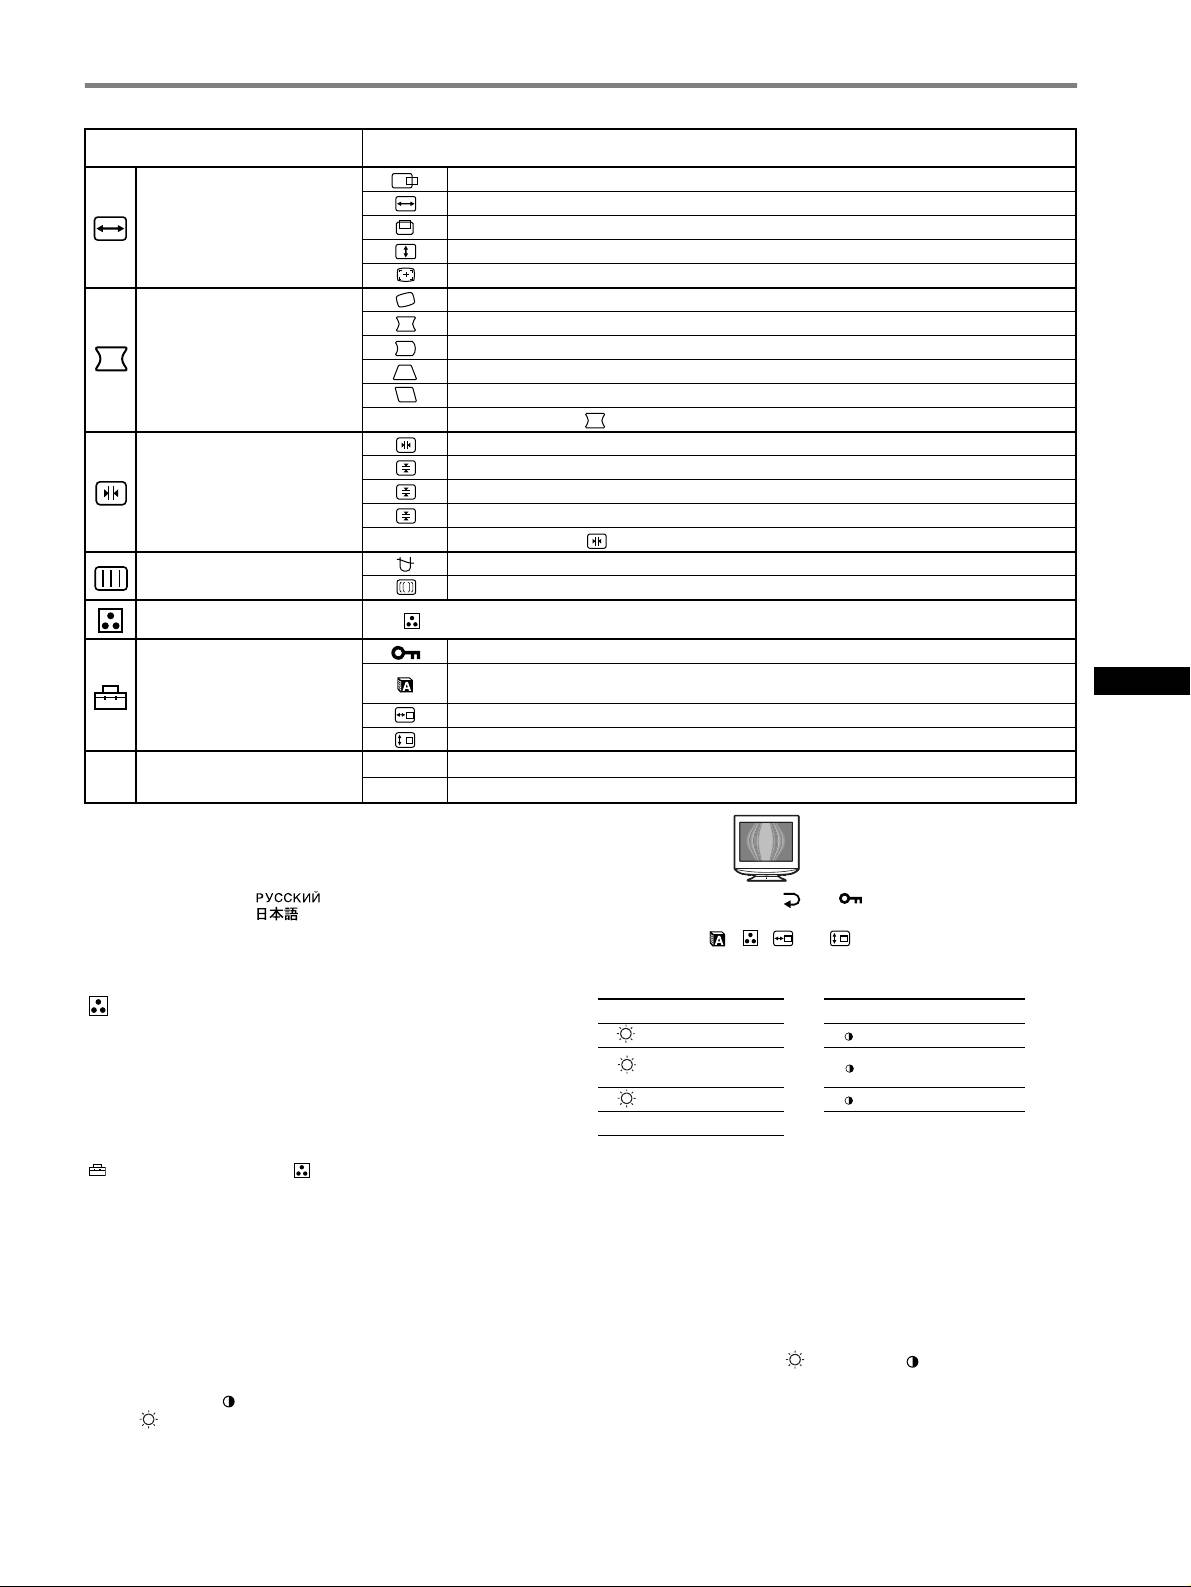
CANCEL MOIRE
*
4
: adjusts the degree of moire cancellation until the moire is at a minimum.*
1
Adjusting the color of the picture See “ : To adjust the color of the picture”.
Protecting adjustment data (CONTROL LOCK)
*
5
Selecting the on-screen menu language/Confirming the monitor’s information LANGUAGE/
3
GB
Additional settings
INFORMATION
*
Changing the menu’s position for horizontal adjustment
Changing the menu’s position for vertical adjustment
01
*
1
Resetting all the adjustment data for the current input signal.*
6
Select “OK”.
0 Resetting the adjustments
02
*
2
Resetting all of the adjustment data for all input signals. Select “OK”.
1
4
*
This adjustment is effective for the current input signal.
*
Example of Moire
2
*
This adjustment is effective for all input signals.
3
*
Language Menu
• ENGLISH • NEDERLANDS: Dutch
• FRANÇAIS: French • SVENSKA: Swedish
• DEUTSCH: German • : Russian
5
*
Only the ! (power) switch, and (CONTROL LOCK) menu will
• ESPAÑOL: Spanish • : Japanese
operate.
• ITALIANO: Italian
6
*
The menu items , , and are not reset by this method.
: To adjust the color of the picture
Select for Select for
The COLOR settings allow you to adjust the picture’s color
R R (Red) BIAS R R (Red) GAIN
temperature by changing the color level of the white color field.
G (Green)
Colors appear reddish if the temperature is low, and bluish if the
G
G G (Green) GAIN
BIAS
temperature is high. This adjustment is useful for matching the
B B (Blue) BIAS B B (Blue) GAIN
monitor’s color to a printed picture’s colors.
0 RESET*
Select one of the color temperature setting modes from among
4 modes; PRESET, VARIABLE, EXPERT and sRGB on
* Returns all the settings in the EXPERT mode to their factory settings.
(COLOR MODE) in the (COLOR) menu.
x sRGB
x PRESET (Default setting)
The sRGB color setting is an industry standard color space protocol
You can select the preset color temperature from 5000K, 6500K, or
designed to correlate the colors displayed on the monitor and those
9300K. The default setting is 9300K.
printed. In order to display the sRGB colors correctly (γ = 2.2,
6500K), select the sRGB mode and your connected computer to the
x VARIABLE
sRGB profiles. If you select sRGB, you cannot operate the
You can adjust the color temperature from 5000K to 11000K.
BRIGHT/CONTRAST menu adjustments.
Note
x EXPERT
Confirm that the brightness ( ) and contrast ( ) values are adjusted
You can make additional fine adjustments to the color by selecting
respectively to the numbers to be set in the sRGB mode shown in the
this mode. GAIN ( ) adjusts the bright areas of the screen, while
BRIGHT/CONTRAST menu. If not, select 01 in the 0 (RESET) menu.
BIAS ( ) adjusts the dark areas of the screen.
5
