Sony CPD-E100P: Self-diagnosis function Specifications
Self-diagnosis function Specifications: Sony CPD-E100P
Table of contents
- Owner’s Record
- Table of Contents
- Precautions
- Identifying parts and controls
- Setup Step 1: Connect your monitor to your computer Step 2: Connect the power cord
- Step 3: Turn on the monitor and computer Selecting the on-screen menu language (LANGUAGE/ INFORMATION)
- Customizing Your Monitor Navigating the menu
- Adjusting the brightness and contrast
- Adjusting the horizontal size or centering of the picture (H-SIZE/ CENTER) Adjusting the vertical size or centering of the picture (V-SIZE/ CENTER) Adjusting the curvature of the picture’s sides (PIN/PIN BALANCE) Adjusting the angle of the picture’s sides (KEY/KEY BALANCE)
- Adjusting the picture’s rotation (ROTATION) Enlarging or reducing the picture (ZOOM) Adjusting the color of the picture (COLOR)
- Additional settings (DEGAUSS/ CANCEL MOIRE) Resetting the adjustments
- Technical Features Troubleshooting
- Trouble symptoms and remedies Symptom Check these items
- Symptom Check these items
- Self-diagnosis function Specifications
16
Self-diagnosis function
This monitor is equipped with a self-diagnosis function. If there is
a problem with your monitor or computer, the screen will go
blank and the
1
(power) indicator will either light up green or
flash orange. If the
1
(power) indicator is lit in orange, the
computer is in power saving mode. Try pressing any key on the
keyboard or moving the mouse.
If the
1
(power) indicator is green
1
Disconnect the video input cable or turn off the
connected computer.
2
Press the
1
(power) button twice to turn the monitor
off and then on.
3
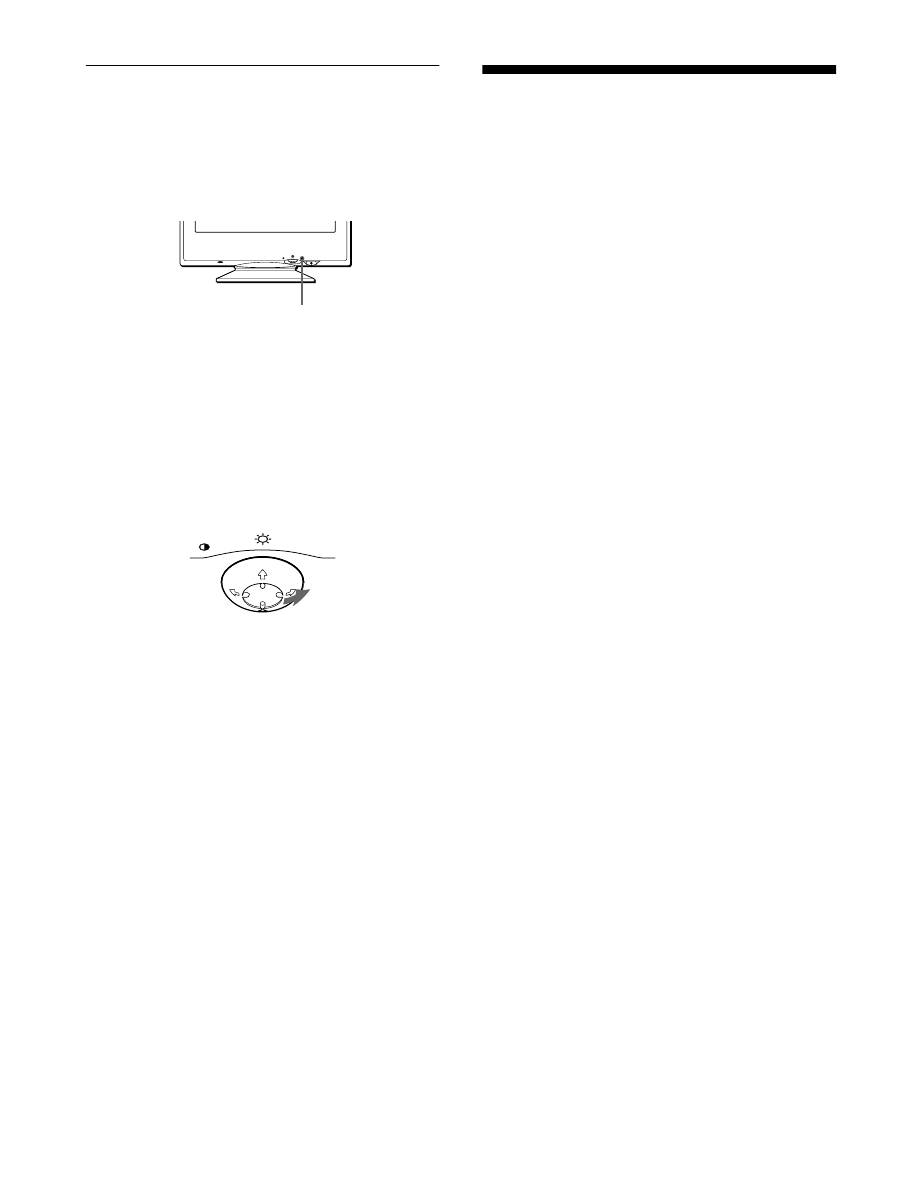
Move the control button
,
for 2 seconds before the
monitor enters power saving mode.
If all four color bars appear (white, red, green, blue), the monitor
is working properly. Reconnect the video input cable and check
the condition of your computer.
If the color bars do not appear, there is a potential monitor failure.
Inform your authorized Sony dealer of the monitor’s condition.
If the
1
(power) indicator is flashing orange
Press the
1
(power) button twice to turn the monitor off
and then on.
If the
1
(power) indicator lights up green, the monitor is working
properly.
If the
1
(power) indicator is still flashing, there is a potential
monitor failure. Count the number of seconds between orange
flashes of the
1
(power) indicator and inform your authorized
Sony dealer of the monitor’s condition. Be sure to note the model
name and serial number of your monitor. Also note the make and
model of your computer and graphic board.
Specifications
CRT
0.24 mm aperture grille pitch (center)
15 inches measured diagonally
90-degree deflection
Viewable image size
Approx. 285
×
214 mm (w/h)
(11
1
/
4
×
8
1
/
2
inches)
14.0" viewing image
Resolution
Maximum
Horizontal: 1280 dots
Vertical: 1024 lines
Recommended
Horizontal: 800 dots
Vertical: 600 lines
Standard image area
Approx. 270
×
202 mm (w/h)
(10
3
/
4
×
8 inches)
Deflection frequency*
Horizontal: 30 to 70 kHz
Vertical: 48 to 120 Hz
AC input voltage/current 220 to 240 V, 50 – 60 Hz, 0.8 A
Power consumption
Max. 95 W
Dimensions
Approx. 356
×
378
×
388 mm (w/h/d)
(14
1
/
8
×
15
×
15
3
/
8
inches)
Mass
Approx. 15 kg (33 lb 1 oz)
Plug and Play
DDC2B
Supplied accessories
See page 6
* Recommended horizontal and vertical timing condition
• Horizontal sync width should be more than 1.0 µsec.
• Horizontal blanking width should be more than 3.6 µsec.
• Vertical blanking width should be more than 500 µsec.
Design and specifications are subject to change without notice.
MENU
RESET
1
(power) indicator
MENU
