Sony CDX-M770 RU: Labelling a CD
Labelling a CD: Sony CDX-M770 RU
Table of contents
- Welcome !
- Table of Contents
- Location of controls Card remote commander RM-X111
- Main display panel Operation side
- Precautions
- Notes on CDs
- Notes on MDs
- Detaching the main display Getting Started window Resetting the unit
- Setting the clock
- CD/MD Playing a disc
- Display items Playing tracks repeatedly Playing tracks in random order
- Labelling a CD
- Locating a disc by name Selecting specific tracks for playback
- Radio Storing stations automatically
- Receiving the stored stations Storing only the desired stations
- Tuning in a station through a RDS list Overview of RDS
- Automatic retuning for best reception results
- Receiving traffic Presetting RDS stations with announcements AF and TA setting
- Tuning in stations by programme type
- Setting the clock DAB (optional) automatically Overview of DAB
- Basic operations of DAB
- Presetting DAB services Presetting DAB services automatically manually
- Tuning in DAB programme through a list
- Locating a DAB service by programme type (PTY) Switching multi-channel audio and DRC
- Tuning up for your best sound Setting the equalizer (EQ7)
- Setting the soundstage menu
- Adjusting the sound characteristics Listening to each programme source in its registered DSO
- Selecting the listening Adjusting the balance position (CDX-M770 only) Adjusting the bass (CDX- M670, MDX-M690 only)
- Adjusting the treble (CDX- Adjusting the front and rear M670, MDX-M690 only) volume (CDX-M770 only) Adjusting the balance (FAD) (CDX-M670, MDX-M690 only)
- Adjusting the volume of the subwoofer(s) Other adjustable items (CDX- M670, MDX-M690 only)
- Other Functions Using the rotary commander
- Quickly attenuating the sound Selecting the spectrum analyzer
- Changing the sound and display settings
- Labelling a Motion Display Connecting auxiliary audio equipment (CDX-M770 only)
- Additional Information Maintenance
- Removing the unit
- Specifications
- Troubleshooting CD/MD playback General Radio reception
- DSP functions (CDX-M770 only) RDS
- Error displays/Messages
Tips
• Simply overwrite or enter “” to correct or erase a
Labelling a CD
name.
• There is another way to start labelling a CD: Press
— Disc Memo (For a CD unit with the
(LIST) for 2 seconds instead of performing steps 2
CUSTOM FILE function)
and 3. You can also complete the operation by
pressing (LIST) for 2 seconds instead of step 5.
You can label each disc with a custom name
• You can label CDs on a unit without the CUSTOM
(Disc Memo). You can enter up to 8 characters
FILE function if that unit is connected along with a
for a disc. If you label a CD, you can locate the
CD unit that has the function. The Disc Memo will be
disc by name (page 14).
stored in the memory of the CD unit with the
CUSTOM FILE function.
1 Start playing the disc you want to label
Note
in a CD unit with the CUSTOM FILE
Repeat/shuffle play is suspended until the Name Edit
function.
is complete.
2 Press (MENU), then press M or m
Viewing the Disc Memo
repeatedly until “Name Edit” appears.
As a display item, the Disc Memo always takes
3 Press (ENTER).
priority over any original CD TEXT information.
To Press
View (DSPL/PTY) during CD/CD
TEXT disc playback
The unit will repeat the disc during the
Tip
labelling procedure.
To find out about other items that can be displayed,
see page 12.
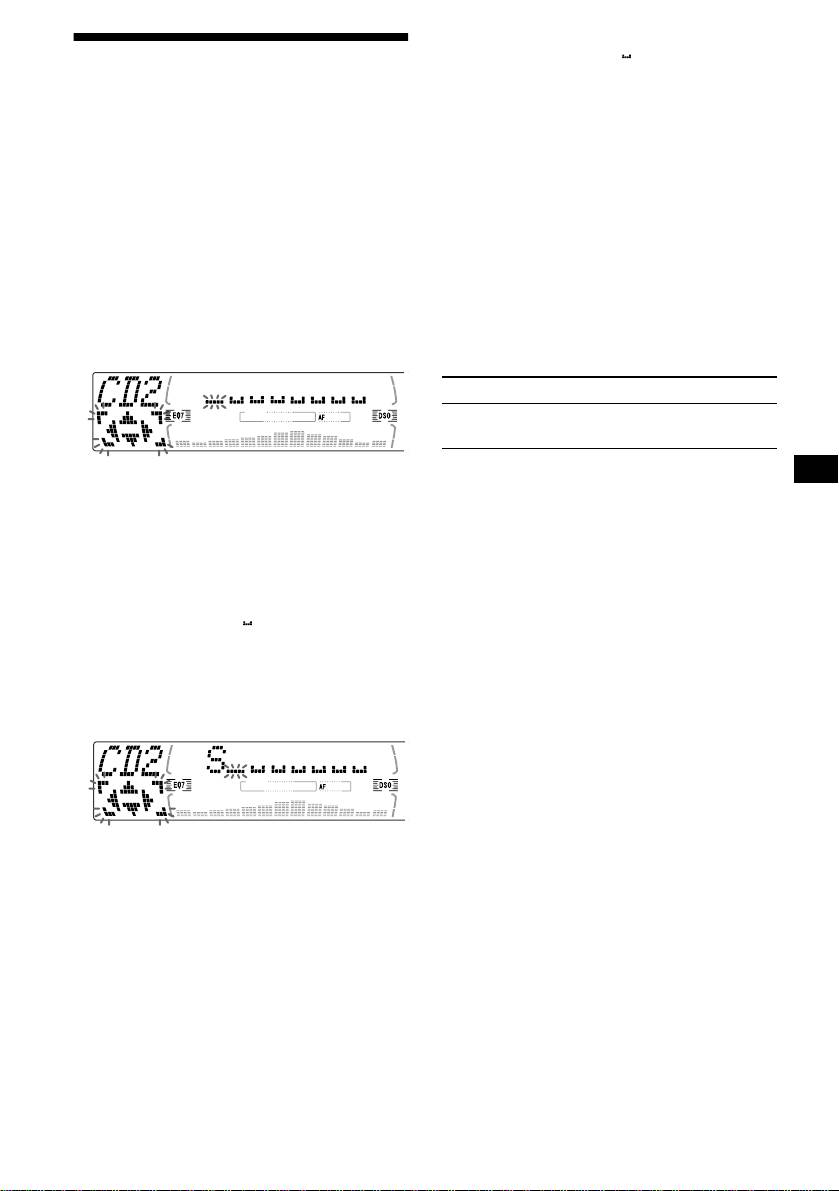
4 Enter the characters.
1
1 Press M*
repeatedly to select the
Erasing the Disc Memo
desired character.
1 Press (SOURCE) repeatedly to select
A t B t C ... t 0 t 1 t 2 ... t +
“CD.”
2
t – t
... t *
t A
*
2 Press (MODE) repeatedly to select the
*1 For reverse order, press x.
CD unit storing the Disc Memo.
*2 (blank space)
3 Press (MENU), then press M or m
2 Press , after locating the desired
repeatedly until “Name Del” appears.
character.
4 Press (ENTER).
The stored names will appear.
5 Press M or m repeatedly to select the
disc name you want to erase.
The stored names will appear.
6 Press (ENTER) for 2 seconds.
If you press < (the (–) side of (SEEK)),
The name is erased.
you can move back to the left.
Repeat steps 5 and 6 if you want to erase
3 Repeat steps 1 and 2 to enter the
other names.
entire name.
7 Press (ENTER).
5 To return to normal CD play mode,
The unit returns to normal CD play mode.
press (ENTER).
Notes
• When the Disc Memo for a CD TEXT disc is erased,
the original CD TEXT information is displayed.
• If you cannot find the Disc Memo you want to erase,
try selecting a different CD unit in step 2.
13
