Sony CDX-M770 RU – page 2
Manual for Sony CDX-M770 RU
Table of contents
- Welcome !
- Table of Contents
- Location of controls Card remote commander RM-X111
- Main display panel Operation side
- Precautions
- Notes on CDs
- Notes on MDs
- Detaching the main display Getting Started window Resetting the unit
- Setting the clock
- CD/MD Playing a disc
- Display items Playing tracks repeatedly Playing tracks in random order
- Labelling a CD
- Locating a disc by name Selecting specific tracks for playback
- Radio Storing stations automatically
- Receiving the stored stations Storing only the desired stations
- Tuning in a station through a RDS list Overview of RDS
- Automatic retuning for best reception results
- Receiving traffic Presetting RDS stations with announcements AF and TA setting
- Tuning in stations by programme type
- Setting the clock DAB (optional) automatically Overview of DAB
- Basic operations of DAB
- Presetting DAB services Presetting DAB services automatically manually
- Tuning in DAB programme through a list
- Locating a DAB service by programme type (PTY) Switching multi-channel audio and DRC
- Tuning up for your best sound Setting the equalizer (EQ7)
- Setting the soundstage menu
- Adjusting the sound characteristics Listening to each programme source in its registered DSO
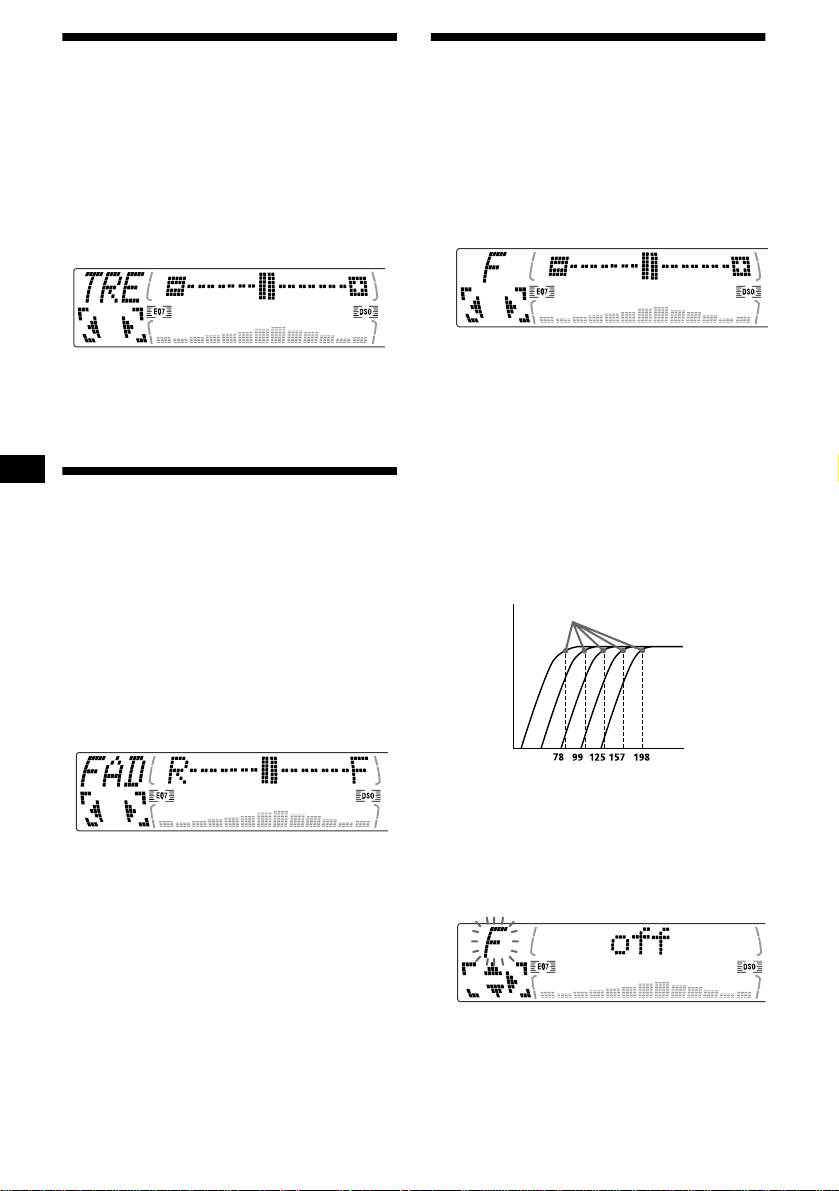
- Selecting the listening Adjusting the balance position (CDX-M770 only) Adjusting the bass (CDX- M670, MDX-M690 only)
- Adjusting the treble (CDX- Adjusting the front and rear M670, MDX-M690 only) volume (CDX-M770 only) Adjusting the balance (FAD) (CDX-M670, MDX-M690 only)
- Adjusting the volume of the subwoofer(s) Other adjustable items (CDX- M670, MDX-M690 only)
- Other Functions Using the rotary commander
- Quickly attenuating the sound Selecting the spectrum analyzer
- Changing the sound and display settings
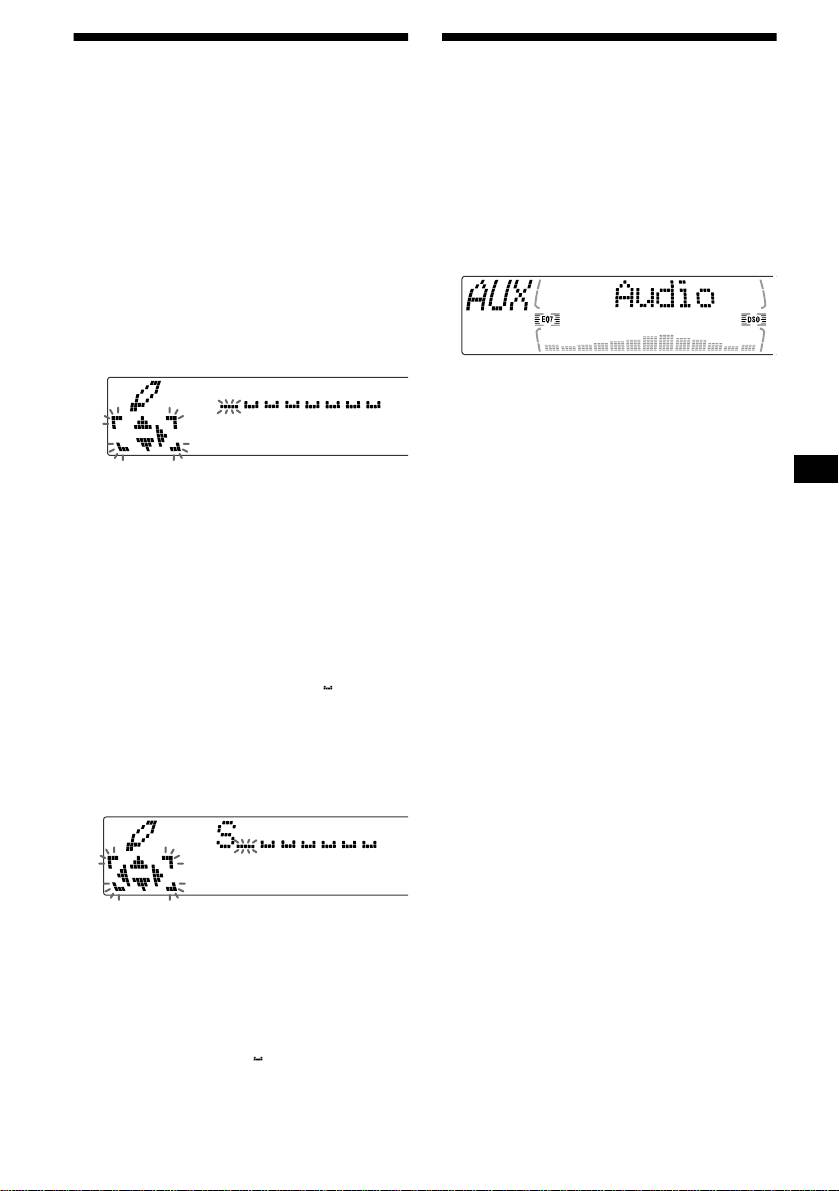
- Labelling a Motion Display Connecting auxiliary audio equipment (CDX-M770 only)
- Additional Information Maintenance
- Removing the unit
- Specifications
- Troubleshooting CD/MD playback General Radio reception
- DSP functions (CDX-M770 only) RDS
- Error displays/Messages
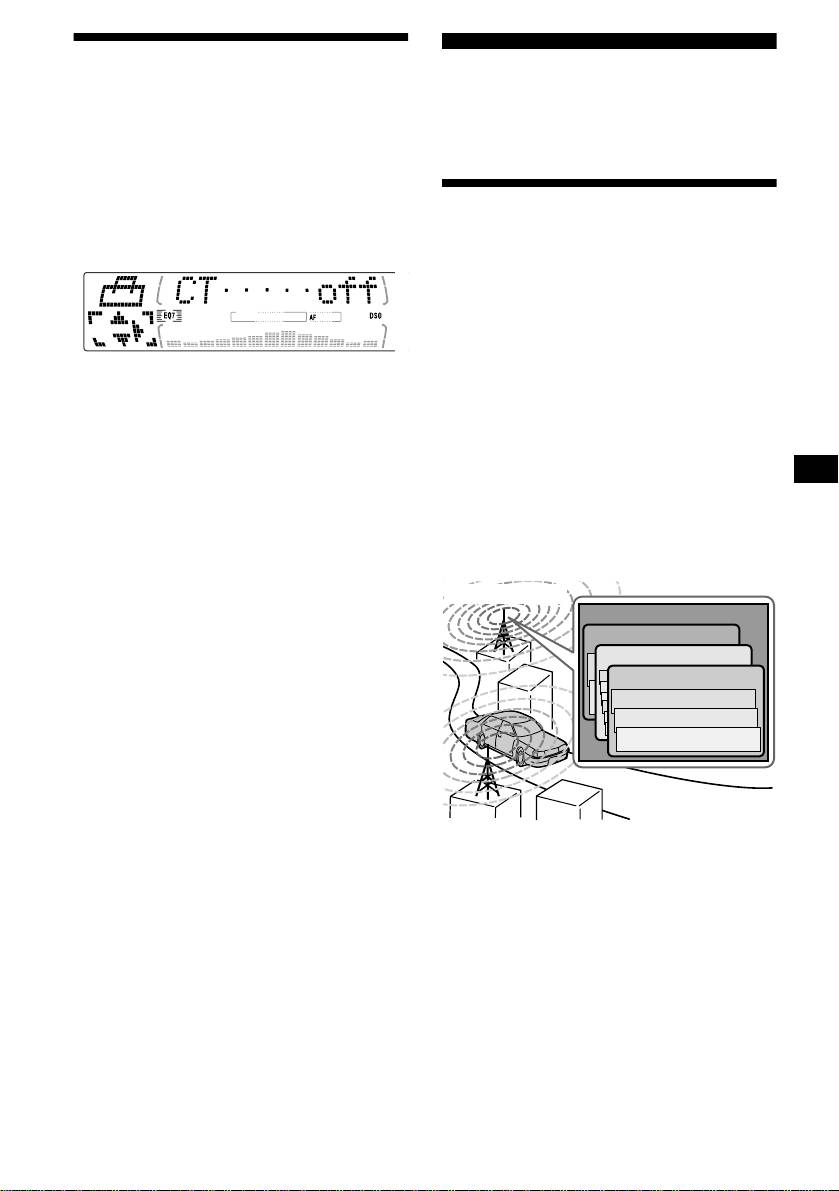
Setting the clock
DAB (optional)
automatically
You can connect an optional DAB tuner to this
— CT
unit.
The CT (Clock Time) data from the RDS
transmission sets the clock automatically.
1 During radio reception, press (MENU),
Overview of DAB
then press M or m repeatedly until “CT
off” appears.
DAB (Digital Audio Broadcasting) is a new
multimedia broadcasting system that transmits
audio programmes with a quality comparable to
that of CDs. This is made possible by the use of a
microcomputer in the DAB tuner which uses the
radio signals sent from multiple aerials and
multi-path signals (reflected radio waves) to
boost the strength of the main signal. This makes
2 Press , repeatedly until “CT on”
DAB almost immune to radio interference even
appears.
in a moving object such as a car.
The clock is set.
3 Press (ENTER) to return to the normal
Each DAB station bundles radio programmes
display.
(services) into an ensemble which it then
broadcasts. Each service contains one or more
To cancel the CT function, select “CT
off” in step
components. All ensembles, services, and
2.
components are identified by name, so you can
access any of them without having to know their
Notes
frequencies.
• The CT function may not work even though an RDS
station is being received.
• There might be a difference between the time set by
DAB programme
the CT function and the actual time.
Ensemble
Service
Service
Service
Component
Component
Component
Notes
• The DAB system is still in a testing phase. Some
services have not been sufficiently defined or are
presently being tested. At present, such services are
not supported by the optional DAB tuner unit XT-
100DAB.
• DAB programmes are broadcast in Band-III (174 to
240 MHz) and L-Band (1,452 to 1,492 MHz), with
each band divided into channels (41 in Band-III and
23 in L-Band). One ensemble is broadcast per
channel by each DAB station.
21
Receiving the preset services
Basic operations of DAB
Following procedure is available after presetting
the service. For details on presetting the services,
refer to “Presetting DAB services automatically,”
Searching for the ensemble and
(page 23) and “Presetting DAB services
service
manually” (page 23).
— Automatic Tuning
1 Press (SOURCE) repeatedly to select
the radio.
1 Press (SOURCE) repeatedly to select
the radio.
2 Press (MODE) repeatedly to select
“DAB.”
2 Press (MODE) repeatedly to select
“DAB.”
3 Press M or m repeatedly to select the
preset service.
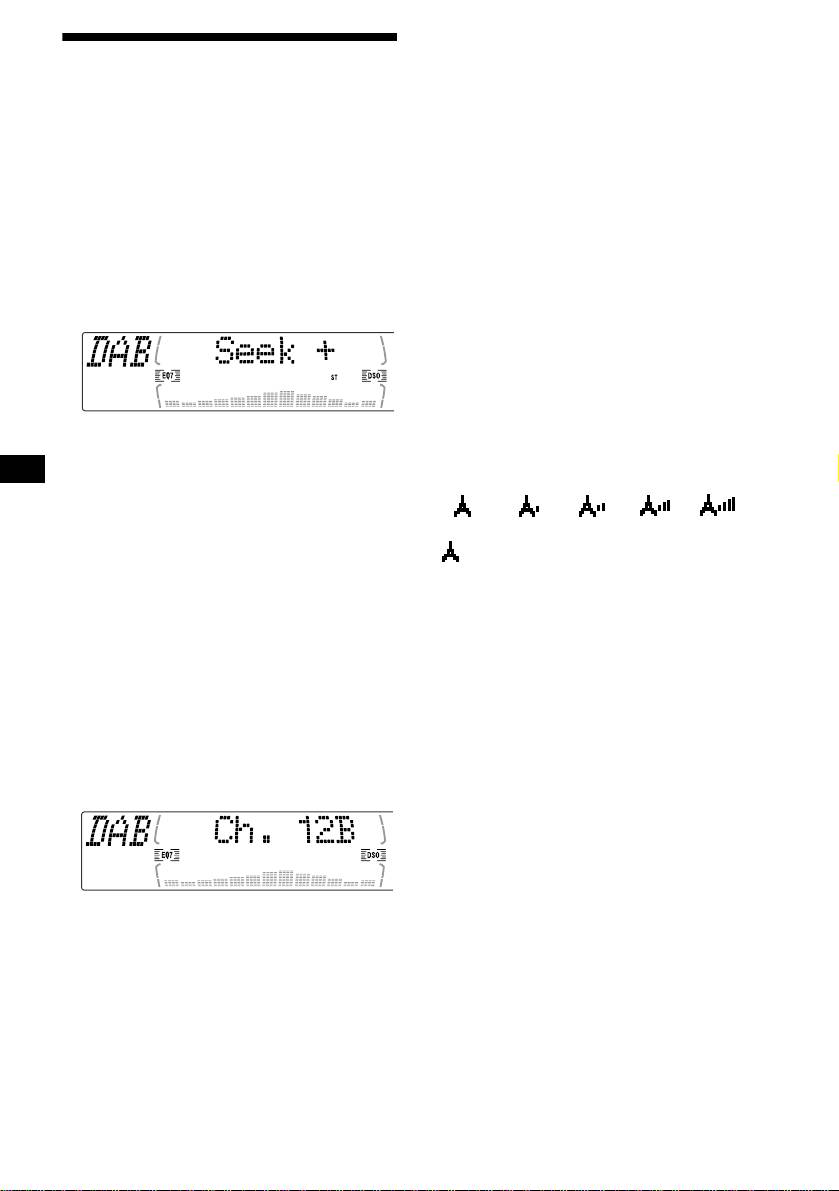
3 Press and hold either side of (SEEK)
until “Seek +” or “Seek –” appears.
Tip
There is another way to receive the preset service
(preset on numbers 1 to 6).
Press the number button ((1) to (6)) on which the
desired service is stored.
Refer to the level indication to check the
receiving condition of the DAB programme.
The unit will stop seeking when an ensemble
The level indication increases as the
strength of the receiving signal increases.
is located. The unit will then automatically
select the first service and display its name,
level 0
level 1 level 2 level 3 level 4
and the display indicator will change from
“Seek +”/“Seek –” to the service name.
4 Press either side of (SEEK) to select
the desired service.
“” will flash in the display if the reception is
poor.
Selecting the ensemble
Note
— Manual Tuning
To display the level indication, select the spectrum
analyzer pattern A-1 or A-2 (page 33).
If you know the channel number of ensemble,
follow the procedure below to tune in.
1 Press (SOURCE) repeatedly to select
the radio.
2 Press (MODE) repeatedly to select
“DAB.”
3 Press M or m until “Ch. XXX” appears.
4 Press M or m repeatedly until the
desired channel number appears.
22
Presetting DAB services
Presetting DAB services
automatically
manually
— BTM
— Preset Edit
The BTM (Best Tuning Memory) function picks
You can also preset DAB services manually or
out DAB ensembles and automatically assigns
delete a service which is already preset. Note that
the services within the ensembles to preset
up to 40 services (preset either by the BTM
service numbers. The unit can preset up to 40
function or manually) can be preset to the unit’s
services.
memory.
If services have been previously set, the BTM
function operates under the following conditions:
1 While listening to a DAB programme,
• If you activate the BTM function while
press (MEN U).
listening to a preset service, the unit will store
2 Press M or m repeatedly until “PRS
detected services (by overwriting) only to
Edit” appears, then press (ENTER).
preset numbers higher than that of the current
present service.
3 Select the service and the preset
• If you activate the function while listening to a
number you want to preset.
service that is not preset, the unit will replace
1 Press either side of (SEEK) to select
the contents of all preset numbers.
the service.
• In both cases above, if the unit detects a service
that is identical to one already preset, the
2 Press M or m to select the preset
previously stored service remains unchanged
number.
and the newly detected service is not preset.
1 While listening to a DAB programme,
press (MENU).
2 Press M or m repeatedly until “BTM”
appears.
3 Press (ENTER).
3 Press (ENTER).
The Preset Edit commands will appear in
A beep sounds when the service is stored.
the display.
After activating the BTM function, the unit
tunes the service assigned in the last smallest
preset memory No. automatically.
Note
If the unit can only tune in a few services, the BTM
function may not assign services to all the preset
service numbers.
4 Press M or m to select the desired
command.
5 Press (ENTER).
To edit other services, repeat steps 3 and 4.
continue to next page t
23
Replacing the services in preset
memories
Tuning in DAB programme
Press M or m to select “Over Wrt” in step 4, then
through a list
press (ENTER).
Tip
Follow the procedure below to tune in a DAB
There is another way to preset the service (on
programme manually.
numbers 1 to 6).
After receiving the service, press the desired number
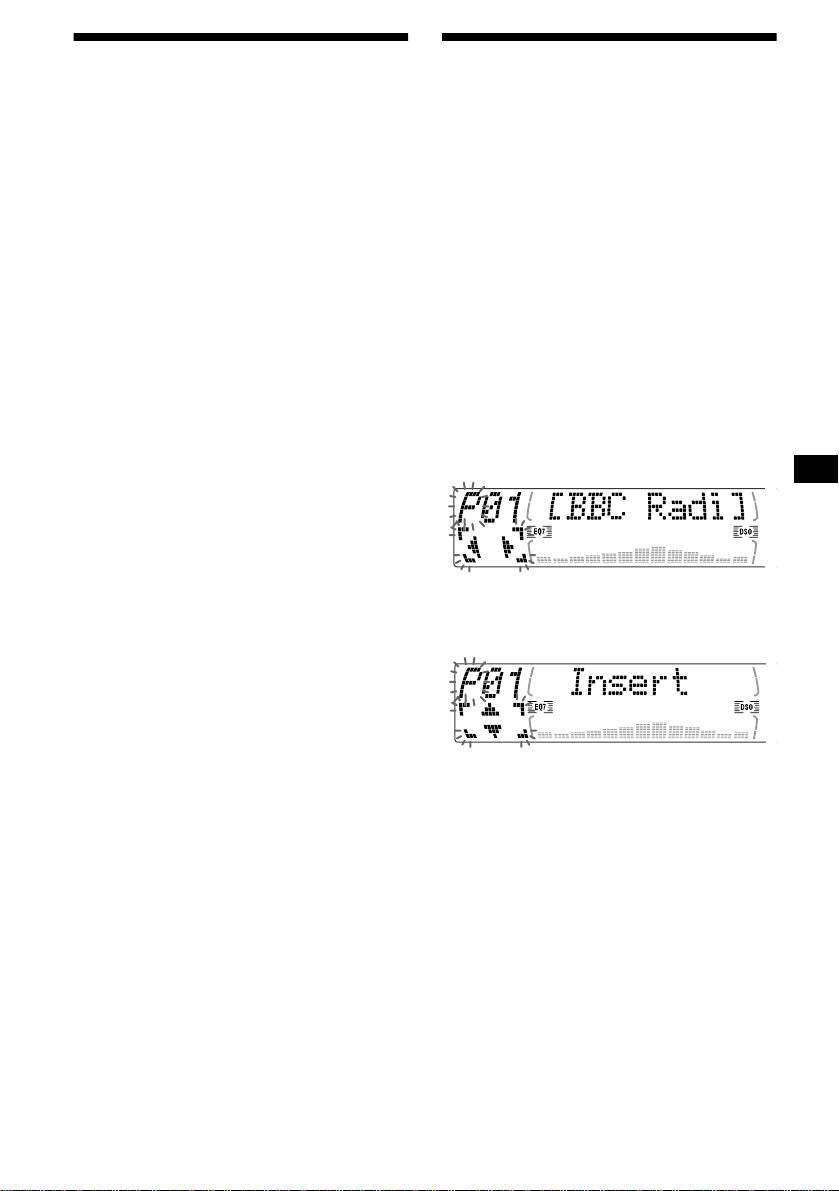
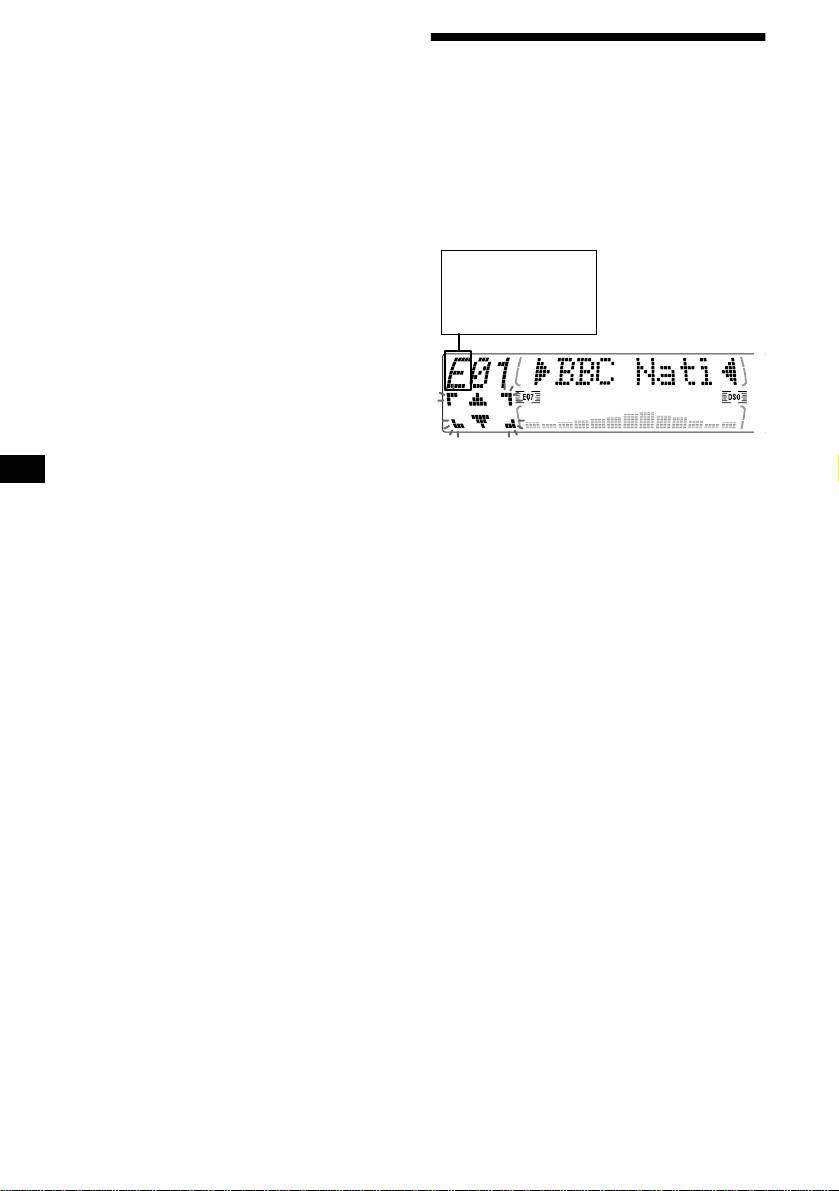
1 While listening to a DAB programme,
button ((1) to (6)) until a beep sounds.
press (LIST) repeatedly until “E”
(ensemble list) appears.
Adding the services in preset
memories
E: ensemble list
Press M or m to select “Insert” in step 4, then
S: service list
press (ENTER).
C: component list
Note
P: preset list
“Insert” does not appear if the maximum number of
services (40) is already preset in memory.
Erasing the services in preset
memories
Press M or m to select “Delete” in step 4, then
press (ENTER).
All available ensembles will be listed.
2 Press M or m until the desired
ensemble appears, then press
(ENTER).
The first service for the ensemble is selected
automatically.
3 Press (LIST) repeatedly until “S”
(service list) appears.
All services available for the ensemble will be
listed.
4 Press M or m repeatedly until the
desired service appears, then press
(ENTER).
The first component for the service is selected
automatically.
5 Press (LIST) repeatedly until “C”
(component list) appears.
All components available for the service will
be listed.
6 Press M or m until the desired
component appears, then press
(ENTER).
24
Automatic updating of the ensemble
list
Locating a DAB service by
When you perform the BTM function for the first
programme type (PTY)
time, all the ensembles available in your area are
automatically stored. When you perform the
BTM function again, the contents of these lists
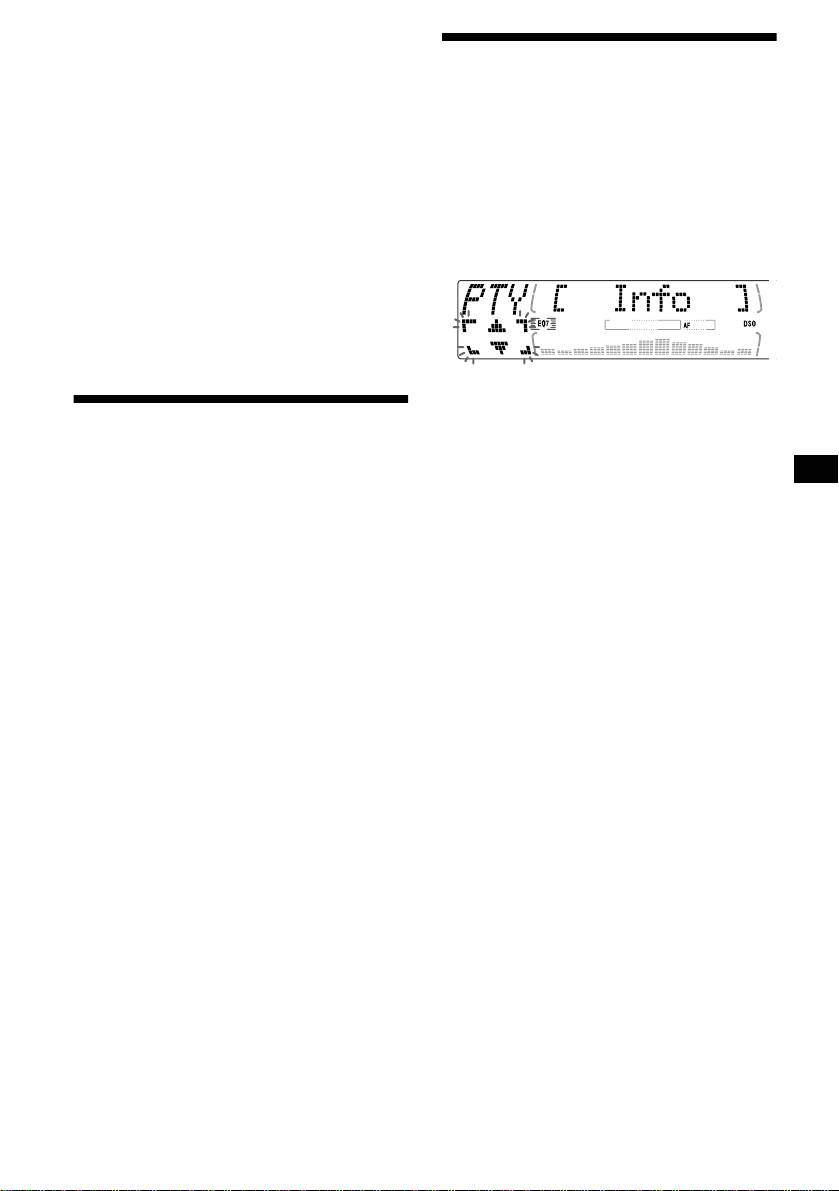
You can use the PTY (Programme type selection)
are updated in accordance with the conditions
function to tune in the programme you want.
described on page 23.
An ensemble is added to the respective list when
1 While listening to a DAB programme,
it is received during Automatic Tuning or
press ( D SPL/PTY).
Manual Tuning but is unlisted.
2 Press M or m repeatedly to select the
An ensemble is also deleted from the respective
programme type.
list when:
• you select an ensemble from the list, but it
cannot be received.
• you perform Automatic Tuning or Manual
Tuning to receive a listed ensemble, service, or
the component, but it cannot be received.
The programme types appear in the order
shown on page 20.
Switching multi-channel
3 Press (ENTER).
Searching for a service of the selected
audio and DRC
programme type begins automatically.
DAB can contain multi-channel audio. You can
select main or sub-channel for reception. Also, if
you turn on the DRC (Dynamic Range Control)
function, the dynamic range on the service which
supports DRC can automatically be extended.
The following items can be set:
• BLGL — to select the channel from either
“Main” (main-channel) or “Sub” (sub-
channel).
• DRC — to turn on or off the function.
1 While listening to a DAB programme,
press (MENU).
2 Press M or m repeatedly until “DRC” or
“BLGL” appears.
3 Press either side of (SEEK) to select
the desired setting (Example: “on” or
“off”).
4 Press (ENTER).
Note
“BLGL” appears in the menu only when the unit is
receiving a multi-channel programme.
25
Adjusting the equalizer curve
Tuning up for your best
1 Press (MENU).
2 Press M or m repeatedly until “EQ7
sound
Tune” appears, then press (ENTER).
The unit provides the various functions to adjust
3 Press < or , to select the desired
the sound so that you can enjoy the best sounding
equalizer curve, then press (ENTER).
music.
Each time you press < or ,, the item
changes.
4 Select the desired frequency and level.
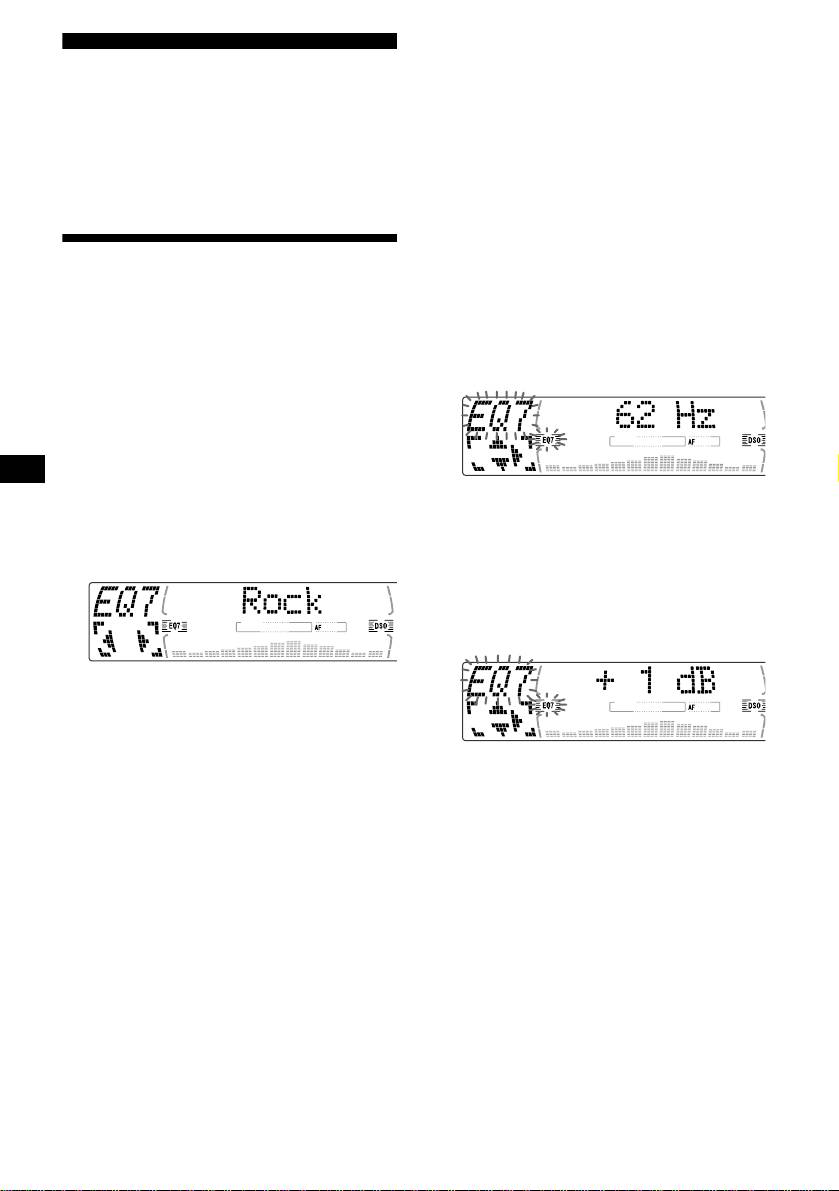
Setting the equalizer (EQ7)
1Press < or , to select the desired
frequency.
Each time you press < or ,, the
You can select an equalizer curve for 7 music
frequency changes as follows:
types (Vocal, Club, Jazz, New Age, Rock,
Custom, and Xplod).
62 Hz y 157 Hz y 396 Hz y 1.0 kHz
You can store and adjust the equalizer settings
y 2.5 kHz y 6.3 kHz y 16 kHz
for frequency and level.
Selecting the equalizer curve
1 Press (SOURCE) to select a source
(radio, CD, or MD).
2 Press (EQ7) repeatedly until the
2Press M or m to adjust the desired
desired equalizer curve.
volume level.
Each time you press (EQ7), the item
(CDX-M770)
changes.
The volume level is adjustable by 1 dB
steps from –12 dB to +12 dB.
(CDX-M670, MDX-M690)
The volume level is adjustable by 1dB
steps from –10 dB to +10 dB.
To cancel the equalizing effect, select “off.”
After 3 seconds, the display returns to the
normal playback mode.
To restore the factory-set equalizer curve,
press (ENTER) for 2 seconds.
5 Press (ENTER).
After the effect setting is complete, the
display returns to the normal playback mode.
26
Tips
• The DSO effect may be hard to discern depending
Setting the soundstage menu
on the type of car you are driving and the music you
are listening to.
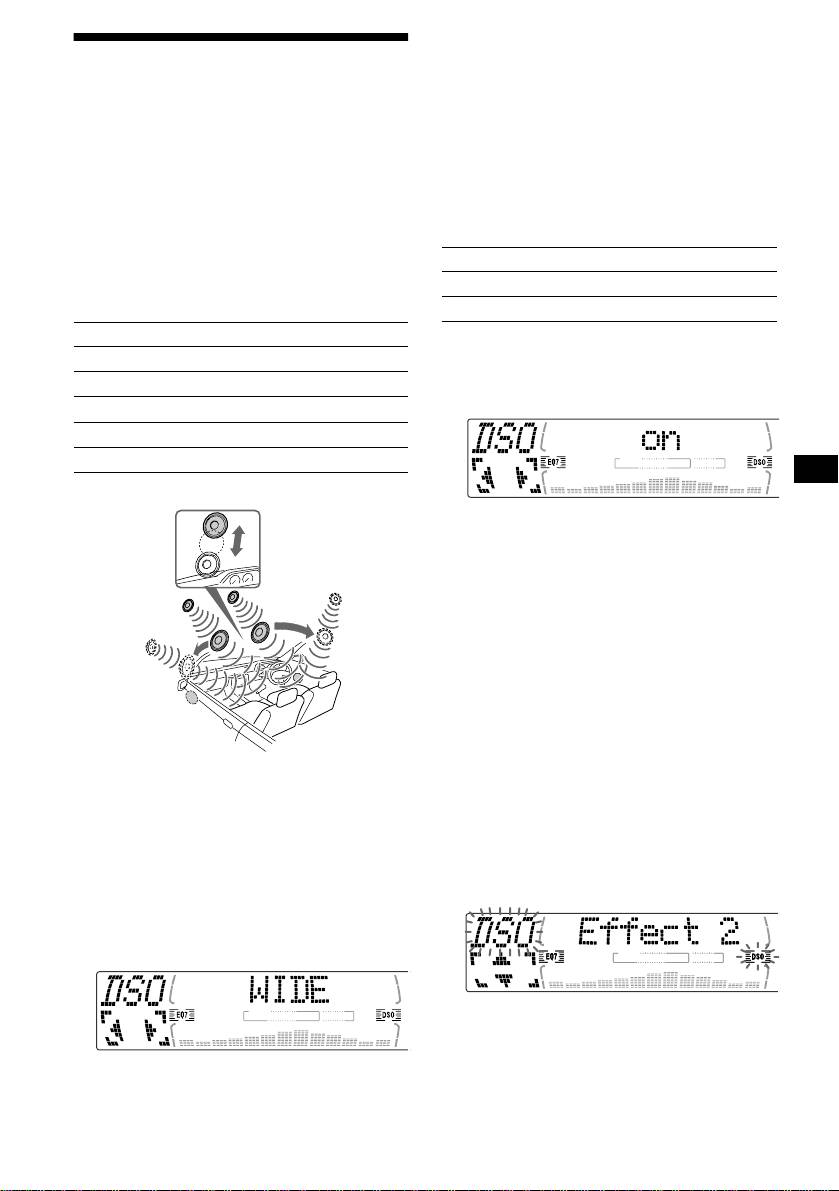
— Dynamic Soundstage Organizer (DSO)
• When DSO setting is "WIDE," the FM reception is
inaudible. In this case, reset the DSO setting to
If your speakers are installed into the lower part
"STD."
of the doors, the sound will come from below
and may not be clear.
The DSO (Dynamic Soundstage Organizer)
Turning the DSO mode on (off) (CDX-
function creates a more ambient sound as if there
M670, MDX-M690)
were speakers in the dashboard (virtual
speakers).
DSO mode of CDX-M670 MDX-M690
Display window Meaning
Selecting the DSO mode (CDX-M770)
on
Virtual speakers
DSO mode of CDX-M770
off
Cancel
Display window Meaning
1 Press (SOURCE) to select a source
STD
Virtual speakers (Standard)
(tuner, CD, or MD).
WIDE
Virtual speakers (Wide)
2 Press (DSO) to select “on” or “off.”
STD-SP
Standard+depth
WIDE-SP
Wide+depth
off
Cancel
Image of virtual speakers
Effect 3
To cancel the DSO mode, select “DSO off.”
After 3 seconds, the display returns to the
Effect 1
normal playback mode.
*4
*3
*3
Adjusting the DSO mode (CDX-M770)
*1
*1
*2
1 Press (SOURCE) to select a source
(tuner, CD, or MD).
*4
*2
*5
2 Press (MENU).
*5
3 Press M or m repeatedly until “DSO
tune” appears, then press (ENTER).
4 Press < or , to select the desired
*1 STD
*2 Wide
DSO mode, then press (ENTER).
*3 STD+depth
5 Select the effect level.
*4 Wide+depth
You can select the desired effect from 3 effect
*5 Actual speakers position (lower part of the front
doors)
lebels for each DSO mode.
Press M or m repeatedly to select
1 Press (SOURCE) to select a source
desired effect.
(tuner, CD, or MD).
2 Press (DSO) repeatedly to select the
desired DSO mode.
To restore the effect, press (ENTER) for 2
seconds.
6 Press (ENTER).
To cancel the DSO mode, select “off.”
After 3 seconds, the display returns to the
normal playback mode.
continue to next page t
27

If the sound from the tweeter is too
shrill (CDX-M770)
Adjusting the sound
characteristics
1 While the unit is operating, press
(MENU).
You can adjust the sound characteristics.
2 Press M or m repeatedly until “DSO
The bass and treble levels and subwoofer volume
norm” appears.
can be stored independently for each source.
3 Press , to select “DSO soft.”
1 Select the item you want to adjust by
pressing (SOUND) repeatedly.
Each time you press (SOUND), the item
changes as follows:
(CDX-M770)
POS (position) t BAL (left-right)
t F (front volume) t R (rear volume)
4 Press (MENU).
t SUB (subwoofer volume)
To restore the sound, select “DSO norm.”
(CDX-M670, MDX-M690)
BAS (bass)
t TRE (treble)
t BAL (left-right) t FAD (front-rear)
t SUB (subwoofer volume)
Listening to each programme
2 Adjust the selected item by pressing
source in its registered DSO
< or ,.
When adjusting with the rotary commander,
— Source Sound Memory (SSM)
press (SOUND) and rotate the VOL control.
Each time you return to the same source, you can
Note
hear the same DSO menu and equalizer curve
Adjust within 3 seconds after selecting the item.
registered for that source, even after changing the
programme source or turning the unit off and
then on again.
28
Selecting the listening
Adjusting the balance
position (CDX-M770 only)
(BAL)
You can set a delayed time for the sound to reach
You can adjust the sound balance from the left
the listeners from the speakers.
and right speakers.
In this way, the unit can simulate a natural sound
field so that you feel as if you are in the center of
1 Press (SOURCE) to select a source
the sound field no matter where you sit in the car.
(tuner, CD, or MD).
2 Press (SOUND) repeatedly until “BAL”
Display
Centre of sound
appears.
window
field
POS
Normal setting
1
2
ALL
(1 + 2 + 3)
POS
Front part
Front
(1 + 2)
3
POS
Right front (2)
Front-R
3 Press < or , to adjust the balance.
POS
After 3 seconds, the display returns to the
Left front (1)
Front-L
normal playback mode.
POS
Rear part (3)
Rear
POS
Cancel
Adjusting the bass (CDX-
off
M670, MDX-M690 only)
1 Press (SOURCE) to select a source
(tuner, CD, or MD).
You can adjust the bass from the speakers.
2 Press (SOUND) repeatedly until “POS”
1 Press (SOURCE) to select a source
appears.
(tuner, CD, or MD).
2 Press (SOUND) repeatedly until “BAS”
appears.
3 Press < or , to select the desired
listening position.
All y Front y Front-R y
Front-L y Rear y off y All
3 Press < or , to adjust the balance.
After 3 seconds, the display returns to the
The listening positions appear in the order
normal playback mode.
shown above.
To cancel the POS mode, select “off.”
After three seconds, the display returns to the
normal playback mode.
29
Adjusting the treble (CDX-
Adjusting the front and rear
M670, MDX-M690 only)
volume (CDX-M770 only)
You can adjust the treble from the speakers.
1 Press (SOURCE) to select a source
(tuner, CD, or MD).
1 Press (SOURCE) to select a source
2 Press (SOUND) repeatedly to select
(tuner, CD, or MD).
the “F” for the front speakers or “R”
2 Press (SOUND) repeatedly until “TRE”
for the rear speakers.
appears.
3 Press < or , to adjust the volume of
front/rear speakers.
3 Press < or , to adjust the balance.
After 3 seconds, the display returns to the
After 3 seconds, the display returns to the
normal playback mode.
normal playback mode.
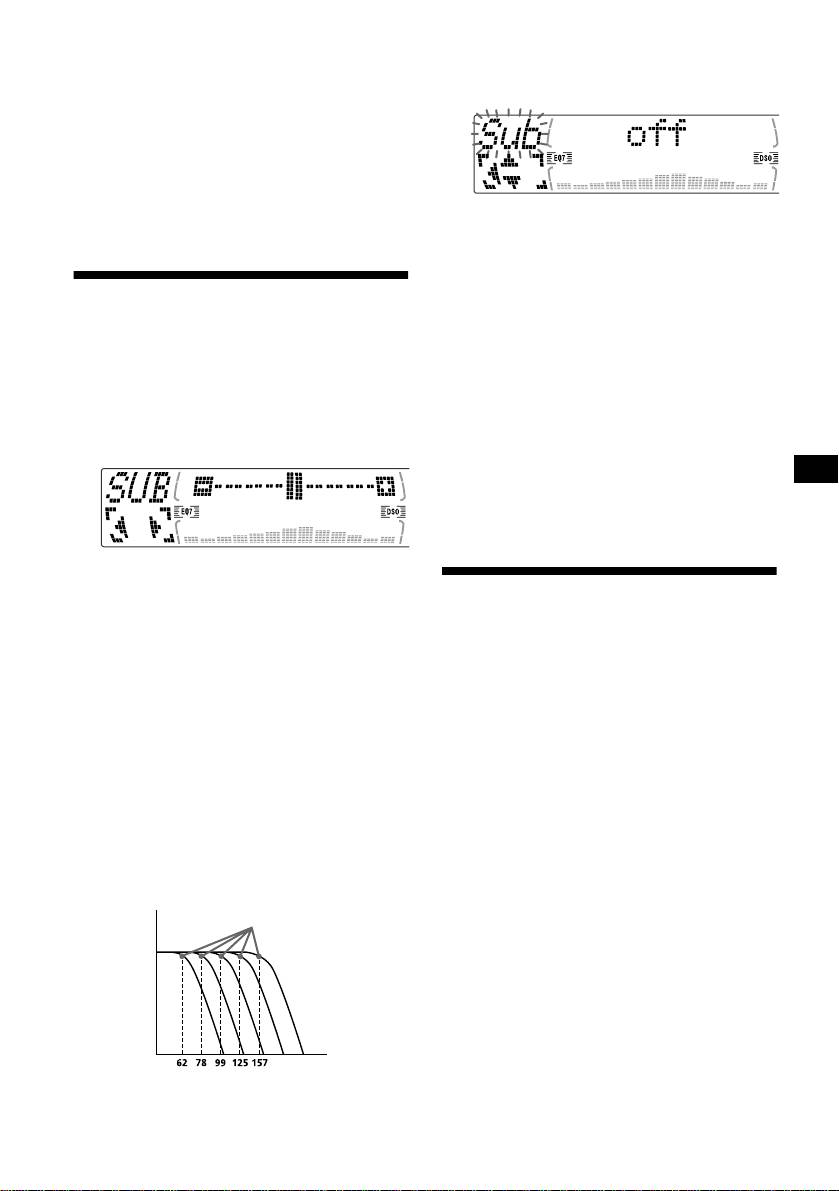
Adjusting the cut-off frequency and the
output volume level for the front/rear
Adjusting the balance (FAD)
speakers
To match the characteristics of the installed
(CDX-M670, MDX-M690
speaker system, you can adjust the output
only)
volume level and select the cut-off frequency of
the speakers.
You can adjust the sound balance from the front
Cut-off frequency
and rear speakers.
Level
1 Press (SOURCE) to select a source
(tuner, CD, or MD).
2 Press (SOUND) repeatedly until “FAD”
appears.
Frequency (Hz)
1 Press (MENU).
2 Press M or m repeatedly to select
“Front HPF” or “Rear HPF.”
3 Press < or , to adjust the balance.
After 3 seconds, the display returns to the
3 Press (ENTER).
normal playback mode.
4 Press < or , to select the cut-off
frequency.
Each time you press < or ,, the frequency
changes as follows:
off y 78 Hz y 99 Hz y 125 Hz y
30
157 Hz y 198 Hz
5 Press M or m to adjust the volume
2 Press M or m repeatedly until “Sub
level.
LPF” appears.
The volume level is adjustable by 1 dB steps
3 Press (ENTER).
from –12 dB to +12 dB.
Tip
When you lower the volume all the way down,
“–
∞ dB” appears and the cut-off frequency is
disabled.
6 Press (ENTER).
After the effect setting is complete, the
display returns to the normal playback mode.
4 Press < or , to select the desired
cut-off frequency.
Each time you press < or ,, the frequency
changes as follows:
Adjusting the volume of the
62 Hz y 78 Hz y 99 Hz y 125 Hz
y 157 Hz y off
subwoofer(s)
5 Press M or m to adjust the volume.
The volume level is adjustable by 1 dB steps
1 Press (SOURCE) to select a source
from –12 dB to +12 dB.
(tuner, CD, or MD).
Tip
2 Press (SOUND) repeatedly until “SUB”
When you lower the volume all the way down,
appears.
“–
∞ dB” appears and the cut-off frequency is
disabled.
6 Press (ENTER).
After the frequency setting is complete, the
display returns to the normal playback mode.
3 Press < or , to adjust the volume.
After 3 seconds, the display returns to the
Other adjustable items (CDX-
normal playback mode.
M670, MDX-M690 only)
Tip
When you press < repeatedly to adjust the volume
The following items can be adjusted:
all the way down, “–
∞ dB” appears and the cutout
frequency of the subwoofer is disabled.
• HPF (High pass filter) — to select the cut-off
frequency to “off,” “78 Hz,” or “125 Hz.”
Adjusting the frequency of the
• LPF (Low pass filter) — to select the cut-off
subwoofer(s) (CDX-M770 only)
frequency to “78 Hz,” “125 Hz,” or “off.”
To match the characteristics of the connected
• Loud (Loudness) — to enjoy bass and treble
subwoofer(s), you can cut out the unwanted high
even at low volumes. The bass and treble will
and middle frequency signals entering the
be reinforced.
subwoofer(s). By setting the cut-off frequency
(see the diagram below), the subwoofer(s) will
1 Press (MENU).
output only low frequency signals so you can get
To set A.Scrl, press (MENU) during CD/MD
a clearer sound image.
playback.
Cut-off frequency
2 Press M or m repeatedly until the
desired item appears.
Level
3 Press , to select the desired setting
(Example: “on” or “off”).
4 Press (ENTER).
After the mode setting is completed, the
display returns to normal play mode.
Note
Frequency (Hz)
The displayed item will differ depending on the source.
Tip
You can easily switch among categories by pressing M
1 Press (MENU).
or m for 2 seconds.
31
By pressing buttons
Turn the dial to change the
Other Functions
direction of infrared rays.
(RM-X5 only)
You can also control the unit (and optional CD/
(ATT)
MD units) with a optional rotary commander.
RM-X5S (supplied with CDX-M770 only)
(SOUND)
RM-X4S (optional)
(SOURCE)
The illustrations in this manual are of the RM-X5S.
(MODE)
The explanations are the same for the RM-X4S.
OFF
(DSPL)
Using the rotary commander
(OFF)
Rotate the VOL control
to adjust the volume.
First, attach the appropriate label depending on
how you want to mount the rotary commander.
The rotary commander works by pressing
Press To
buttons and/or rotating controls.
(SOURCE) Change source
1
(radio/CD/MD*
)
(MODE) Change operation
1
(radio band/DAB*
/CD unit/
1
MD*
unit)
SOUND
DSPL
(ATT) Attenuate sound
MODE
MODE
DSPL
SOUND
2
(OFF)*
Stop playback or radio
reception
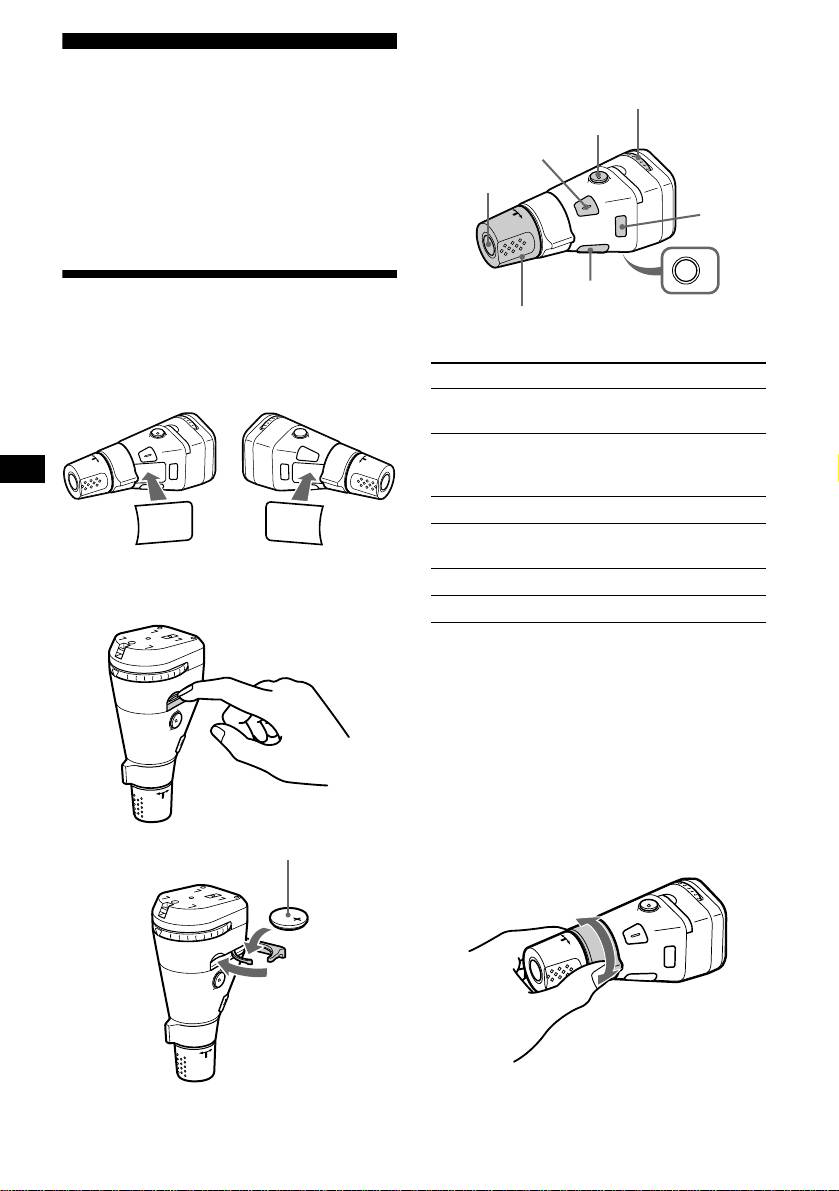
Inserting the supplied lithium battery
(SOUND) Adjust the sound menu
(RM-X5S only)
3
(DSPL) Change the display item*
*1 Only if the corresponding optional equipment is
connected.
*2 If your car has no ACC (accessory) position on the
ignition key switch, be sure to press (OFF ) for 2
seconds to turn off the clock indication after turning
off the ignition.
*3 When using the RDS function, you can press
(DSPL) to show “PTY” in the display. Then you can
only use your master unit or card remote
commander to receive the PTY data (Only
European models).
x
+ side up
By rotating the control
SEEK/AMS
control
Rotate and release to:
– Skip tracks.
Tip
– Tune in stations automatically.
For information or lithium battery, refer to “Notes on
32
lithium battery” (page 36)
Rotate, hold, and release to:
RM-X4S
– Fast-forward/reverse a track.
– Find a station manually.
By pushing in and rotating the control
C
E
U
R
Press (SOUND) for 2 seconds while
S
O
pushing the VOL control.
PRESET/DISC
control
Push in and rotate the control to:
– Receive preset stations.
Quickly attenuating the
– Change the disc*.
* When an optional CD/MD unit is connected.
sound
Tip
(With the rotary commander or the card
You need to push in and rotate the control each time
you select a preset station and a disc.
remote commander)
Press (ATT) on the rotary commander
Changing the operative direction
or card remote commander.
The operative direction of controls is factory-set
“ATT on” appears in the display momentarily.
as shown below.
To restore the previous volume level, press
To increase
(ATT) again.
Tip
When the interface cable of a car telephone is
connected to the ATT lead, the unit decreases the
volume automatically when a telephone call comes in
(Telephone ATT function).
To decrease
If you need to mount the rotary commander on
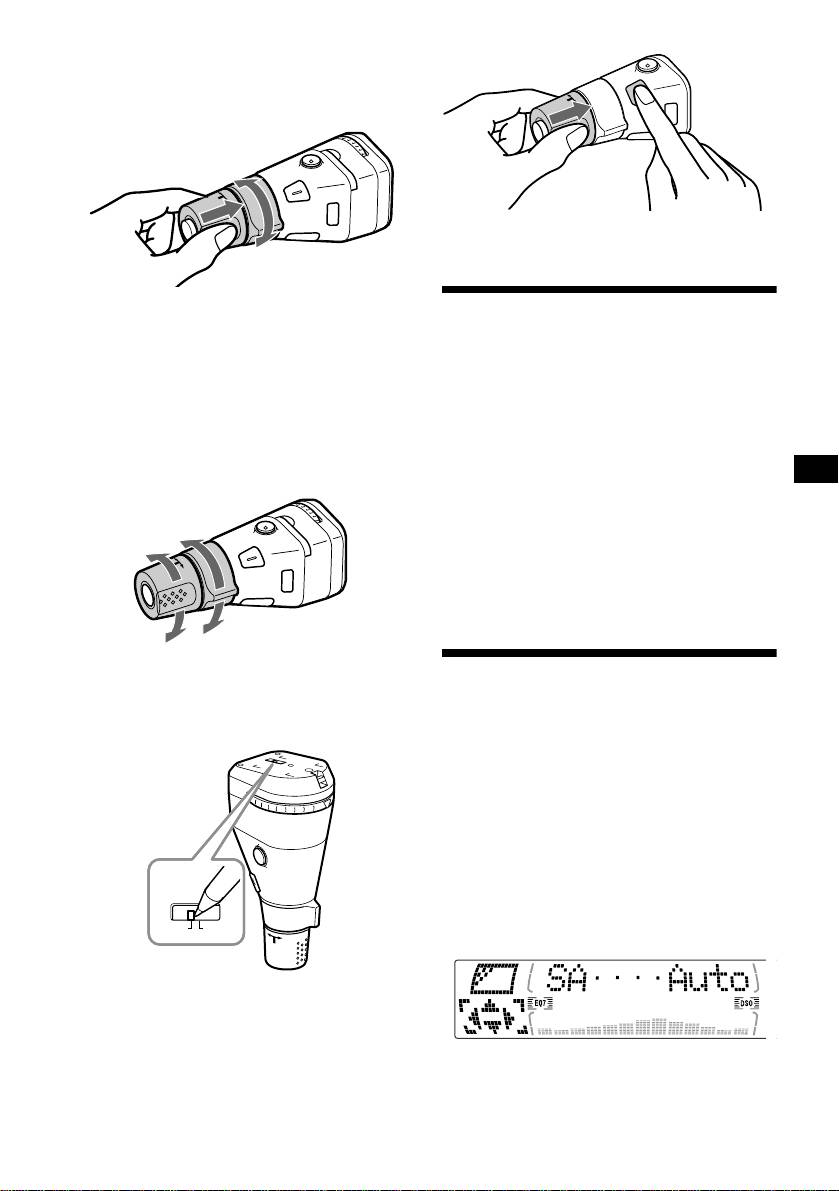
Selecting the spectrum
the right hand side of the steering column, you
can reverse the operative direction.
analyzer
RM-X5S
The sound signal level is displayed on a spectrum
analyzer. You can select a display for 5 patterns
(A-1, A-2, B-1 to B-3), or the automatic display
mode and “OFF” where all the patterns appear.
1 Press (SOURCE) to select a source
(radio, CD, or MD).
2 Press (MENU).
3 Press M or m repeatedly until “SA”
Rev Nor
appears.
Set the Rev/Nor-select switch to “Rev.”
4 Press < or , repeatedly to select the
desired setting.
5 Press (ENTER).
33

Sound (CDX-M670, MDX-M690 only)
Changing the sound and
• HPF (High pass filter) (page 31)
• LPF (Low pass filter) (page 31)
display settings
• Loud (Loudness) (page 31)
— Menu
Play Mode
The following items can be set:
• Local on/off (Local seek mode) (page 16)
– Select “on” to only tune into stations with
Set Up
stronger signals.
• Clock (page 10)
• Mono on/off (Monaural mode) (page 16)
• CT (Clock Time) (page 21)
– Select “on” to hear FM stereo broadcast in
• Beep — to turn the beeps on or off.
monaural. Select “off” to return to normal
• Multi language (language selection) — to
mode.
change the display language to English,
• REG on/off (Regional) (page 18)
German, French, Italian, Dutch, Spanish,
Portuguese, Swedish, Polish, Czech, or
1 Press (MENU).
Turkish.
To set A.Scrl, press (MENU) during CD/MD
• P.Out 4.0V/5.5V — to change the pre-out of the
playback.
power amplifier to 4.0V or 5.5V. Selectable
2 Press M or m repeatedly until the
only when the unit is turned off. (CDX-M770
desired item appears.
only)
3 Press , to select the desired setting
(Example: “on” or “off”).
Display
• D.Info (Dual Information) — to display the
4 Press (ENTER).
clock and the play mode at the same time (on).
After the mode setting is completed, the
Functions only when SA is not set to B-1 – B-3.
display returns to normal play mode.
• SA (Spectrum Analyzer) (page 33) — to
Note
change the display pattern of the equalizer
The displayed item will differ depending on the source.
display.
Tip
• M.Dspl (Motion Display) — to turn the Motion
You can easily switch among categories by pressing M
Display mode on or off.
or m for 2 seconds.
– Select “on” to show decoration patterns in the
display and activate Demo display.
– Select “off” to deactivate the Motion Display.
The Demo display in the M.Dspl will appear
about 10 seconds after the unit is turned off.
• Dimmer — to change the brightness of the
display.
– Select “Auto” to dim the display only when
you turn the lights on.
– Select “on” to dim the display.
– Select “off” to deactivate the Dimmer.
• Contrast — to adjust the contrast if the
indications on the display are not recognisable
because of the unit’s installation position.
• A.Scrl (Auto Scroll)
– Select “on” to scroll all automatically
displayed names exceeding 8 characters.
– When Auto scroll is set to off and the disc/
track name is changed, the disc/track name
does not scroll.
34
Labelling a Motion Display
Connecting auxiliary audio
equipment (CDX-M770 only)
You can label a Motion Display with up to 64
characters to appear when the unit is turned off.
You can connect auxiliary audio equipment to
Labels will scroll in the display in the M.Dspl 1
this unit with the AUX IN connector.
mode (the display remains lit even when the
power is off).
Selecting auxiliary equipment
1 Press (OFF).
Press (SOURCE) repeatedly to select
CD/MD playback or radio reception stops
“AUX.”
(the key illumination and display remain on).
2 Press (MENU), then press M or m
repeatedly until “Name Input”
appears.
3 Press (ENTER).
Adjusting the volume level
You can adjust the volume for each connected
audio equipment.
1 Press (MENU).
4 Enter the characters.
2 Press M or m repeatedly until “AUX
1 Press (DSPL/PTY) to select the
Lebel” appears, then press (ENTER).
character type.
3 Press M or m to select the desired
A t a t 0 t A
volume level, then press (ENTER).
The volume level is adjustable in 1 dB steps
1
from –6 dB to +6 dB.
2 Press M*
repeatedly to select the
desired character.
4 Press (ENTER).
A t B t C t ... x t y t z t 0 t 1
2
t 2 ... t ! t “ t # ... t *
t A
To deactivate “AUX-A” in the music
*1 For reverse order, press m.
source display
*2 (blank space)
3 Press , after locating the desired
1 Press (OFF).
character.
CD/MD playback or radio reception stops
(the key illumination and display remain on).
2 Press (MENU).
3 Press M or m repeatedly until “AUX-A
on” appears.
4 Press < or , to select “AUX-A off.”
If you press <, you can move back to the
5 Press (MENU).
left.
To restore the indication, select “AUX-A on.”
4 Repeat steps 1 to 3 to enter the
entire sentence.
5 Press (ENTER).
Tips
• Simply overwrite or enter “” to correct or erase a
sentence.
• To erase all sentences, press (ENTER) for 2
seconds after step 4- 2.
35
Notes
• For safety, turn off the ignition before cleaning the
connectors, and remove the key from the ignition
Additional Information
switch.
• Never touch the connectors directly with your fingers
or with any metal device.
Maintenance
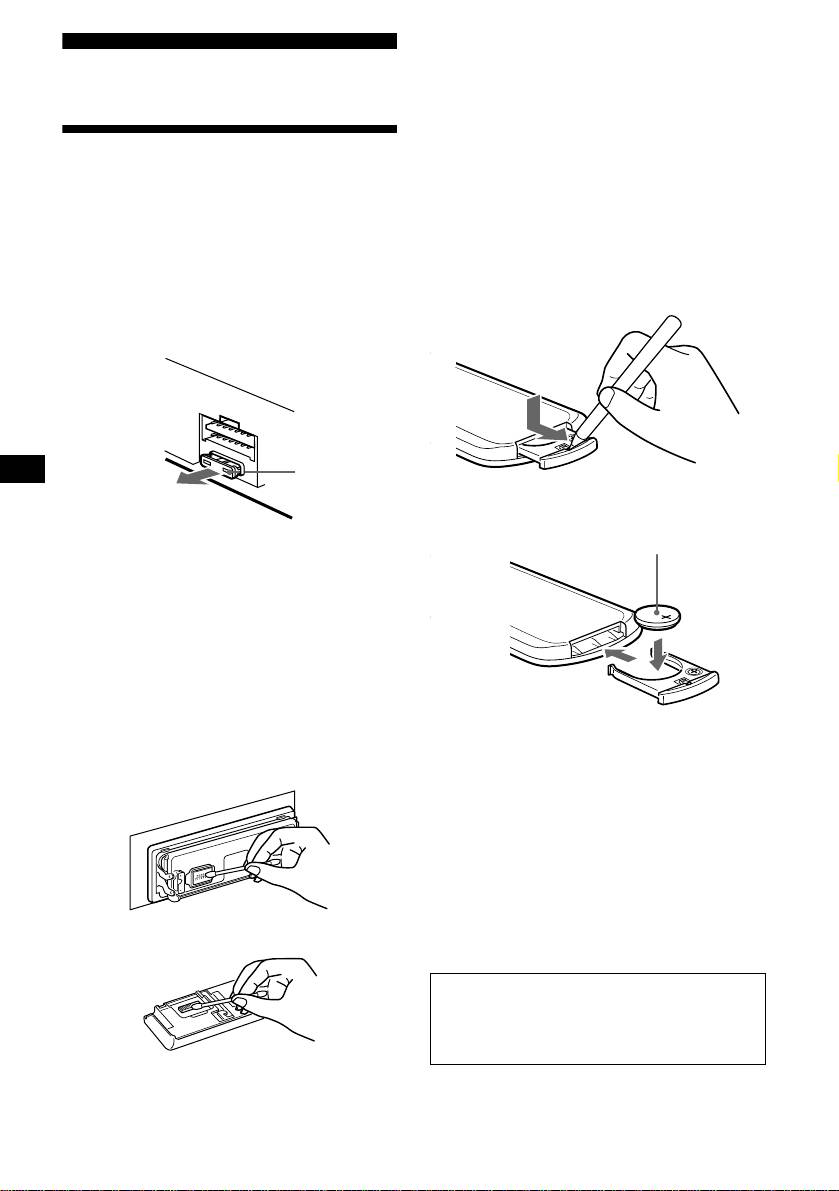
Replacing the lithium battery
Under normal conditions, batteries will last
approximately 1 year. (The service life may be
Fuse replacement
shorter, depending on the conditions of use.)
When replacing the fuse, be sure to use one
When the battery becomes weak, the range of the
matching the amperage rating stated on the
card remote commander becomes shorter.
original fuse. If the fuse blows, check the power
Replace the battery with a new CR2025 lithium
connection and replace the fuse. If the fuse blows
battery.
again after replacement, there may be an internal
malfunction. In such a case, consult your nearest
Sony dealer.
Fuse (10 A)
x
+ side up
Warning
Never use a fuse with an amperage rating
exceeding the one supplied with the unit as this
could damage the unit.
Cleaning the connectors
The unit may not function properly if the
connectors between the unit and the front panel
are not clean. In order to prevent this, detach the
front panel (page 9) and clean the connectors
with a cotton swab dipped in alcohol. Do not
apply too much force. Otherwise, the connectors
may be damaged.
Notes on lithium battery
• Keep the lithium battery out of the reach of
children. Should the battery be swallowed,
immediately consult a doctor.
• Wipe the battery with a dry cloth to assure a
good contact.
• Be sure to observe the correct polarity when
installing the battery.
• Do not hold the battery with metallic tweezers,
Main unit
otherwise a short-circuit may occur.
WARNING
Battery may explode if mistreated.
Do not recharge, disassemble, or dispose of
in fire.
Back of the front panel
36
If the front panel does not open
Removing the unit
because of a blown fuse
1 Remove the front cover
With the front panel open
1 Press the clip inside the front cover
with a release key (supplied), and
1 Remove the front cover
pry the front cover free.
1 Press (OPEN/CLOSE) or (OPEN) of
the unit, then press the clip inside
the front cover with a thin
screwdriver, and gently pry the front
cover free.
Release key (supplied)
Note
To protect the surface of the unit, put thin cloth
between release key and the unit by inserting the
2 Repeat step 1 on the left side.
release key.
The front cover is removed.
2 Repeat step 1 on the left side.
The front cover is removed.
2 Remove the unit
1 Use a thin screwdriver to push in
the clip on the left side of the unit,
2 Remove the unit
then pull out the left side of the unit
until the catch clears the mounting.
1 Use a release key to push in the clip
on the left side of the unit, then pull
out the left side of the unit until the
catch clears the mounting.
2 Repeat step 1 on the right side.
3 Slide the unit out of the mounting.
2 Repeat step 1 on the right side.
3 Slide the unit out of the mounting.
37

Specifications
Tone controls (CDX-M670, MDX-M690 only)
CD/MD Player section
Bass ±8 dB at 100 Hz
Signal-to-noise ratio 90 dB
Treble ±8 dB at 10 kHz
Frequency response 10 – 20,000 Hz
Loudness (CDX-M670, MDX-M690 only)
Wow and flutter Below measurable limit
+8 dB at 100 Hz
+2 dB at 10 kHz
Tuner section
Power requirements 12 V DC car battery
(negative earth)
FM
Dimensions Approx. 178 × 50 × 182
Tuning range 87.5 – 108.0 MHz
mm (w/h/d)
Aerial terminal External aerial connector
Mounting dimensions Approx. 182 × 53 × 160
Intermediate frequency 10.7 MHz/450 kHz
mm (w/h/d)
Usable sensitivity 8 dBf
Mass Approx. 1.5 kg
Selectivity 75 dB at 400 kHz
Supplied accessories Parts for installation and
Signal-to-noise ratio 66 dB (stereo),
connections (1 set)
72 dB (mono)
Front panel case (1)
Harmonic distortion at 1 kHz
Card remote commander
0.6 % (stereo),
RM-X111
0.3 % (mono)
Rotary commander
Separation 35 dB at 1 kHz
RM-X5S (CDX-M770)
Frequency response 30 – 15,000 Hz
Optional accessories Rotary commander
RM-X5S (CDX-M670,
MW/LW
MDX-M690)
Tuning range MW: 531 – 1,602 kHz
RM-X4S
LW: 153 – 279 kHz
BUS cable (supplied with
Aerial terminal External aerial connector
an RCA pin cord)
Intermediate frequency 10.7 MHz/450 kHz
RC-61 (1 m), RC-62 (2 m)
Sensitivity MW: 30 µV
Optional equipment CD changer (10 discs)
LW: 40 µV
CDX-848X, CDX-646
CD changer (6 discs)
Power amplifier section
CDX-T68X, CDX-T67
Outputs Speaker outputs
MD changer (6 discs)
(sure seal connectors)
MDX-65
Speaker impedance 4 – 8 ohms
Source selector
Maximum power output 52 W × 4 (at 4 ohms)
XA-C30
DAB tuner unit
XT-100DAB
General
Outputs Audio outputs (front/rear)
Subwoofer output (mono)
Note
Power aerial relay control
This unit cannot be connected to a digital preamplifier
lead
or an equalizer.
Power amplifier control lead
US and foreign patents licensed from Dolby
Inputs Telephone ATT control lead
Laboratories.
Illumination control lead
BUS control input
Design and specifications are subject to change
connector
without notice.
BUS audio input connector
Remote controller input
connector (CDX-M670,
MDX-690)
Aerial input connector
AUX IN connector (CDX-
M770 only)
38
The rotary commander RM-X5S cannot be
Troubleshooting
operated.
Rotate the dial at the bottom of the rotary
The following checklist will help you remedy
commander until it can be operated.
problems you may encounter with your unit.
Before going through the checklist below, check
CD/MD playback
the connection and operating procedures.
A disc cannot be loaded.
• Another CD/MD is already loaded.
General
• The CD/MD is forcibly inserted upside down
No sound.
or in the wrong way.
• Press the (+) side of (VOL) to adjust the
Playback does not begin.
volume.
• Dirty or defective disc.
• Cancel the ATT function.
• CD-R that is not finalized, or a CD-RW.
• Set the fader control to the centre position for
• You tried to playback a CD-R not designed
a 2-speaker system.
for audio use.
The message “LP” appears in the display.
• Some CD-Rs may not play due to its
MDLP tracks cannot be played back. (MDX-
recording equipment or the disc condition.
M690 only)
A disc is automatically ejected.
An optional MD unit does not conform to
The ambient temperature exceeds 50°C.
MDLP play back.
t Use this unit to playback the MDLP tracks.
CD will not be ejected.
The operation buttons do not function.
The contents of the memory have been
Press the reset button.
erased.
• The reset button has been pressed.
The sound skips from vibration.
• Store again into the memory.
• (CDX-M770, CDX-M670)
• The power cord or battery has been
The unit is installed at an angle of more than
disconnected.
60°.
• The power connecting cord is not connected
(MDX-M690)
properly.
The unit is installed at an angle of more than
20°.
No beep sound.
• The unit is not installed in a sturdy part of
The beep sound is cancelled (page 34).
the car.
Indications disappear from/do not appear in
The sound skips.
the display.
Dirty or defective disc.
• The clock display disappears if you press
(OFF) for 2 seconds.
Cannot turn off the “--------” indication.
t Press (OFF) again for 2 seconds to
You entered the name edit mode.
display the clock.
t Press (LIST) for 2 seconds.
• Remove the front panel and clean the
connectors. See “Cleaning the connectors”
Radio reception
(page 36) for details.
Preset tuning is not possible.
Stored stations and correct time are erased.
• Store the correct frequency in the memory.
The fuse has blown.
• The broadcast signal is too weak.
Makes noise when the ignition key is in the
ON, ACC, or OFF position.
continue to next page t
The leads are not matched correctly with the
car’s accessory power connector.
No power is being supplied to the unit.
• Check the connection. If everything is in
order, check the fuse.
• The car does not have an ACC position.
t Press (SOURCE) (or insert a disc) to turn
on the unit.
The power is continuously supplied to the
unit.
The car does not have an ACC position.
The power aerial does not extend.
The power aerial does not have a relay box.
39

The stations cannot be received.
DSP functions (CDX-M770 only)
The sound is hampered by noises.
No sound, or sound is too low.
• Connect a power aerial control lead (blue) or
The volume of the speakers may have been
accessory power supply lead (red) to the
automatically lowered in order to maximize
power supply lead of a car’s aerial booster.
the effect of the listening position adjustment.
(Only when your car has built-in FM/MW/
t Press < or , to adjust the balance. The
LW aerial in the rear/side glass.)
speaker balance can be set separately for
• Check the connection of the car aerial.
DSP on mode and DSP off mode (page 29).
• The auto aerial will not go up.
t Check the connection of the power aerial
control lead.
• Check the frequency.
• When the DSO mode is on, the sound is
sometimes hampered by noises.
t Set the DSO mode to off (page 27)
(CDX-M770), (page 27) (CDX-M670,
MDX-M690).
Automatic tuning is not possible.
• The local seek mode is set to “on.”
t Set the local seek mode to “off” (page
34).
• The broadcast signal is too weak.
t Perform manual tuning.
The “ST” indication flashes.
• Tune in the frequency accurately.
• The broadcast signal is too weak.
t Set to the monaural reception mode (page
34).
A programme broadcast in stereo is heard
in monaural.
• The unit is in monaural reception mode.
t Cancel monaural reception mode (page
34).
RDS
The Seek starts after a few seconds of
listening.
The station is non-TP or has weak signal.
t Press (AF) or (TA) repeatedly until “AF
off” or “TA off” appears.
No traffic announcements.
• Activate “TA.”
• The station does not broadcast any traffic
announcements despite being TP.
t Tune in another station.
PTY displays “--------.”
• The current station is not an RDS station.
• RDS data has not been received.
• The station does not specify the programme
type.
40
