Sony Trinitron CPD-E400E: Technical Features Troubleshooting
Technical Features Troubleshooting: Sony Trinitron CPD-E400E
Table of contents
- Owner’s Record
- Table of Contents
- Precautions
- Identifying parts and controls
- Setup Step 1:Connect your monitor to your computer
- Step 2:Connect the power cord Step 3:Turn on the monitor and computer
- Selecting the on-screen menu Customizing Your Monitor language (LANG) Navigating the menu
- Using the control button Displaying the current input signal Resetting the adjustments
- Adjusting the brightness and Adjusting the centering of the contrast picture (CENTER) Adjusting the size of the picture (SIZE) Enlarging or reducing the picture (ZOOM)
- Adjusting the shape of the picture Adjusting the color of the picture (GEOM) (COLOR)
- Adjusting the convergence (CONV) Additional settings (OPTION)
- Helpful hints and information (HELP)
- Resetting the adjustments
- Technical Features Troubleshooting
- Trouble symptoms and remedies Symptom Check these items
- Symptom Check these items
- Self-diagnosis function Specifications
Technical Features
Troubleshooting
Before contacting technical support, refer to this section.
Preset and user modes
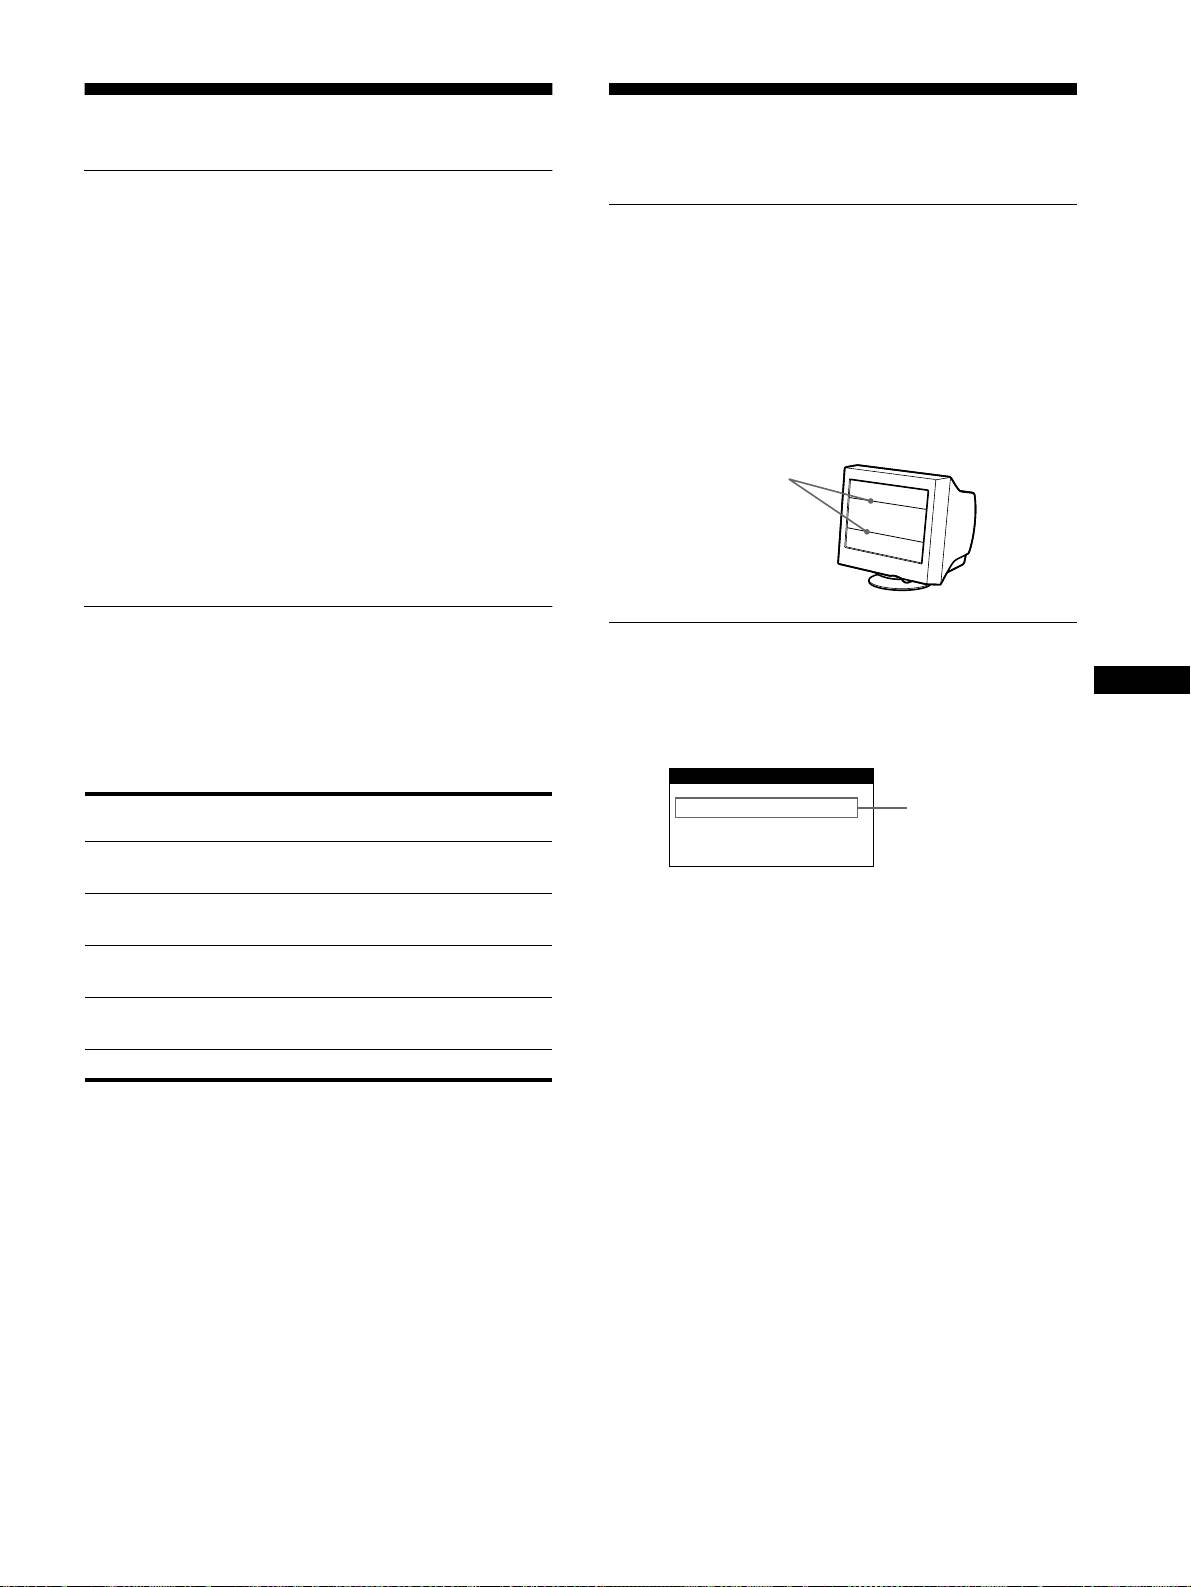
If thin lines appear on your screen
When the monitor receives an input signal, it automatically
matches the signal to one of the factory preset modes stored in the
(damper wires)
monitor’s memory to provide a high quality picture at the center of
the screen.
(See Appendix for a list of the factory preset modes.)
The lines you are experiencing on your screen are normal for the
For input signals that do not match one of the factory preset modes,
Trinitron monitor and are not a malfunction. These are shadows
the digital Multiscan technology of this monitor ensures that a
from the damper wires used to stabilize the aperture grille and are
clear picture appears on the screen for any timing in the monitor’s
most noticeable when the screen’s background is light (usually
frequency range (horizontal: 30 – 96 kHz, vertical: 48 – 120 Hz).
white). The aperture grille is the essential element that makes a
If the picture is adjusted, the adjustment data is stored as a user
Trinitron picture tube unique by allowing more light to reach the
mode and automatically recalled whenever the same input signal
screen, resulting in a brighter, more detailed picture.
is received.
Damper wires
Note for Windows users
For Windows users, check your video board manual or the utility
program which comes with your graphic board and select the
highest available refresh rate to maximize monitor performance.
Power saving function
On-screen messages
This monitor meets the power-saving guidelines set by VESA,
If no picture appears on the screen, one of the following messages
GB
E
NERGY
S
TAR, and NUTEK. If the monitor is connected to a
appears on the screen. To solve the problem, see “Trouble
computer or video graphics board that is DPMS (Display Power
symptoms and remedies” on page 16.
Management Signaling) compliant, the monitor will automatically
reduce power consumption in three stages as shown below
.
Power mode Power consumption
1
(power)
indicator
normal
≤
140 W green
operation
1 standby
≤
15 W green and orange
The input signal condition
OUT OF SCAN RANGE
alternate
indicates that the input signal is not supported by the monitor’s
2 suspend
≤
15 W green and orange
specifications.
(sleep)*
alternate
NO INPUT SIGNAL
3 active off**
≤
3 W orange
indicates that no signal is input.
(deep sleep)*
MONITOR IS IN POWER SAVE MODE
indicates that the computer is in power saving mode. This
power off 0 W off
message is displayed only when your computer is in a power
saving mode and you press any one of the buttons on the monitor.
* “Sleep” and “deep sleep” are power saving modes defined by the
Environmental Protection Agency.
** When your computer is in a power saving mode, MONITOR IS IN
POWER SAVE MODE appears on the screen if you press any button
on the monitor. After a few seconds, the monitor enters the power
saving mode again.
15
INFORMATION
OUT OF SCAN RANGE
Input signal condition
