Dell OptiPlex 320: Diagnostic Lights Light Pattern Problem Description Suggested Resolution
Diagnostic Lights Light Pattern Problem Description Suggested Resolution: Dell OptiPlex 320
Table of contents
- Notes, Notices, and Cautions
- Contents
- Finding Information What Are You Looking For? Find It Here
- What Are You Looking For? Find It Here
- What Are You Looking For? Find It Here
- Setting Up Your Computer Set Up Your Keyboard and Mouse
- Set Up Your Monitor
- Power Connections
- System Views Mini Tower Computer — Front View 3 floppy drive Insert a floppy disk into this drive.
- 9 headphone connector Use the headphone connector to attach headphones.
- Mini Tower Computer — Back View
- Mini Tower Computer — Back-Panel Connectors
- 7 microphone connector
- Desktop Computer — Front View
- Desktop Computer — Back View
- Desktop Computer — Back-Panel Connectors
- 9 video connector
- Removing the Computer Cover Before You Begin Before Working Inside Your Computer
- Mini Tower Computer
- 1 security cable slot
- Desktop Computer
- Inside Your Computer Mini Tower Computer
- System Board Components
- Jumper Settings Mini Tower Computer
- Jumper Setting Description Desktop Computer
- System Board Components
- Jumper Settings Desktop Computer
- Jumper Setting Description Solving Problems Dell Diagnostics When to Use the Dell Diagnostics
- Starting the Dell Diagnostics From Your Hard Drive Starting the Dell Diagnostics From the Drivers and Utilities CD
- Dell Diagnostics Main Menu Option Function Tab Function
- System Lights Power Light Problem Description Suggested Resolution
- Diagnostic Lights Light Pattern Problem Description Suggested Resolution
- Light Pattern Problem Description Suggested Resolution
- Light Pattern Problem Description Suggested Resolution
- Beep Codes Code Cause Code Cause
- Resolving Software and Hardware Incompatibilities Using Microsoft Windows XP System Restore Creating a Restore Point Restoring the Computer to an Earlier Operating State
- Undoing the Last System Restore Enabling System Restore Reinstalling Microsoft Windows XP Before You Begin
- Reinstalling Windows XP Booting From the Operating System CD
- Windows XP Setup
- Using the Drivers and Utilities CD Drivers for Your Computer
Diagnostic Lights
CAUTION: Before you begin any of the procedures in this section, follow the safety instructions in the Product
Information Guide.
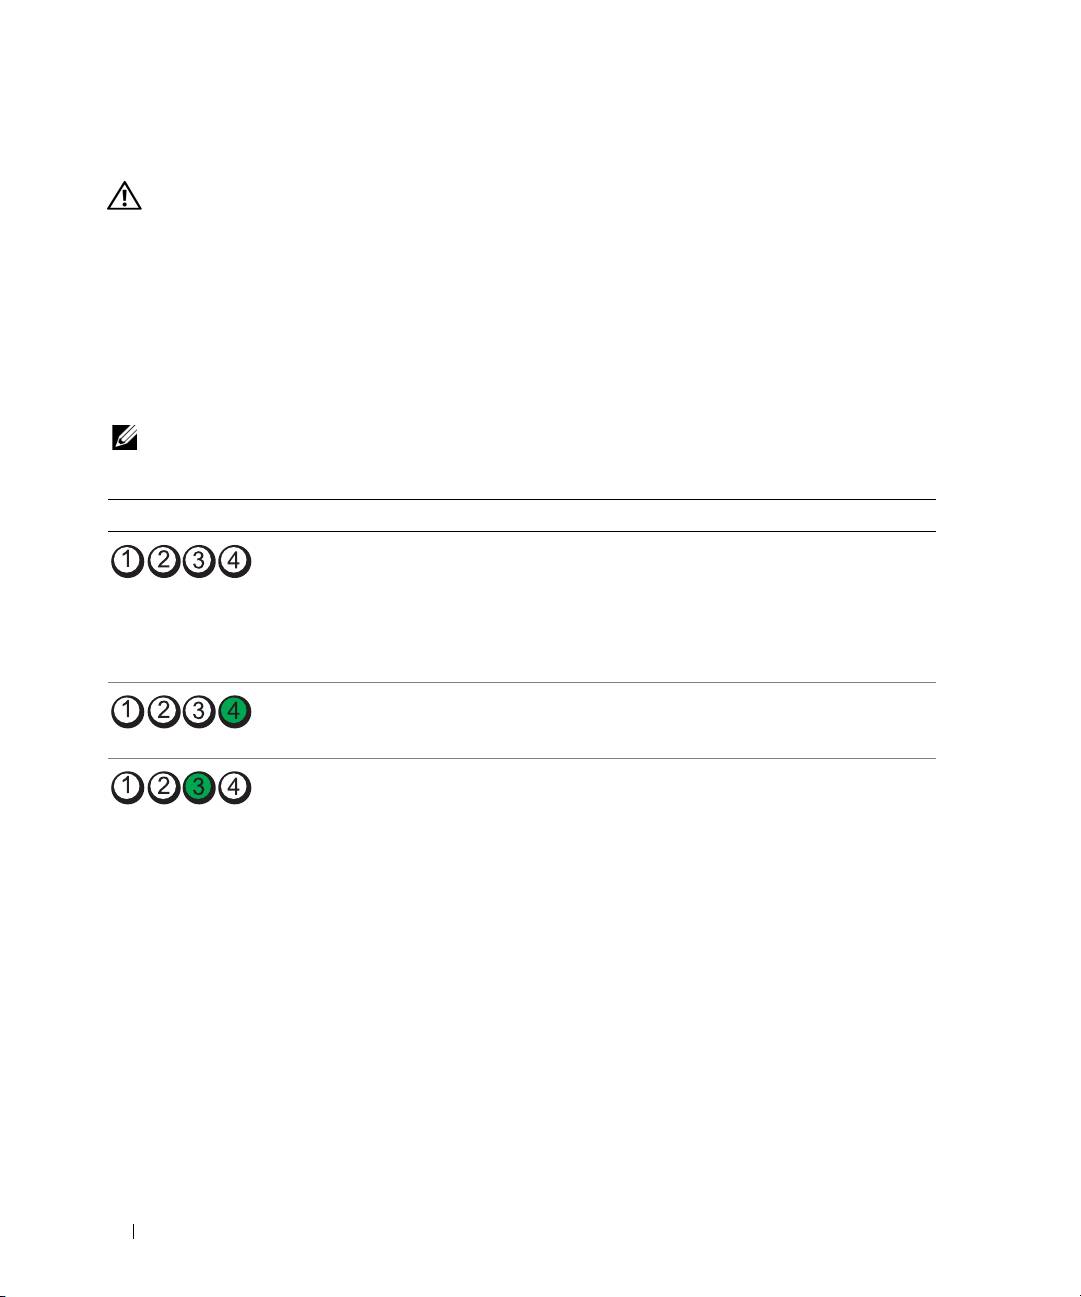
To help you troubleshoot a problem, your computer has four lights labeled "1," "2," "3," and "4" on the
front or back panel. The lights can be "off" or green. When the computer starts normally, the patterns or
codes on the lights change as the boot process completes. If the POST portion of system boot completes
successfully, all four lights display solid green for a short time, and then turn off.
If the computer malfunctions during the POST process, the pattern displayed on the LEDs may help
identify where in the process the computer halted. If the computer malfunctions after a successful
POST, the diagnostic lights do not indicate the cause of the problem.
NOTE: The orientation of the diagnostic lights may vary depending on the system type. The diagnostic lights can be
either vertically or horizontally oriented.
Light Pattern Problem Description Suggested Resolution
The computer is in a normal "off"
Plug the computer into a working electrical
condition, or a possible pre-BIOS failure
outlet and press the power button.
has occurred.
The diagnostic lights are not lit after the
computer successfully boots to the
operating system.
A possible BIOS failure has occurred; the
Run the BIOS Recovery utility, wait for
computer is in recovery mode.
recovery completion, and then restart the
computer.
A possible processor failure has occurred. Reinstall the processor and restart the
computer.
For information on reinstalling the
processor, see your online
User’s Guide
.
34 Quick Reference Guide
