Sharp AL-840-2 – страница 9
Инструкция к Многофункциональному Устройству (Мфу) Sharp AL-840-2
Problème Cause possible
Solution
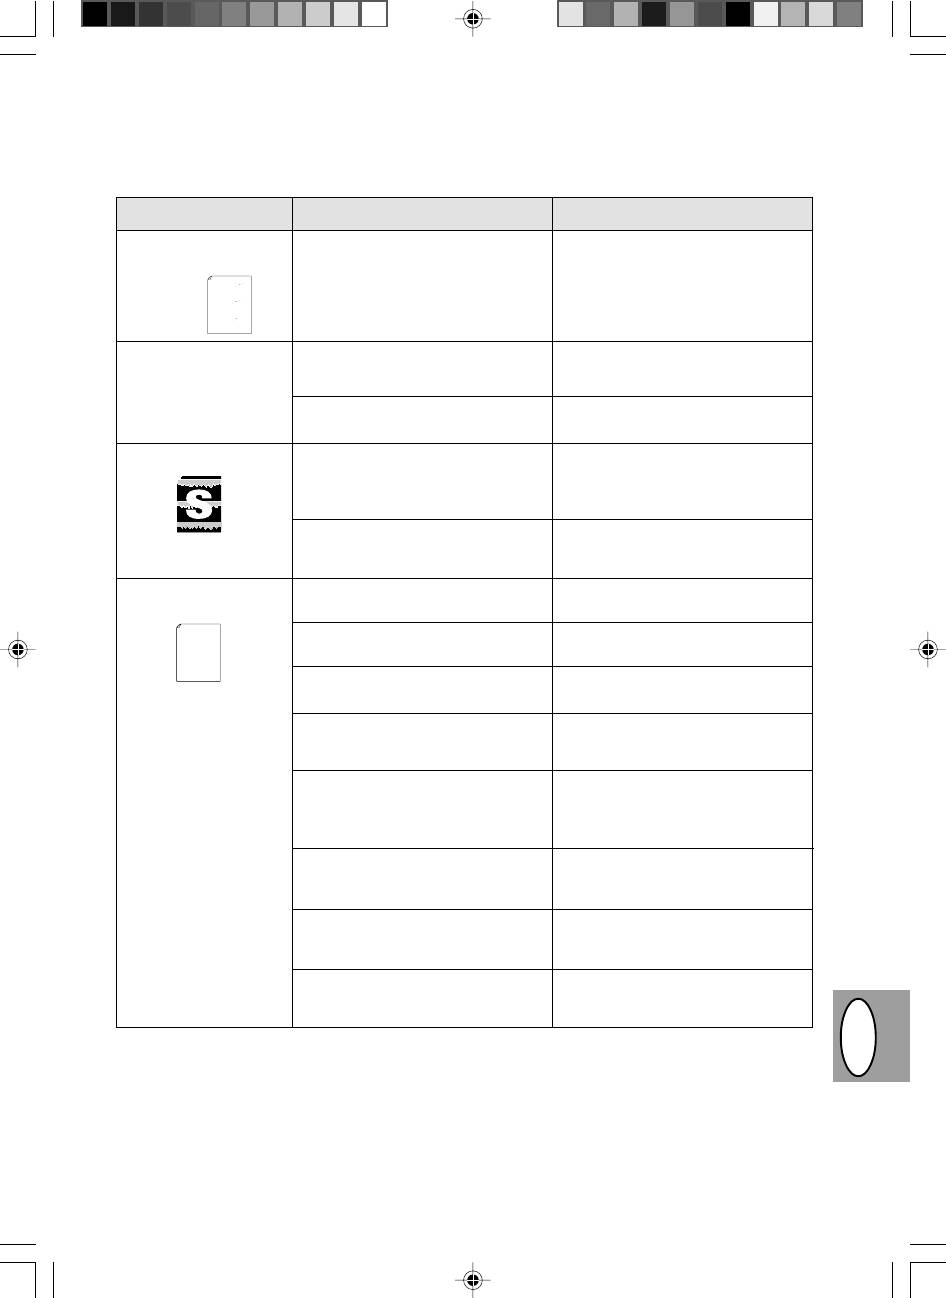
Vides dans les images se
La cartouche toner/développeur et
Assurez-vous que la cartouche toner/
trouvant le long du bord
la cartouche du tambour sont
développeur et la cartouche du tam-
du papier.
and contains advice on how to get the best performance from the printer.
tells you how to set up, operate and maintain your new printer,
Thank you very much for buying a SHARP laser printer. This manual
communicate with your computer via an IEEE P1284 bidirectional parallel
hardware and software.
trouble-free printing performance. The printer driver software lets the printer
interface, so you can control all aspects of printing from the Windows Printer
Your new printer has been specially designed to give you high-quality,
Please use this manual along with the documentation for your computer
with the operation of your computer and with how to send files to be printed.
The descriptions contained in this manual assume that you are familiar
installées incorrectement.
bour sont correctement installées.
the US EPA Energy Star program. Moreover, no harmful ozone is
Consideration has also been given to ecological and environmental factors.
control panel on your computer screen. Printing speed is a maximum
completed it switches to a standby mode which complies with
Your printer features low power consumption, and after printing is
4 pages per minute at resolutions of 300 x 300 dpi for
the JX-9200 and 600 x 600 dpi for the JX-9210.
p. 1-21, 1-22
during printing, and during standby mode the noise level is no
produced during printing, and the toner self-recycling technology
higher than the background noise level.
ensures that no toner is wasted. Printer operation is also very
Despite being packed with so many features, the printer is very compact.
quiet: the printer generates less than 45 dBA of acoustic noise
approximately 5 kg, meaning that it is easy to transport and set up. The
Its footprint is no larger than a single A4 page, and the total weight is
These minimum margin settings vary depending on whether you are
specifies the minimum values that you can set for these page margins.
margins then becomes the "printable area". The Windows Printer Driver
the edges of the paper that you will be printing on. The area inside the
Most software applications will let you adjust the margins to have around
save space and to make inserting the paper easy.
100-sheet multipurpose tray is also located at the top of the printer to
be made in your software applications in both Windows and PCL modes.
printing from a Windows application or from a non-Windows application
in PCL emulation mode.
The following illustration and tables show the minimum settings that can
La fonction d’impression
Trop d’applications sont peut-être
Avant d’imprimer, fermez toutes les
en basse résolution est
ouvertes en même temps.
applications dont vous n’avez pas be-
activée*
1
.
soin.
La résolution est paramétrée sur
Paramétrez la résolution sur 300 dpi.
600 dpi.
Graphiques en dégradés.
Le toner est peut-être inégalement
Sortez la cartouche toner/déve-
réparti.
loppeur et secouez-la doucement à
l’horizontale pour répartir le toner.
p. 4-8
Le toner est presque épuisé.
Vous devrez bientôt remplacer la car-
touche toner/développeur. Préparez
une nouvelle cartouche. p 4-21
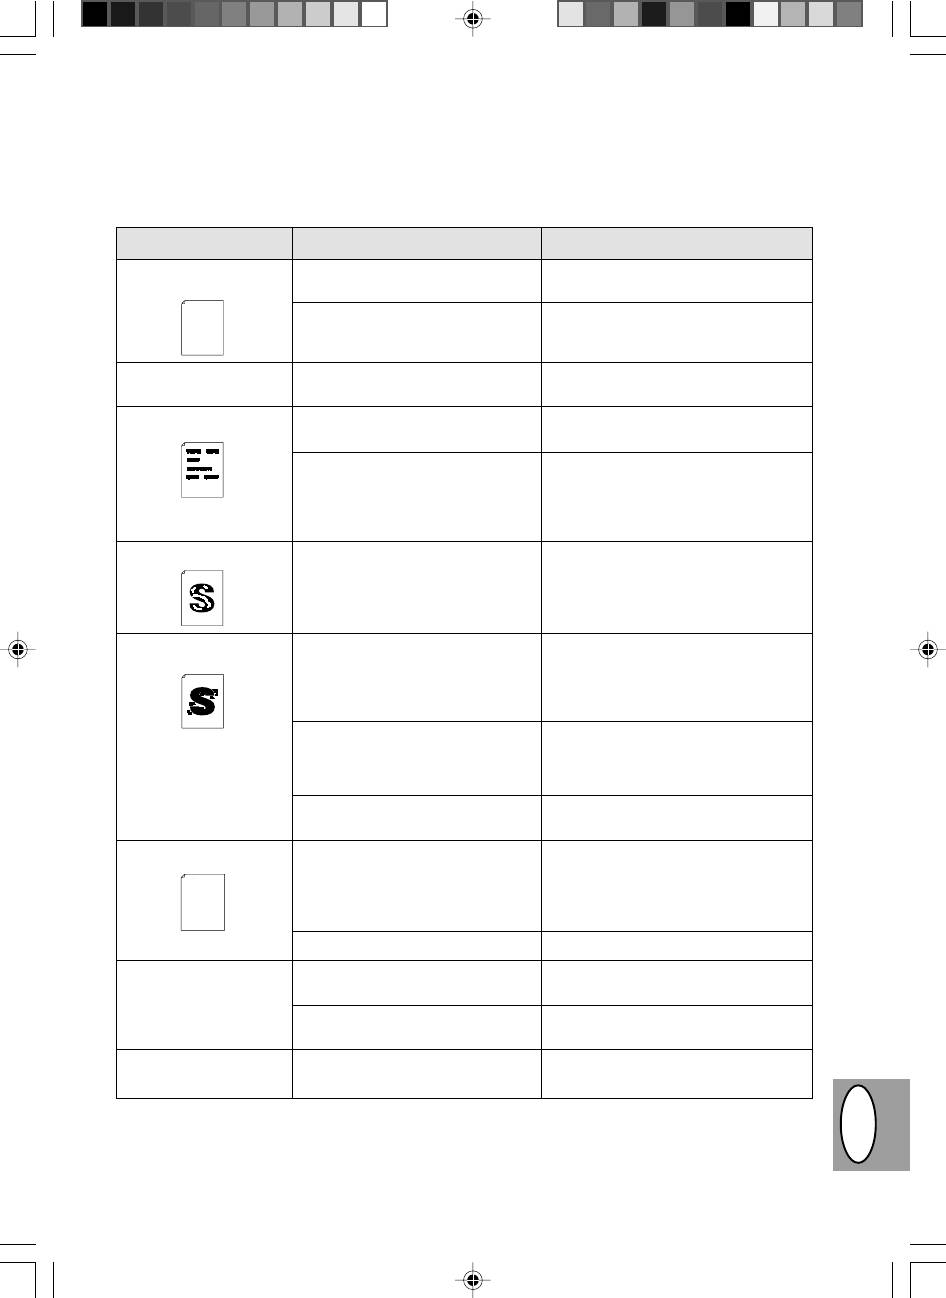
La moitié de la page est
La mise en page est trop
Simplifiez la mise en page afin de
blanche*
2
.
complexe.
solliciter moins de mémoire.
Thank you very much for buying a SHARP laser printer. This manual
and contains advice on how to get the best performance from the printer.
tells you how to set up, operate and maintain your new printer,
trouble-free printing performance. The printer driver software lets the printer
communicate with your computer via an IEEE P1284 bidirectional parallel
hardware and software.
The descriptions contained in this manual assume that you are familiar
Your new printer has been specially designed to give you high-quality,
Please use this manual along with the documentation for your computer
with the operation of your computer and with how to send files to be printed.
interface, so you can control all aspects of printing from the Windows Printer
control panel on your computer screen. Printing speed is a maximum
La résolution est paramétrée sur
Paramétrez la résolution sur 300 dpi.
600 dpi.
L’orientation de la page est peut-
Changez l’orientation de la page en
être incorrecte.
utilisant le pilote d’imprimante.
Trop d’applications sont peut-être
Avant d’imprimer, fermez toutes les
ouvertes en même temps.
applications dont vous n’avez pas be-
soin.
Le format du papier présent dans le
Chargez le papier correct dans le ma-
magasin est peut-être supérieur au
gasin à papier.
format spécifié dans votre applica-
tion ou dans le pilote d’imprimante.
Les caractéristiques techniques du
Utilisez le câble d’interface fourni
câble d’interface sont peut-être
avec le modèle AL-840.
incorrectes.
Les caractéristiques techniques de
Vérifiez si la CPU de votre ordinateur
la CPU sont peut-être incorrectes.
est de type 486DX 66 Mhz ou supé-
rieure.
L’ordinateur ne dispose peut-être
Installez davantage de mémoire RAM
pas de suffisamment de mémoire
dans votre ordinateur.
RAM.
*
1
Impression à basse résolution (pour AL-840 uniquement). Si une page contenant des graphiques comple-
xes ou différentes polices de caractères est imprimée, il se peut que les ressources de votre ordinateur
soient insuffisantes. Dans ce cas, le programme de gestion de l'imprimante active le programme d'im-
pression à basse résolution qui baisse automatiquement la résolution d'impression d'une page complexe.
*
2
Le problème ne se présente que si le copieur est utilisé comme imprimante (AL-840 uniquement). Réfé-
rez-vous également au manuel d’utilisation de l’imprimante.
DK F
4–31

PROBLEMER MED KOPIMASKINEN?
Hvis der opstår problemer, skal nedenstående liste gennemgås, før der rettes henvendelse til Sharp Service
Center. I de nedenstående beskrevne problemer, er der ingen fejl i selve kopimaskinen.
Problem
Mulig årsag
Løsning
Kopimaskinen virker ikke
Er netkablet sat i?
Forbind kopimaskinen til en jordet
stikdåse. S. 4-3
Er netkontakten on?
Tænd for netkontakten. S. 4-3
Er frontafdækningen lukket?
Luk forsigtig frontafdækningen. S. 4-8
Blanke kopier
Er originalen vendt rigtigt på doku-
Anbring originalen med billedsiden ned-
mentglaspladen?
ad på dokumentglaspladen. S. 4-12
Energispareindikatoren
Er kopimaskinen i foropvarmnings-
Tryk en vilkårlig taste for at afbryde
(
) on
modien?
foropvarmningsmodien. S. 4-18
Er kopimaskinen i auto
Tryk print (
) tasten for at afbryde
energislukkemodien?
auto energislukkemodien. S. 4-18
Kopier for mørke eller
Er originalen for mørk eller for lys?
Indstil eksponeringsniveauet manuelt.
for lyse
S. 4-14
Er kopimaskinen i den automatiske
Indstil det automatiske eksponerings-
eksponeringsmodus?
niveau. S. 4-15
Er kopimaskinen i foto ekspone-
Afbryd foto eksponerings modien.
ringsmodien?
S. 4-14
Støv, snavs, pletter på
Er dokumentglaspladen eller doku-
Rens regelmæssigt. S. 4-24
kopierne snavset?
mentafdækningen
Er originalen snavset eller plettet?
Anvend en ren original.
Dele af billeder og tekst
Er kopitromlen ren?
Rens kopitromlen. S. 4-24
mangler.
Papir indføres hyppigt
Ikke-standard papir?
Anvend standardpapir. Hvis der bru-
forkert
ges specialpapir, indføres 1 ark ad
gangen. S. 4-11
Papir krøllet el. fugtigt?
Opbevar kopipapiret fladt i indpaknin-
gen på et tørt sted. S. 4-38
Papirrester i kopimaskinen?
Fjern alle rester af forkert indført papir.
S. 4-26
Papirføringerne i papirbakken er
Juster føringerne korrekt afhængig af
ikke justeret rigtigt?
papirformatet. S. 4-9
For meget papir i papirbakken?
Fjern det overskydende papir fra pa-
pirbakken. S. 4-9
TD patronen eller kopitromlen er
Kontroller, at TD patronen og kopi-
ikke sat rigtigt i.
tromlen er sat korrekt i. S. 4-21, 4-22
Billeder gnides let af
Er kopipapiret for tungt
Anvend kopipapir indenfor det specifi-
kopierne
cerede område. S. 4-11
Er papiret fugtigt?
Skift til tørt kopipapir. Hvis kopimaski-
nen ikke anvendes over et længere
tidsrum, fjernes papiret fra papirbak-
DK F
ken og opbevares i dets indpaknings-
papir på er tørt sted. S. 4-38
4–32
Kvalitetsproblemer ved kopiering og printning
Årsagerne oplistet i tabellen nedenfor er kun mulige årsager og udgør ikke alle mulige årsager, der kan opstå
under aktuelle driftsbetingelser. Hvis De kommer ud for et problem, der ikke synes at falde ind under nogen af
de oplistede årsager i tabellen eller hvis De er interesseret i en vilkårlig anden aspekt vedrørende kopiering og
printning, bedes De kontakte Deres SHARP service center.
Problem
Mulig årsag
Løsning
Uregelmæssige lyse
Der er et papirkvalitetsproblem.
Anvend kun papir, der overholder kopi-
flader eller print
maskinens specifikationer. S. 4-11
The descriptions contained in this manual assume that you are familiar
tells you how to set up, operate and maintain your new printer,
and contains advice on how to get the best performance from the printer.
Thank you very much for buying a SHARP laser printer. This manual
Please use this manual along with the documentation for your computer
hardware and software.
interface, so you can control all aspects of printing from the Windows Printer
Your new printer has been specially designed to give you high-quality,
with the operation of your computer and with how to send files to be printed.
trouble-free printing performance. The printer driver software lets the printer
Consideration has also been given to ecological and environmental factors.
the JX-9200 and 600 x 600 dpi for the JX-9210.
control panel on your computer screen. Printing speed is a maximum
Your printer features low power consumption, and after printing is
4 pages per minute at resolutions of 300 x 300 dpi for
communicate with your computer via an IEEE P1284 bidirectional parallel
completed it switches to a standby mode which complies with
Toneren er ujævnt fordelt.
Tag TD patronen ud og ryst den forsig-
quiet: the printer generates less than 45 dBA of acoustic noise
ensures that no toner is wasted. Printer operation is also very
produced during printing, and the toner self-recycling technology
the US EPA Energy Star program. Moreover, no harmful ozone is
during printing, and during standby mode the noise level is no
higher than the background noise level.
Its footprint is no larger than a single A4 page, and the total weight is
approximately 5 kg, meaning that it is easy to transport and set up. The
100-sheet multipurpose tray is also located at the top of the printer to
Despite being packed with so many features, the printer is very compact.
tigt for at fordele toneren jævnt. Isæt
specifies the minimum values that you can set for these page margins.
These minimum margin settings vary depending on whether you are
printing from a Windows application or from a non-Windows application
margins then becomes the "printable area". The Windows Printer Driver
the edges of the paper that you will be printing on. The area inside the
Most software applications will let you adjust the margins to have around
save space and to make inserting the paper easy.
The following illustration and tables show the minimum settings that can
in PCL emulation mode.
be made in your software applications in both Windows and PCL modes.
derpå TD patronen. S. 4-21
Kopimaskinen printer
TD patronen er ikke isat korrekt.
Kontroller om TD patronen er isat kor-
blanke sider
rekt. S. 4-8
Sorte pletter
Der er et papirkvalitetsproblem.
Anvend kun papir, der overholder kopi-
maskinens specifikationer. S. 4-11
Der er isat en TD patron fra en
Anvend altid samme TD patron til sam-
anden SHARP kopimaskine.
me kopieringsmaskine. Anvendelse af
en patron, der allerede har været an-
vendt i en anden kopimaskine, giver
måske ikke tilfredsstillende resultater.
Utydelige skrifttegn
Papiret er for tørt.
Prøv at kopiere eller printe med for-
skellige mængder papir.
Plettet baggrund
Papiret er for fugtigt.
Prøv at kopiere eller printe med for-
skellige mængder papir. Åbn ikke pa-
pirpakken før nødvendigt, for at papiret
ikke skal absorbere for meget fugtig-
hed. S. 4-38
Kopiering eller printning på ujævne
Hvis der printes på kuverter, skal lay-
overflader.
outet ændres for at undgå printning på
områder, der har overlappende kanter
på den modsatte side.
Driftsomgivelserne (temperatur,
Anvend kopimaskinen i egnede omgi-
fugtighed) er ikke ok.
velser S. 4-2
Manglende skrifttegn
Papiret er for fugtigt.
Prøv at kopiere eller printe med for-
Thank you very much for buying a SHARP laser printer. This manual
tells you how to set up, operate and maintain your new printer,
skellige mængder papir. Åbn ikke pa-
trouble-free printing performance. The printer driver software lets the printer
Your new printer has been specially designed to give you high-quality,
hardware and software.
with the operation of your computer and with how to send files to be printed.
The descriptions contained in this manual assume that you are familiar
and contains advice on how to get the best performance from the printer.
Please use this manual along with the documentation for your computer
communicate with your computer via an IEEE P1284 bidirectional parallel
interface, so you can control all aspects of printing from the Windows Printer
control panel on your computer screen. Printing speed is a maximum
4 pages per minute at resolutions of 300 x 300 dpi for
pirpakken før nødvendigt, for at papiret
the JX-9200 and 600 x 600 dpi for the JX-9210.
Consideration has also been given to ecological and environmental factors.
ensures that no toner is wasted. Printer operation is also very
completed it switches to a standby mode which complies with
the US EPA Energy Star program. Moreover, no harmful ozone is
produced during printing, and the toner self-recycling technology
Your printer features low power consumption, and after printing is
Despite being packed with so many features, the printer is very compact.
quiet: the printer generates less than 45 dBA of acoustic noise
ikke skal absorbere for meget fugtig-
save space and to make inserting the paper easy.
100-sheet multipurpose tray is also located at the top of the printer to
approximately 5 kg, meaning that it is easy to transport and set up. The
Its footprint is no larger than a single A4 page, and the total weight is
during printing, and during standby mode the noise level is no
higher than the background noise level.
margins then becomes the "printable area". The Windows Printer Driver
specifies the minimum values that you can set for these page margins.
the edges of the paper that you will be printing on. The area inside the
Most software applications will let you adjust the margins to have around
These minimum margin settings vary depending on whether you are
hed. S. 4-38
be made in your software applications in both Windows and PCL modes.
printing from a Windows application or from a non-Windows application
in PCL emulation mode.
The following illustration and tables show the minimum settings that can
Tromlen kan være snavset.
Rens tromlen. S. 4-24
Dobbeltprintning (foregå-
Der er anvendt for kraftigt papir.
Indfør kraftigt papir et ark ad gangen.
ende billede overlapper
S. 4-11
det aktuelle)
Papiret kan være for tørt.
Prøv at kopiere eller printe med for-
skellige mængder papir.
Bagsiden af printsiderne
Transferrullen kan være snavset.
Kopier eller print nogle blanke sider for
er tilsmudset
at rense transferrullen.
DK F
4–33
Problem Mulig årsag
Løsning
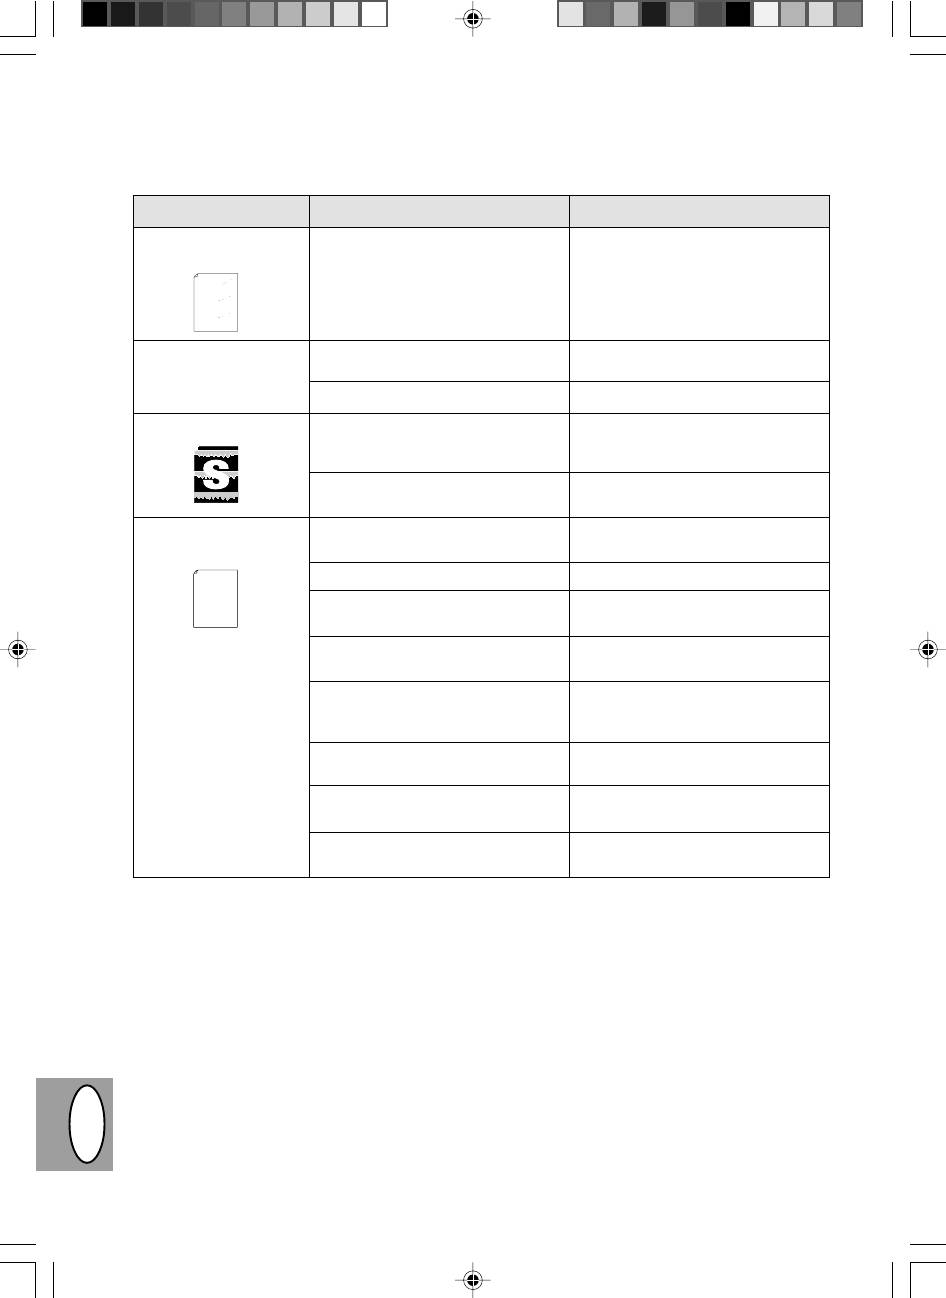
Blanke steder langs med
TD patronen eller kopitromlen er
Kontroller, at TD patronen og
en papirkant.
ikke installeret korrekt.
kopitromlen er installeret korrekt.
tells you how to set up, operate and maintain your new printer,
Thank you very much for buying a SHARP laser printer. This manual
Please use this manual along with the documentation for your computer
and contains advice on how to get the best performance from the printer.
with the operation of your computer and with how to send files to be printed.
The descriptions contained in this manual assume that you are familiar
hardware and software.
S. 4-21, 4-22.
interface, so you can control all aspects of printing from the Windows Printer
Your new printer has been specially designed to give you high-quality,
communicate with your computer via an IEEE P1284 bidirectional parallel
trouble-free printing performance. The printer driver software lets the printer
control panel on your computer screen. Printing speed is a maximum
4 pages per minute at resolutions of 300 x 300 dpi for
the JX-9200 and 600 x 600 dpi for the JX-9210.
Consideration has also been given to ecological and environmental factors.
completed it switches to a standby mode which complies with
the US EPA Energy Star program. Moreover, no harmful ozone is
produced during printing, and the toner self-recycling technology
Your printer features low power consumption, and after printing is
ensures that no toner is wasted. Printer operation is also very
100-sheet multipurpose tray is also located at the top of the printer to
Despite being packed with so many features, the printer is very compact.
quiet: the printer generates less than 45 dBA of acoustic noise
approximately 5 kg, meaning that it is easy to transport and set up. The
Its footprint is no larger than a single A4 page, and the total weight is
during printing, and during standby mode the noise level is no
higher than the background noise level.
save space and to make inserting the paper easy.
Most software applications will let you adjust the margins to have around
the edges of the paper that you will be printing on. The area inside the
margins then becomes the "printable area". The Windows Printer Driver
specifies the minimum values that you can set for these page margins.
These minimum margin settings vary depending on whether you are
printing from a Windows application or from a non-Windows application
in PCL emulation mode.
The following illustration and tables show the minimum settings that can
be made in your software applications in both Windows and PCL modes.
Featuren, lav printopløs-
Der er åbnet for mange
Luk alle unødvendige applikationer
ning, er aktiveret*
1
applikationer.
før printning.
Opløsningen er sat til 600 dpi.
Indstil opløsningen til 300 dpi.
Fejlagtig grafik
Toneren er ujævnt fordelt.
Tag TD patronen ud og ryst den for-
sigtigt vandret for at fordele toneren
jævnt. S. 4-8
Toneren er næsten opbrugt.
TD patronen skal snart udskiftes.
Forbered en ny TD patron. S. 4-21
Halvdelen af papiret er
Sidens layout er for kompleks.
Forenkel layoutet for at reducere den
blankt*
2
nødvendige lagerplads.
Thank you very much for buying a SHARP laser printer. This manual
hardware and software.
trouble-free printing performance. The printer driver software lets the printer
Your new printer has been specially designed to give you high-quality,
Please use this manual along with the documentation for your computer
with the operation of your computer and with how to send files to be printed.
The descriptions contained in this manual assume that you are familiar
and contains advice on how to get the best performance from the printer.
tells you how to set up, operate and maintain your new printer,
Opløsningen er sat til 600 dpi.
Indstil opløsningen til 300 dpi.
control panel on your computer screen. Printing speed is a maximum
interface, so you can control all aspects of printing from the Windows Printer
communicate with your computer via an IEEE P1284 bidirectional parallel
Indstillingen af papirorienteringen
Skift papirorienteringen med printer-
kan være forkert.
driveren.
Der er åbnet for mange applikatio-
Luk alle unødvendige applikationer
ner.
før printning.
Papiret i bakken er måske større
Læg det korrekte papir i papirbakken.
end det specificerede papirformat i
Deres applikation eller printerdriver.
Interface-kablets specifikationer er
Benyt interface-kablet, der er leveret
måske forkerte.
sammen med AL-840.
CPU specifikationerne er måske
Kontroller at CPU'en i computeren er
forkerte.
en 486DX 66 Mhz eller bedre.
Computeren har måske for lidt
Installer mere random-access-
random-access-memory (RAM).
memory (RAM) i computeren.
*
1
Udprint med lav opløsning (kun AL-840).
Hvis en side indeholder komplekse grafiker eller der printes forskellige fonts, kan det hænde, at computer-
ens lagerplads ikke er tilstrækkelig. I så tilfælde, aktiverer printerdriveren modien med den lave opløsning,
hvilket automatisk reducerer opløsningen på en kompleks side.
*
2
Problemet optræder kun, hvis kopimaskinen anvendes som printer. (kun AL-840) Se også printerens be-
tjeningsvejledning.
DK F
4–34
FONCTION D’AUTODIAGNOSTIC
Lorsque les témoins suivants s’allument ou clignotent sur le tableau de commande ou que les indications
suivantes apparaissent sur l’affichage, résolvez immédiatement le problème en vous aidant du tableau ci-
dessous et des instructions données à la page adéquate.
Indication
Cause et solution
Témoin de
Allumé
La cartouche de tambour devra bientôt être remplacée. Préparez une
remplacement de
nouvelle cartouche. p. 4-22
w
tambour
Clignotant
La cartouche de tambour doit être remplacée. Remplacez-la par une
cartouche neuve. p. 4-22
Témoin de toner
Allumé
La cartouche toner/développeur devra bientôt être remplacée. Prépa-
s
usagé
rez une nouvelle cartouche. P. 4-21
Clignotant
La cartouche toner/développeur doit être remplacée. Remplacez-la par
une cartouche neuve. p. 4-21
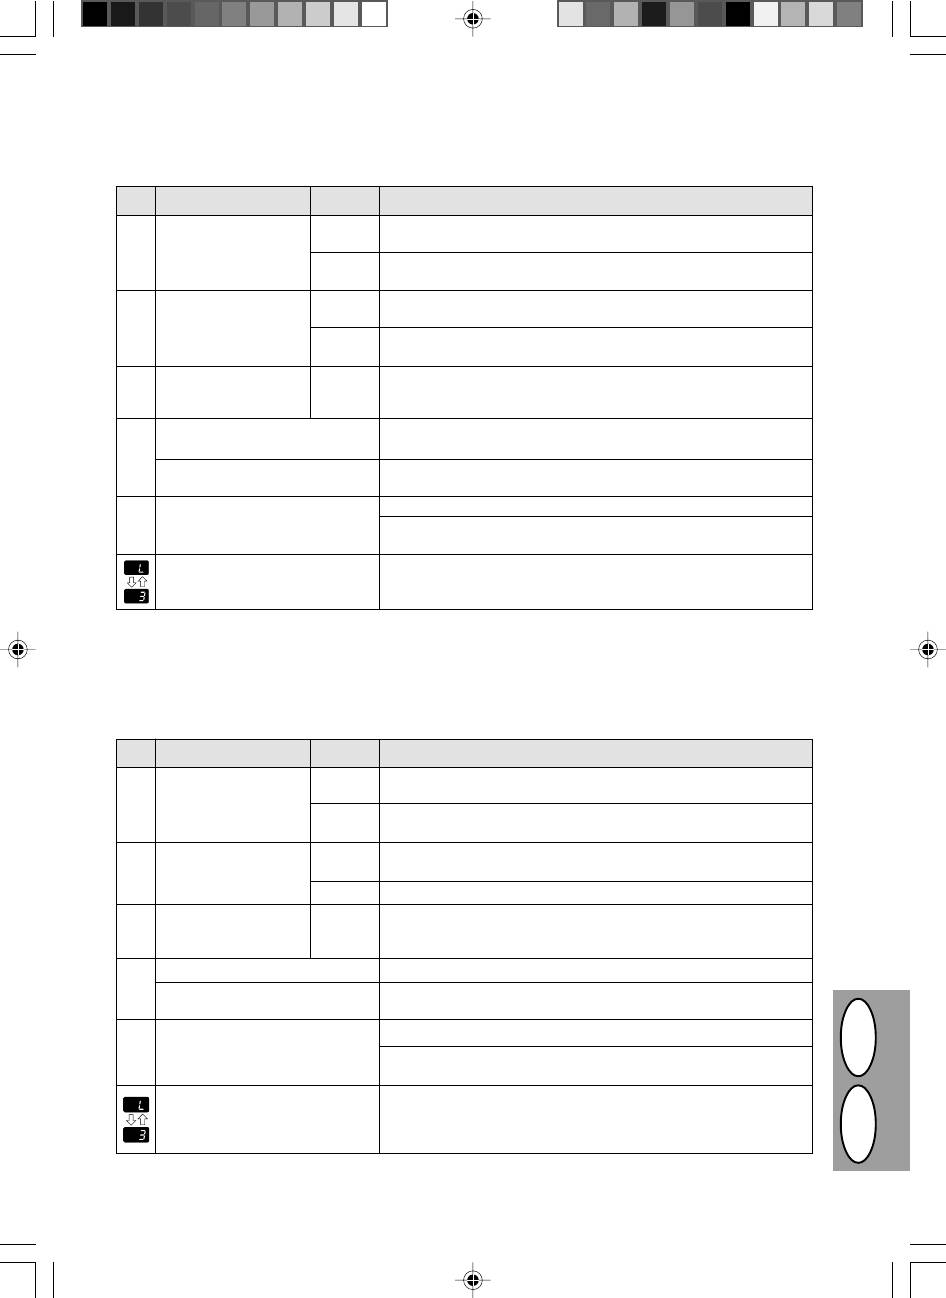
Témoin de blocage
Clignotant
Un blocage de papier s’est produit. Dégagez le papier bloqué selon la
t
du papier
procédure décrite à la section "Blocage de papier – Extraction".
p. 4-26.
" CH " clignote sur l’affichage.
La cartouche toner/développeur n’est pas installée. Vérifiez si la
cartouche est bien installée. p. 4-8
n
" CH " reste allumé.
Le couvercle avant est ouvert. Fermez le couvercle avant à fond.
p. 4-8
Le magasin papier est vide. Chargez du papier copie. p. 4-9
" P " clignote sur
Q
l’affichage.
Un bourrage s’est produit au niveau du magasin à papier. Enlevez le
papier responsable du bourrage. p.4-26
Une lettre et un chiffre apparaissent
Coupez l'alimentation électrique et rebranchez-la ; si un problème
alternativement.
subsiste, enlevez le câble d'alimentation de la prise de courant et
contactez un représentant du Service agréé.
STATUS INDIKATORER
Hvis de følgende indikatorer lyser eller blinker på betjeningspanelet, skal problemet løses omgående ved hjælp
af nedenstående tabel og den tilhørende side.
Indikering
Årsag og løsning
Indikator for
Lyser
Udskiftning af kopitromlen er nært af kopitromlen forestående.
udskiftning
konstant
Anskaf en ny patron. S. 4-22
w
Blinker
Kopitromlen skal udskiftes. Udskift den med en ny.
S. 4-22
Indikator for
Lyser
Udskiftning af TD patronen er nært af TD patronen forestående.
udskiftning
konstant
Anskaf en ny patron. S. 4-21
s
Blinker
TD patronen skal udskiftes. Udskift den med en ny. S. 4-21
Indikator for
Blinker
Der er optrådt en forkert papirindføringpapirindføring. Fjern det
t
forkert
forkert indførte papir, se beskrivelsen af „Udtagning af forkert
indført papir“. S. 4-26
„CH“ blinker i displayet
TD patronen er ikke isat. Kontroller om patronen er isat. S. 4-8
n
„CH“ lyser konstant i
Frontafdækningen er åben. Luk frontafdækningen sikkert. S. 4-8
displayet
„P“ blinker i displayet
Papirbakken er tom. Læg nyt kopipapir i. S. 4-9
Q
En forkert indføring er optrådt i papirbakken. Fjern det forkert
indførte papir. S. 4-26
Der fremkommer
Kopimaskinen fungerer ikke. Sluk og tænd for afbryderen og hvis
skiftevis et bogstav
der igen optræder en fejl fjernes netledningen fra netstikdåsen
og et tal
og Deres autoriserede service-center kontaktes.
DK F
4–35
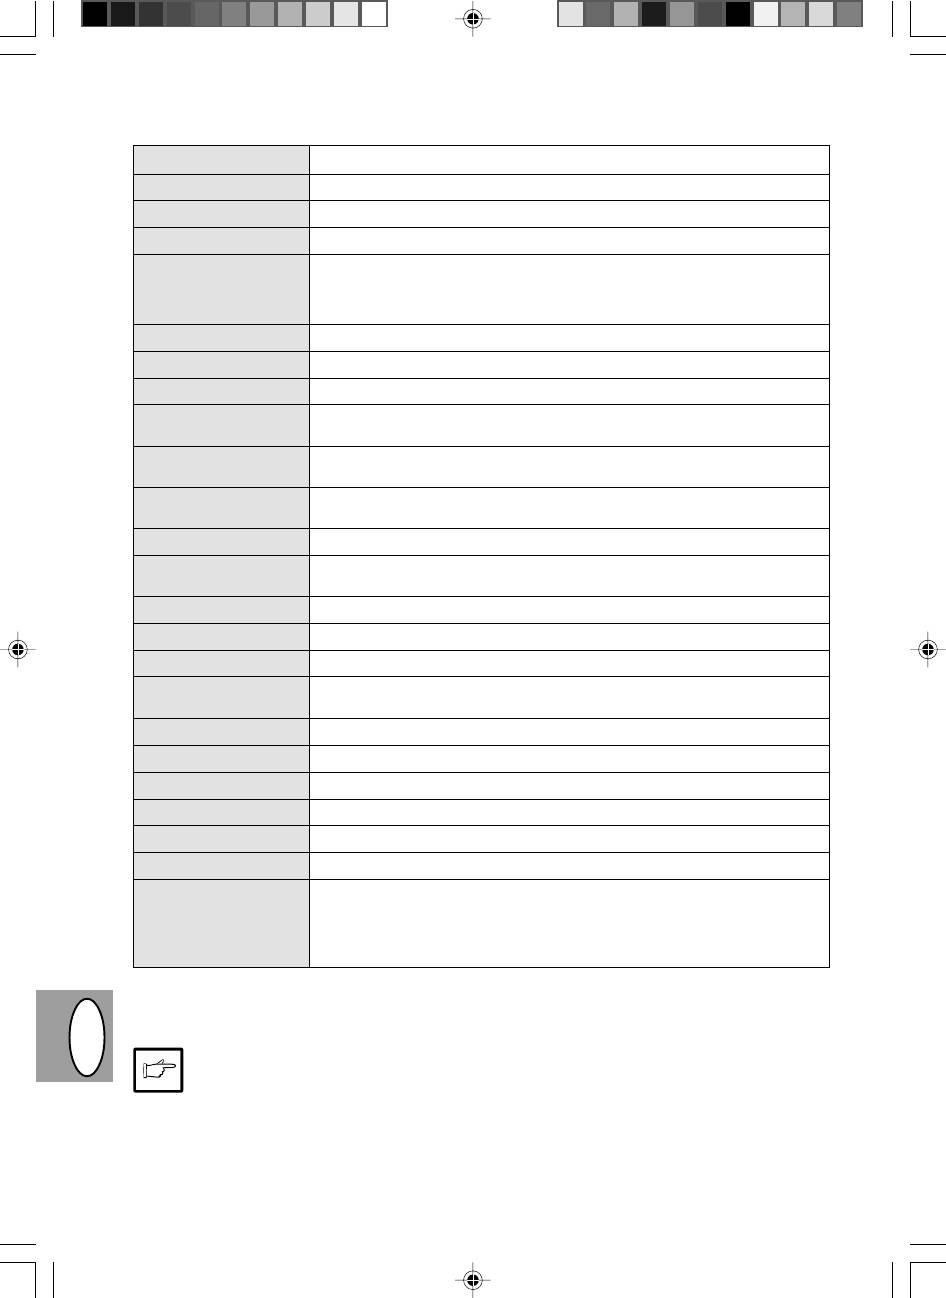
FICHE TECHNIQUE
Type Photocopieur numérique de bureau
Système de copie Transfert électrostatique à sec
Originaux Feuilles, documents reliés
Format des originaux Maximum A4
Format des copies A6 à A4
(Introduisez le papier dans le sens de la longueur seulement.)
Bande technique: Max. 5 mm (bords avant et arrière)
Max. 3 mm (chacun des autres bords)
Vitesse de copie 8 copies/mn
Copie continue Maximum 50 copies; compteur décroissant
Première copie 12,5 secondes (mode de copie normale)
Taux de reproduction Variable: 50% à 200% par pas de 1% (soit un total de 151 pas)
Fixe: 50%, 70%, 86%, 100%, 141%, 200%
Système d’exposition Exposition par fente avec déplacement de la source optique (vitre d’exposi-
tion fixe), fonction d’exposition automatique
Alimentation en papier Un magasin papier à alimentation automatique (250 feuilles)
copie
Dispositif de fixation Méthode par rouleaux de pression chauffants.
Système de Méthode par rouleau mono-composant électrostatique.
développement
Source lumineuse Lampes fluorescentes
Résolution Balayage: 400 dpi et impression: 600 dpi
Gradation Balayage: 256 niveaux de couleurs et impression: 2 niveaux de couleurs
Alimentation requise Tension locale ±10% (pour les exigences en matière de norme d’alimentation,
reportez-vous à la plaquette signalétique au dos de l’appareil.)
Consommation 600 W
Dimensions hors tout 460 mm (L) x 750 mm (P)
Poids 11 kg avec cartouches toner
Dimensions du copieur 460 mm (L) x 425 mm (P) x 229 mm (H)
Conditions d’utilisation Température: 10°C à 35°C
Humidité 20% à 80% (max. 60% à 35°C)
Niveau sonore Niveau de puissance acoustique L
WA
(1B = 10dB)
Copie: 6,7 [B (A)], Veille: niveau de bruit de fond
Niveau de pression acoustique L
PA
(positions de veille)
Copie: 49 [dB (A)], Veille: niveau de bruit de fond
Mesure de l’émission acoustique conformément à la norme ISO 7779.
Le temps de sortie de la première copie peut varier selon les conditions d’environnement, telles que la tension
d’alimentation et la température de la pièce. Les valeurs de la vitesse de copie sont arrondies au nombre entier
le plus proche.
Dans le droit fil de notre philosophie d’amélioration permanente, Sharp se réserve le droit de modifier
sans préavis la conception et les caractéristiques pour amélioration. Les chiffres de performances
indiqués sont des valeurs nominales d’unités de production. Ces valeurs peuvent varier légèrement
dans les différentes unités.
DK F
4–36
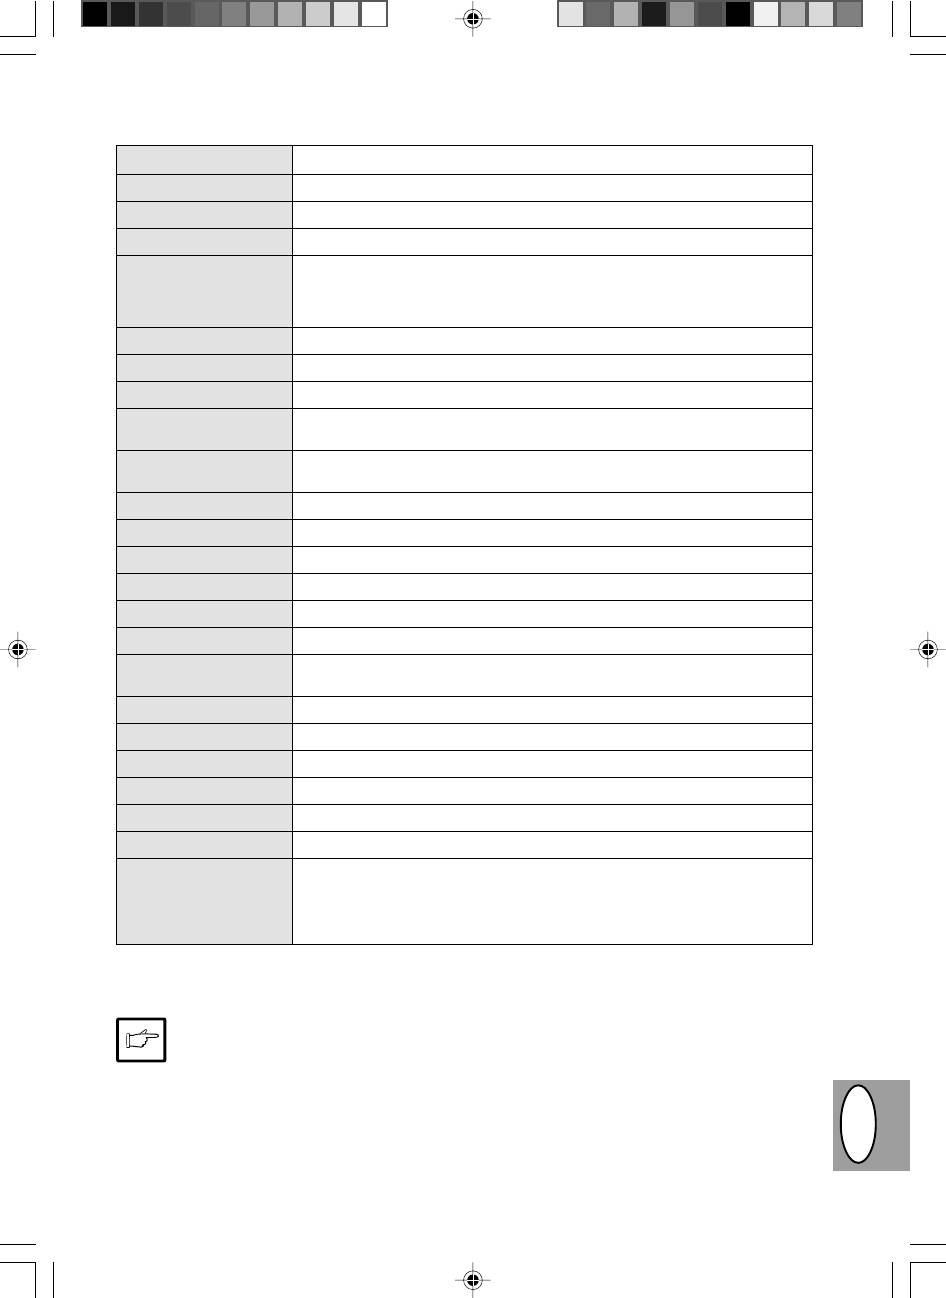
SPECIFIKATIONER
Type Digital kopimaskine, bordmodel
Kopieringssystem Tør, elektrostatisk overførsel
Originaler Ark, indbundne dokumenter
Originalformat Maks. A4
Papirformater A6 til A4
(Kun indføring af papir i længderetningen.)
Kopimargin: Maks. 5 mm (forreste og bageste rand)
Maks. 3 mm (en vilkårlig siderand)
Kopieringshastighed 8 kopier/min.
Kontinuerlig kopiering Maks. 50 kopier; subtraktiv tæller
Tid for første kopi 12,5 sek. (normal kopieringsmodus)
Kopiformat Variabel: 50% til 200% i skridt på 1% (ialt 151 skridt)
Fast indstillet: 50%, 70%, 86%, 100%, 141%, 200%
Eksponeringssystem Bevægelig optisk kilde, spalteeksponering (stationær plade) med automatisk
eksponering
Kopipapirindføring En papirbakke med automatisk indføring (250 ark)
Opvarmningssystem Opvarmet trykrullemetode
Udviklersystem Mono-komponent elektrostatisk valsemetode
Lyskilde Fluorescent lamper
Opløsning: Scanning: 400 dpi, Output: 600 dpi
Gradation Scanning: 256 niveauer, Output: 2 niveauer
Strømforsyning Lokal spænding ±10% (Vedrørende strømforsyning af denne kopimaskine, se
navneskiltet, der er placeret på baggsiden af enheden.)
Effektoptagelse 600 W
Dimensioner 460 mm (B) x 750 mm (L)
Vægt ca. 11 kg, inklusive TD patron og kopitromle.
Kopimaskinens mål 460 mm (B) x 425 mm (L) x 229 mm (H)
Miljøbetingelser Temperatur: 10 °C til 35 °C.
Rel. fugtighed: 20% til 80% (maks. 60% ved 35°C)
Støjniveau Lydeffektniveau L
WA
(1B=10dB)
Kopiering: 6,7 [B(A)], standby: Baggrundsstøjniveau
Lydtryksniveau L
PA
(i anvender position)
Kopiering: 49 [dB(A)], standby: Baggrundsstøjniveau
Måling af støjudsendelse i overensstemmelse med ISO 7779
Tiden for den første kopi kan variere afhængig af anvendelsesbetingelserne, såsom netspænding og rumtem-
peratur. Værdierne for kopieringshastigheden er afrundet til nærmeste hele tal.
Som en del af vor politik med kontinuerlig forbedring, forbeholder SHARP sig ret til at foretage ændringer
i design og specifikationer uden forudgående meddelelse. De viste specifikationer er gennemsnitlige
produktionsværdier. Der kan også forekomme små afvigelser fra disse værdier for de enkelte enheder.
DK F
4–37

NUMÉROS DE RÉFÉRENCE DES FOURNITURES EN OPTION ET DE
RÉSERVE ET CONSERVATION
EKSTRAUDSTYRS- OG RESERVEDELSNUMRE OG OPBEVARING
Lors de la commande de fournitures et d’éléments en
Ved bestilling af reservedele og ekstraudstyr skal de
option, veuillez utiliser le numéro de référence correct
korrekte delnumre som oplistet nedenfor anvendes.
indiqué ci-dessous.
Anvend kun originale SHARP dele og tilbe-
Veillez à toujours utiliser des fournitures et
hør.
des éléments de marque Sharp.
Pour obtenir les meilleurs résultats de co-
For at opnå det bedste kopieringsresultat,
pie, veillez à n’utiliser que des fournitures
anvendes kun originalt SHARP tilbehør,
SHARP d’origine; celles-ci sont conçues,
der er designet, udviklet og testet for mak-
développées et testées pour maximiser la
simal levetid og ydeevne af SHARP kopi-
durée de vie et la performance des copieurs
maskiner. Vær opmærksom på original til-
SHARP. Contrôlez la présence de l’étiquette Fourni-
behørsmærkaten på tonerpakningen.
tures d'origine sur l’emballage du toner.
Liste des fournitures
Reservedelsliste
Fourniture Numéro de Durée de service
Reservedel Del nr. Ca. levetid
référence
TD patron AL-80TD Ca. 3.000 ark*
Cartouche toner/ AL-80TD Environ 3 000 pages
*
développeur
Kopitromle AL-80DR Ca. 20.000 ark
Cartouche de AL-80DR Environ 20 000 pages
tambour
* Baseret på kopiering på A4 ved 5% sværtningsflade
* Calcul pour la reproduction sur papier de format A4 à 5% de
zone ombrée
Instructions de conservation
Korrekt opbevaring
1. Rangez les fournitures dans un endroit:
1. Opbevar tilbehøret på et sted der er:
· propre et sec;
· rent og tørt,
· à température stable;
· har konstant temperatur,
· qui n’est pas exposé aux rayons directs du soleil.
· ikke er udsat for direkte sollys.
2. Rangez le papier copie dans son emballage d’origi-
2. Opbevar kopipapir i indpakningen og liggende fladt.
ne et à plat.
· Le papier conservé hors de son emballage ou en
· Papir opbevaret uden indpakning eller i indpaknin-
position verticale sur le champ peut s’écorner ou
ger stående på kanten kan blive krøllet eller fugtigt,
devenir humide, ce qui entraîne le blocage du papier.
hvilket medfører forkerte indføringer.
AFFICHAGE DU NOMBRE TOTAL DE COPIES
VISNING AF DET TOTALE ANTAL KOPIER
Suivez la procédure ci-dessous pour afficher le nom-
Anvend følgende procedure til visning af det totale
bre total de copies.
antal kopier.
1. Appuyez sur la touche d’effacement
1. Tryk klar (
>
) tasten for at nulstille
(
>
) pour réinitialiser l’affichage.
displayet.
2. Maintenez enfoncée la touche d’effa-
2. Tryk og hold klar (
>
) tasten nede i ca.
cement (
>
) pendant 5 secondes en-
5 sekunder. Det totale antal kopier
viron. Le nombre total de copies ap-
vises i to trin, hvert med tre cifre.
paraît en deux étapes composées
chacune de trois chiffres.
Eksempel:
Exemple: Le nombre total de copies
det totale antal kopier er 1.234.
s’élève à 1 234.
DK F
4–38
TRANSPORT DU COPIEUR
TRANSPORT
Pour transporter le copieur, suivez la procédure ci-
Hvis kopimaskinen skal transporteres, skal nedenstå-
dessous.
ende procedure følges.
Lorsque vous déplacez le co-
Hvis kopimaskinen flyttes, skal
pieur, veillez à retirer la cartou-
TD patronen tages ud af maski-
che toner/développeur de l’ap-
nen. Dette forhindrer spild af
pareil. Cette précaution per-
toner inde i kopimaskinen un-
met d’éviter de renverser du
der transport.
toner à l’intérieur du copieur
1. Sluk for netkontakten og fjern netled-
durant le transfert.
ningen.
1. Placez l’interrupteur d’alimentation en
2. Fjern printer interface-kablet. (ku-
position d’arrêt et débranchez le cor-
nAL840)
don d’alimentation.
3. Tryk forsigtigt på begge sider af front-
2. Débranchez le câble d’interface de
afdækningen for at åbne den.
l’imprimante. (AL-840 uniquement)
4. Træk forsigtigt TD patronen ud. (Se
3. Appuyez doucement sur les deux cô-
side 4-21, ISÆTNING AF TD PA-
tés du couvercle avant pour l’ouvrir.
TRON.)
4. Sortez précautionneusement la car-
5. Tag kopipapiret ud af papirbakken.
touche toner/développeur. Voir page
Vedr. udtagning af papir, se side 4-
4-21, REMPLACEMENT DE LA CAR-
26, Forkert indføring i papirbakken.
TOUCHE TONER/DEVELOPPEUR.
6. Tag papirbakken ud af kopimaskinen.
5. Sortez le papier de reproduction du
7. Skub forsigtigt papirudgangsbakken
magasin à papier. Pour sortir le pa-
ind i kopimaskinen til den stopper.
pier, référez-vous à la page 4-26,
Bourrage dans le magasin à papier.
8. Anbring den opbevarede skrue på
venstre side af kopimaskinen. Se side
6. Retirez le magasin à papier du co-
4-7 OPSTILLING.
pieur.
7. Repoussez doucement le plateau de
réception du papier à l’intérieur du
copieur jusqu’à ce qu’il touche sa
butée.
8. Revissez sur la face latérale gauche
la vis que vous aviez mise de côté.
Voir page 4-7 INSTALLATION.
Cette vis est destinée à maintenir
Denne skrue sikrer scannerhove-
en place la tête de lecture optique.
det. Hvis kopimaskinen er blevet
Si l’alimentation électrique a été
slukket mens en original er blevet
coupée alors qu’un document était
scannet, befinder scannerhovedet
en cours d’analyse, la tête d’analy-
sig ikke i den yderste venstre posi-
se ne se trouve pas dans sa posi-
tion. I så tilfælde, tænd for kopima-
tion à l’extrême gauche du rail.
skinen og sluk den igen efter at det
Dans ce cas, rallumez le copieur,
er kontrolleret om scannerhovedet
puis éteignez-le après vous être
befinder sig i den yderste venstre
assuré que la tête est bien revenue
position.
à sa position initiale, à gauche du
rail.
9. Luk frontafdækningen.
9. Refermez le couvercle avant.
10.Anbring emballagen og tapen, der
blev fjernet under opstilling af kopi-
10.Remettez en place les matériaux
maskinen. Se side 4-7 AFTAGNING
d’emballage et les bandes adhésives
AF BESKYTTENDE EMBALLAGE.
qui ont été enlevés lors de l’installa-
tion de l’appareil. Référez-vous à la
11.Pak kopimaskinen i kartonen.
page 4-7, DEBALLAGE DES MATE-
RIAUX DE PROTECTION.
DK F
11.Emballez le copieur dans le carton.
4–39
SHARP CORPORATION
© 1998 SHARP CORPORATION
PRINTED IN HONG KONG
98K KS1
TINSZ7292XCZZ


