Sharp DV-NC70RU: Watching the VCR
Watching the VCR: Sharp DV-NC70RU

Watching the VCR
Playback .......................................................................................... 52
Inserting a Video Cassette ............................................................. 52
Playback ........................................................................................ 52
Video Search (with the Remote) .................................................... 52
Fast Forwarding and Rewinding .................................................... 53
Slow Motion Playback (with the Remote) ...................................... 53
Still Picture and Frame Advance .................................................... 53
Double Speed Playback ................................................................. 53
NTSC Tape Play Back on PAL TV.................................................. 54
Full Auto Playback ......................................................................... 54
Auto Head Cleaning System .......................................................... 54
Auto Tracking Control System ....................................................... 54
Quick Start with Full Loading Mechanism ...................................... 54
AUTO RENTAL .............................................................................. 55
COLOUR ........................................................................................ 55
BLUE BACK ................................................................................... 56
Playback of Hi-Fi Recorded Tapes ................................................. 57
Audio Output Mode ........................................................................ 57
Adjusting Hi-Fi Audio Tracking ....................................................... 57
Sharp Super Picture ....................................................................... 58
Auto Repeat ..................................................................................... 59
WATCHING
Auto Zero Back ............................................................................... 60
THE VCR
DPSS (Digital Program Search System)/Skip Search .................. 61
DPSS ............................................................................................. 61
Skip Search.................................................................................... 61
TV Programme Recording.............................................................. 62
Cassette Erase Protection ............................................................. 62
Recording a TV Programme .......................................................... 62
To Watch Another TV Programme While Recording ...................... 62
Recording NICAM/IGR Multiplex Broadcasts ................................ 63
Simple Recording Timer ................................................................. 64
Immediate Recording ..................................................................... 64
Recording with the Timer ............................................................... 65
Confirming Timer Programmes ...................................................... 68
Cancelling Timer Programmes....................................................... 69
Tape Dubbing .................................................................................. 70
Tape Dubbing Connection Instructions .......................................... 70
Recording a DVD Disc onto a Video Cassette .............................. 71
Recording a DVD disc onto a Video cassette
(Tape Editing mode) ................................................................... 71
51
GB
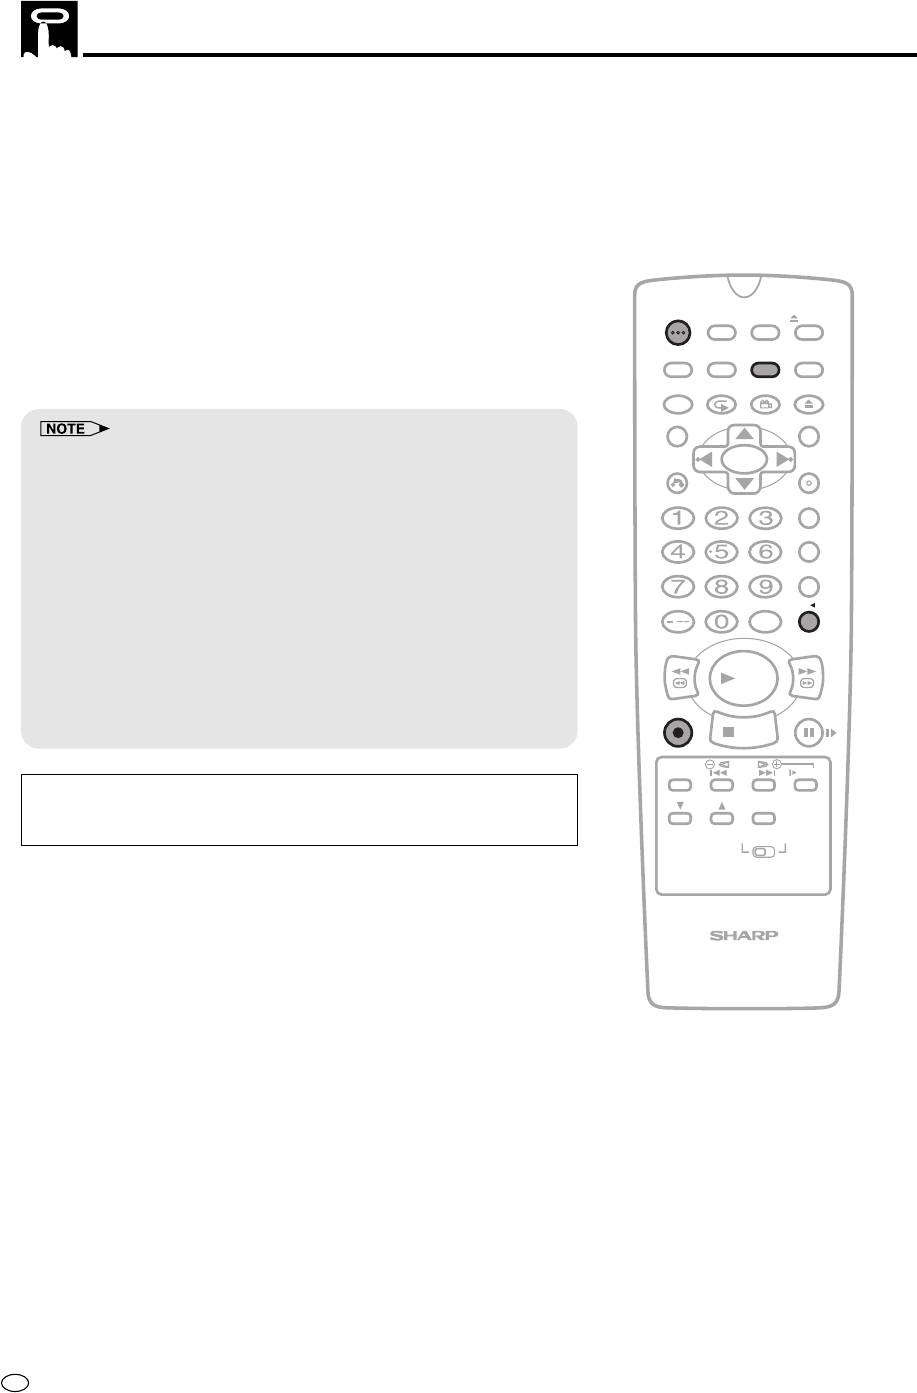
Playback
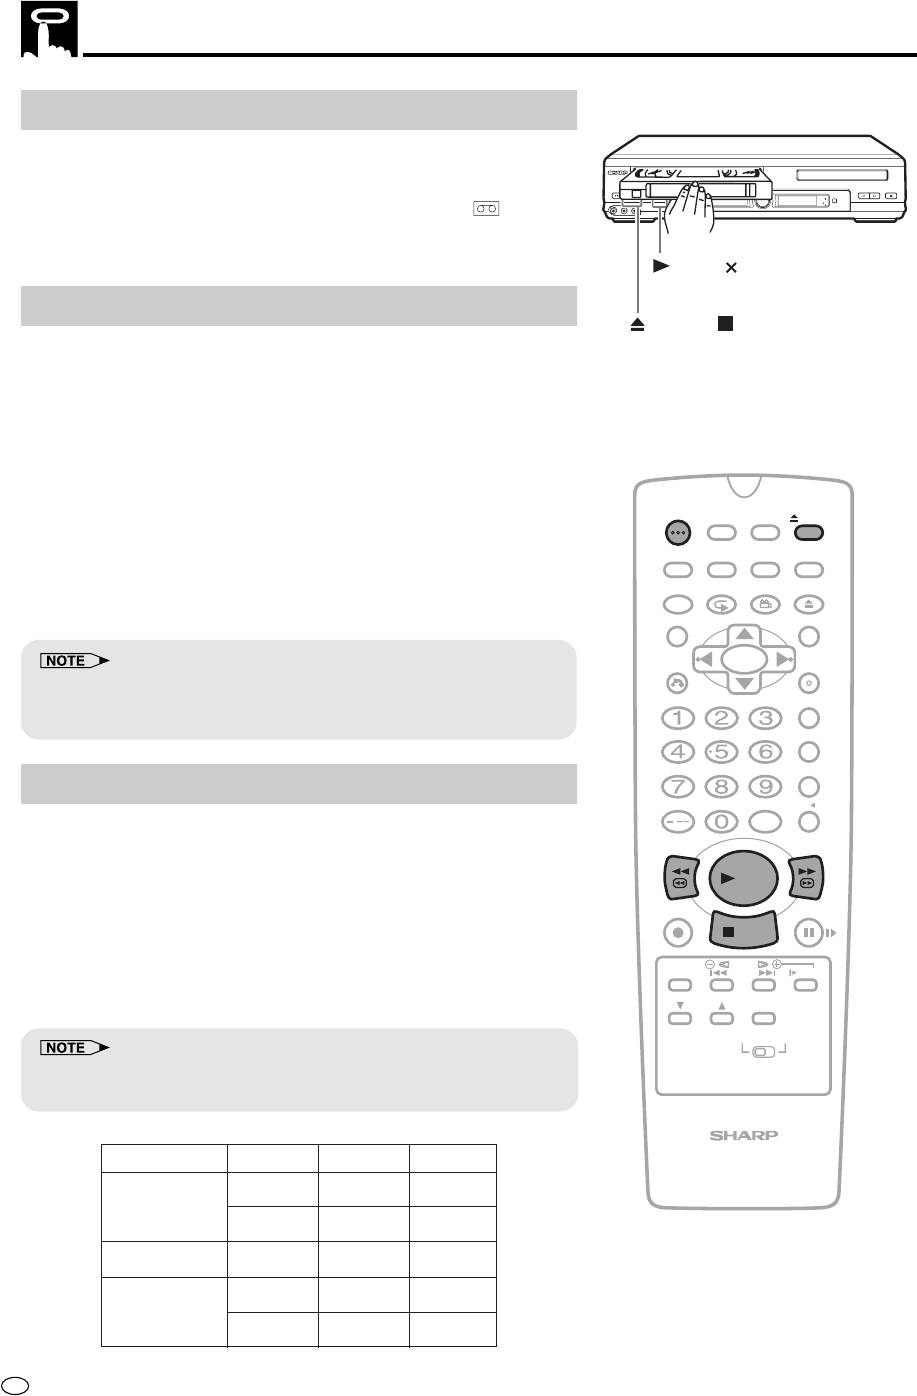
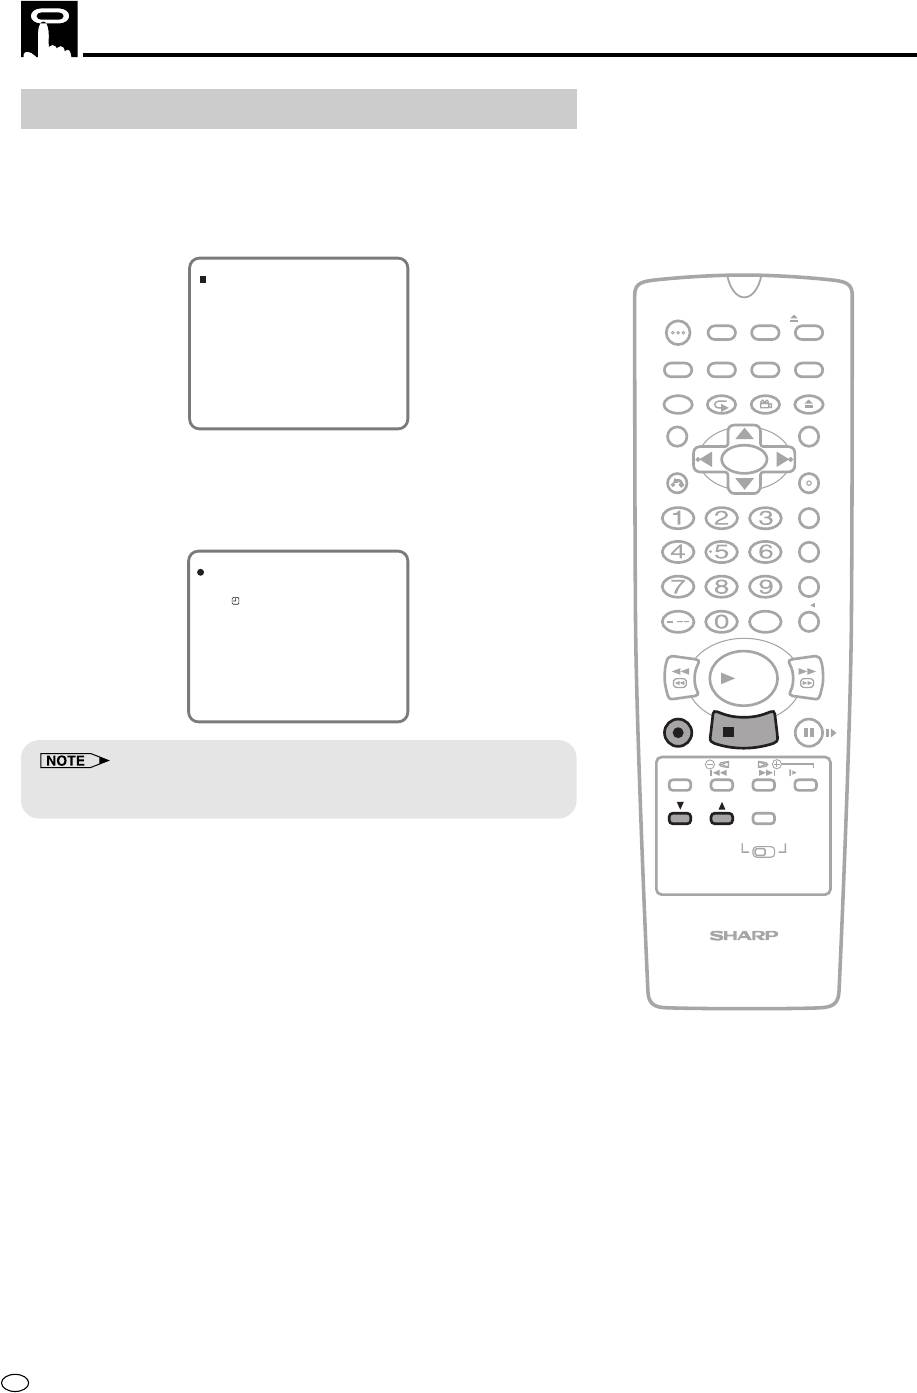
Inserting a Video Cassette
Gently insert the video cassette into the cassette compartment. The
Product turns on automatically. If the cassette is inserted incorrectly,
the loading system will not function. Do not force the cassette into the
OPERATE
EJECT/STOP
REW
PLAY/×2
OPEN/CLOSE
/
REC
PLAY STOP
TIMER
AV 2 IN
VIDEO
MONO
(
L
-
)
AUDIO
-
R
CH
VCR/DVD
SELECTOR
VCR
DVD
Product. When the cassette has been properly loaded, “
” ap-
pears on the VCR Front Panel display.
To remove the cassette, press EJECT during stop mode.
PLAY/ 2
Playback
EJECT /
STOP
1 Switch on your TV and select the video channel.
2 Press OPERATE to turn on the Product.
3 Insert a cassette.
4 Press ûPLAY. (The auto tracking control system engages and
“
|” flashes on the TV screen for a few seconds.)
||
||
OPERATE
TIMER
ON/OFF
PROG
EJECT
ON
VCR/ DVD
VCR MENU
5 Press Ë
STOP
to stop playback. (If the tape reaches its end, the
DISPLAY
SCREEN
SELECTOR
DVD SETUP
Product will automatically rewind the tape to the beginning, eject
FUNCTION
PROG/
OPEN/
CONTROL
REPEAT
ANGLE
CLOSE
the cassette, and turn off the power. If a DVD is being played
back, the power will not turn off.)
TITLE
DVD MENU
CLEAR
SET
RETURN
ENTER
• NTSC tapes recorded in Hi-Fi and EP mode may appear distorted
during playback. This does not indicate a malfunction. The tracking
ZERO BACK
function can be used to slightly enhance the picture quality.
SKIP SEARCH
Video Search (with the Remote)
INPUT SELECT
VCR DVDAM/PM
/
Use the following procedure to quickly find the section you want,
while viewing the picture.
REV FWD
PLAY
1 During playback, press FF
è
for forward video search, or
REC
È
PAUSE/STILL
REW for reverse search.
STOP
There are 2 search speeds in each direction. The Product
switches between them each time the button is pressed.
TAPE
DPSS
SPEED
SKIP
SLOW
AUDIO
2 Press ûPLAY to resume normal playback.
CH
OUTPUT
VCR DVD
• During video search of a tape recorded in the LP mode and EP mode,
the upper part of the picture may be skewed to one side.
TAPE SPEED
VCR/DVD COMBINATION
VSF/VSR
1
VSF/VSR
2
SP
✕
5
✕
9
PAL TAPE
MESECAM TAPE
LP
✕
5
✕
11
PAL TAPE EP
✕
9
✕
27
SP/LP
✕
5
✕
7
NTSC TAPE
EP
✕
9
✕
21
●
VSF : Video Search Forward
●
GB
VSR : Video Search Reverse
52
Playback
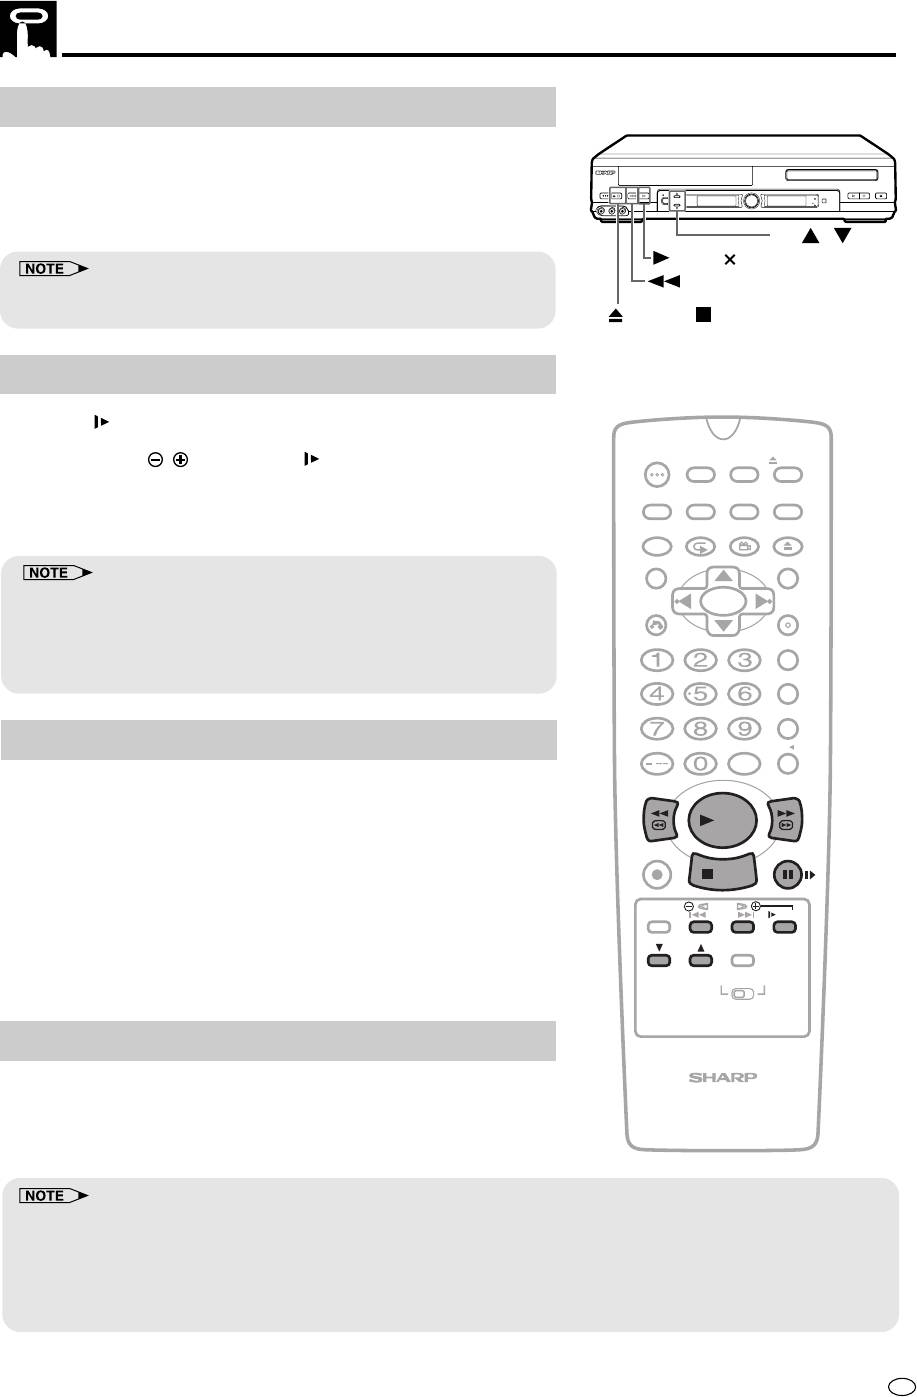
Fast Forwarding and Rewinding
1 Press Ë
STOP
to stop the video tape.
2 Press FF
è
or
È
REW.
3 Press Ë
STOP
to stop fast forward/rewind.
• If you use other than E-90/E-180 cassettes, fast forward and rewind
may take somewhat longer.
Slow Motion Playback (with the Remote)
1 Press SLOW on the Remote during playback.
OPERATE
TIMER
2 Press SLOW
/
(to the left of SLOW) to vary the slow
ON/OFF
PROG
EJECT
motion playback speed between 1/5 and 1/30 of the normal
ON
VCR/ DVD
VCR MENU
DISPLAY
SCREEN
SELECTOR
DVD SETUP
playback speed.
FUNCTION
PROG/
OPEN/
3 Press ûPLAY to resume normal playback.
CONTROL
REPEAT
ANGLE
CLOSE
TITLE
DVD MENU
• No noise can be erased when a tape recorded in the NTSC SP mode
CLEAR
SET
RETURN
ENTER
is played back in special modes (still, slow motion, etc.). However, this
does not indicate a malfunction with the Product.
ZERO BACK
• During slow motion, still picture, frame advance and double speed
playback with a tape recorded in the PAL EP mode, noise may appear.
SKIP SEARCH
Still Picture and Frame Advance
INPUT SELECT
VCR DVDAM/PM
/
1 Press â
PAUSE/STILL
during playback. This will freeze the
REV FWD
picture on your TV.
PLAY
2 If noise bars appear on the screen during still picture, set your
REC
PAUSE/STILL
Product to the slow mode and press CH ' / " to make the
STOP
noise disappear. Then press â
PAUSE/STILL
again.
TAPE
DPSS
3 If there is vertical jitter during still picture playback, press
SPEED
SKIP
SLOW
CH ' / " to stop jitter.
AUDIO
CH
OUTPUT
4 Press â
PAUSE/STILL
during still mode for frame advance.
VCR DVD
5 Press ûPLAY again to resume normal playback.
Double Speed Playback
VCR/DVD COMBINATION
1 Press ûPLAY during playback. The tape will be played back at
twice the normal speed.
2 Press ûPLAY to resume normal playback.
53
GB
OPERATE
EJECT/STOP
REW
PLAY/×2
REC
PLAY STOP
OPEN/CLOSE
/
CH
TIMER
AV 2 IN
VIDEO
L
MONO
(
-
)
AUDIO
-
R
SELECTOR
VCR/DVD
VCR
DVD
CH /
PLAY/ 2
REW
EJECT /
STOP
• Sound is muted during video search, slow motion, still picture, frame advance and double speed playback.
• To avoid damage to the tape, your Product will resume normal playback after about 5 minutes of slow motion playback
and still picture.
• If an NTSC tape and a PAL or MESECAM tape recorded in LP mode is played back in still picture, frame advance,
slow motion, Double speed, or Video Search mode, the picture may have horizontal jitter and the top of the picture will
be distorted, but this does not indicate VCR malfunction.
Playback
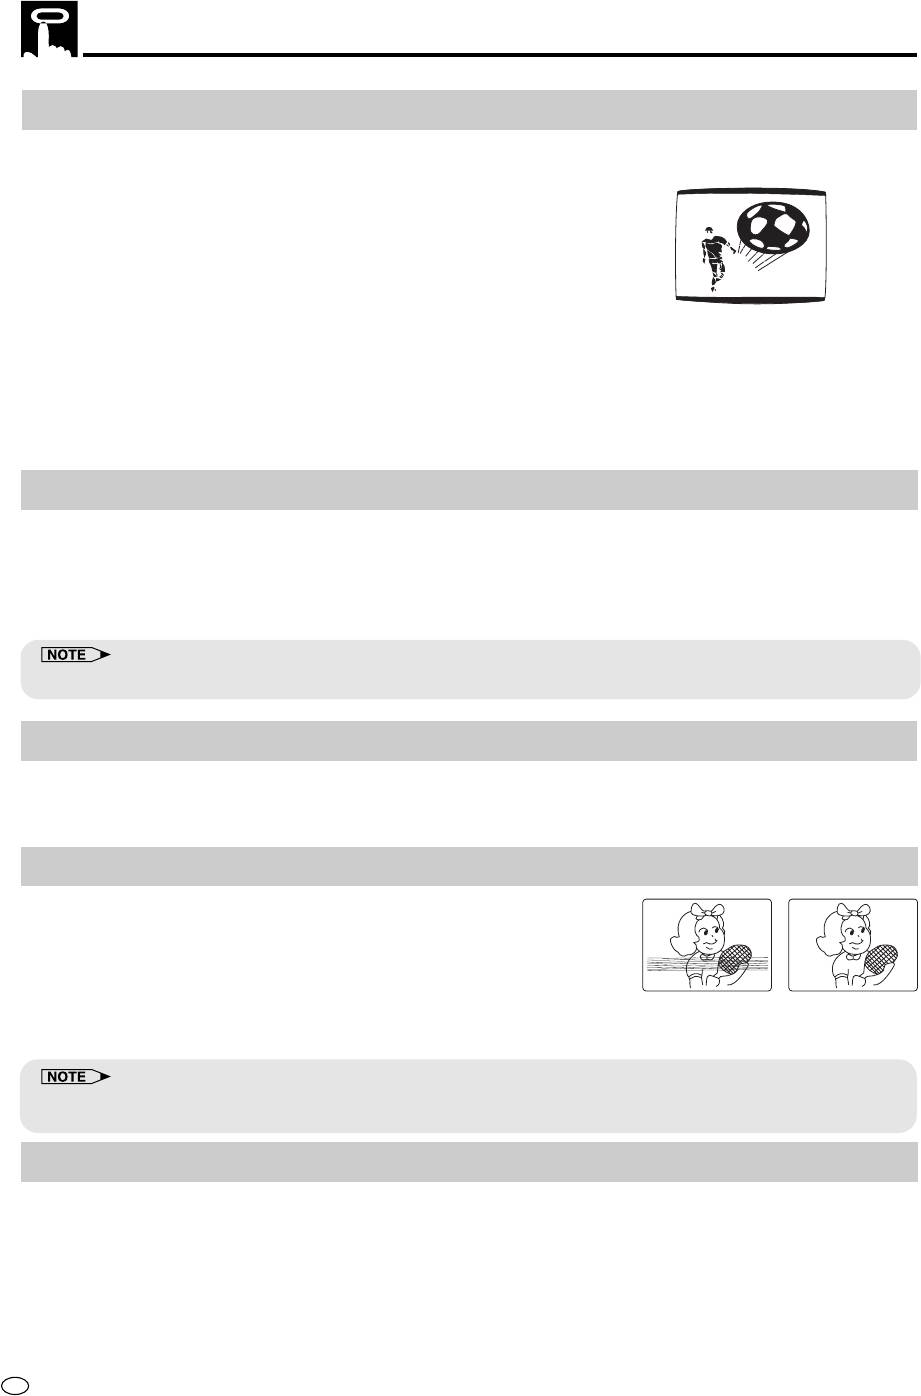
NTSC Tape Play Back on PAL TV
When you play back an NTSC tape on your Product, it is possible to use a PAL or multi-system compatible TV.
However, please note the following:
• The picture will shrink vertically to some degree, as shown in the diagram,
but this does not indicate a malfunction in your TV or Product.
• If your TV does not have a V-HOLD control, the picture may roll and be
unwatchable. However, if you use a TV with a V-HOLD control, you can
stop the rolling by adjusting the V-HOLD control and watch the picture.
• Horizontal noise bars may appear on the screen during special effect
playback (video search, still, slow, frame advance, and double speed playback), possibly accompanied by
discolouring.
• Although NTSC tapes can be played back into a PAL TV, those tapes cannot be dubbed by a PAL system
VCR connected to the AUDIO OUT and VIDEO OUT terminals of this product. Tapes recorded in this way
cannot be played back on PAL system VCRs.
• Set the Colour mode to AUTO or NTSC, and set the NTSC mode to PAL TV.
Full Auto Playback
(This function only works when AUTO RENTAL mode on the MODE selection screen is set to “OFF”.)
Full Auto Playback lets you enjoy playback with ease. When you insert a cassette with the erasure protection
tab removed, your Product automatically turns on the power and plays back the tape. When the tape reaches
its end, the Product automatically rewinds the tape, ejects it and turns off the power. If a DVD is being played
back, the power will not turn off.
• If the erasure protection hole is covered, press ûPLAY after the power turns on automatically.
Auto Head Cleaning System
When the tape is inserted or ejected, this system automatically cleans the drum and heads with a special roller
before recording or playback begins, protecting the heads and drum from dirt and preserving beautiful picture
quality.
Auto Tracking Control System
This function automatically adjusts the tracking to match the recorded tape.
Auto tracking engages in the following cases:
• When you insert the cassette and begin playback.
• When you press CH ' / " at the same time.
• When the Product has been playing back an unrecorded section of tape,
Poor Tracking Normal tracking
and then reaches a recorded tape segment.
When auto tracking engages, “
||
||
|” on the TV screen flashes for a few seconds.
• When a poorly recorded tape is played back, auto tracking may not operate normally. In this event, manually adjust
the tracking with CH ' / " to make any noise disappear.
Quick Start with Full Loading Mechanism
Your Product has a standby function (Full Loading Mechanism) to allow immediate recording and playback.
After pressing
ÆÆ
ÆÆ
ÆREC or ûPLAY, it takes about 2 seconds until recording or playback is engaged when in the
standby mode.
GB
54
Playback
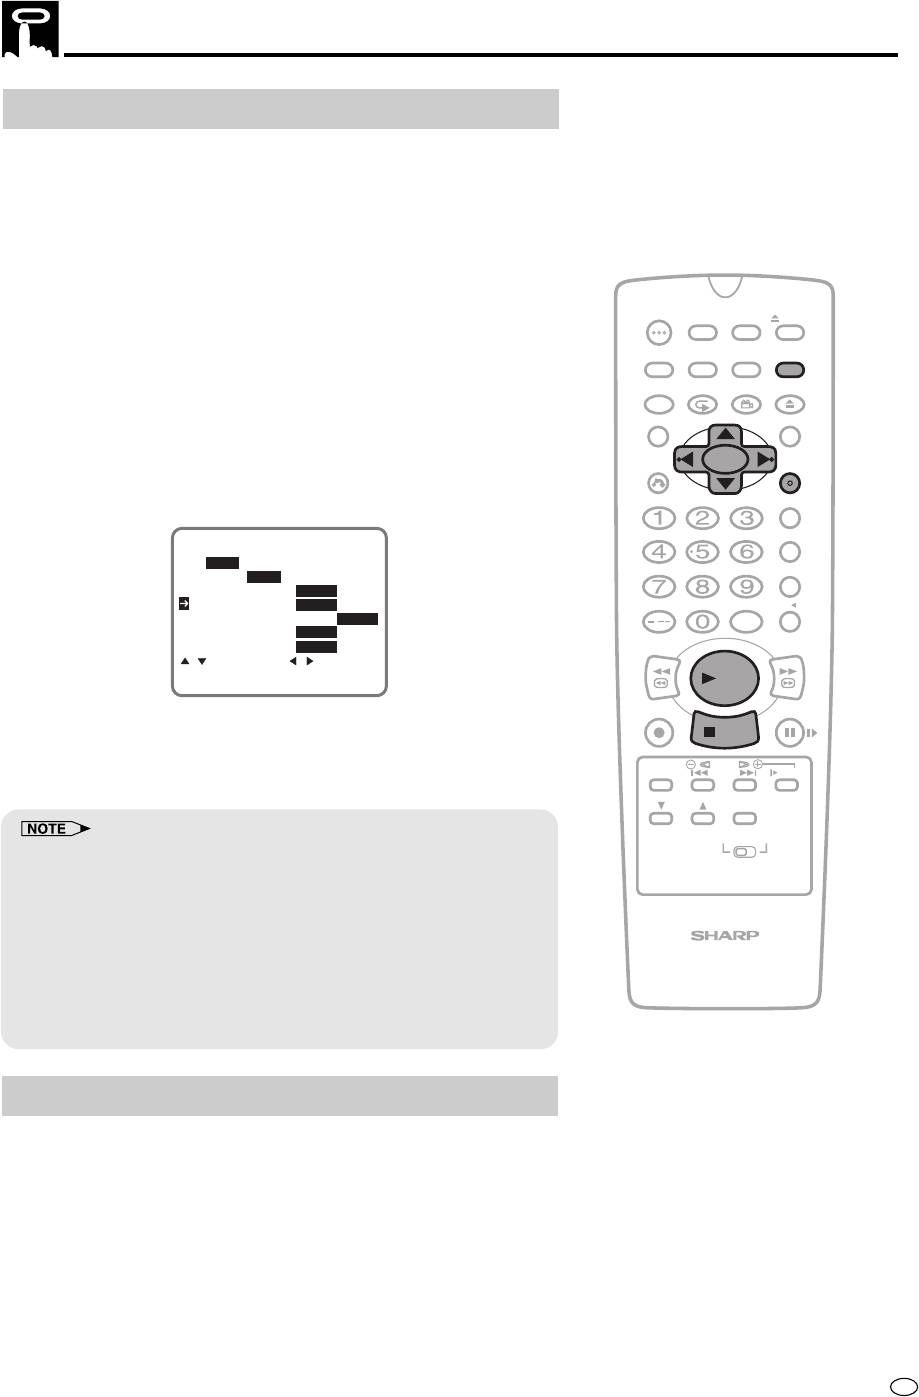
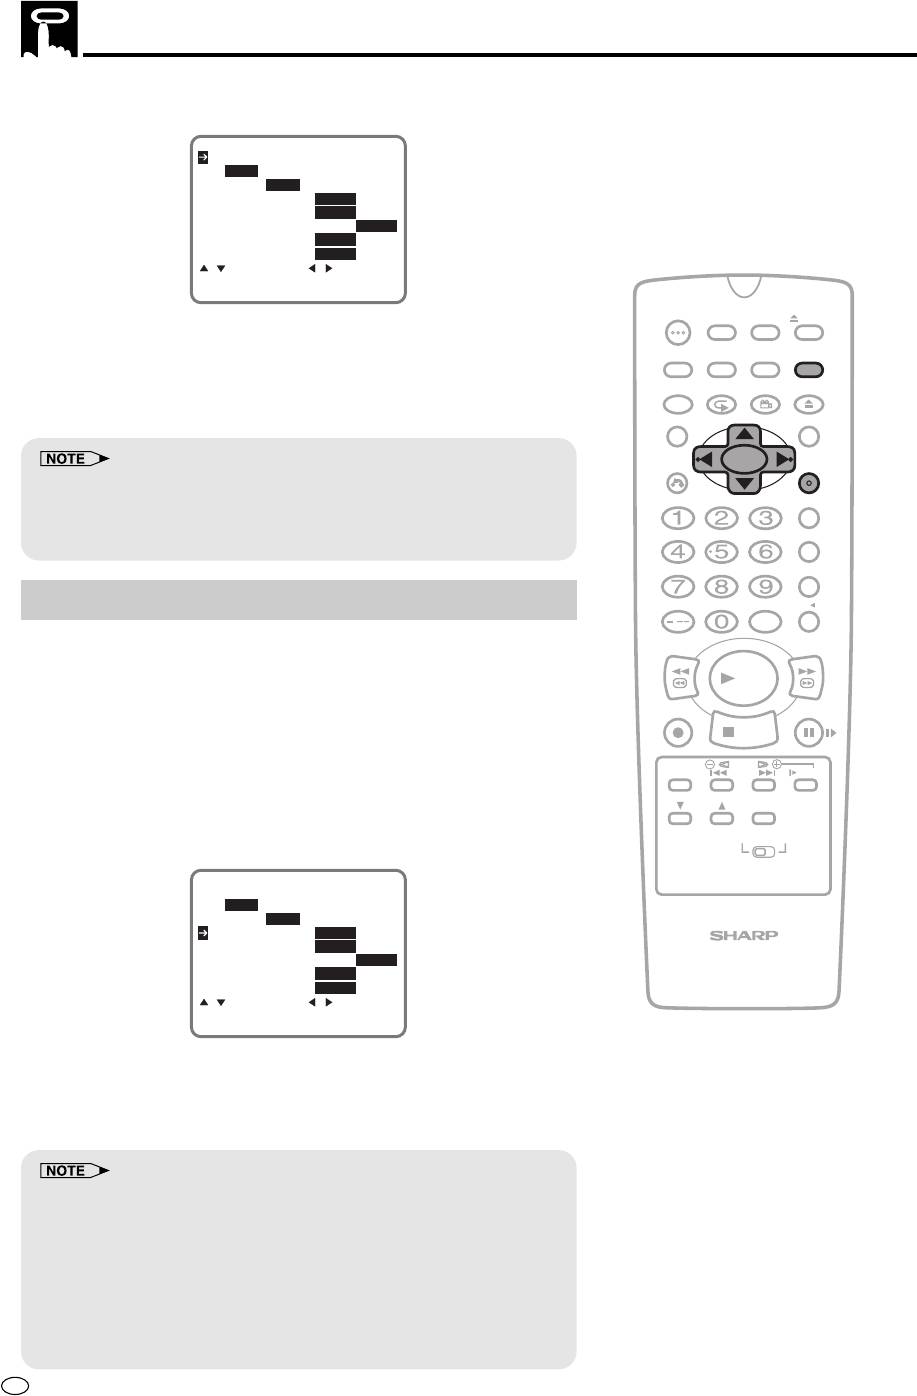
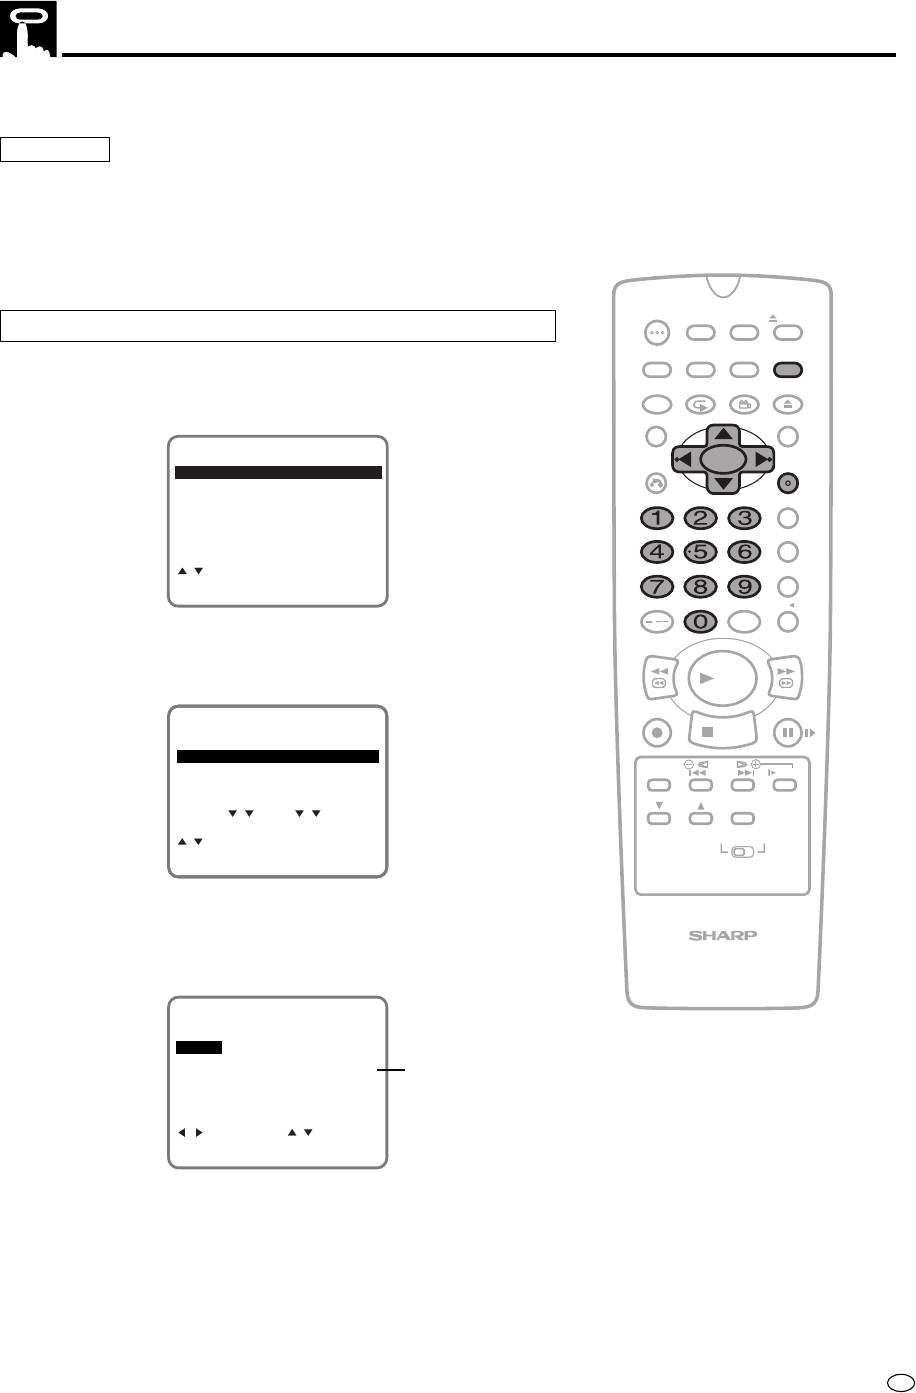
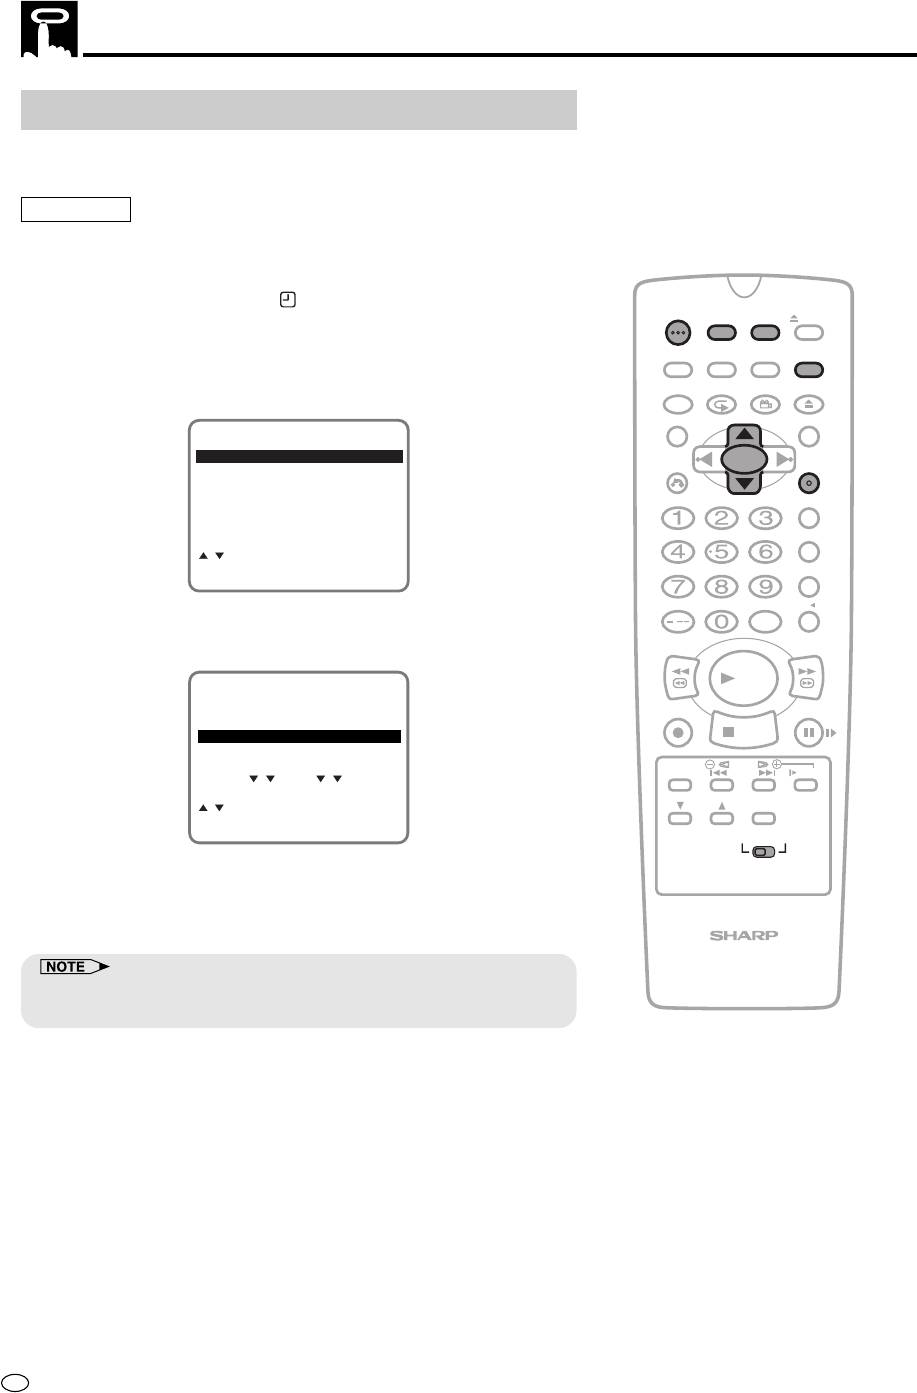
AUTO RENTAL
(This function only works when AUTO RENTAL mode on the MODE
selection screen is set to “ON”.)
The convenient auto rental mode lets you enjoy playback with ease.
When you insert a cassette with the erasure protection tab removed
(rental videos, etc.), your Product automatically turns on the power,
rewind the tape forward to find the recorded section, and plays back
the tape. When the tape reaches the end of recorded section, the
Product automatically rewinds the tape, ejects it and turns off the
OPERATE
TIMER
power. If a DVD is being played back, the power will not turn off.
ON/OFF
PROG
EJECT
ON
VCR/ DVD
VCR MENU
DISPLAY
SCREEN
SELECTOR
DVD SETUP
1 Press VCR MENU to display the menu screen.
FUNCTION
PROG/
OPEN/
CONTROL
REPEAT
ANGLE
CLOSE
2 Press ' / " to select “MODE”.
TITLE
DVD MENU
3 Press SET to confirm.
CLEAR
SET
RETURN
ENTER
4 Press ' / " to select “AUTO RENTAL”.
ZERO BACK
SKIP SEARCH
COLOUR
AUTO PAL MESECAM NTSC
NTSC 3.58 4.43 PAL TV
BLUE BACK AUTO OFF
AUTO RENTAL ON OFF
INPUT SELECT
VCR DVDAM/PM
REPEAT ON OFF
/
NICAM AUTO OFF
S.PICTURE ON OFF
REV FWD
:SELECT :CHANGE
SET:ENTER MENU:EXIT
PLAY
REC
PAUSE/STILL
5 Press
\\
\\
\ /
| to select “ON” or “OFF”.
||
||
STOP
TAPE
DPSS
6 Press SET to confirm and then press VCR MENU to return to
SPEED
SKIP
SLOW
the normal screen.
AUDIO
CH
OUTPUT
VCR DVD
• If there is more than a 15 second unrecorded section between
recorded sections, the tape will automatically stop and rewind. To
watch the next recorded section, press Ë
STOP
, fast forward to that
section and play the tape.
• If the erasure protection hole is covered, press ûPLAY after the
VCR/DVD COMBINATION
power turns on automatically. (AUTO RENTAL Mode does not work.)
• The AUTO REPEAT mode has priority over the AUTO RENTAL mode. If
the AUTO REPEAT mode is set to “ON” and the video cassette
reaches its end, the Product will rewind the tape and play it back
again without ejecting the tape or turning off the power.
COLOUR
If the quality of a colour recording is poor, the picture may turn black
and white. In this event, set the COLOUR mode on the MODE
selection screen to PAL (fixed PAL colour mode), MESECAM (fixed
MESECAM colour mode), NTSC (fixed NTSC mode). Normally, the
colour mode should be set to “AUTO” mode. (See “Mode Selection”
on page 25.)
1 Follow steps 1 to 3 from “AUTO RENTAL” above.
55
GB
Playback
2 Press ' / " to select “COLOUR”.
COLOUR
AUTO PAL MESECAM NTSC
NTSC 3.58 4.43 PAL TV
BLUE BACK AUTO OFF
AUTO RENTAL ON OFF
REPEAT ON OFF
NICAM AUTO OFF
S.PICTURE ON OFF
:SELECT :CHANGE
SET:ENTER MENU:EXIT
OPERATE
TIMER
ON/OFF
PROG
EJECT
ON
VCR/ DVD
VCR MENU
3 Press
\ /
\\
\\
||
||
| to select “AUTO”, “PAL”, “MESECAM” or “NTSC”.
DISPLAY
SCREEN
SELECTOR
DVD SETUP
FUNCTION
PROG/
OPEN/
CONTROL
REPEAT
ANGLE
CLOSE
4 Press SET to confirm and then press VCR MENU to return to
the normal screen.
TITLE
DVD MENU
CLEAR
SET
RETURN
ENTER
• When the colour mode is set to fixed colour mode while the Product is
playing back a black and white tape or is receiving a black and white
ZERO BACK
broadcast, the picture may be coloured. In this event, set the
SKIP SEARCH
COLOUR mode on the MODE selection screen to “AUTO” mode.
BLUE BACK
INPUT SELECT
VCR DVDAM/PM
/
This function eliminates monitor noise and mutes sound during
REV FWD
playback of unrecorded portions of a tape, and when receiving a
PLAY
non-broadcasting channel. A blue screen will also appear if the
Product is set to the Auxiliary input (LINE IN) mode but no video
REC
PAUSE/STILL
signal is fed to the Product. (The BLUE BACK mode is set to “AUTO”
STOP
at the factory.)
TAPE
DPSS
SPEED
SKIP
SLOW
1 Follow steps 1 to 3 from “AUTO RENTAL” on page 55.
AUDIO
CH
OUTPUT
2 Press ' / " to select “BLUE BACK”.
VCR DVD
COLOUR
AUTO PAL MESECAM NTSC
NTSC 3.58 4.43 PAL TV
BLUE BACK AUTO OFF
AUTO RENTAL ON OFF
VCR/DVD COMBINATION
REPEAT ON OFF
NICAM AUTO OFF
S.PICTURE ON OFF
:SELECT :CHANGE
SET:ENTER MENU:EXIT
3 Press
\\
\ /
\\
||
||
| to select “AUTO” or “OFF”.
4 Press SET to confirm and then press VCR MENU to return to
the normal screen.
• Blue Back does not function during still picture, variable slow motion
and video search.
• Blue Back may not function properly if the broadcast signal is too
strong or too weak.
• Blue Back cannot be recorded.
•
If the antenna signal is weak while recording a TV programme, or if the
input signal is weak while tape dubbing, the monitor screen may turn
blue since the Product may not recognize whether or not a proper signal
is being received. In this event, set the BLUE BACK mode to “OFF”.
GB
56
Playback
Playback of Hi-Fi Recorded Tapes
This Product will play back both video and audio, or audio-only
tapes recorded in the Hi-Fi mode.
• Stereo sound output is only possible using the AUDIO OUT terminals.
Sound from the radio frequency converter (RF OUT) is mono only. A
blue screen will appear if audio-only Hi-Fi tapes are played back.
OPERATE
TIMER
ON/OFF
PROG
EJECT
Audio Output Mode
ON
VCR/ DVD
VCR MENU
DISPLAY
SCREEN
SELECTOR
DVD SETUP
The audio output mode is controlled by AUDIO OUTPUT on the
FUNCTION
PROG/
OPEN/
CONTROL
REPEAT
ANGLE
CLOSE
Remote. The Product is normally set to the Hi-Fi mode, with
and
displayed on the VCR Front Panel display, and normal stereo sound
TITLE
DVD MENU
output.
CLEAR
SET
Select
, and only the Hi-Fi Left channel audio is heard from both
RETURN
ENTER
the Right and Left speakers.
ZERO BACK
Select
, and only the Hi-Fi Right channel audio is heard from both
the Right and Left speakers.
SKIP SEARCH
If you select the mono linear track,
and will disappear.
INPUT SELECT
VCR DVDAM/PM
• Should the Hi-Fi output level be poor, the Product will automatically
/
select the mono linear track output.
REV FWD
• When playing back tapes which have only Hi-Fi sound recorded:
If Hi-Fi sound is not reproduced, or if there is some noise in the audio,
PLAY
press CH ' / " until the sound improves.
REC
PAUSE/STILL
STOP
Adjusting Hi-Fi Audio Tracking
TAPE
DPSS
SPEED
SKIP
SLOW
(To adjust the Hi-Fi tracking manually when playing back a poorly
AUDIO
CH
OUTPUT
recorded Hi-Fi tape.)
• Normally you can simultaneously press and hold both CH ' / "
VCR DVD
to obtain the optimal Hi-Fi audio tracking.
• If Hi-Fi audio is unstable (frequent dropouts, etc.) with a rental
video, a tape recorded on another VCR, restore normal tracking
while playing back the tape as described below:
VCR/DVD COMBINATION
1 Press ON SCREEN on the Remote and select the Full Display
mode. (See page 38.)
2 Simultaneously press CH ' / ".
3 Press CH ' / " repeatedly at equal, short intervals until the
and indicators disappear from the On Screen Display (OSD).
4 Press CH ' / " in the same manner while counting button
operations until the L and R indicators reappear and then
disappear again.
5 Press CH ' / " again for half the number of times counted in
step 4 above to obtain optimal track.
57
GB
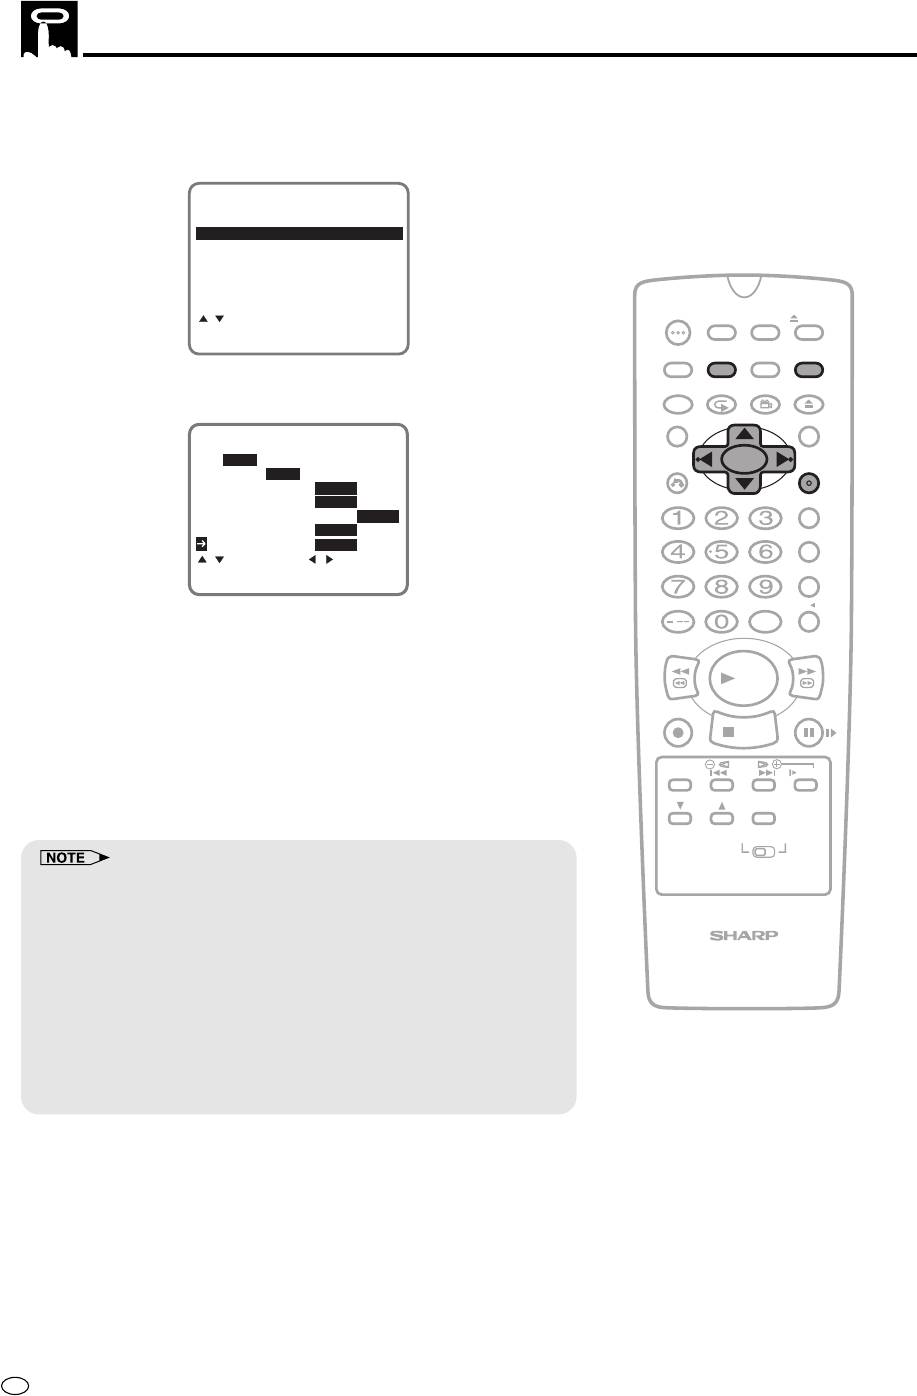
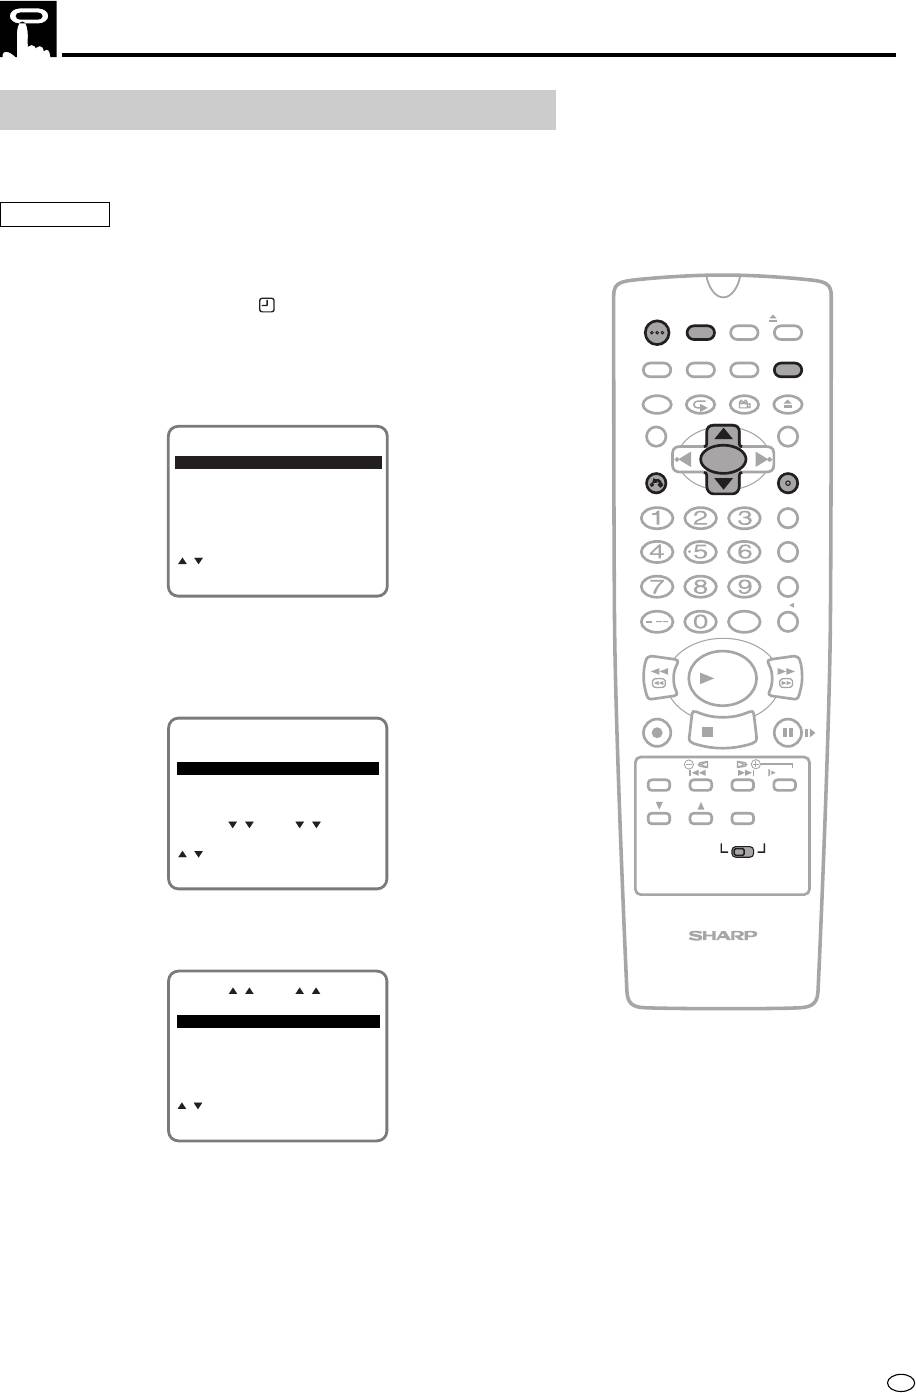
Sharp Super Picture
This function creates clearer picture quality only during playback.
1 Press VCR MENU to display the menu screen.
2 Select “MODE” with ' / " and then press SET to confirm.
MENU
TIMER
MODE
CHANNEL PRESET
CLOCK
LANGUAGE
OPERATE
TIMER
:SELECT
ON/OFF
PROG
EJECT
SET:ENTER MENU:EXIT
ON
VCR/ DVD
VCR MENU
DISPLAY
SCREEN
SELECTOR
DVD SETUP
3 Select “S.PICTURE” with ' / ". Then set it to “ON” or “OFF”
FUNCTION
PROG/
OPEN/
CONTROL
REPEAT
ANGLE
CLOSE
with
\ /
\\
\\
||
||
|.
TITLE
DVD MENU
COLOUR
AUTO PAL MESECAM NTSC
CLEAR
SET
RETURN
ENTER
NTSC 3.58 4.43 PAL TV
BLUE BACK AUTO OFF
AUTO RENTAL ON OFF
ZERO BACK
REPEAT ON OFF
NICAM AUTO OFF
SKIP SEARCH
S.PICTURE ON OFF
:SELECT :CHANGE
SET:ENTER MENU:EXIT
INPUT SELECT
VCR DVDAM/PM
ON:
/
Normally leave the mode set to ON. This high picture quality
REV FWD
function will create a clearer image during playback.
PLAY
OFF:
Set to OFF when playing back a tape on the Product while
REC
PAUSE/STILL
editing or when strong noise appears on the screen.
STOP
TAPE
DPSS
4 Press SET to confirm and return to the menu screen.
SPEED
SKIP
SLOW
AUDIO
CH
OUTPUT
5 Press VCR MENU to exit to normal screen.
VCR DVD
• This function only operates during playback. It will not operate when
recording or watching a TV program with the VCR tuner.
• When playing S-VHS tape:
1. Sharp Super Picture is set to off automatically. When finished
VCR/DVD COMBINATION
playback, the setting will return to the previous setting.
2. You cannot change ON/OFF setting manually.
• The ON/OFF status of the Sharp Super Picture can be checked when
ON SCREEN is pressed to display OSD.
• When the Product power is turned off, the Sharp Super Picture setting
is retained in memory.
• If power is interrupted for more than 60 minutes (power failure, etc.),
the setting will return to ON.
GB
58
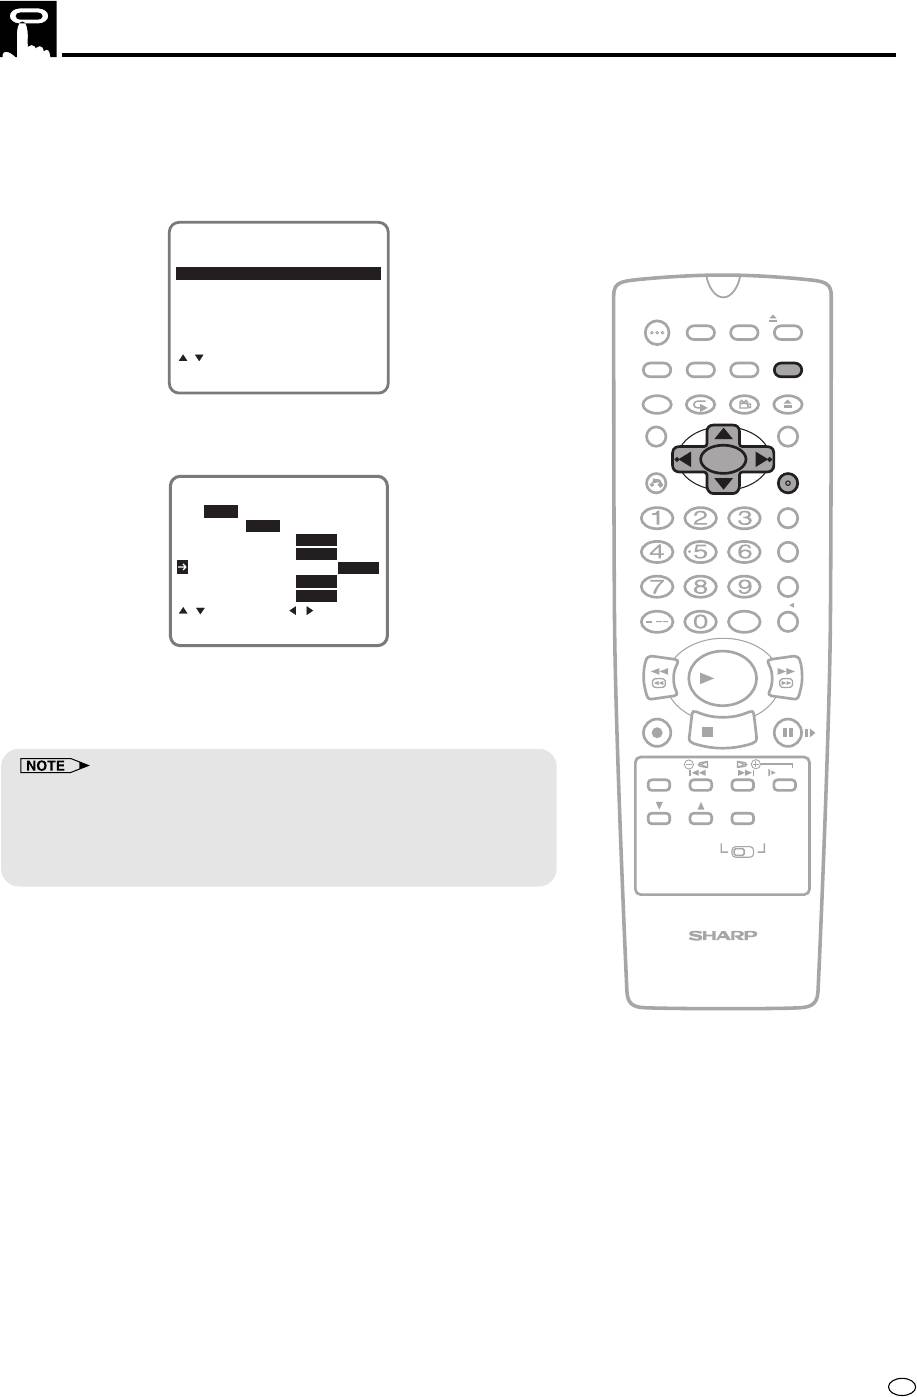
Auto Repeat
With this feature, the entire tape is played back repeatedly.
1 Press VCR MENU to display the menu screen.
2 Select “MODE” with ' / " and then press SET to confirm.
MENU
TIMER
MODE
CHANNEL PRESET
CLOCK
LANGUAGE
OPERATE
TIMER
ON/OFF
PROG
EJECT
ON
VCR/ DVD
VCR MENU
:SELECT
DISPLAY
SCREEN
SELECTOR
DVD SETUP
SET:ENTER MENU:EXIT
FUNCTION
PROG/
OPEN/
CONTROL
REPEAT
ANGLE
CLOSE
3 Select “REPEAT” with ' / ". Then set the mode to “ON” or
TITLE
DVD MENU
“OFF” with
\ /
\\
\\
|.
||
||
CLEAR
SET
RETURN
ENTER
COLOUR
ZERO BACK
AUTO PAL MESECAM NTSC
NTSC 3.58 4.43 PAL TV
BLUE BACK AUTO OFF
SKIP SEARCH
AUTO RENTAL ON OFF
REPEAT ON OFF
NICAM AUTO OFF
S.PICTURE ON OFF
INPUT SELECT
VCR DVDAM/PM
:SELECT :CHANGE
SET:ENTER MENU:EXIT
/
REV FWD
4 Press SET to confirm and return to the menu screen.
PLAY
REC
PAUSE/STILL
5 Press VCR MENU to return to normal screen.
STOP
TAPE
DPSS
SPEED
SKIP
SLOW
• “REPEAT” will be displayed on the OSD when the Auto Repeat mode
AUDIO
CH
is “ON”.
OUTPUT
• If the Auto Repeat is “ON” and the tape is rewinded to the beginning
VCR DVD
with rewind or reverse video search, the tape will automatically start
playback.
VCR/DVD COMBINATION
59
GB
Auto Zero Back
The zero-back function makes the cassette fast forward (or rewind)
to the previously set “0:00.00” point and stop there.
1 Make sure the counter is displayed, then press CLEAR on the
Remote at the point you wish to return and later “0:00.00” is
displayed.
2 Press ZERO BACK on the Remote. The Product automatically
detects the direction of the “0:00.00” position and fast forwards
(or rewinds) the tape.
OPERATE
TIMER
ON/OFF
PROG
EJECT
ON
VCR/ DVD
VCR MENU
3 When the tape reaches the “0:00.00” position, the tape
DISPLAY
SCREEN
SELECTOR
DVD SETUP
automatically stops.
FUNCTION
PROG/
OPEN/
CONTROL
REPEAT
ANGLE
CLOSE
TITLE
DVD MENU
• The zero-back function does not operate during recording and fast
forward (or rewind). The function works during the playback, stop and
CLEAR
SET
RETURN
ENTER
video search modes.
ZERO BACK
SKIP SEARCH
INPUT SELECT
VCR DVDAM/PM
/
REV FWD
PLAY
REC
PAUSE/STILL
STOP
TAPE
DPSS
SPEED
SKIP
SLOW
AUDIO
CH
OUTPUT
VCR DVD
VCR/DVD COMBINATION
GB
60
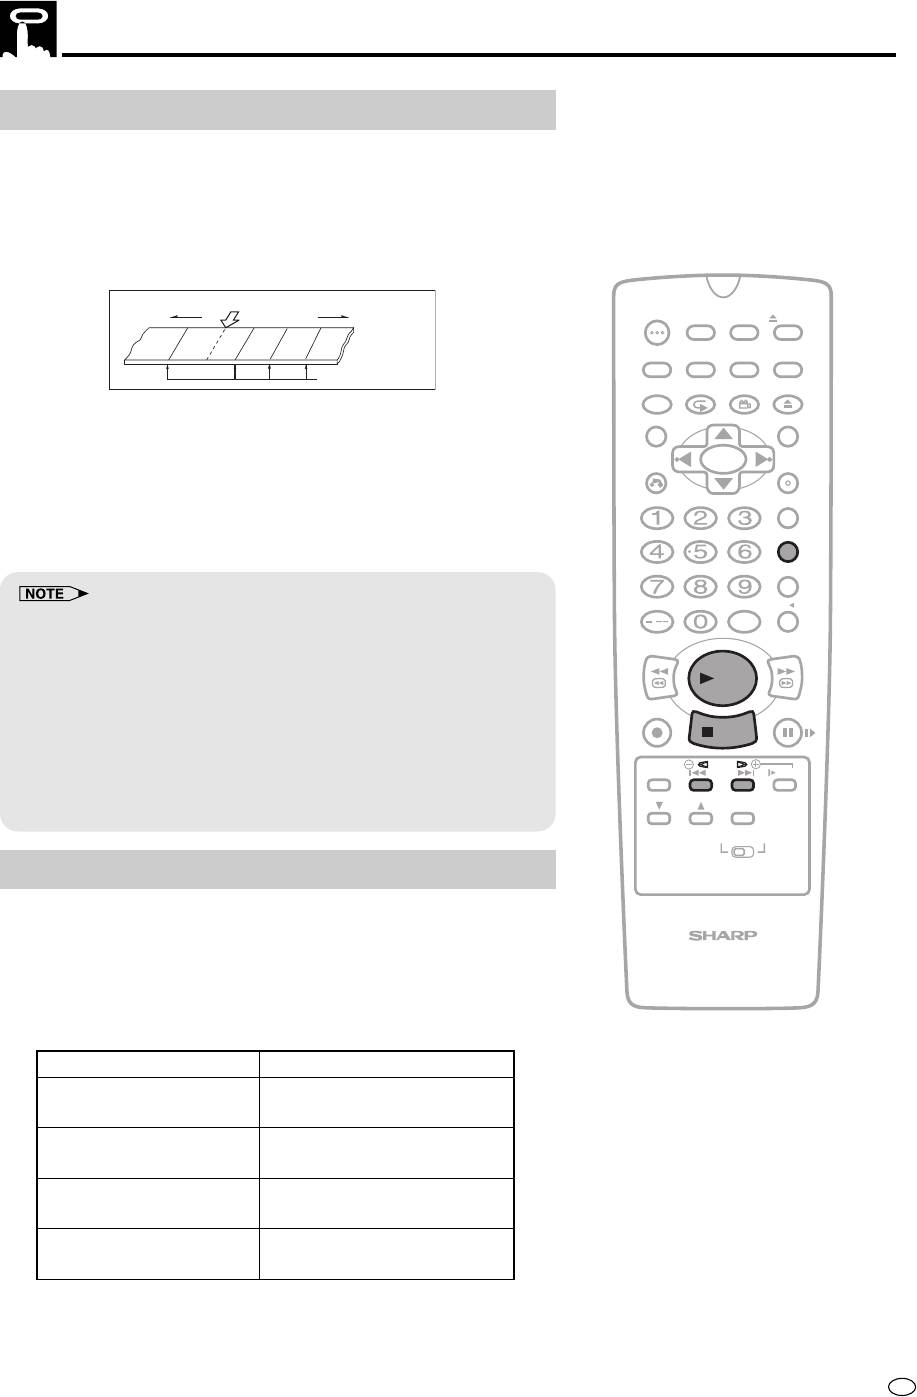
DPSS (Digital Program Search System)/Skip Search
DPSS
With this feature you can quickly locate a desired section of the tape.
The DPSS feature makes use of index signals to search for a
specified tape segment and begin playback automatically.
Index signal
An index signal is automatically recorded on the tape at the start of
ordinary recording, simple recording timer and timer recording.
Current tape position
OPERATE
TIMER
Rewind
-1
1
2
Fast forward
ON/OFF
3
PROG
EJECT
ON
VCR/ DVD
VCR MENU
DISPLAY
SCREEN
SELECTOR
DVD SETUP
Index signals
FUNCTION
PROG/
OPEN/
CONTROL
REPEAT
ANGLE
CLOSE
1 Load a tape containing index signals into the Product.
TITLE
DVD MENU
2 Select the index number of the desired programme using DPSS
CLEAR
SET
RETURN
ENTER
on the Remote. Search starts immediately. (When a signal is
located, the displayed number decreases.)
ZERO BACK
3 When the selected index signal-encoded section is found,
SKIP SEARCH
playback begins automatically.
INPUT SELECT
VCR DVDAM/PM
• DPSS may not function properly if the index signals are too close
/
together (within 8 minutes of each other).
REV FWD
• DPSS can be cancelled with ûPLAY or Ë
STOP
.
• If the tape reaches its end or is rewinded completely before locating
PLAY
the desired index signal, DPSS is cancelled.
REC
PAUSE/STILL
• DPSS may not function for damaged or worn tapes.
STOP
•
The DPSS function cannot be used with tapes that contain no index signals.
• The starting point of a programme may vary slightly.
TAPE
DPSS
SPEED
SKIP
SLOW
• DPSS does not operate during the slow, record, fast forward, rewind,
timer standby, and timer recording modes, or when there is no
AUDIO
CH
OUTPUT
cassette loaded.
VCR DVD
Skip Search
When SKIP SEARCH on the Remote is pressed during playback
mode, the product will perform a forward video search for a fixed
interval of playback time before resuming playback. Depending on
VCR/DVD COMBINATION
how many times the button is pressed, it is possible to set the
forward video search time to approx. 30, 60, 90 or 120 seconds of
recorded material.
Number of Times Pressed
Forward Video Search Time
Approx. 30 sec.
1 time
(of playback time)
Approx. 60 sec.
2 times
(of playback time)
Approx. 90 sec.
3 times
(of playback time)
Approx. 120 sec.
4 times
(of playback time)
61
GB
TV Programme Recording
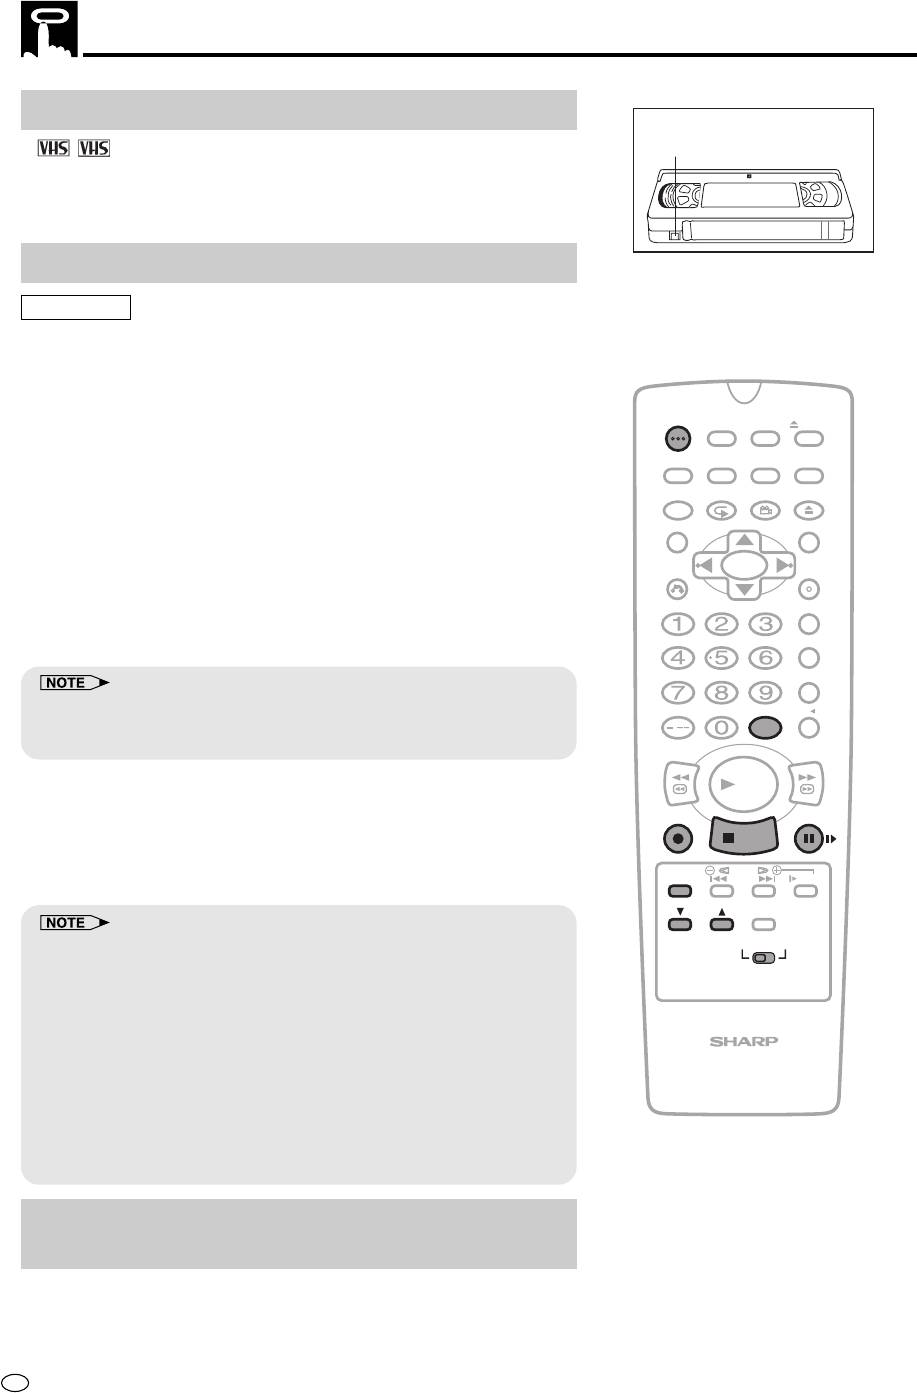
Cassette Erase Protection
A
,
cassette has a removable tab to prevent accidental
PAL SECAM
erasure of recorded material. Removing the tab prevents recording.
To record on a video cassette with the tab removed, place adhesive
tape over the tab opening.
Recording a TV Programme
Preparation
• Press OPERATE. Then move the VCR/DVD CHANGE Switch to
VCR.
• Ensure the Video channel is selected on the TV.
OPERATE
TIMER
1 Insert the cassette, making sure the erasure protection hole is
ON/OFF
PROG
EJECT
covered.
ON
VCR/ DVD
VCR MENU
DISPLAY
SCREEN
SELECTOR
DVD SETUP
2 Select the channel position you wish to record with CH ' / ".
FUNCTION
PROG/
OPEN/
CONTROL
REPEAT
ANGLE
CLOSE
TITLE
DVD MENU
3 Select the SP (Standard Play), EP (Extended Play) or LP (Long
Play) recording speed with TAPE SPEED on the Remote (“SP”,
CLEAR
SET
RETURN
ENTER
“EP” or “LP” will light up on the VCR Front Panel display.) SP
(Standard Play) gives the best picture quality, EP (Extended
ZERO BACK
Play) gives the triple recording time and LP (Long Play) gives
the double recording time.
SKIP SEARCH
• If the COLOUR mode is set to “AUTO” or “MESECAM”, when a
INPUT SELECT
VCR DVDAM/PM
SECAM signal is received and the EP mode is selected, the Product
/
will automatically change the EP mode to LP mode.
REV FWD
4 Press
ÆÆ
ÆÆ
ÆREC. (If the erasure protection hole is uncovered, the
PLAY
cassette will be ejected.) To pause during recording, press
REC
PAUSE/STILL
â
PAUSE/STILL. To resume recording, press
â
PAUSE/STILL
STOP
again.
TAPE
DPSS
SPEED
SKIP
SLOW
5 To stop recording, press Ë
STOP
.
AUDIO
CH
OUTPUT
• The pause mode disengages automatically after about 5 minutes, and
VCR DVD
the Product enters stop mode.
• To record audio and video from an external source through the
AUDIO/VIDEO terminal on the rear of the Product, press INPUT SELECT
on the Remote to select the AV channel position situated between the
last channel and first channel. (When the AV position is selected, “L1”
VCR/DVD COMBINATION
or “L2” is displayed where a channel position number is usually
displayed.)
• If the TV signals are weak and the picture changes to monochrome,
set the strict colour mode on the MODE selection screen. (See ”Mode
Selection” on page 25.) Normally, the colour mode should be set to
“AUTO”.
To Watch Another TV Programme While
Recording
After steps 1 to 4 have been completed, select the programme you
wish to view using the TV tuner. At the end of the tape, your Product
will automatically stop recording, rewind the tape, eject it and then turn
off the power. If a DVD is being played back, the power will not turn off.
GB
62
ERASURE
PROTECTION TAB
TV Programme Recording
Recording NICAM/IGR Multiplex Broadcasts
This Product is capable of receiving NICAM multiplex broadcasts (PAL-I, B/G, D/K) and IGR multiplex broad-
casts (PAL-
B/G, D/K). NICAM multiplex broadcasts will be recorded in stereo/bilingual when the NICAM setting on the
OSD’s MODE is set to AUTO. For information on how to carry out NICAM setting (See “Mode Selection” on page 25).
IGR multiplex broadcasts will be recorded on stereo/bilingual. (The AUTO/OFF setting will not function.) This Product
automatically records on two types of audio track.
Hi-Fi track:
Special rotary heads will be used to record an audio signal deep in the video track in Hi-Fi. Multiplex broad-
casts fall into “stereo” and “bilingual” broadcasts and they will be automatically recorded on their respective
tracks.
Normal track:
Conventional analogue audio is always recorded on the normal track (mono sound) regardless of whether your
Product is receiving a multiplex broadcasts or not.
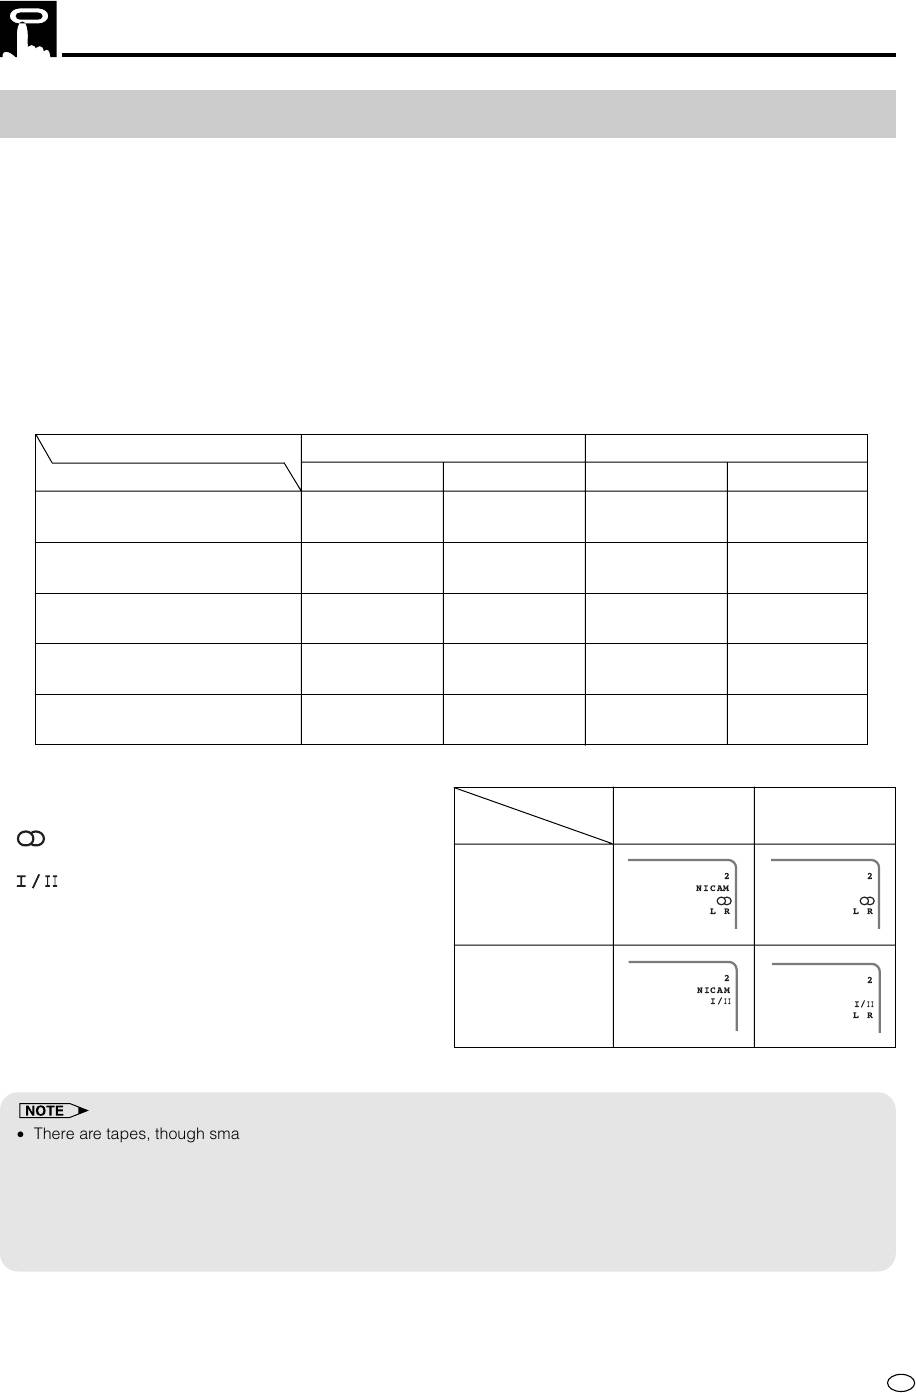
Setting of “NICAM” in MODE
OFF positionAUTO position
Broadcast
Hi-Fi track Normal track Hi-Fi track Normal track
Normal sound
mono
mono
mono
mono
(mono sound)
sound
sound
sound
sound
NICAM sound
mono
mono
mono
NICAM (bilingual)
(bilingual)
sound
sound
sound
NICAM sound
mono
mono
mono
NICAM (stereo)
(stereo)
sound
sound
sound
IGR sound
mono
IGR sound
mono
IGR (bilingual)
(bilingual)
sound
(bilingual)
sound
IGR sound
mono
IGR sound
mono
IGR (stereo)
(stereo)
sound
(stereo)
sound
On screen display
Broadcast
• When receiving a stereo multiplex broadcast,
IGRNICAM
TYPE
(LR) will be indicated on the on screen display.
• When receiving a bilingual multiplex broadcast,
2
2
will be displayed on the on screen display.
NICAM
Stereo
LR
LR
2
2
NICAM
Bilingual
I/
II
I/
II
LR
• There are tapes, though small in number, which have a normal track that has been divided into two tracks. On such
tapes, stereo as well as bilingual audio are recorded on the normal track. If such a tape is played back on your
Product, the tape’s stereo sound will be reproduced in monaural and its bilingual in both languages combined.
• When a cassette tape on which a NICAM multiplex broadcast has been recorded in stereo or bilingual mode is played
back by a VCR that is not a Hi-Fi VCR, only the sound on the normal track will be reproduced.
• When you select “OFF” for NICAM in the OSD MODE, the stereo and bilingual audio of a NICAM multiplex broadcast
will be fixed to the normal sound.
63
GB
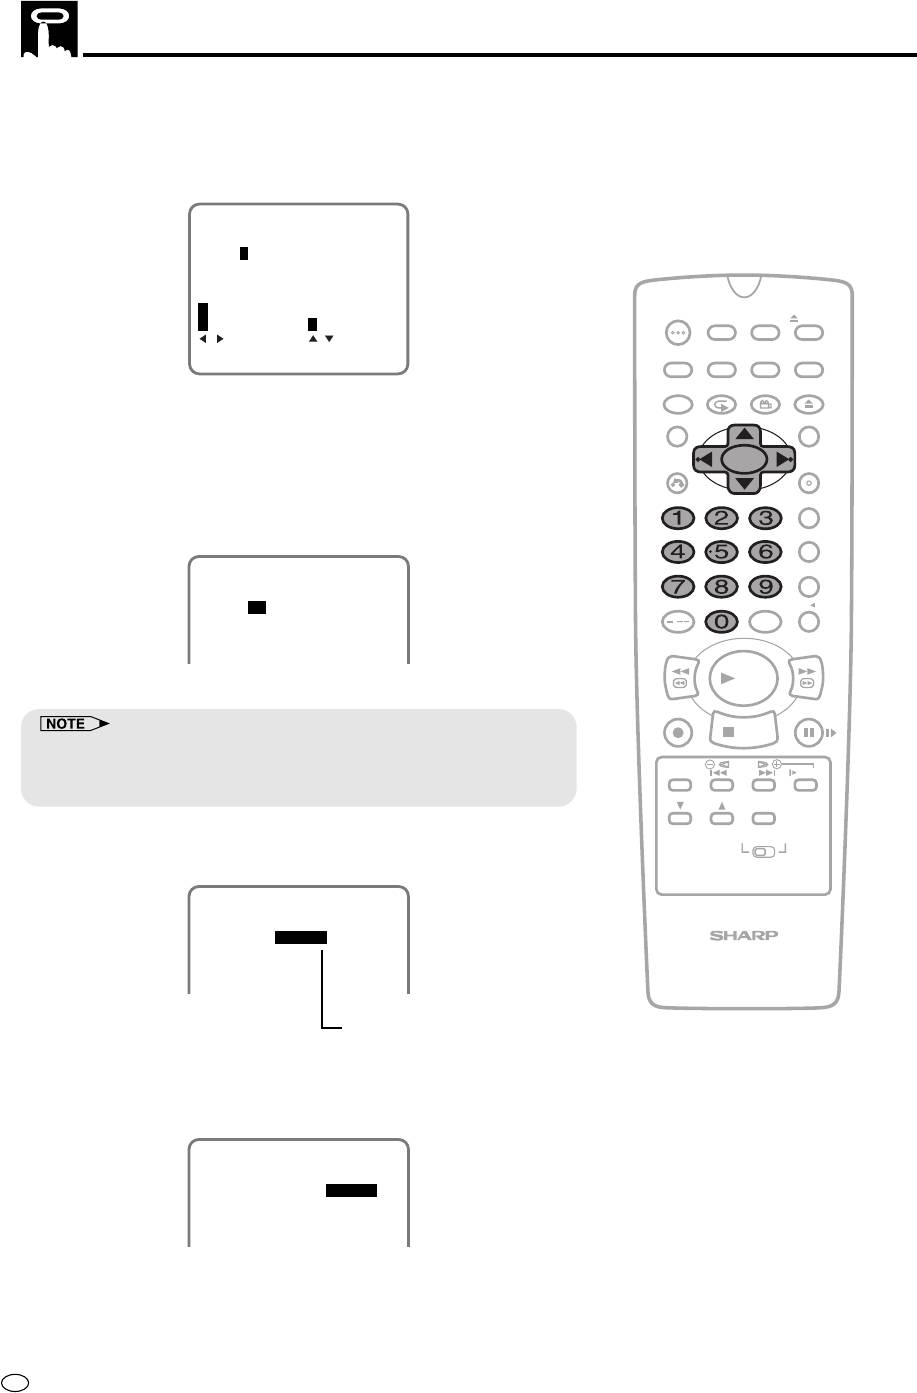
Simple Recording Timer
Immediate Recording
This is convenient function when having an unexpected visitor or
telephone call.
1 Select the channel position to be recorded with CH ' / ".
(Example) Channel position 2
2
S.PICTURE ON
I/
II
OPERATE
TIMER
ON/OFF
PROG
EJECT
SP L R
ON
VCR/ DVD
VCR MENU
DISPLAY
SCREEN
SELECTOR
DVD SETUP
REPEAT
FUNCTION
PROG/
OPEN/
8:00
CONTROL
REPEAT
ANGLE
CLOSE
15/12 00 0:00.00
TITLE
DVD MENU
CLEAR
SET
RETURN
ENTER
2 Press
ÆÆ
ÆREC to enter the normal recording mode. Then, press
ÆÆ
ÆÆ
ÆÆ
ÆREC repeatedly to set the desired ending time.
ZERO BACK
(Example) Ending time 9:30
SKIP SEARCH
2
S.PICTURE ON
I/
II
INPUT SELECT
VCR DVDAM/PM
SP STOP 9:30 L R
/
REV FWD
PLAY
8:00
15/12 00 0:00.00
REC
PAUSE/STILL
STOP
TAPE
DPSS
SPEED
SKIP
SLOW
• Each press of
ÆREC increases the stop time by 10 minutes.
ÆÆ
ÆÆ
AUDIO
• Press Ë
STOP
to terminate recording.
CH
OUTPUT
VCR DVD
VCR/DVD COMBINATION
GB
64
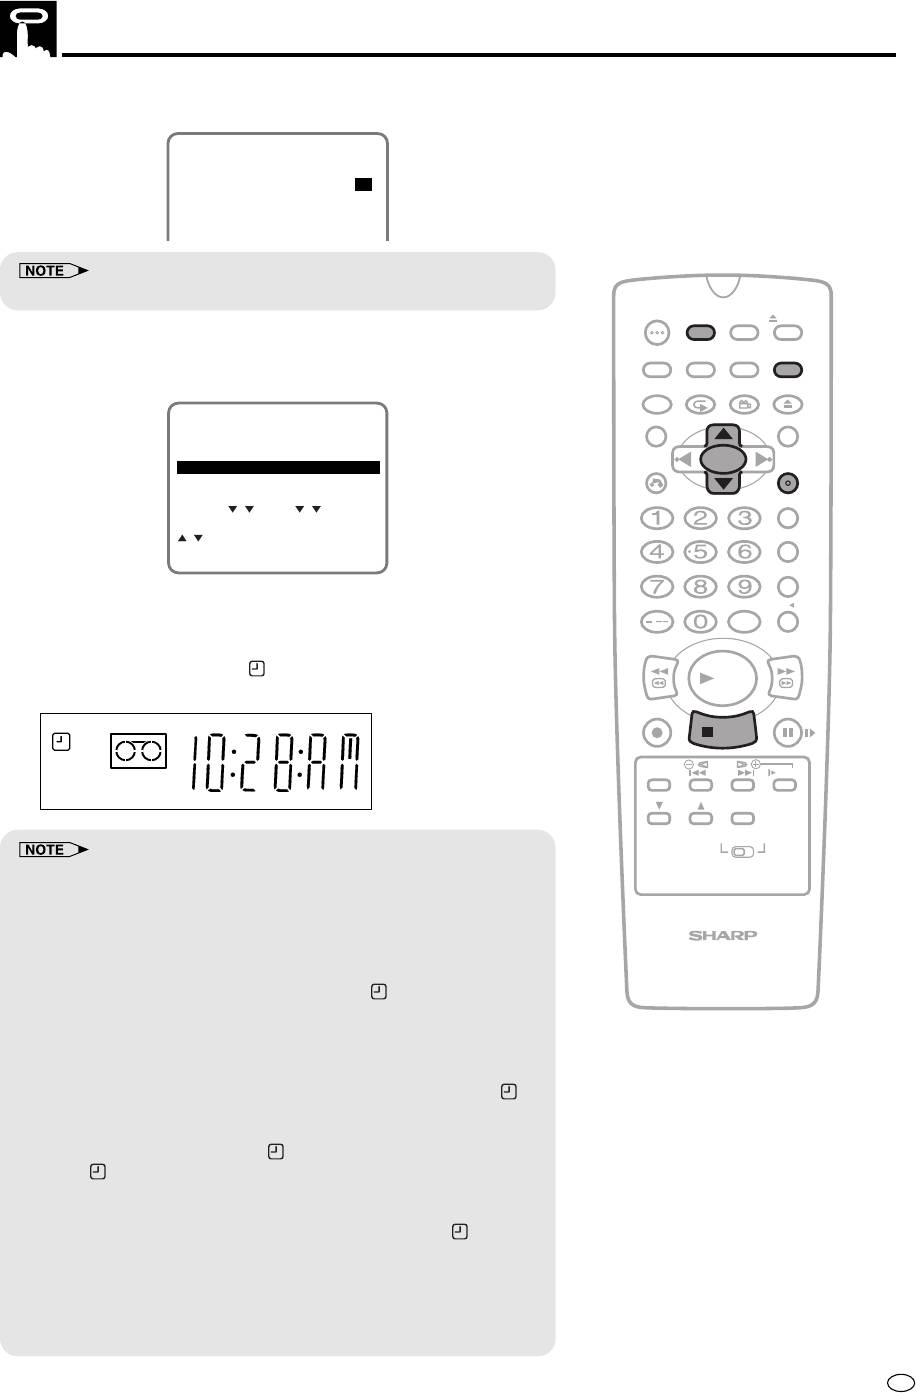
Recording with the Timer
The timer can be set manually for automatic recording of up to 8
events over a 365 day period.
Preparation
• Load the cassette, ensuring the erasure protection hole is covered.
The Product power will automatically turn on.
• Check that the clock is displaying the correct time. (See “Setting the
Clock” on page 35.)
• Be sure that the colour mode is set to “AUTO”. (See “COLOUR” on
page 55.)
OPERATE
TIMER
ON/OFF
PROG
EJECT
Press PROG on the Remote to enter the Timer setting screen.
ON
VCR/ DVD
VCR MENU
DISPLAY
SCREEN
SELECTOR
DVD SETUP
1 Press VCR MENU. Then select “TIMER” with ' / " and press
FUNCTION
PROG/
OPEN/
CONTROL
REPEAT
ANGLE
CLOSE
SET.
TITLE
DVD MENU
MENU
CLEAR
SET
RETURN
ENTER
TIMER
MODE
CHANNEL PRESET
ZERO BACK
CLOCK
LANGUAGE
SKIP SEARCH
:SELECT
SET:ENTER MENU:EXIT
INPUT SELECT
VCR DVDAM/PM
/
2 Select the timer position with ' / " and press SET.
REV FWD
• If the timer positions 1 to 4 have already been set, the screen
changes to 2/2 (timer positions 5 to 8).
PLAY
REC
PAUSE/STILL
1/2
STOP
DATE PR START STOP
--/-- -- -:-- -:-- --
TAPE
DPSS
--/-- -- -:-- -:-- --
SPEED
SKIP
SLOW
--/-- -- -:-- -:-- --
--/-- -- -:-- -:-- --
AUDIO
CH
OUTPUT
2/2
:SELECT
VCR DVD
SET:ENTER MENU:EXIT
3 Set the date for timer recording with the number buttons (0 to 9)
or ' / " on the Remote and press
||
||
|.
•
First set the “day” digits and then “month”. If there is only one
VCR/DVD COMBINATION
“day” or one “month” digit, enter a 0 first.
1/2
DATE PR START STOP
15/12 -- -:-- -:-- SP
--/-- -- -:-- -:-- --
--/-- -- -:-- -:-- --
“SP” will be displayed
--/-- -- -:-- -:-- --
automatically.
DATE :DAY/MONTH
:SELECT :CHANGE
SET:ENTER MENU:EXIT
65
GB
Recording with the Timer
4 If you want to record only once, press
||
||
| and go to step 5.
Otherwise, select “D (DAILY)” to record at the same time each
day or “W (WEEKLY)” to record at the same time each week with
' / ", and then pressing
||
|.
||
1/2
DATE PR START STOP
15/12 -- -:-- -:-- SP
--/-- -- -:-- -:-- --
--/-- -- -:-- -:-- --
--/-- -- -:-- -:-- --
:ONCE
OPERATE
TIMER
ON/OFF
PROG
EJECT
W :WEEKLY D :DAILY
:SELECT :CHANGE
ON
VCR/ DVD
VCR MENU
SET:ENTER MENU:EXIT
DISPLAY
SCREEN
SELECTOR
DVD SETUP
FUNCTION
PROG/
OPEN/
CONTROL
REPEAT
ANGLE
CLOSE
5 Set the channel number using the number buttons (0 to 9) or
TITLE
DVD MENU
' / " and press
|.
||
||
•
To record audio and video from an external source through an
CLEAR
SET
AUDIO/VIDEO terminal on the Product. Press
' / " to select an
RETURN
ENTER
AV channel.
(When an AV position is selected, “L1” or “L2” is displayed where
ZERO BACK
a channel position number is usually displayed.)
SKIP SEARCH
1/2
DATE PR START STOP
15/12 471 -:--
PM
-:-- SP
INPUT SELECT
VCR DVDAM/PM
--/-- -- -:-- -:-- --
/
--/-- -- -:-- -:-- --
--/-- -- -:-- -:-- --
REV FWD
PLAY
REC
PAUSE/STILL
STOP
• ' / " can also be used to set the date and time instead of the
number buttons (0 to 9).
TAPE
DPSS
SPEED
SKIP
SLOW
• Press 0 first if the day, month, hour or minute is a single digit.
AUDIO
CH
OUTPUT
6
Set the start time with the number buttons
(0 to 9)
or ' / " and
VCR DVD
press
| .
||
||
1/2
DATE PR START STOP
15/12 47 12:00
PM
-:-- SP
--/-- -- -:-- -:-- --
VCR/DVD COMBINATION
--/-- -- -:-- -:-- --
--/-- -- -:-- -:-- --
When the clock is set to 24H mode,
AM/PM indicator will not appear
7
Set the stop time with the number buttons
(0 to 9)
or ' / " and
press
||
| .
||
1/2
DATE PR START STOP
15/12 47 12:00
PM
12:30
PM
SP
--/-- -- -:-- -:-- --
--/-- -- -:-- -:-- --
--/-- -- -:-- -:-- --
GB
66
Recording with the Timer
8 Select the speed with
' / "
.
1/2
DATE PR START STOP
15/12 47 12:00
PM
12:30
PM
SP
--/-- -- -:-- -:-- --
--/-- -- -:-- -:-- --
--/-- -- -:-- -:-- --
• SP: Standard Play, LP: Long Play, EP: Extended Play
OPERATE
TIMER
ON/OFF
PROG
EJECT
ON
VCR/ DVD
VCR MENU
9 Press SET. To programme additional timer settings, repeat steps
DISPLAY
SCREEN
SELECTOR
DVD SETUP
3 through 8.
FUNCTION
PROG/
OPEN/
CONTROL
REPEAT
ANGLE
CLOSE
1/2
TITLE
DVD MENU
DATE PR START STOP
15/12 47 12:00 12:30 SP
PMPM
CLEAR
SET
--/-- -- -:-- -:-- --
RETURN
ENTER
--/-- -- -:-- -:-- --
--/-- -- -:-- -:-- --
ZERO BACK
2/2
CLEAR:CANCEL
:SELECT
SKIP SEARCH
SET:ENTER MENU:EXIT
10 Press VCR MENU to return to the normal screen.
INPUT SELECT
VCR DVDAM/PM
/
11 To set the product for automatic timer recording, press TIMER
REV FWD
ON/OFF and ensure the “
” lights on the VCR Front Panel
PLAY
display.
REC
PAUSE/STILL
STOP
VCR
L R
TAPE
DPSS
SPEED
SKIP
SLOW
SEPVP D
AUDIO
CH
OUTPUT
VCR DVD
• If the timer recording is finished, your product will stop and turn off
automatically. (In this case the cassette is not ejected.)
If a DVD is being played back, the power will not turn off. (The timer
recording is stopped while the power stays on.)
VCR/DVD COMBINATION
• If the cassette runs out during the timer recording, your product will
eject the cassette without rewinding.
In this case, the timer recording is cancelled (
“
”
disappears) and
the device turns itself off automatically. However, if a DVD is being
played back, the power will not turn off. (The power stays on.)
• If power is interrupted for more than 60 minutes (power failure, etc.),
all timer settings will be cancelled.
• If TIMER ON/OFF is pressed when there is no cassette loaded, “ ”
flashes for 5 seconds, indicating that timer recording is not possible.
• If TIMER ON/OFF is pressed while a cassette with an uncovered
erasure protection hole is loaded, “
” flashes and the cassette is ejected.
• When “ ” is lit, regular VCR operation, clock setting and setting/
cancelling/confirming timer positions are not possible. For regular VCR
operation, clock setting and setting/cancelling/confirming timer
positions, press TIMER ON/OFF to disengage the timer (“ ”
disappears), and then turn on your Product.
• During timer recording, the timer cannot be set.
• To terminate timer recording, press Ë
STOP
during timer recording.
• If the same time is input for the start time and the stop time, the timer
setting will be cancelled.
67
GB
Recording with the Timer
Confirming Timer Programmes
You can see on the On Screen Display a list of all timer programmes
that are already set.
Preparation
• Press OPERATE. Then move the VCR/DVD CHANGE Switch to
VCR and select the video channel on the TV.
1 Press VCR MENU. (If the “ ” indicator on the VCR Front Panel
OPERATE
TIMER
ON/OFF
PROG
EJECT
display is lit, cancel the timer standby mode with
TIMER ON/OFF
and then turn on the power.)
ON
VCR/ DVD
VCR MENU
DISPLAY
SCREEN
SELECTOR
DVD SETUP
FUNCTION
PROG/
OPEN/
2 Select “TIMER” with ' / " and then press SET to confirm .
CONTROL
REPEAT
ANGLE
CLOSE
TITLE
DVD MENU
MENU
TIMER
CLEAR
SET
MODE
RETURN
ENTER
CHANNEL PRESET
CLOCK
ZERO BACK
LANGUAGE
SKIP SEARCH
:SELECT
SET:ENTER MENU:EXIT
INPUT SELECT
VCR DVDAM/PM
3 The screen for confirming programmes that have been set will
/
appear. (You can display this screen by pressing PROG.)
REV FWD
PLAY
1/2
DATE PR START STOP
REC
PAUSE/STILL
15/12 47 12:00 12:30 SP
PMPM
--/-- -- -:-- -:-- --
STOP
--/-- -- -:-- -:-- --
--/-- -- -:-- -:-- --
TAPE
DPSS
SPEED
SKIP
SLOW
2/2
AUDIO
:SELECT
CH
OUTPUT
SET:ENTER MENU:EXIT
VCR DVD
• Check the information displayed.
•
If you want to correct the data, select the programme to be
changed with
' / "
and press SET. Correct the setting as
described on pages 69.
VCR/DVD COMBINATION
•
After the data is changed, press SET at the applicable tape-speed
position at right.
4 Press VCR MENU to return to the normal screen.
• After checking or correcting the programme contents, press
TIMER ON/OFF to enter the Timer Standby mode.
GB
68
Recording with the Timer
Cancelling Timer Programmes
Perform the following procedure to cancel timer programmes that
have already been set.
Preparation
• Press OPERATE. Then move the VCR/DVD CHANGE Switch to
VCR and select the video channel on the TV.
1 Press VCR MENU. (If the “ ” indicator on the VCR Front Panel
OPERATE
TIMER
ON/OFF
PROG
EJECT
display is lit, cancel the timer standby mode with
TIMER ON/OFF
and then turn on the power.)
ON
VCR/ DVD
VCR MENU
DISPLAY
SCREEN
SELECTOR
DVD SETUP
FUNCTION
PROG/
OPEN/
CONTROL
REPEAT
ANGLE
CLOSE
2 Select “TIMER” with ' / " and then press SET to confirm .
TITLE
DVD MENU
MENU
TIMER
CLEAR
SET
RETURN
ENTER
MODE
CHANNEL PRESET
CLOCK
ZERO BACK
LANGUAGE
SKIP SEARCH
:SELECT
SET:ENTER MENU:EXIT
INPUT SELECT
VCR DVDAM/PM
3 The screen for confirming programmes that have been set will
/
appear.
REV FWD
• Select the programme you wish to cancel with ' / ".
PLAY
(The selected programme will appear highlighted.)
REC
PAUSE/STILL
STOP
1/2
DATE PR START STOP
15/12 48 12:00 12:30 SP
PMPM
TAPE
DPSS
SPEED
SKIP
SLOW
--/-- -- -:-- -:-- --
--/-- -- -:-- -:-- --
AUDIO
--/-- -- -:-- -:-- --
CH
OUTPUT
2/2
VCR DVD
:SELECT
SET:ENTER MENU:EXIT
4 Double-check that it is the programme you wish to cancel, and
press CLEAR. It will be cleared on the screen.
VCR/DVD COMBINATION
1/2 2/2
DATE PR START STOP
--/-- -- -:-- -:-- --
--/-- -- -:-- -:-- --
--/-- -- -:-- -:-- --
--/-- -- -:-- -:-- --
:SELECT
SET:ENTER MENU:EXIT
5 Press VCR MENU to return to the normal screen.
• If there are still some programmes to be set, press TIMER
ON/OFF to enter the Timer Standby mode.
69
GB
Tape Dubbing
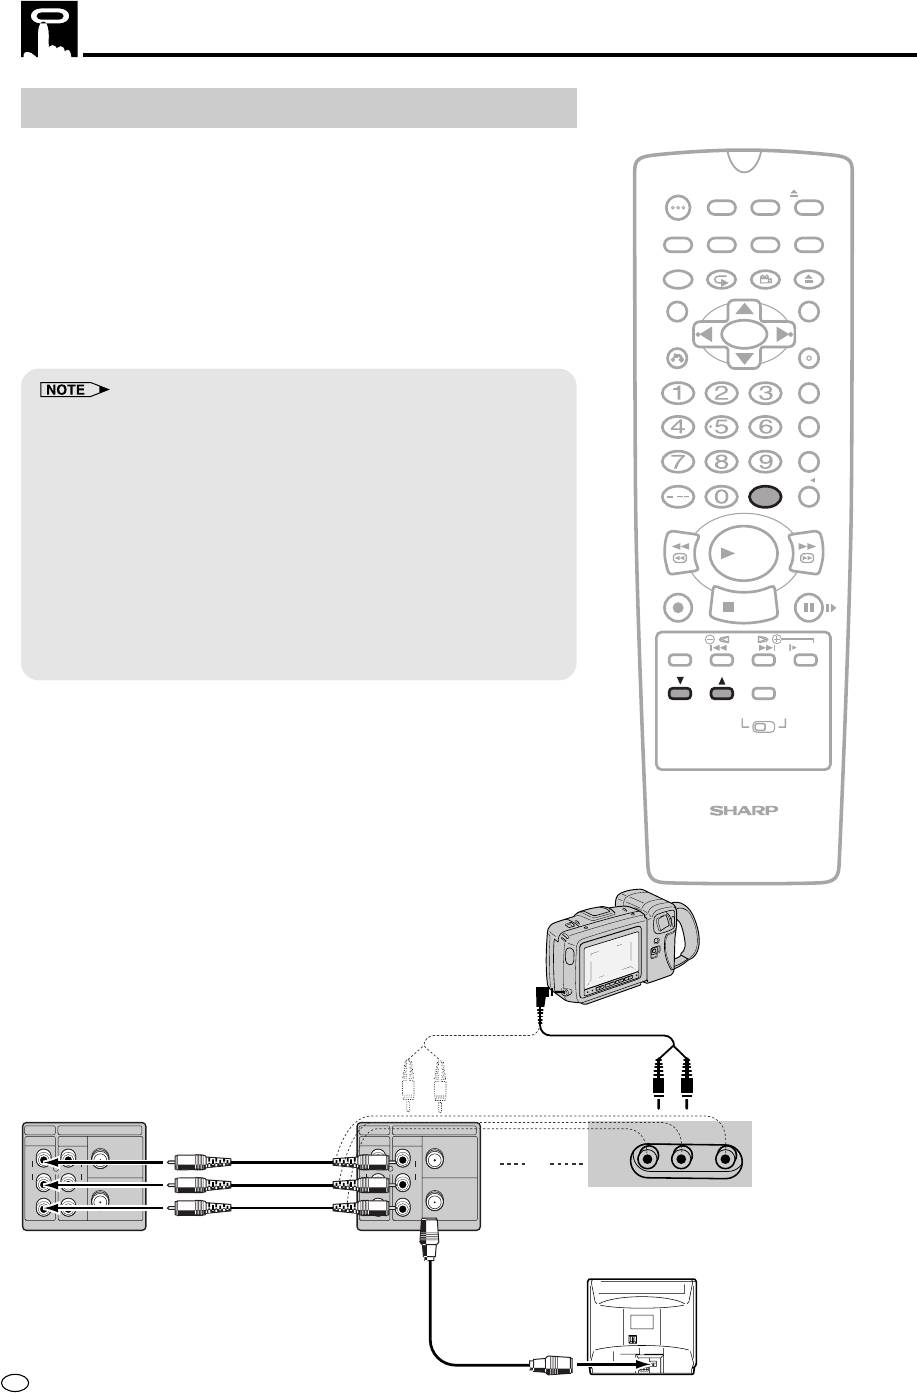
Tape Dubbing Connection Instructions
Your product can dub (copy) video material from another video
device. It can also output video and audio signals for recording on
other video or audio equipment. Audio/Video dubbing cannot be
OPERATE
TIMER
ON/OFF
PROG
EJECT
done separately.
ON
VCR/ DVD
VCR MENU
DISPLAY
SCREEN
SELECTOR
DVD SETUP
1 Switch your product to the auxiliary input by pressing INPUT
FUNCTION
PROG/
OPEN/
CONTROL
REPEAT
ANGLE
CLOSE
SELECT. “L1” lights up on the VCR Front Panel display. (You
TITLE
DVD MENU
can also use CH ' / ".)
2 Begin recording on the dubbing VCR and playback on the
CLEAR
SET
RETURN
ENTER
source VCR simultaneously.
ZERO BACK
• When using special playback functions (still picture, video search,
SKIP SEARCH
frame advance, and variable slow motion) during dubbing, a blue
screen may appear.
Set BLUE SCREEN mode on the dubbing VCR (for recording) to OFF.
INPUT SELECT
VCR DVDAM/PM
(See Mode Selection on page 25.)
/
• Use an RCA pin–type connection cable (not supplied with VCR, but
REV FWD
supplied with VIEWCAM) to connect source VCR to dubbing VCR.
• Refer to the manual of the VCR connected to this product when
PLAY
dubbing a tape.
REC
PAUSE/STILL
• You can also use the front AV jacks. Select “L2” (Aux. 2 input) by
STOP
pressing INPUT SELECT twice.
• If source VCR is a monaural mode, connect the audio cable to
TAPE
DPSS
SPEED
SKIP
SLOW
“AUDIO-L” of the dubbing VCR.
AUDIO
CH
OUTPUT
VCR DVD
VCR/DVD COMBINATION
Sharp Viewcam
(for playback)
Audio/Video
cable (supplied
with Viewcam)
DVD/VCR
VCR
DVD/VCR
VCR
LINE OUT 1
LINE IN 1
ANTENNA IN
LINE OUT 1
LINE IN 1
ANTENNA IN
AV 2 IN VIDEO L(MONO) - AUDIO-R
R
R
R
R
AUDIO
AUDIO
AUDIO
AUDIO
or
L
L
RF OUT
L
L
RF OUT
VIDEO
VIDEO
VIDEO
VIDEO
To Front
Source VCR
Dubbing VCR
(for playback)
(for recording)
GB
70
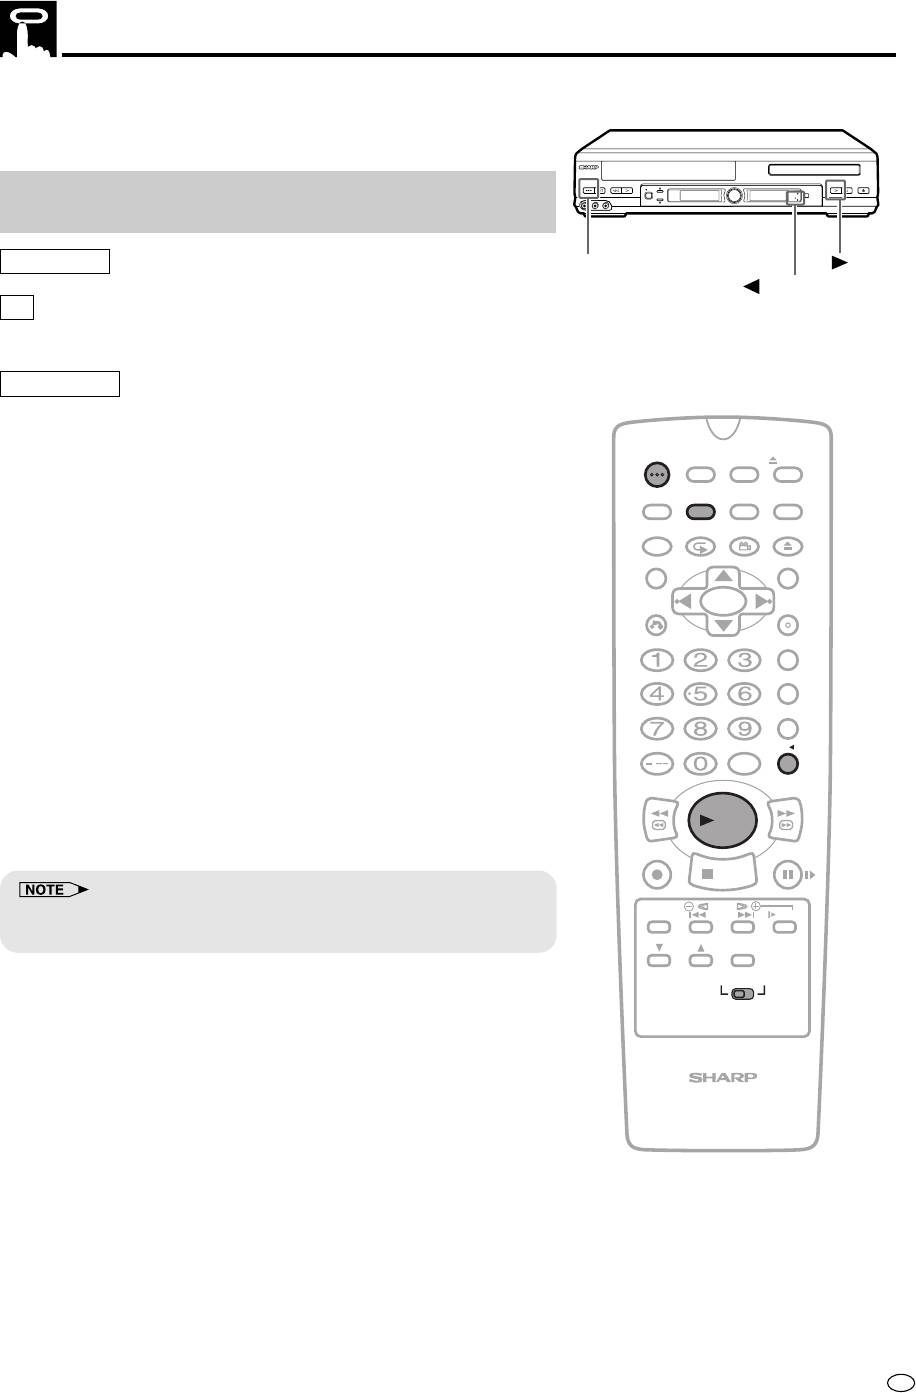
Recording a DVD Disc onto a Video Cassette
Use the following procedure to record the images and sounds on a
DVD disc onto a video cassette.
OPERATE
EJECT/STOP
REW
PLAY/×2
/
REC
PLAY STOP
OPEN/CLOSE
Recording a DVD disc onto a Video cassette
TIMER
AV 2 IN
VIDEO
L
MONO
(
-
)
AUDIO
R
-
CH
VCR/DVD
SELECTOR
VCR
DVD
(Tape Editing mode)
Preparation
OPERATE
PLAY
VCR DVD indicator
TV
• Turn on the TV and switch to the external “VIDEO” or “AV” channel.
This Product
• Press OPERATE.
• Move the VCR/DVD CHANGE Switch on the Remote to VCR.
OPERATE
TIMER
ON/OFF
PROG
EJECT
ON
VCR/ DVD
VCR MENU
DISPLAY
SCREEN
SELECTOR
DVD SETUP
1 Insert both the DVD disc and the video cassette for recording.
FUNCTION
PROG/
OPEN/
CONTROL
REPEAT
ANGLE
CLOSE
TITLE
DVD MENU
2 Press VCR
\ DVD.
\\
\\
• The VCR
\\
\\
\ DVD indicator lights up.
CLEAR
SET
RETURN
ENTER
ZERO BACK
3 Move the VCR/DVD CHANGE Switch on the Remote to DVD.
SKIP SEARCH
4 Press ON SCREEN to turn off the DVD on screen display (See
page 49).
INPUT SELECT
VCR DVDAM/PM
/
REV FWD
5 Press ûPLAY.
PLAY
• The disc start playback.
REC
PAUSE/STILL
STOP
TAPE
DPSS
• In DVD to VCR recording mode, some discs cannot be recorded:
SPEED
SKIP
SLOW
1 Discs with copy guard function
AUDIO
CH
OUTPUT
VCR DVD
VCR/DVD COMBINATION
71
GB
Recording a DVD Disc onto a Video Cassette
6 Press
ÆÆ
ÆÆ
ÆREC.
• The images on the DVD disc are recorded onto the VCR
cassette.
• When the VCR is in stop mode, the channel returns to the previ-
ously received channel.
• The VCR/DVD SELECTOR is fixed to VCR in the Tape Editing
OPERATE
TIMER
mode (VCR
\ DVD indicator lights up).
ON/OFF
PROG
EJECT
• Operate the VCR/DVD SELECTOR after pressing VCR
\ DVD,
\\
\\
ON
VCR/ DVD
VCR MENU
and after the Tape Editing mode has been cleared (VCR
\ DVD
DISPLAY
SCREEN
SELECTOR
DVD SETUP
indicator stops lighting up).
FUNCTION
PROG/
OPEN/
CONTROL
REPEAT
ANGLE
CLOSE
TITLE
DVD MENU
• The following are not signs of trouble.
CLEAR
SET
1 The brightness of images from regular DVD disc playback and
RETURN
ENTER
from discs played in Tape Editing mode might vary.
ZERO BACK
2 The discs playing time and the Real time counter slightly vary when
recording.
SKIP SEARCH
• The DVD/VCR output jacks become VCR fixed.
• The following operations cancel the DVD/VCR output and return to the
regular external input.
INPUT SELECT
VCR DVDAM/PM
1 Programming the timer.
/
2 Setting the recording ending time during Pause.
3 Turning OPERATE on or off after entering the Tape Editing mode.
REV FWD
• Copy protected DVD discs cannot be recorded (The image will be
PLAY
distorted, when
ÆREC is pressed).
ÆÆ
ÆÆ
• If the DVD on screen display is “ON” while recording, the display will
REC
PAUSE/STILL
also be recorded.
STOP
TAPE
DPSS
SPEED
SKIP
SLOW
The recordings, which you make from TV/radio broadcasts or audio
AUDIO
CH
OUTPUT
sources (such as records) are for your own private use, and cannot be
used without prior permission or consent of the author.
VCR DVD
VCR/DVD COMBINATION
GB
72
Оглавление
- VCR Setup
- DVD Setup
- Watching the VCR
- Watching the DVD


")
")
")