Sharp PN-R603: Specications
Specications: Sharp PN-R603
Specications
Model PN-R703 PN-R603
Power requirement AC 100 - 240 V, 3.0 - 1.2 A,
AC 100 - 240 V, 2.3 - 1.0 A,
50/60 Hz
50/60 Hz
Operating temperature
*
32°F to 104°F (0°C to 40°C)
Operating humidity 20% to 80% (no condensation)
Power consumption 270 W 200 W
Dimensions (excluding protrusions) inch (mm)
Approx. 62-1/8 (W) x 1-9/16 (D) x
Approx. 54-1/4 (W) x 1-9/16 (D) x
36-1/16 (H) (1578 x 39.4 x 916)
31-1/4 (H) (1378 x 39.4 x 794)
Weight lbs. (kg)
Approx. 94.8 (43) Approx. 70.5 (32)
* Temperature condition may change when using the monitor together with the optional equipments recommended by SHARP. In such
cases, please check the temperature condition specied by the optional equipments.
As a part of our policy of continuous improvement, SHARP reserves the right to make design and specication changes for product improvement
without prior notice. The performance specication gures indicated are nominal values of production units. There may be some deviations from
these values in individual units.
Mounting Precautions (For SHARP dealers and service engineers)
• When installing, removing or moving the monitor, ensure that this is carried out by at least 3 people.
(PN-R603: at least 2 people.)
• Be sure to use a wall-mount bracket designed or designated for mounting the monitor.
• This monitor is designed to be installed on a concrete wall or pillar. Reinforced work might be necessary for some materials
such as plaster / thin plastic board / wood before starting installation.
• This monitor and bracket must be installed on a wall which can endure at least 4 times or more the weight of the monitor.
Install by the most suitable method for the material and the structure.
• To attach a VESA-compliant mounting bracket, use M6 screws that are 5/16 inch (8 mm) to 3/8 inch (10 mm) longer than the
thickness of the mounting bracket.
• Do not use an impact driver.
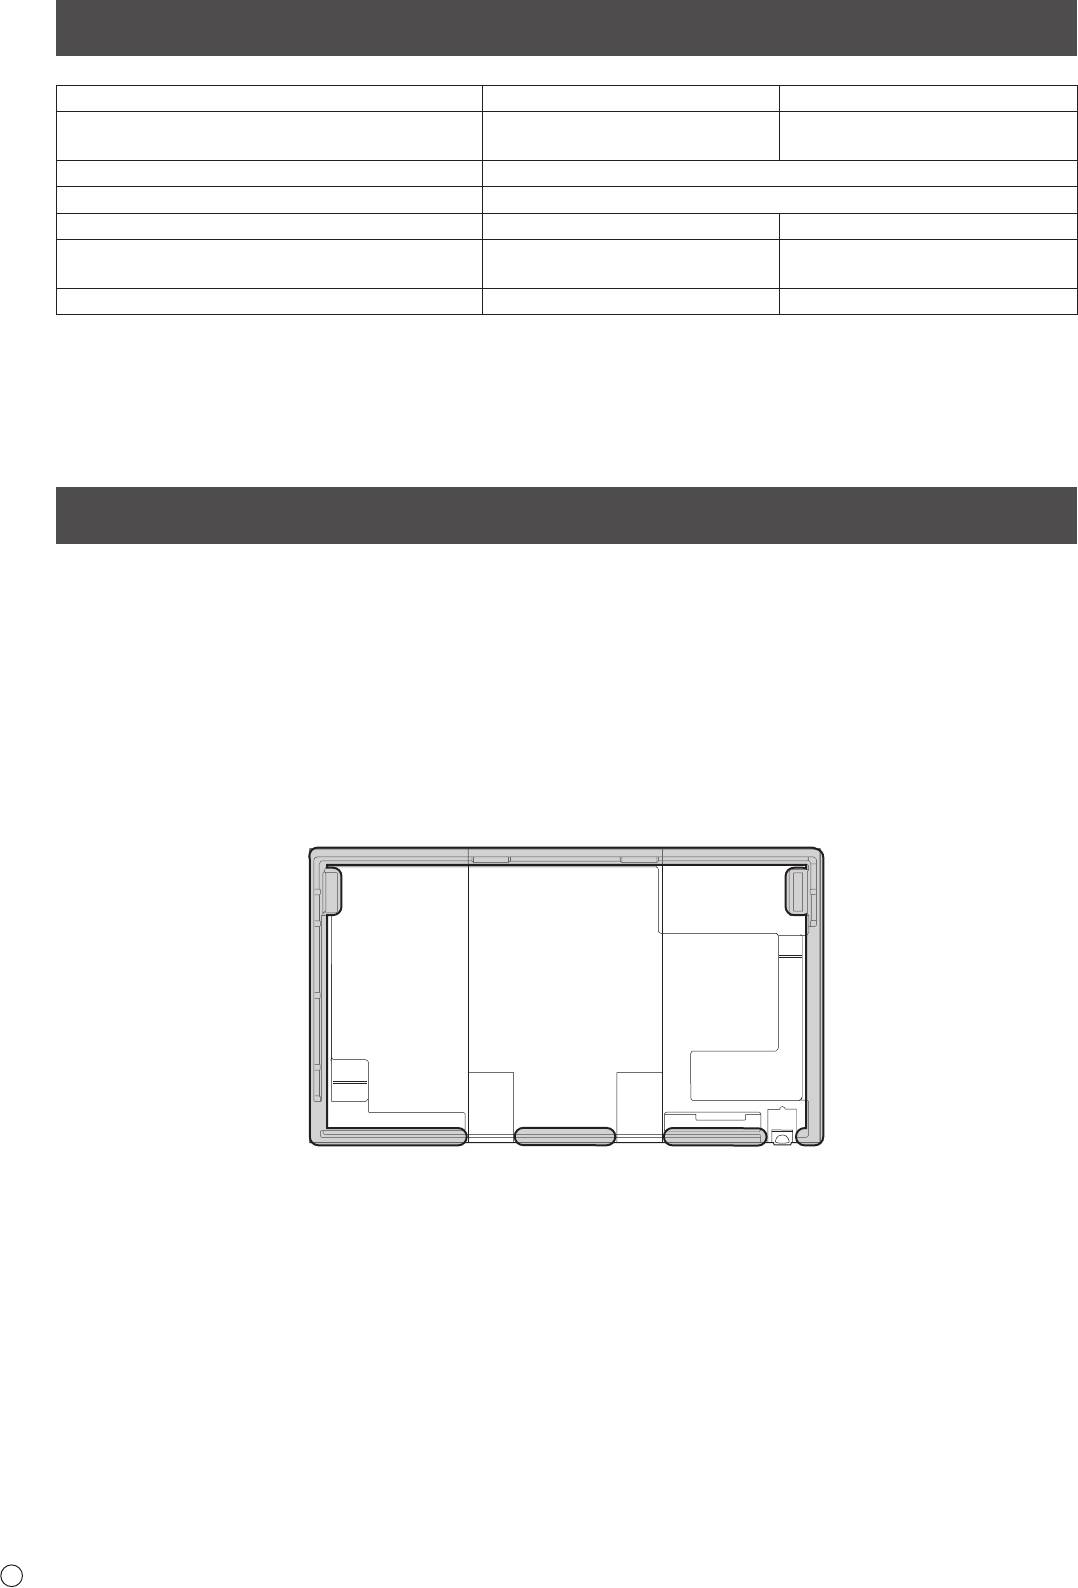
• When moving the monitor, be sure to hold the areas shown in the gure below. Do not hold the LCD panel. This may cause
product damage, failure, or injury.
• After mounting, please carefully ensure the monitor is secure, and not able to come loose from the wall or mount.
• Do not use any screw holes other than VESA holes for installation.
E
8
Оглавление
- Contents
- SAFETY PRECAUTIONS
- SAFETY PRECAUTIONS (Continued)
- MOUNTING PRECAUTIONS
- Supplied Components
- Connections
- Turning Power On/Off
- Specications
- Table des matières
- PRÉCAUTIONS DE SÉCURITÉ
- PRÉCAUTIONS DE SÉCURITÉ (Suite)
- PRÉCAUTIONS POUR LE MONTAGE
- Composants fournis
- Connexions
- Mise sous tension et hors tension
- Caractéristiques
- Índice
- PRECAUCIONES DE SEGURIDAD
- PRECAUCIONES DE SEGURIDAD (Continuación)
- PRECAUCIONES DE MONTAJE
- Componentes suministrados
- Conexiones
- Encendido/apagado
- Especicaciones
- Inhalt
- SICHERHEITSVORKEHRUNGEN
- SICHERHEITSVORKEHRUNGEN (Fortsetzung)
- WICHTIGE HINWEISE ZUR BEFESTIGUNG
- Mitgelieferte Komponenten
- Anschlüsse
- Ein- und ausschalten
- Technische Daten
- Содержание
- ПРАВИЛА ТЕХНИКИ БЕЗОПАСНОСТИ
- ПРАВИЛА ТЕХНИКИ БЕЗОПАСНОСТИ (Продолжение)
- МЕРЫ ПРЕДОСТОРОЖНОСТИ ПРИ КРЕПЛЕНИИ
- Комплектные принадлежности
- Соединения
- Включение/выключение питания
- Спецификации