Hama BC-500D: Operation
Operation: Hama BC-500D
Operation
Switching the units on and off
ª
To switch on the baby unit, move the on/off switch (
fi
g. 2 on page
37, 8) to the
ON
position. The energy status LED lights up green.
ª
To switch on the parent unit, move the on/off switch (
fi
g. 1 on
page 37, 8) to the
ON
position. The display (
fi
g. 1 on page 37, 5)
is switched on.
NOTE
►
If the parent unit cannot establish a connection to the baby unit,
then a warning tone sounds and
No Signal!
is shown on the
display.
ª
To switch off the parent unit, move the on/off switch (
fi
g. 1, 8) to
the OFF position.
ª
To switch off the baby unit, move the on/off switch (
fi
g. 2, 8) to
the OFF position.
Testing the connection between the parent unit and baby unit
When using the baby monitor for the
fi
rst time, you should test the
wireless connection.
ª
Position the parent unit in the same room as the baby unit, but at
a distance of at least 1 metre away from the baby unit.
ª
Switch both units on. The parent unit then tries to establish a
connection with the baby unit.
ª
The energy status LEDs on both devices light up green when the
connection has been established successfully.
ª
The noises picked up by the microphone (
fi
g. 2, ..3) and pictures
recorded by the camera (
fi
g. 2, 4) are then transmitted to the
parent unit.
ª
If no connection can be established, the energy status LED on
the baby unit
fl
ashes green and
No Signal!
is shown on the
display of the parent unit.
ª
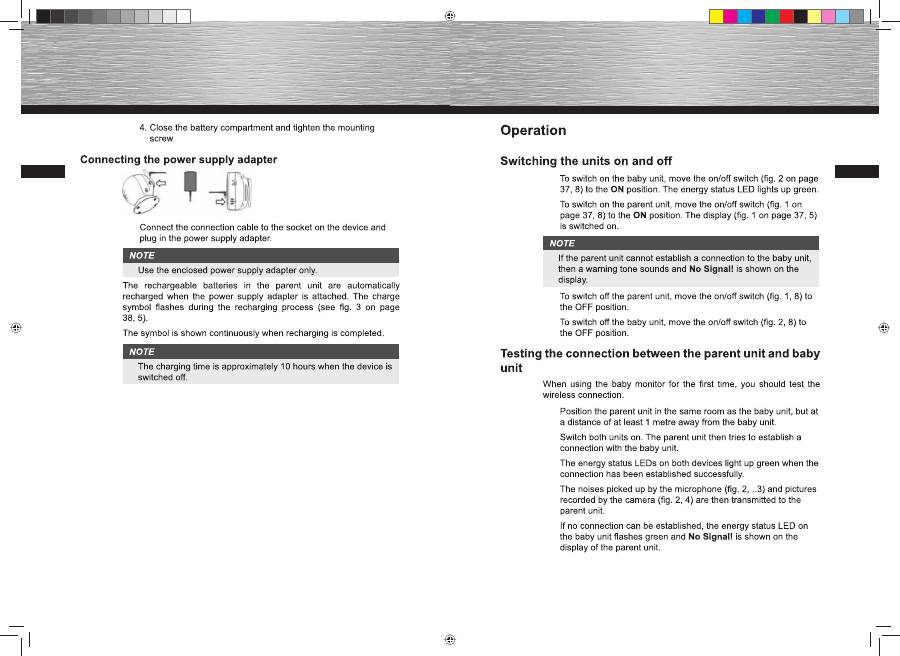
4. Close the battery compartment and tighten the mounting
screw.
Connecting the power supply adapter
ª
Connect the connection cable to the socket on the device and
plug in the power supply adapter.
NOTE
►
Use the enclosed power supply adapter only.
The rechargeable batteries in the parent unit are automatically
recharged when the power supply adapter is attached. The charge
symbol
fl
ashes during the recharging process (see
fi
g. 3 on page
38, 5).
The symbol is shown continuously when recharging is completed.
NOTE
►
The charging time is approximately 10 hours when the device is
switched off.
44
Baby-Control BC-500D
GB
45
Baby-Control BC-500D
GB
00092662man_de_en_es_fr_pl_ru.indd Abs3:44-Abs3:45
00092662man_de_en_es_fr_pl_ru.indd Abs3:44-Abs3:45
08.02.10 07:57
08.02.10 07:57
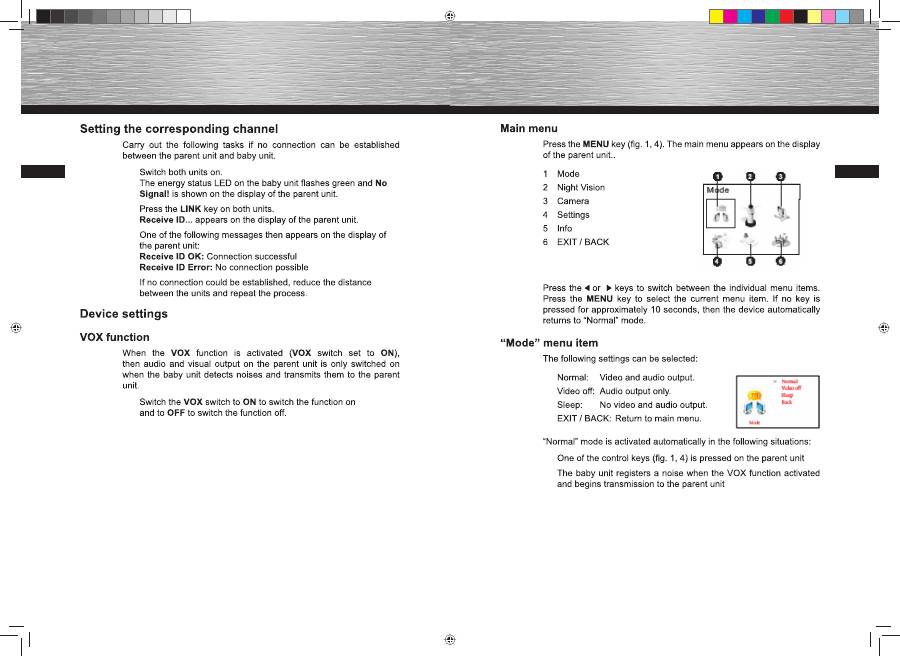
Main menu
Press the
MENU
key (
fi
g. 1, 4). The main menu appears on the display
of the parent unit..
1 Mode
2 Night
Vision
3 Camera
4 Settings
5 Info
6 EXIT / BACK
Press the
or
keys to switch between the individual menu items.
Press the
MENU
key to select the current menu item. If no key is
pressed for approximately 10 seconds, then the device automatically
returns to “Normal” mode.
“Mode” menu item
The following settings can be selected:
■
Normal: Video and audio output.
■
Video off: Audio output only.
■
Sleep:
No video and audio output.
■
EXIT / BACK: Return to main menu.
“Normal” mode is activated automatically in the following situations:
■
One of the control keys (
fi
g. 1, 4) is pressed on the parent unit
■
The baby unit registers a noise when the VOX function activated
and begins transmission to the parent unit
46
Baby-Control BC-500D
GB
47
Baby-Control BC-500D
GB
00092662man_de_en_es_fr_pl_ru.indd Abs3:46-Abs3:47
00092662man_de_en_es_fr_pl_ru.indd Abs3:46-Abs3:47
08.02.10 07:57
08.02.10 07:57

Zoom In
This menu item is only available when the zoom function is
deactivated.
ª
Select the area to be enlarged using the or keys.
ª
Press the
MENU
key to con
fi
rm the selection.
Zoom Region
This menu item is only available when the zoom function is activated.
It is used for changing the zoom area. The following settings are
possible:
■
Center: Centre
area
■
Left Top:
Top-left area
■
Right Top:
Top-right area
■
Left Bottom: Bottom-left area
■
Right Bottom: Bottom-right area
■
EXIT / BACK: Return to “Camera” menu
“Settings” menu item
Exposure
Used for setting the brightness of the image.
Setting range: 1 (darkest) to 5 (brightest)
NOTE
►
This menu item is only available when the night vision and zoom
functions are deactivated.
ª
Press the key to increase the brightness.
ª
Press the key to reduce the brightness.
“Night Vision” menu item
The following settings can be selected:
■
ON: Switches night vision on.
■
OFF: Switches night vision off
■
Return to main menu.
The night vision symbol (
fi
g. 3, 4) is displayed when night vision mode
is switched on.
“Camera” menu item
The following settings can be selected:
■
Zoom In/ Zoom
Region:
Selection/modi
fi
cation of the zoom area. The
set area is shown as a symbol (
fi
g. 3, 2)..
■
Zoom Out:
Zoom switched off.
■
Full Screen/
Windows Screen:
Switches between:
Full screen mode: Toolbar (
fi
g. 3, up to 7) is
not shown.
Windows mode: Toolbar is shown. t
■
Mirror:
Switches mirroring of the screen on or off.
■
Rotate 180:
Switches rotation of the screen by 180° on or
off.
■
EXIT / BACK:
Return to main menu.
48
Baby-Control BC-500D
GB
49
Baby-Control BC-500D
GB
00092662man_de_en_es_fr_pl_ru.indd Abs3:48-Abs3:49
00092662man_de_en_es_fr_pl_ru.indd Abs3:48-Abs3:49
08.02.10 07:57
08.02.10 07:57
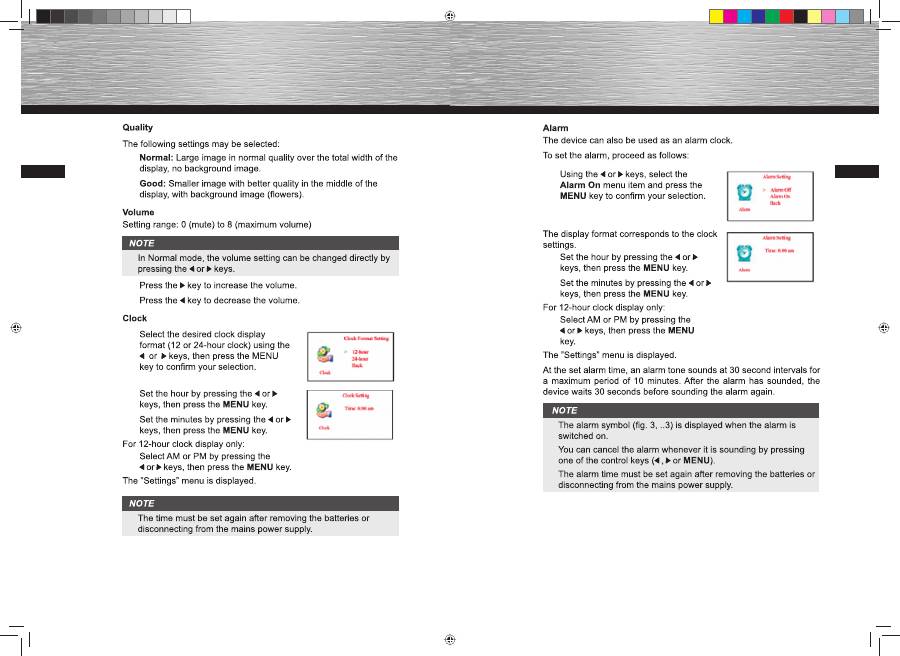
Alarm
The device can also be used as an alarm clock.
To set the alarm, proceed as follows:
ª
Using the or keys, select the
Alarm On
menu item and press the
MENU
key to con
fi
rm your selection.
The display format corresponds to the clock
settings.
ª
Set the hour by pressing the or
keys, then press the
MENU
key.
ª
Set the minutes by pressing the or
keys, then press the
MENU
key.
For 12-hour clock display only:
ª
Select AM or PM by pressing the
or keys, then press the
MENU
key.
The ”Settings” menu is displayed.
At the set alarm time, an alarm tone sounds at 30 second intervals for
a maximum period of 10 minutes. After the alarm has sounded, the
device waits 30 seconds before sounding the alarm again.
NOTE
►
The alarm symbol (
fi
g. 3, ..3) is displayed when the alarm is
switched on.
►
You can cancel the alarm whenever it is sounding by pressing
one of the control keys (
,
or
MENU
).
►
The alarm time must be set again after removing the batteries or
disconnecting from the mains power supply.
Quality
The following settings may be selected:
ª
Normal:
Large image in normal quality over the total width of the
display, no background image.
ª
Good:
Smaller image with better quality in the middle of the
display, with background image (
fl
owers).
Volume
Setting range: 0 (mute) to 8 (maximum volume)
NOTE
►
In Normal mode, the volume setting can be changed directly by
pressing the
or keys.
ª
Press the key to increase the volume.
ª
Press the key to decrease the volume.
Clock
ª
Select the desired clock display
format (12 or 24-hour clock) using the
or
keys, then press the MENU
key to con
fi
rm your selection.
ª
Set the hour by pressing the or
keys, then press the
MENU
key.
ª
Set the minutes by pressing the or
keys, then press the
MENU
key.
For 12-hour clock display only:
ª
Select AM or PM by pressing the
or
keys, then press the
MENU
key.
The ”Settings” menu is displayed.
NOTE
►
The time must be set again after removing the batteries or
disconnecting from the mains power supply.
50
Baby-Control BC-500D
GB
51
Baby-Control BC-500D
GB
00092662man_de_en_es_fr_pl_ru.indd Abs3:50-Abs3:51
00092662man_de_en_es_fr_pl_ru.indd Abs3:50-Abs3:51
08.02.10 07:57
08.02.10 07:57
Оглавление
- Sicherheit
- Aufbau und Funktion
- Inbetriebnahme
- Bedienung und Betrieb
- Reinigung und P fl ege
- Entsorgung
- Safety
- Design and functionality
- Getting started
- Operation
- Cleaning and care
- Disposal
- Sécurité
- Structure et fonctionnement
- Mise en service
- Commande et utilisation
- Nettoyage et entretien
- Elimination
- Seguridad
- Estructura y funcionamiento
- Puesta en funcionamiento
- Manejo y funcionamiento
- Limpieza y cuidado
- Desecho
- Bezpiecze ń stwo
- Budowa i dzia ł anie
- Uruchamianie
- Obs ł uga
- Czyszczenie i piel ę gnacja
- Utylizacja
- Правила техники безопасности
- Конструкция и эксплуатация
- Ввод в эксплуатацию
- Эксплуатация. Управление
- Чистка и уход
- Утилизация
