Gorenje IDR 4545 EUK: −
−: Gorenje IDR 4545 EUK
ENG
HOOD INSTALLATION, MAINTENANCE AND USAGE
GENERAL INFORMATION
Before installing and/or using the hood, you should read all of the following instructions carefully. Before installing the hood, make sure that
the voltage (V) and frequency (Hz) given on the tag containing the serial number and technical data, which is placed inside the device,
corresponds to the voltage and frequency in the place of installation.
INSTALLATION
The hood cannot, under any circumstances, be connected to the ventilation ducts of devices powered by anything but electricity (bathroom
heaters, boilers, ovens).
The device cannot be installed on hob ovens.
CONNECTING TO ELECTRICITY
The hood must be installed in a stable and permanent manner. Connect the hood to electricity! To obtain further information concerning your
line’s voltage and frequency, check the tag inside the device, carefully connect the cable to the plug or connect the device to a multi-pole
switch with at least 3-mm gaps between contacts. The hood’s power supply cable (type H05 VV 3X0,75mm 2,2m), marked L (line) and N
(neutral) and fastened with a clamp, should be connected to an appropriate, permanent power supply by an authorised and certified person,
who has to install the hood according to any binding standards and regulations, using a multi-pole switch with at least 3-mm gaps between
contacts. Connect the power supply cable, if it has a plug, to an outlet, which will enable you to switch the installed hood on and off, or to an
outlet with a multi-pole switch with at least 3-mm gap between contacts. The manufacturer bears no responsibility in cases, where not all
binding standards for installation safety and safe operation of electrical equipment were observed.
MAINTENANCE
Before conducting any actions, please ensure, that the power supply cable is disconnected from the outlet or the switch is in OFF position.
Cleaning: External parts should be cleaned using a soft cloth dampened with a liquid, non-corrosive cleaning agent. Do not use any powders
or brushes.
SAFETY PRECAUTIONS
When cleaning, please observe manufacturer’s recommendations, especially where residues on cleaned surfaces are concerned, to avoid
potential fire hazard. Burners should always be covered to avoid filter overheating. Do not leave a frying pan unattended: the oil can overheat
and ignite. When using oil, the risk of self-ignition raises. It is absolutely forbidden to cook dishes with open flames under the hood. The air
cannot be directed to the ventilation duct by any means but by electricity, and an appropriate room ventilation system should be in place, in
case any other devices, powered by any different means, are used at the same time that the hood is. If the hood is connected to a ventilation
duct, you should ensure, that the duct is in good condition, even if it has not been used for an extended period of time. Remember to always
observe any local standards and regulations of authorities in power concerning extraction of air, in case the hood operates connected to the
ventilation duct.
THE MANUFACTURER BEARS NO RESPONSIBILITY, IF NOT ALL OF THE RECOMMENDATIONS LISTED ABOVE,
CONCERNING HOOD INSTALLATION, MAIINTENANCE AND PROPER USAGE, ARE OBSERVED.
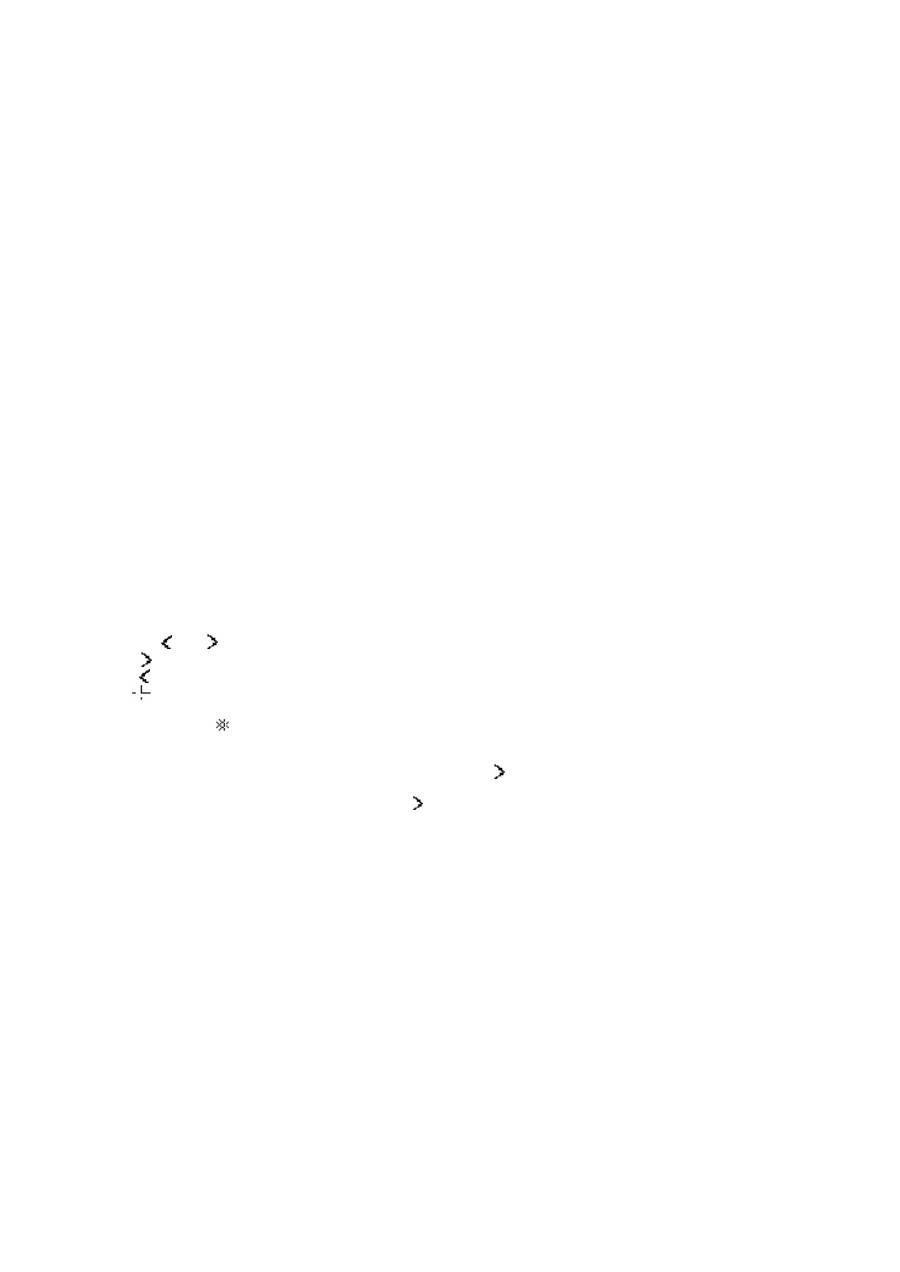
Control
−
The “ “ and “
” buttons control the fan speed from 1 to 4.
−
“
” button
- pressing this button increases the fan speed
−
“ ” button
- pressing this button decreases the fan speed
- “
” button (Timer) – sets up the fan switch-off time
−
Lighting button
– switches the hood light on and off, independently from engine operation. Every time the button is pressed, the
light switches on or off,
−
Timer: to enable programming automatic switch off at any given time between 10 and 90 minutes, with 10-minute increments.
- To enable programming function, turn the engine on using the “
” button to the level you want, and then press the button to
program the switch-off time.
The display will show a blinking
0
, which means, that the time programming mode was entered.
- Select the automatic switch-off time using the “
” button, keeping in mind, that the number on the display, multiplied by the
10-minut interval, means the time of automatic switch-off (e.g. 1=10 min, 2=20 min, 3=30min, etc.)
- With the auto switch-off timer set, confirm the setting using the
timer button
, the display will stop blinking and will show the
previously selected speed, and the blinking dot next to the speed will show the switch-off time. You can cancel the automatic
switch-off function by pressing the
timer button
again while the time is counted down.
Caution: Timer programming should be completed within 20 sesonds, otherwise no action will be taken, and the hood will resume
operation in normal mode.
Should the control panel get locked, disconnect the hood from the power supply outlet and reconnect it after 5 minutes. After this time, the
control panel will resume normal operation.
15
EST
Õ
HUPUHASTI PAIGALDAMIS-, HOOLDUS- JA KASUTUSJUHEND
ÜLDTEAVE
Lugege kasutusjuhend enne seadme kasutuselev
õ
ttu väga hoolikalt ja l
õ
puni läbi. Enne
õ
hupuhastaja paigaldamist kontrollige, kas selle
pinge (V) ja sagedus (Hz), mis on märgitud seerianumbri ja tehniliste andmetega varustatud andmeplaadid seadme sees, sobivad Teie
vooluv
õ
rgu omadega.
PAIGALDAMINE
Õ
hupuhastaja ei tohi olla ühendatud teistele mitteelektrilistele seadmetele (boilerid, katlad, ahjud jne.) m
õ
eldud ventilatsiooniavadega.
Seadet ei tohi paigutada ülemise kütteplaadiga pliitidele.
ELEKRIV
Õ
RKU ÜHENDAMINE
Õ
hupuhasti tuleb paigaldada stabiilselt ja püsivalt. Ühendage seade elektriv
õ
rguga! Et saada teavet pinge ja sageduse kohta, kontrollige
seadme sisse paigutatud andmeplaati, ühendage toitekaabel kontakti v
õ
i ühendage seade mitmepolaarse lülitiga, mille kontaktide vahe on
minimaalselt 3mm.
Õ
hupuhasti toitekaabel (tüüp H05 VV 3X0,75mm 2,2 mb), mis on märgistatud tähtedega L (liin) ja N (neutraalne) ja
kinnitatud juhtme klemmi abil, tuleb ühendada vastava püsiva toiteallikaga, mida saab teha ainult vastavaid volitusi omav spetsialist, kes
paigaldab seadme vastavalt kehtivatele normidele ja
õ
igussätetele, kasutades sealjuures mitmepolaarset lülitit, mille kontaktide vahe peab
olema vähemalt 3 mm. Ühendage toitejuhe, kui sellel on pistik, pistikupesasse, mis v
õ
imaldab paigaldatud seadme sisse- ja väljalülitamist
v
õ
i mitmepolaarse lülitiga juhitud pesasse, kindlustades sealjuures vähemalt 3 mm kontaktide vahelised vahemaad. Tootja ei vastuta
kahjustuste eest, kui tarbija eirab kehtivaid tööohutust puudutavaid norme, mis on vajalikud toote tavakasutamise ja elektriseadme
õ
ige
töötamise tagamiseks.
HOOLDAMINE
Enne üksk
õ
ik millise tegevuse alustamist tuleb kontrollida, kas toitejuhe on v
õ
rgupesast eemaldatud v
õ
i kas lüliti on OFF positsioonis.
Puhastamine: Puhastage seadme väliseid osasid pehme materjali ja vedela puhastusvahendiga, ärge kasutage abrassiivseid vahendeid,
pulbreid ega harjasid.
OHUTUSVAHENDID
Puhastamise ajal tuleb järgida tootja n
õ
uandeid, eriti juhul, kui määrdunud pindadele on tekkinud sete, et ära hoida v
õ
imalikku
tulekahjuohtu. Pöörake tähelepanu sellele, et kuumad küttealad oleksid kaetud niiv
õ
rd, et see ei p
õ
hjustaks
õ
hupuhasti filtri ülekuumenemist.
Ärge mingil juhul jätke katelt v
õ
i panni valveta: potis v
õ
i pannil olev
õ
li v
õ
ib üle kuumeneda ja süttida. Mitu kordu kasutatud
õ
li kasutamise
korral toiduvalmistamise käigus isesüttimise oht kasvab. Keelatud on toidukeetmine avatud tulega
õ
hupuhasti all. Kogutud
õ
hku ei tohi
juhtida teistele mitteelektrilistele seadmetele m
õ
eldud ventilatsiooniavadesse, peale selle jälgige, et juhul, kui
õ
hupuhastaja on kasutusel
üheaegselt m
õ
ne muu mitteelektrilise ventilatsiooni vajava seadmega, oleks tagatud normidega n
õ
utav värske
õ
hu juurdevool. Kui kasutate
õ
hupuhastit ventilatsioonikanaliga ühendatud töörežiimil, kontrollige
õ
hu äravoolukanali seisundit, ka juhul, kui te ei ole seda pikemat aega
kasutanud. Järgige vastavate kohalike direktiivide ja normidega määratud n
õ
uete täitmist ventilatsiooni ja vingugaaside eemaldamise kohta.
TOOTJA EI VASTUTA KAHJUSTUSTE EEST, MIS ON TEKKINUD KÄESOLEVAS
Õ
HUPUHASTI PAIGALDAMIS-,
HOOLDUS- JA KASUTUSJUHENDIS NIMETATUD REEGLITE EIRAMISE T
Õ
TTU
.
Õ
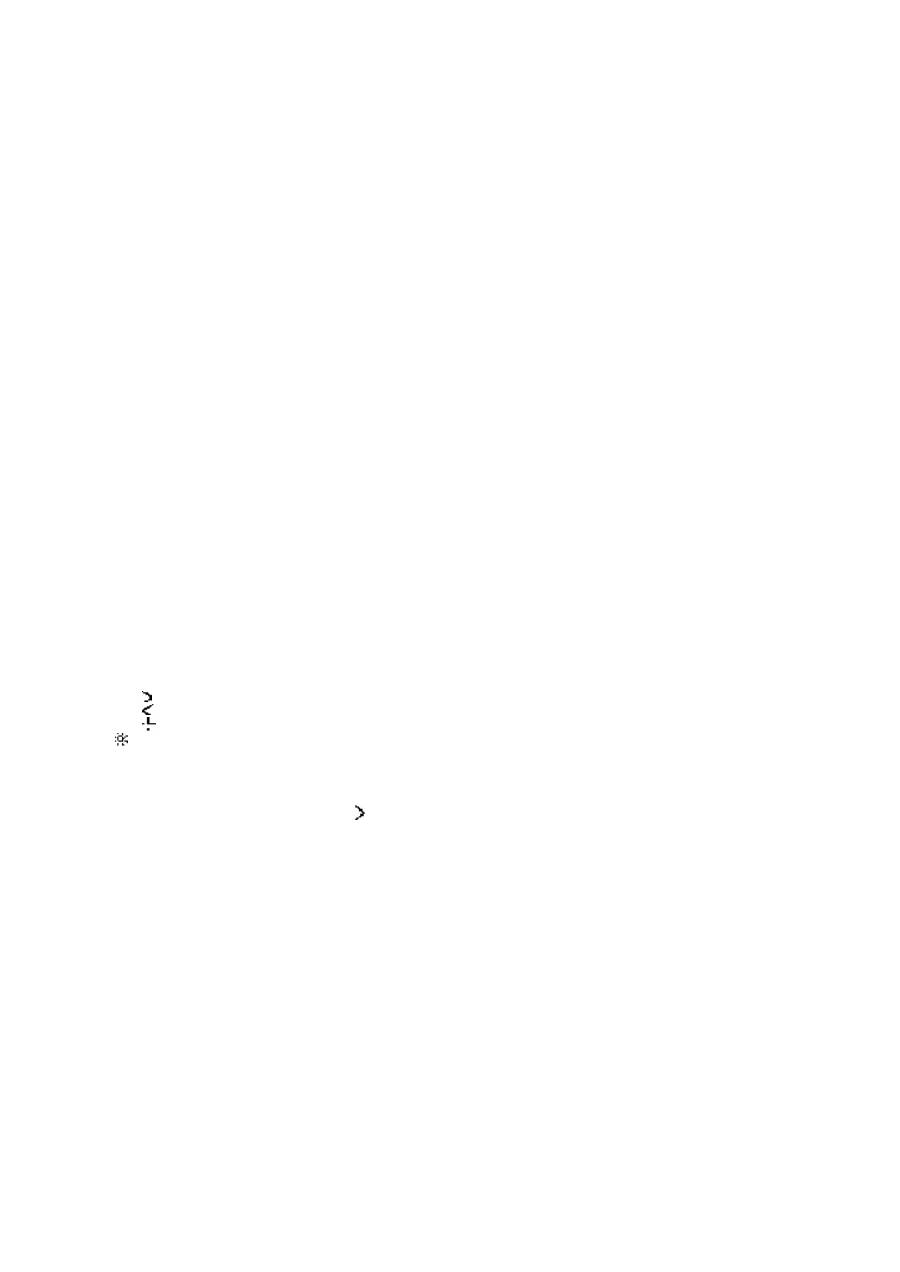
hupuhasti tööd saab juhtida kombineeritud lülitist (Joonis 6)
-
„ ” –
õ
hupuhasti töötab, roheline diood, pluss mootori kiirus
-
„
” –
õ
hupuhasti ei tööta, roheline diood, miinus mootori kiirus
-
„
” – väljalülituse taimer – TIMER- lülitab
õ
hupuhasti 15 minuti pärast välja, diood vilgub.
„
” – valgustus sisse / välja.
Taimeri funktsioon:
Köögi
õ
hupuhasti on varustatud täiendavalt programmeeritava automaatse 10 minutilise intervalliga väljalülitatava
ventilaatoriga, maksimaalse viiteajaga 90 minutit. Taimer käivitub nupule “T” vajutamisega
õ
hupuhasti töötamisel soovitud ventilaatori
kiirusega. Displei vilgub ja ilmuv täpp tähistab, et seade on väljalülituse aja programmeerimise režiimis. Seejärel saate programmeerida
õ
hupuhasti mootori automaatset väljalülituse aega
nupuga, jättes meelde, et kujutis displeil korrutatakse 10-minutilise aja intervalliga, mis
tähistab mootori väljalülitumise aega (nt: 1=10 minutit, 2=20 minutit, 3=30 minutit jne).
Peale viitaja seadistamist vajutage kinnitamiseks uuesti nupule T. Displei l
õ
petab vilkumise ja näitab taas eelnevalt seatud kiirust ja vilkuv
täpp tähistab, et mootori väljalülituse aega on hakatud maha arvama.
TAIMERI funktsiooni saab tühistada, kui vajutate uuesti nupule T aja maha arvamise ajal.
MÄRKUS: Programm jätab alati meelde viimase viitaja seadistuse.
TAIMERi funktsioon tuleb seadistada 20 sekundi jooksul, vastasel korral taastatakse automaatsele tavapärane töötamine.
Mikroprotsessorisüsteem v
õ
ib saada viga vooluk
õ
ikumiste korral ja lakata reageerimast nuppude vajutustele. Sellisel juhul lülitage
seade vooluv
õ
rgust välja ja uuesti tagasi süsteemi lähtestamiseks.
Juhtimispaneeli blokaadi korral tuleb seade vooluv
õ
rgust eemaldada ja uuesti vooluv
õ
rku ühendada pärast 5 minuti möödumist. Selle
ajavahemiku möödumisel hakkab juhtimispaneel tööle normaalsel töörežiimil.
