Dell Latitude 120L: Setting Up Your Computer
Setting Up Your Computer: Dell Latitude 120L
Table of contents
- Notes, Notices, and Cautions Abbreviations and Acronyms
- Contents
- Finding Information What Are You Looking For? Find It Here
- What Are You Looking For? Find It Here
- What Are You Looking For? Find It Here
- Setting Up Your Computer
- About Your Computer Front View
- Left Side View Right Side View Back View
- Bottom View Using a Battery Battery Performance
- Checking the Battery Charge Dell™ QuickSet Battery Meter Microsoft Windows Power Meter
- Low-Battery Warning Conserving Battery Power Power Management Modes Standby Mode
- Hibernate Mode Configuring Power Management Settings
- Charging the Battery Replacing the Battery
- Storing a Battery Troubleshooting Lockups and Software Problems
- Other software problems
- BACK UP YOUR FILES IMMEDIATELY. Dell Diagnostics
- Starting the Dell Diagnostics From the Drivers and Utilities CD
- Dell Diagnostics Main Menu Option Function Tab Function
- Tab Function
- Index
- 24 Index
Setting Up Your Computer
CAUTION: Before you begin any of the procedures in this section, follow the safety instructions in the Product
Information Guide.
1
Unpack the accessories box.
2
Set aside the contents of the accessories box, which you will need to complete the setup of your
computer.
The accessories box also contains user documentation and any software or additional hardware (such
as PC Cards, drives, or batteries) that you have ordered.
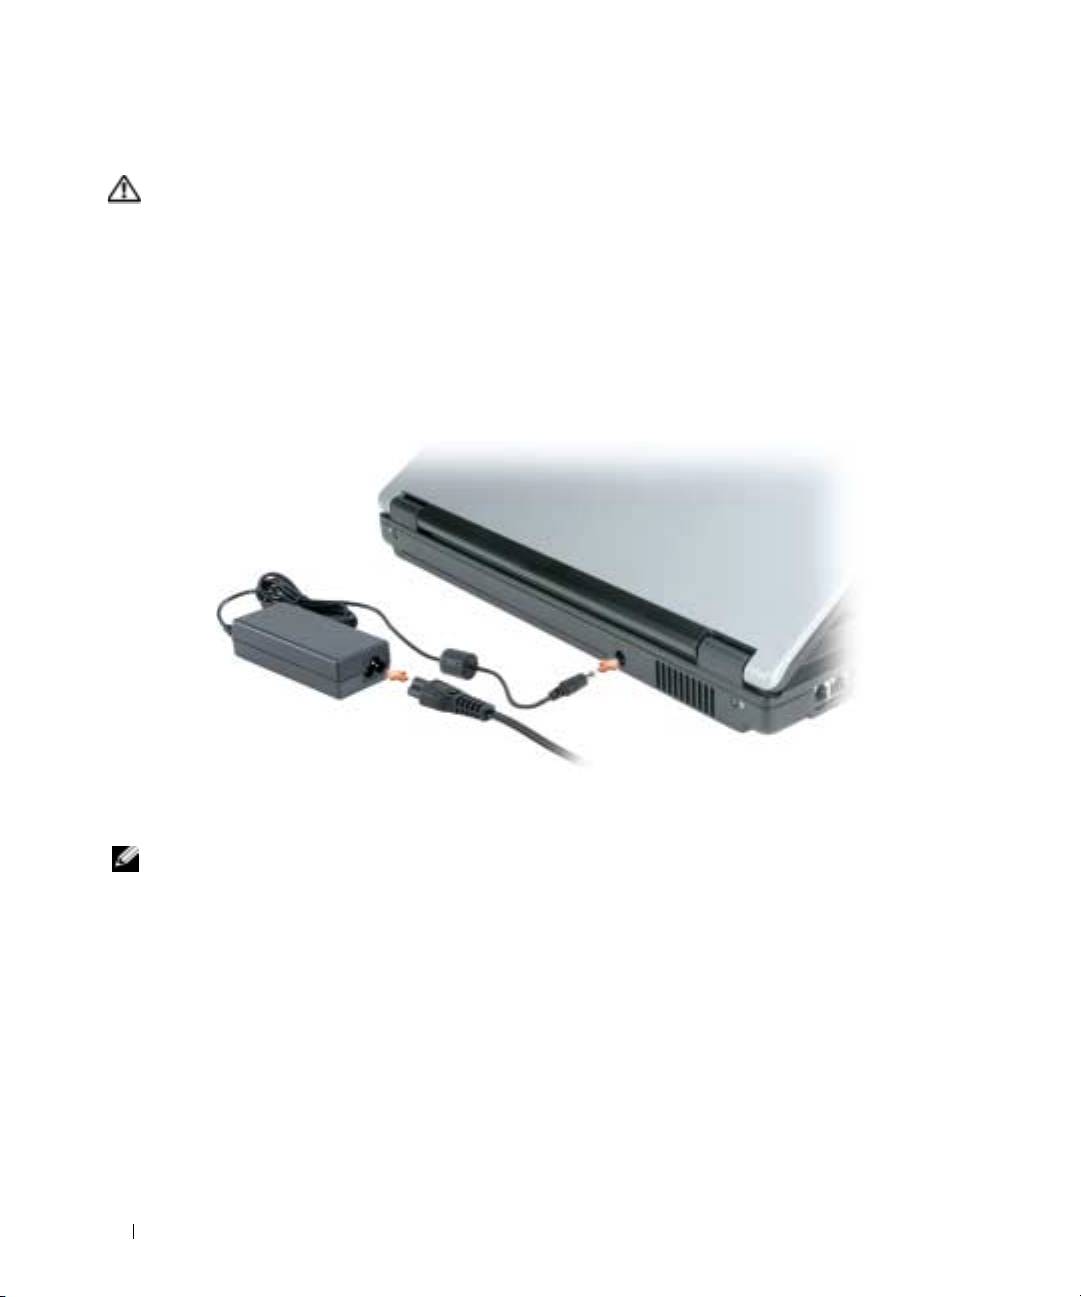
3
Connect the AC adapter to the AC adapter connector on the computer and to the electrical outlet.
4
Open the computer display and press the power button to turn on the computer (see "Front View" on
page 9).
NOTE: It is recommended that you turn on and shut down your computer at least once before you install any cards
or connect the computer to a docking device or other external device, such as a printer.
8 Quick Reference Guide
