Beurer BM 45: Performing the blood pressure measurement 6. Evaluating results Cardiac arrhythmia:
Performing the blood pressure measurement 6. Evaluating results Cardiac arrhythmia:: Beurer BM 45
Table of contents
- 1. Getting to know your instrument
- 2. Important information Signs and symbols Advice on use
- Storage and Care Advice on batteries
- 3. Device description Repair and disposal
- Information on the display: 4. Preparing the measurement Inserting the batteries Setting the hour format, date and time
- Operation with the mains part
- 5. Measuring blood pressure 5.1 Positioning cuff 5.2 Correct posture
- Performing the blood pressure measurement 6. Evaluating results Cardiac arrhythmia:
- WHO classification: Range of blood pressure values Systolic (in mmHg) Diastolic (in mmHg) Measure 7. Displaying and deleting measurements
- 8. Cleaning and storing the instrument
- 10. Specifications 9. Rectifying faults
- 11. Mains part
•
In order not to distort the result, it is important to keep still
•
Now select the desired user memory by pressing the
during the measurement and not talk.
M1 or M2 memory buttons. If you do not select a
user memory, the measurement is stored in the most
Performing the blood pressure measurement
recently used user memory. The relevant symbol M1 or
As described above, attach the cuff and adopt the pos-
M2 appears on the display.
ture in which you want to perform the measurement.
•
Using the Start/stop button , switch off the blood
•
To start the blood pressure monitor, press
pressure monitor. The measurement is then stored in
the Start/stop button . All displays will
the selected user memory.
illuminate briefly.
If you forget to turn off the device, it will switch off
The blood pressure monitor will begin the
automatically after approx. 3 minutes. In this case too,
measurement automatically after 3 seconds.
Measurement
the value is stored in the selected or most recently used
user memory.
The cuff automatically inflates.
•
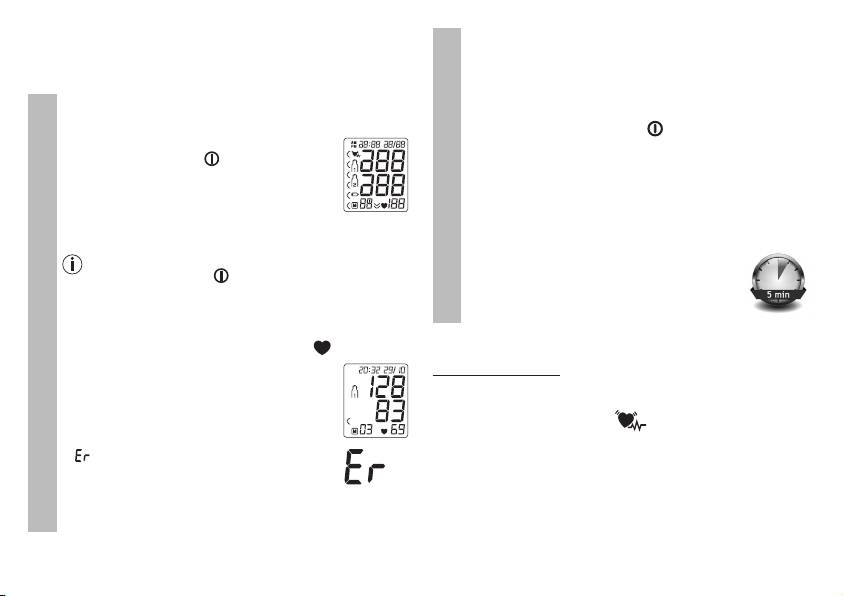
Wait at least 5 minutes before taking an-
Measuring can be cancelled at any time by pressing
other measurement!
the Start/stop button
.
The cuff’s air pressure is slowly released. If you already
recognise a tendency for high blood pressure, you should
reinflate the cuff and increase the cuff’s pressure again. As
soon as a pulse is found, the pulse symbol is displayed.
6. Evaluating results
Measurement
•
Systolic pressure, diastolic pressure and
Cardiac arrhythmia:
pulse measurements are displayed.
This instrument can identify possible cardiac arrhythmia disor-
ders during measurement and if necessary indicates the meas-
urement with the flashing icon .
This may be an indicator for arrhythmia. Arrhythmia is a condi-
•
_
appears if the measurement could
tion where the heart rhythm is abnormal as a result of defects
not be performed properly. Observe the
in the bioelectrical system controlling the heart beat. The symp-
_
chapter on error messages/troubleshooting
toms (omitted or premature heart beats, slow or excessively fast
in these instructions for use and repeat the
heart rate) may be caused, among other things, by heart dis-
measurement.
ease, age, physical predisposition, excessive use of stimulants,
stress or lack of sleep. Arrhythmia can only be ascertained
through examination by your doctor.
23
