Dell PowerVault DP600: Installation and Configuration Unpacking the System
Installation and Configuration Unpacking the System: Dell PowerVault DP600
Table of contents
- Notes, Notices, and Cautions
- Contents
- System Features
- The system board includes the following features:
- Supported Operating Systems Other Information You May Need Obtaining Technical Assistance
- Installation and Configuration Unpacking the System
- Installing the Rails and System in a Rack
- Connecting the Keyboard, Mouse, and Monitor Connecting the Power
- Installing the Power Cord Retention Bracket Turning on the System
- Installing the Bezel Complete the 0perating System Setup Technical Specifications Processor Expansion Bus
- Memory Drives Connectors
- Connectors (continued) Video Power Physical
- Physical (continued) Environmental
Installation and Configuration
CAUTION: Before performing the following procedure, read and follow the
safety instructions and important regulatory information in your Product
Information Guide.
This section describes the steps to set up your system for the first time. The
illustrations that follow show a rack-mounted system, but the installation
procedure applies in large part to a stand-alone tower system. In place of the
rack installation in step 2, refer to the documentation included with your
system on installing the stabilizer feet on your system.
CAUTION: Installing the feet on a stand-alone tower system is necessary to
provide a stable foundation for the system. Failure to install the feet poses the
risk of having the system tip over, possibly causing bodily injury or damage to
the system.
CAUTION: Whenever you need to lift the system, get others to assist you. To avoid
injury, do not attempt to lift the system by yourself.
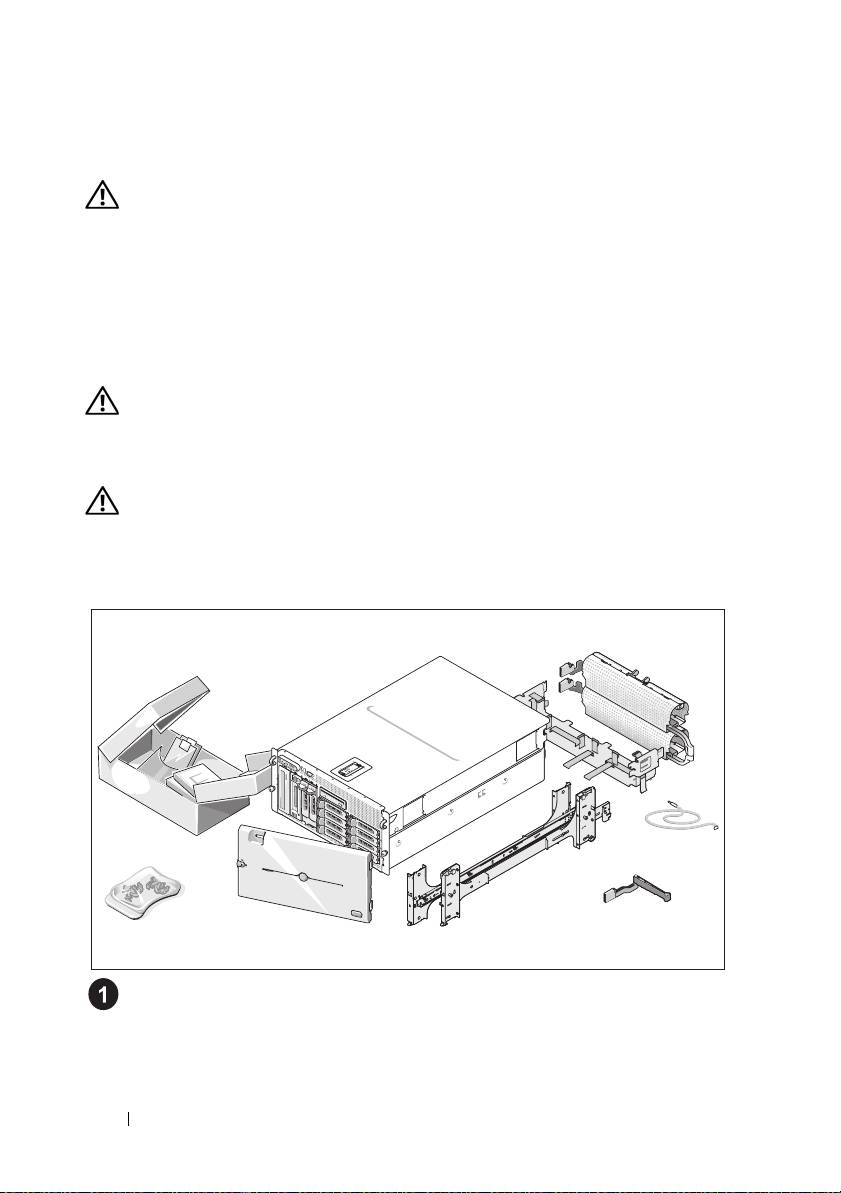
Unpacking the System
Unpack your system and identify each item.
Keep all shipping materials in case you need them later.
8 Getting Started With Your System
