Dell PowerEdge R210 II: Installation and Configuration Unpacking the System Installing the Rails and System in a Rack
Installation and Configuration Unpacking the System Installing the Rails and System in a Rack: Dell PowerEdge R210 II
Table of contents
- Getting Started With Your System
- Notes, Cautions, and Warnings
- Installation and Configuration Unpacking the System Installing the Rails and System in a Rack
- Optional—Connecting the Keyboard, Mouse, and Monitor Connecting the Power Cable
- Securing the Power Cable Turning On the System
- Installing the Optional Bezel Complete the Operating System Setup Supported Operating Systems
- Dell Software License Agreement
- Other Information You May Need Obtaining Technical Assistance
- Technical Specifications Processor Expansion Bus Memory Drives
- Connectors Video Power Batteries
- Physical Environmental
- Environmental (continued)
Installation and Configuration
WARNING: Before performing the following procedure, review the safety
instructions that came with the system.
Unpacking the System
Unpack your system and identify each item.
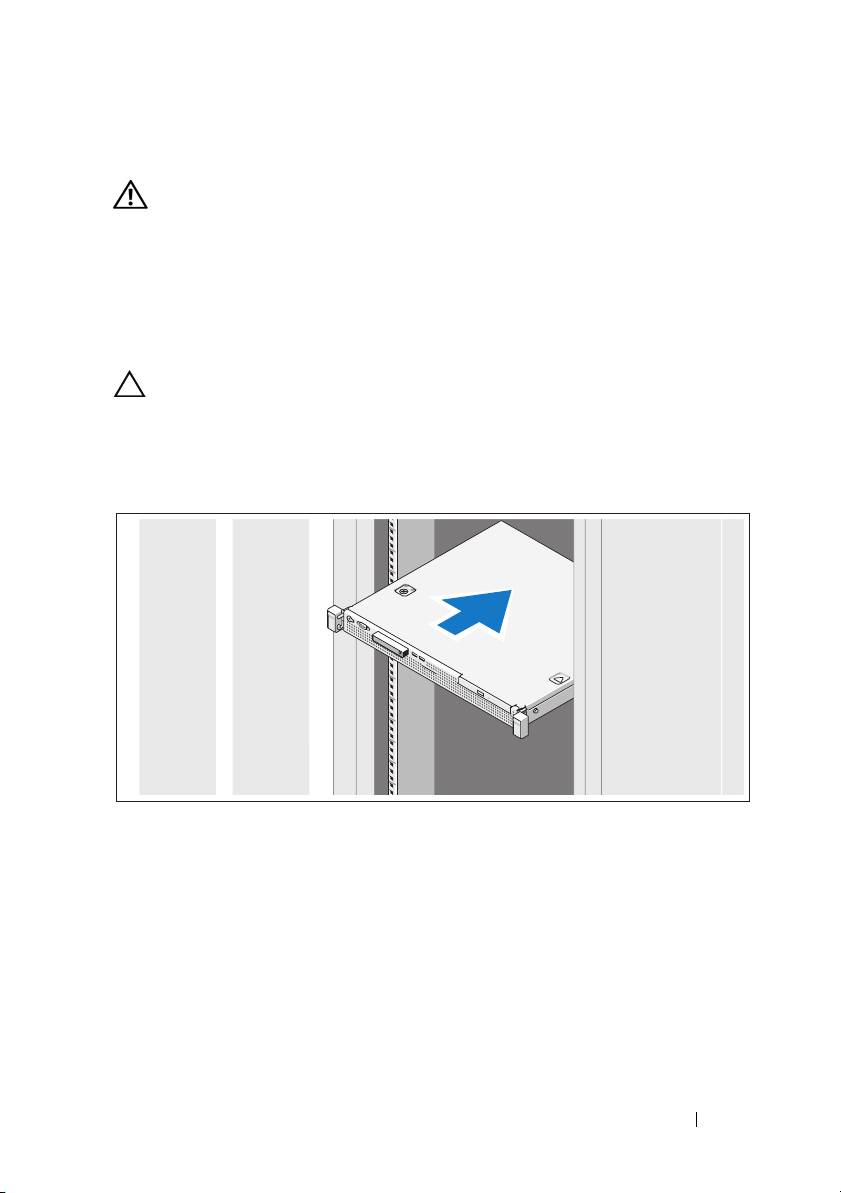
Installing the Rails and System in a Rack
CAUTION: If installed in a closed or multi-unit rack assembly, the operating
ambient temperature of the rack environment may be greater than room ambient.
Therefore, consideration should be given to installing the equipment in an
environment compatible with the maximum ambient temperature (Tma) specified by
the manufacturer.
For more information, see
"Technical Specifications" on page 9.
Assemble the rails and install the system in the rack following the safety
instructions and the rack installation instructions provided with your system.
Getting Started With Your System 3
