Dell PowerEdge C1100: 3 Installing the Tool-less Rail Solution
3 Installing the Tool-less Rail Solution: Dell PowerEdge C1100
Table of contents
- Notes, Cautions, and Warnings
- Installation and Configuration Unpacking the System Installing the Tooled Rail Solution
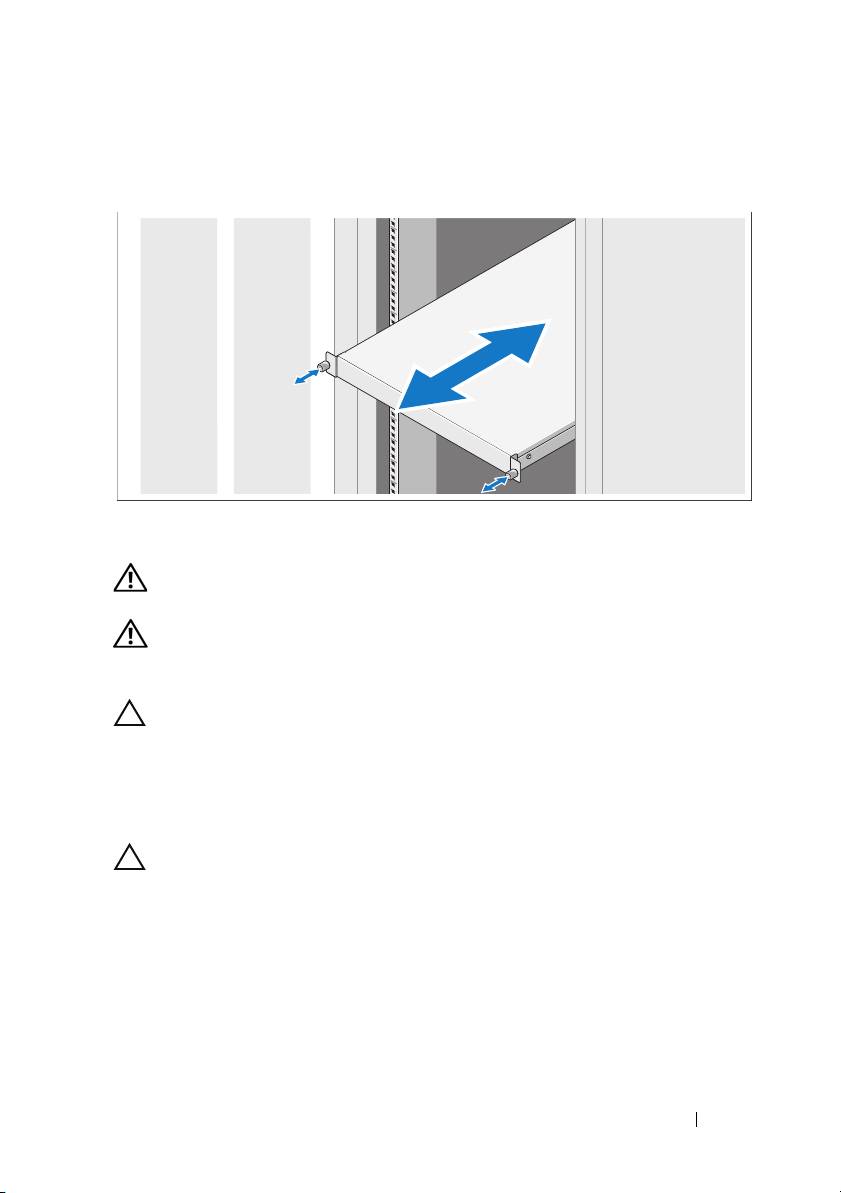
- 1 Install the sliding rails into the rack. 2
- 3 Installing the Tool-less Rail Solution
- 1 2 3
- 4 5
- 6 Optional – Connecting the Keyboard, Mouse, and Monitor
- Connecting the Power Cable(s) Securing the Power Cable(s)
- Turning On the System Complete the Operating System Setup
- Supported Operating Systems Other Information You May Need
- Technical Specifications Processor Expansion Bus Memory Drive
- Connectors Video Power
- Physical Environmental
- Environmental (continued)
3
Slide the system into the rack and tighten the thumbscrews to secure the
ears of system to the front of the rack.
Installing the Tool-less Rail Solution
WARNING: Whenever you need to lift the system, get others to assist you.
To avoid injury, do not attempt to lift the system by yourself.
WARNING: The system is not fixed to the rack or mounted on the rails. To avoid
personal injury or damage to the system, you must adequately support the system
rack during installation and removal.
CAUTION: Before installing systems in a rack, install front and side stabilizers
on stand-alone (single) racks or the front stabilizer on racks joined to other racks.
Failure to install stabilizers accordingly before installing systems in a rack
could cause the rack to tip over, potentially resulting in bodily injury under certain
circumstances. Therefore, always install the stabilizer(s) before installing
components in the rack.
CAUTION: When installing rails in a square-hole rack it is important to ensure
that the square peg slides through the square holes.
Getting Started With Your System 5
