Dell Latitude D430 (Mid 2007): Connector Description
Connector Description: Dell Latitude D430 (Mid 2007)
Table of contents
- Notes, Notices, and Cautions Abbreviations and Acronyms
- Contents
- 4 Contents
- CAUTION: Safety Instructions SAFETY: General Safety
- SAFETY: Power Safety Equipment Protection Instructions
- Protecting Against Electrostatic Discharge
- About Your Media Base Left View Right View
- Back View Connector Description
- Connector Description
- Top View
- Setting Up Your Media Base
- Securing the Media Base
- Docking Your Computer
- Undocking Your Computer 6
- 7 Lift the back of the computer up and slide the computer out towards the back of the
- Installing the Optical Drive
- Removing the Optical Drive Using External Drives
- Specifications Physical AC Adapter
- Ports and Connectors
- Regulatory Notices
Connector Description
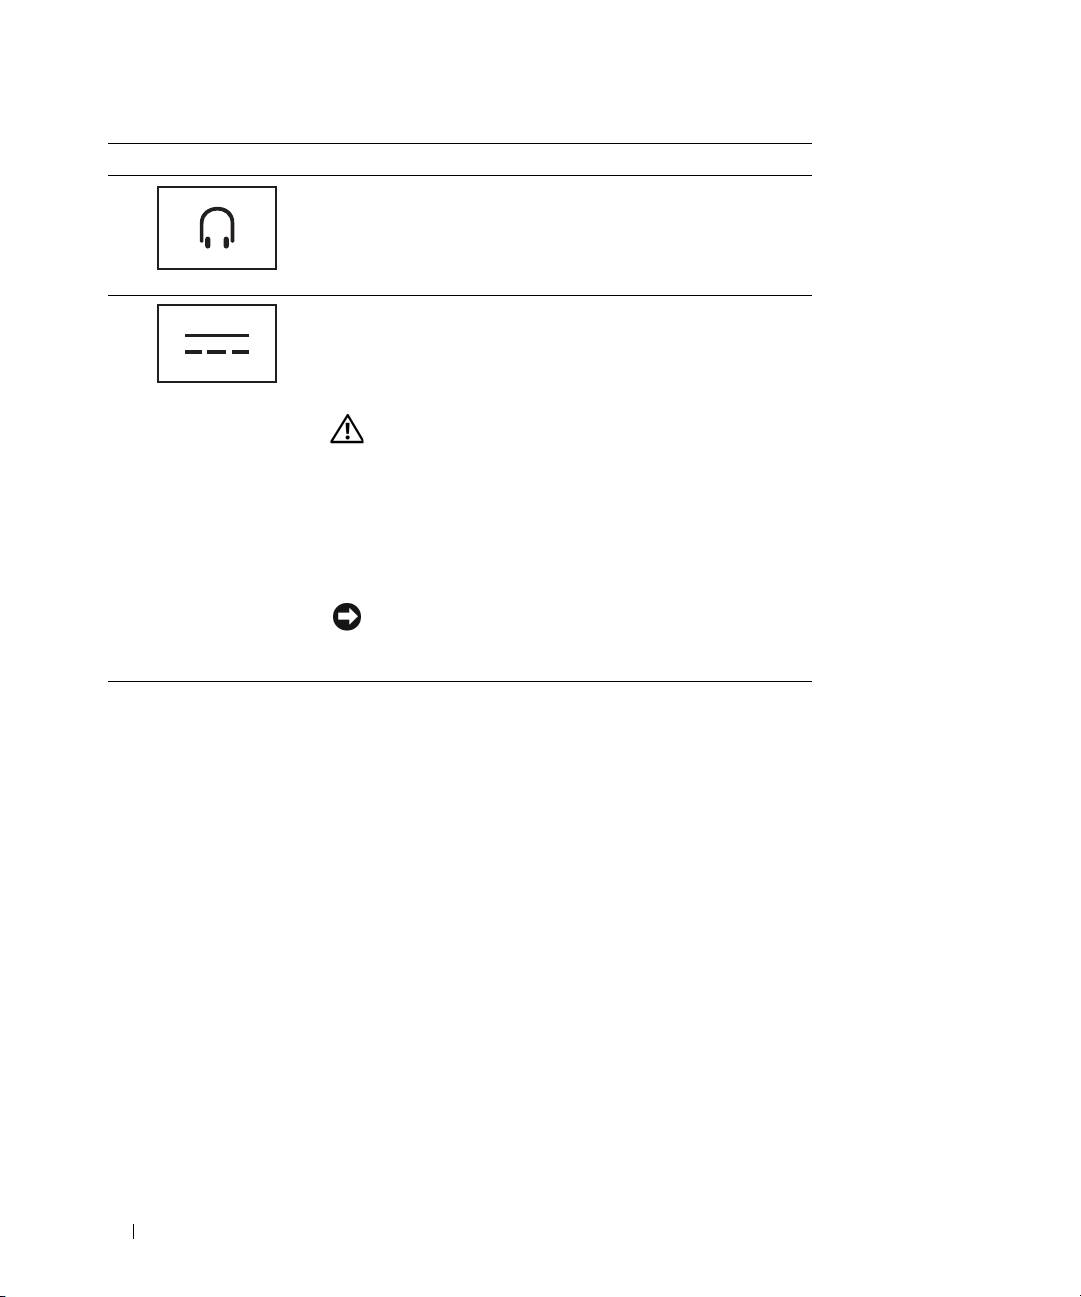
HEADPHONE/SPEAKER CONNECTOR — Connects headphones
or speakers. The connector is a stereo output connector.
AC
ADAPTER CONNECTOR — Connects an AC adapter to the
media base and to AC power to convert AC power to the DC
power required by the media base. You can connect the AC
adapter with your media base either turned on or off. For more
information, see "Setting Up Your Media Base" on page 12.
CAUTION: If you are using a multiple-outlet power strip,
use caution when you plug the AC adapter power cable
into the power strip. Some power strips may allow you to
insert the connector incorrectly. Incorrect insertion of the
power connector could result in permanent damage to your
media base as well as risk of electric shock and/or fire.
Ensure that you insert the ground prong of the power plug
into the mating ground contact of the power strip.
NOTICE: When you disconnect the AC adapter from the
media base, hold the adapter cable connector, not the cable
itself, and pull firmly but gently to avoid damaging the cable.
SECURITY CABLE SLOT — Lets you attach a commercially available antitheft device to the media base. Instructions
for installing antitheft devices are usually included with the device. For more information, see "Securing the Media
Base" on page 13.
10 Media Base Setup Guide
