Asus P5QL: 2.7 Boot menu
2.7 Boot menu: Asus P5QL
Chassis Fan Speed [xxxxRPM] or [Ignored] / [N/A]
The onboard hardware monitor automatically detects and displays the chassis fan speed in
rotations per minute (RPM). If the fan is not connected to the motherboard, the eld shows
N/A.
Power Fan Speed [xxxxRPM] or [Ignored] / [N/A]
The onboard hardware monitor automatically detects and displays the power fan speed in
rotations per minute (RPM). If the fan is not connected to the motherboard, the eld shows
N/A.
CPU Voltage, 3.3V Voltage, 5V Voltage, 12V Voltage [xxxxV] or [Ignored]
The onboard hardware monitor automatically detects the voltage output through the onboard
voltage regulators. Select [Ignored] if you do not want to detect this item.
2.7 Boot menu
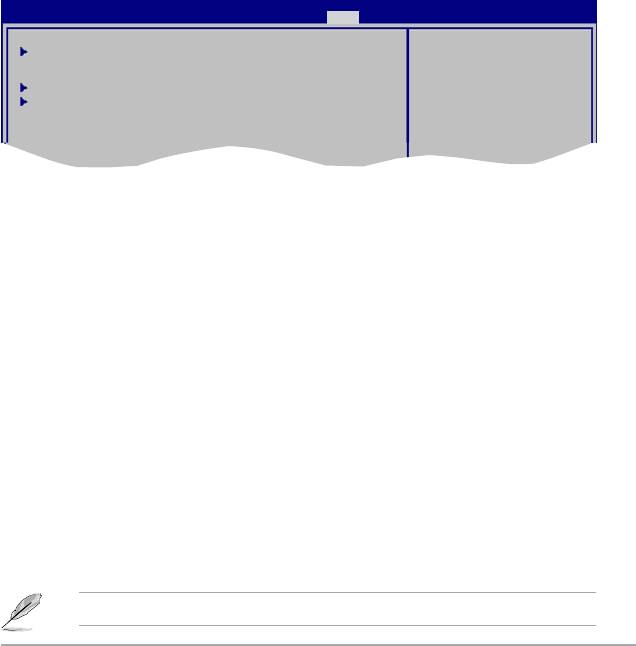
The Boot menu items allow you to change the system boot options. Select an item then press
<Enter> to display the sub-menu.
BIOS SETUP UTILITY
Main Ai Tweaker Advanced Power Boot Tools Exit
Species the Boot
Boot Device Priority
Device Priority
sequence.
Boot Settings Conguration
A virtual oppy disk
Security
drive (Floppy Drive B:)
may appear when you set
the CD-ROM drive as the
rst boot device.
2.7.1 Boot Device Priority
1st ~ xxth Boot Device
These items specify the boot device priority sequence from the available devices. The
number of device items that appears on the screen depends on the number of devices
installed in the system. Conguration options: [1st FLOPPY DRIVE] [Hard Drive]
[ATAPI CD-ROM] [Disabled]
2.7.2 Boot Settings Conguration
Quick Boot [Enabled]
Enabling this item allows the BIOS to skip some power on self tests (POST) while booting to
decrease the time needed to boot the system. When set to [Disabled], BIOS performs all the
POST items. Conguration options: [Disabled] [Enabled]
Full Screen Logo [Enabled]
This allows you to enable or disable the full screen logo display feature. Conguration
options: [Disabled] [Enabled]
™
Set this item to [Enabled] to use the ASUS MyLogo2
feature.
ASUS P5QL 2-21

AddOn ROM Display Mode [Force BIOS]
Sets the display mode for option ROM. Conguration options: [Force BIOS] [Keep Current]
Bootup Num-Lock [On]
Allows you to select the power-on state for the NumLock.
Conguration options: [Off] [On]
PS/2 Mouse Support [Auto]
Allows you to enable or disable support for PS/2 mouse.
Conguration options: [Disabled] [Enabled] [Auto]
Wait For ‘F1’ If Error [Enabled]
When set to Enabled, the system waits for the F1 key to be pressed when error occurs.
Conguration options: [Disabled] [Enabled]
Hit ‘DEL’ Message Display [Enabled]
When set to [Enabled], the system displays the message Press DEL to run Setup during
POST. Conguration options: [Disabled] [Enabled]
Interrupt 19 Capture [Disabled]
When set to [Enabled], this function allows the option ROMs to trap Interrupt 19.
Conguration options: [Disabled] [Enabled]
2.7.3 Security
The Security menu items allow you to change the system security settings. Select an item
then press <Enter> to display the conguration options.
Change Supervisor Password
Select this item to set or change the supervisor password. The Supervisor Password item
on top of the screen shows the default Not Installed. After you set a password, this item
shows Installed.
To set a Supervisor Password:
1. Select the
Change Supervisor Password item then press <Enter>.
2. From the password box, type a password composed of at least six letters and/or
numbers, then press <Enter>.
3. Conrm the password when prompted.
The message Password Installed appears after you successfully set your password.
To change the supervisor password, follow the same steps in setting a supervisor password.
To clear the supervisor password, select the Change Supervisor Password then press
<Enter> twice. The message Password uninstalled appears.
If you forget your BIOS password, you can clear it by erasing the CMOS Real Time Clock
(RTC) RAM. See section 1.9 Jumpers for information on how to erase the RTC RAM.
2-22 Chapter 2: BIOS information

After you have set a supervisor password, the other items appear to allow you to change
other security settings.
User Access Level [Full Access]
This item allows you to select the access restriction to the Setup items.
Conguration options: [No Access] [View Only] [Limited] [Full Access]
[No Access] - prevents user access to the Setup utility.
[View Only] - allows access but does not allow change to any eld.
[Limited] - allows changes only to selected elds, such as Date and Time.
[Full Access] - allows viewing and changing all the elds in the Setup utility.
Change User Password
Select this item to set or change the user password. The User Password item on top of the
screen shows the default Not Installed. After you set a password, this item shows Installed.
To set a User Password:
1. Select the
Change User Password item.
2. From the password box, type a password composed of at least six letters and/or
numbers, then press <Enter>.
3. Conrm the password when prompted.
The message Password Installed appears after you set your password successfully.
To change the user password, follow the same steps in setting a user password.
Clear User Password
Select this item to clear the user password.
Password Check [Setup]
When set to [Setup], BIOS checks for user password when accessing the Setup utility. When
set to [Always], BIOS checks for user password both when accessing Setup and booting the
system. Conguration options: [Setup] [Always]
ASUS P5QL 2-23
Оглавление
- Contents
- Contents
- Contents
- Notices
- Safety information
- P5QL specications summary
- 1.1 Welcome!
- 1.4 Before you proceed
- 1.5 Motherboard overview
- 1.6 Central Processing Unit (CPU)
- 1.7 System memory
- 1.8 Expansion slots
- 1.9 Jumpers
- 1.10 Connectors
- 1.11 Software support
- 2.1 Managing and updating your BIOS
- 2.2 BIOS setup program
- 2.3 Main menu
- 2.4 Ai Tweaker menu
- 2.5 Advanced menu
- 2.6 Power menu
- 2.7 Boot menu
- 2.8 Tools menu
- 2.9 Exit menu
