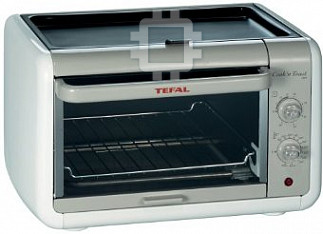
Tefal OT 2080: инструкция
Раздел: Кухонная техника
Тип: Минипечь
Характеристики, спецификации
Инструкция к Минипечь Tefal OT 2080

February 2004
Ref. : 3305792c
Document subject to modification
Realisation : Espace Graphique
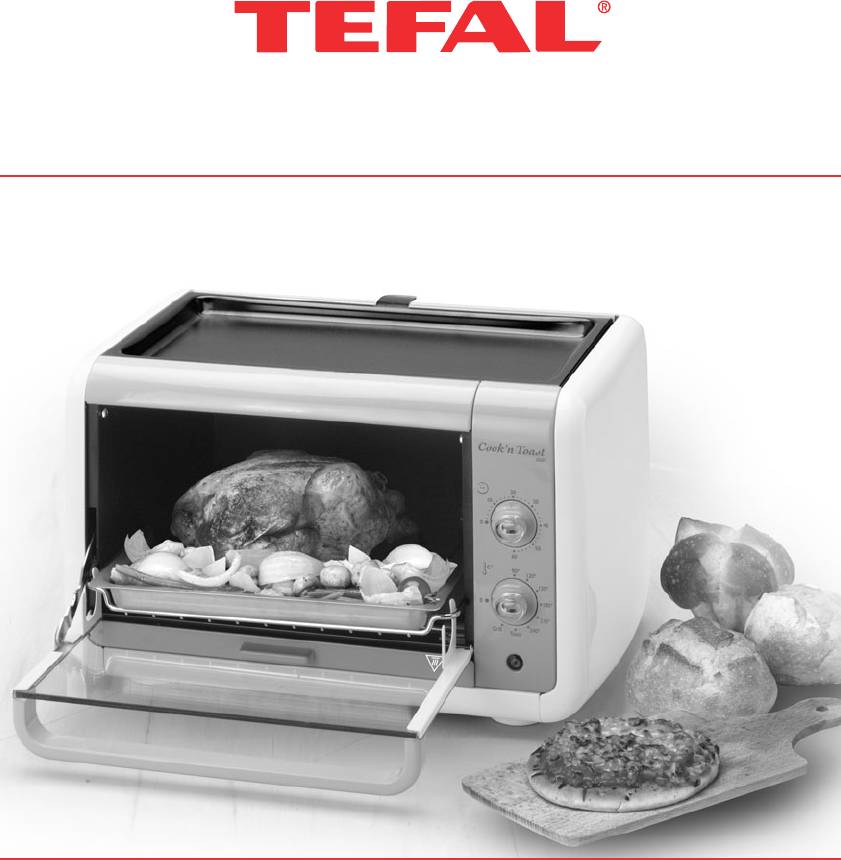
Instructions for use, bedienungsanleitung
,
pуководство по зксплуатации,
instrukcj´ obs∏ugi, cel˘ návod, cel˘ návod, használati útmutatót, celotno
besedilo, proãitajte upute,
modul de utilizare.
8
6
3*
5
2*
7
1*
4
* according to model,
je nach Modell,
в зависимости от модели,
w zale˝noÊci od modelu,
podle modelu,
podºa
modelov, modelltŒl függŒen, odvisno od modela, ovisi o modelu, în funcþie de model.
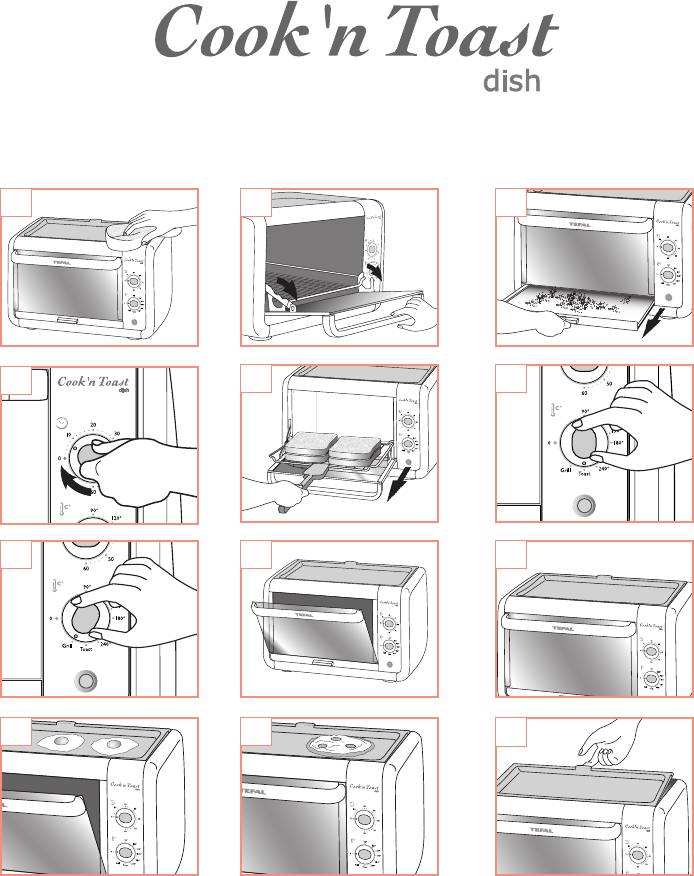
1 2 3
4
5
6
87
9
10 11
12

Eng
SAFETY INSTRUCTIONS
PREVENTION OF DOMESTIC
ACCIDENTS
• This appliance complies with the technical rules and safety standards in force.
• Electromagnetic Compatibility Directive 89/336/CEE as modified by 92/31/CEE
and 93/68/CEE.
• Low-Voltage Directive 73/23/CEE as modified by 93/68/CEE.
• Given the diversity of applicable standards, if this appliance is to be used in a
country other than that in which it was purchased, you should have it checked
by an approved service centre.
• Check that the supply voltage matches that indicated on the appliance (alterna-
ting current only).
• Check that the electrical system is able to supply an appliance of this rated
power.
• Always connect the appliance to an earthed socket.
• Do not allow the power cable to hang down or touch the hot parts of the
appliance.
• Do not pull on the power cable to unplug the appliance.
• Only use an extension cable that is in good condition, has an earthed socket
and is suitably rated.
• To avoid electric shock, never immerse the power cable, the socket or the
appliance in water or in any other liquid.
When using electrical appliances, there are certain basic rules that should always be complied
with, especially the following:
• Read the instructions for use in their entirety and follow them carefully.
• Never leave the appliance operating unattended, especially when grilling some-
thing for the first time or after a change in the settings.
• Do not leave the appliance within the reach of children.
• The appliance must not be used by young children or by disabled people without
supervision.
• Young children must be supervised to ensure that they do not play with the
appliance.
• Do not carry or move the appliance during use.
• Use a solid heat resistant work surface that is not subject to water splashes.
• Do not place the appliance close to a heat source.
• Disconnect the appliance after each use and before cleaning.
• Before use, always check that the crumb tray is properly secured beneath the
appliance.
• During use, the door and the outer surfaces of the appliance can reach high tem-
peratures. Avoid touching these surfaces during use. Only touch the handles and
buttons provided.
• Never place paper, cardboard or plastic in, on or under the appliance.
• Do not use the toaster function to cook or defrost frozen dishes.
4

Eng
• Do not use the appliance if:
- the power cable is defective or damaged.
- the appliance has fallen and shows visible signs of damage or does not function
correctly.
In either case, the appliance must be sent to the nearest approved After-Sales Ser-
vice Centre to avoid any risk.
• Only use the appliance indoors.
• Do not use the appliance as a source of heating.
• Bread can burn and, thus, the appliance should not be used near combustible
material, such as curtains, shelves, furniture, etc.
• Do not cover the appliance while in operation. Should any part of the appliance
catch fire, do not attempt to extinguish it with water. Disconnect the appliance
and smother the flames with a damp cloth.
• Do not store inflammable substances near the appliance.
• Do not use accessories that are not recommended by the manufacturer or of a
brand other than that of your appliance.
• This appliance is designed solely for domestic use; any professional or inappro-
priate use or use not in compliance with these instructions renders the manufac-
turer’s liability and guarantee null and void.
• For your own safety, never dismantle the appliance yourself; call on the services
of an Approved Service Centre.
KEEP THESE INSTRUCTIONS
IN A SAFE PLACE
5

Eng
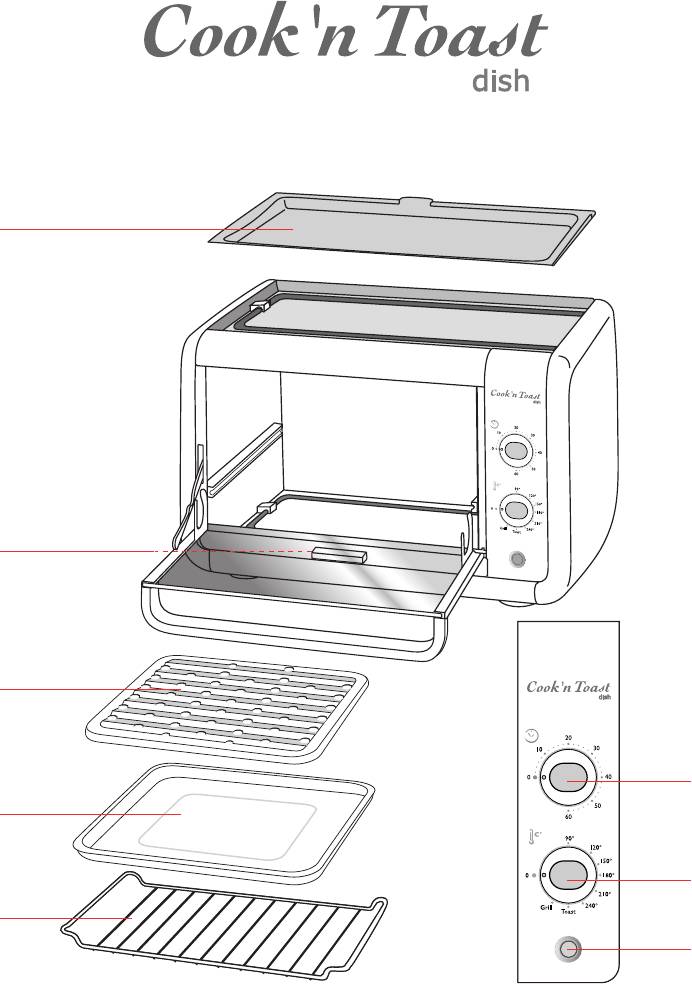
Appliance characteristics
1.
Grid*
5.
Timer
2.
Baking tray*
6.
Crumb collector
3.G
riddle*
7.T
hermostat
4.
On/Off Indicator
8.
Hotplate
Advantages of the Toaster Oven
Your Toaster Oven offers the following advantages:
• Interior capacity of 8.5 litres to toast up to 4 slices of bread at a time.
• An integrated hotplate on top to offer you more cooking possibilities. (9).
• Bake function: thermostat settings from 90° to 240°C for all your baking requirements.
• Grill function: to braise and brown all your dishes.
• Shelf slides out automatically: for easier monitoring of cooking and easier handling of dishes. (2).
• Easy-to-remove crumb collector for easy cleaning of your oven and to remove breadcrumbs and other food
fragments. (3).
• A baking tray to cook biscuits, sandwiches, and frozen dishes.
• A griddle* for healthier cooking.
Before first use
• Unpack the appliance and remove all stickers.
• Read the instructions for use and follow them carefully.
• Remove the accessories* (grid, baking tray, griddle) and wash them in hot, soapy water. Rinse and dry
carefully.
• Unwind the power cable completely.
• Wipe over the outside of the appliance with a damp cloth and dry. (1).
To eliminate the “new” smell, run the appliance empty, with the door open, in a well ventilated room:
• Set the thermostat to 240 °C and the timer to 15 minutes.
• After 15 minutes, the button will automatically position itself to "0".
A little smoke will come out of the oven. This is normal and will progressively disappear during this first
operation.
Using the TOAST function (Both heating elements in operation)
• There is no need to turn the bread as both sides will be toasted at the same time.
• Place the slices of bread directly on the grid, with the grid turned upwards.
• Set the thermostat button to "Toast". (6).
• Set the timer button to the desired toasting time. (4).
• The indicator light comes on.
• When the cycle ends, the timer button automatically returns to the "0" position and a sound signal is heard;
the light switches off.
• You can interrupt the operation before the end of the cycle by returning the timer to the "0" position.
• Remove the toast. (5).
Note:
• When using the TOAST function, always keep an eye on the bread during toasting.
• On first use, try out the toasting function on a few slices of bread.
• Keep in mind that the fewer the slices of bread, the shorter the toasting time.
• When doing several batches of thin toast, we recommend that you watch your bread so it doesn't burn.
* according to model
6

Eng
• Should this happen, stop the toasting cycle immediately by returning the timer to the "0" position.
• If you want to warm up a slice of bread which is already toasted, watch the toasting carefully.
The oven is hot. When removing bread, be careful not to touch the sides (use bread tongs** or oven
gloves**).
BAKE FUNCTION (Both heating elements in operation)
• Place the food on the shelf using an appropriate dish.
• Set the thermostat button to the desired temperature.
• Set the timer to the desired cooking time (maximum of 60 minutes).
• The indicator light comes on.
• You can interrupt the cycle by returning the timer to the "0" position.
• When the cycle ends, the timer automatically returns to the "0" position and a sound signal is heard. The light
switches off.
• Return the thermostat button to the zero "0" position.
The oven is hot. When removing the dish, be careful not to touch the sides (pull out the shelf using
oven gloves**).
GRILL FUNCTION (Only the top heating element is used)
• Place the griddle* in the baking tray.
• Arrange your food on the unit made up of the griddle* and baking tray.
• Place the unit on the shelf: the minimum distance between the food and the top heating element must be at
least 2cm (0.8 in).
• Leave the door partly open. (8).
• Set the thermostat button to "Grill". (7).
• Set the timer to the desired time (maximum of 60 minutes).
• The indicator light comes on.
• Keep an eye on the food and turn it over half-way through the cooking with a cooking utensil (if necessary).
• You can interrupt the cycle by returning the timer to the "0" position.
• When the cycle ends, the timer automatically returns to the "0" position and a sound signal is heard. The light
switches off.
• Return the thermostat button to the zero "0" position.
The oven is hot. When removing the dish, be careful not to touch the sides (pull out the shelf using oven
gloves**).
During cooking, splashes of fat can flare up if they come into contact with the top heating elements.
Don't worry, they will burn out on their own and will have no effect on the appliance.
Useful advice
• When cooking, food always gives off steam and sometimes smoke.
• To reduce smoke and odours, always keep the sides of the oven clean.
• You can also reduce their amount:
- by putting a little water in the bottom of the tray at the beginning of the cooking process.
- by complying with or lowering cooking temperatures.
• If the food does not cook uniformly at the back of the oven:
- Turn the food around during cooking in order to make the cooking more uniform.
• For times under 5 minutes, turn the knob to 15 minutes and then bring it back to the required time.
* according to model ** not supplied with the appliance
7

Eng
USING THE HOTPLATE
(The hotplate can be used on its own or at the same time as one of the other three cooking modes).
Using the hotplate on its own (10).
• Set the thermostat to the Grill function (top heating element in operation).
• Set the timer to the desired cooking time.
• The indicator light comes on.
• The top heating element will heat up the hotplate.
• Pre-heat for 5 minutes, then place your food onto the hotplate.
• You can interrupt the operation before the end of the cycle by returning the timer to the "0" position.
• When the cycle ends, the timer automatically returns to the "0" position and a sound signal is heard. The light
switches off.
Caution, the hotplate remains hot when the timer has stopped!
The plate has a specific direction: the side with a finger tab' is the back of the plate, do not place it in the
front.
(9).
This finger tab' is not a carrying finger tab'. It should only be used to lift the plate to clean it. (12).
Using the hotplate at the same time as another cooking mode (11).
• In this case, you need to first choose the cooking settings (time and temperature) for the food to be cooked
in the oven.
• The top heating element is in operation and heats up the hotplate.
In this case, cooking time is determined according to the food placed in the oven; the oven will stop
heating the hotplate at the end of the cooking time.
You will therefore need to keep an eye on the food being cooked or warmed up on the hotplate.
Caution: the hotplate remains hot after the oven switches off!
The plate has a specific direction: the side with a finger tab' is the back of the plate, do not place it
in the front.
(9).
This finger tab' is not a carrying finger tab'. It should only be used to lift the plate to clean it. (12).
Wait until the appliance has cooled down completely before removing and cleaning the hotplate.
Cleaning
• Before cleaning, always unplug your appliance and let it cool down completely.
• Never immerse the appliance in water.
External surfaces
• Wipe the external surface of the appliance with a damp, soapy sponge. (1).
• Rinse and dry thoroughly.
Internal surfaces
• The internal surfaces are non-stick. Remove any grease splashes with a sponge soaked in hot soapy water.
• Rinse and dry thoroughly.
8

Eng
• Do not use any scouring pads, metal pads, scouring powder, or aggressive cleaning products (particularly
caustic cleaning agents).
Accessories*
• The accessories* should be cleaned with hot soapy dishwater.
• Rinse and dry thoroughly.
Crumb collector
• The crumb collector should be cleaned with hot soapy dishwater.
• Rinse and dry thoroughly.
Hotplate
• Wait until the appliance has cooled down completely before removing and cleaning the hotplate.
• To remove the hotplate, grasp the finger tab' located at the back of the plate.
• The hotplate is easy to clean with hot soapy dishwater (do not use a metal pad or scouring powder). Leave
to dry.
• The hotplate is easy to put back in its place above the oven, with the finger tab' facing backwards.
Caution: do not put the accessories or the hotplate in the dishwasher.
COOKING GUIDE
The temperatures and times stated are given as an indication only. Cooking results vary according to recipes, the
dishes used and the ingredients.
Dishes Function - T° Time
Apple pie BAKE 230 °C 25-35 minutes
Cookies BAKE 180 °C 10-15 minutes
Fresh pizza, 200 g BAKE 230 °C 6-8 minutes
Frozen scalloped
BAKE 230 °C 40-50 minutes
potatoes
2 chicken legs BAKE 230 °C 25-35 minutes
Cod fillet BAKE 230 °C 18-22 minutes
GRILL
10 minutes, turn over,
Bacon (10 mm )
(door partly open)
then 4 minutes
GRILL
10 minutes, turn over,
Sausages
(door partly open)
then 4 minutes
GRILL
Grilled pasta dish
15-20 minutes
(door partly open)
Hotplate
20 minutes
Bacon (10 mm)
– in GRILL position
(10 on each side)
10-15 minutes on first side,
Hotplate
Beef burgers
5-10 minutes on the other
– in GRILL position
side
Hotplate
Warming-up potatoes
25-30 minutes
– in GRILL position
Hotplate
Fried eggs
4-5 minutes
– in GRILL position
LIMITED WARRANTY PERIOD
* according to model
9


