Dell H919N: Connecting the Equipment
Connecting the Equipment: Dell H919N
Table of contents
- Notes and Warnings
- System Features
- Finding Information
- Installation and Startup Unpacking the System
- Lifting the Cabinet
- Identifying the UPS Figure 1. The Dell Line-Interactive Rack UPS Front Panel Figure 2. UPS Rear Panel (1920W/120V, 1500W/120V Shown) Setting Up the UPS
- Rackmount Setup Opening the Battery Cover
- Removing the Battery Tray
- Installing the Rails
- Installing the Cabinet
- Securing the Cabinet Installing the Battery Tray
- Installing the UPS Front Cover
- Tower Setup (2700W UPS models only) Removing the Mounting Brackets and Rear Hold-Down Brackets Connecting the Internal Battery Connector
- Rotating the UPS Control Panel Orientation
- Installing the UPS Front Cover
- Connecting the Equipment
- Connecting the Power Cord
- Starting the UPS Completing the Startup
8 Carefully position the cabinet upright.
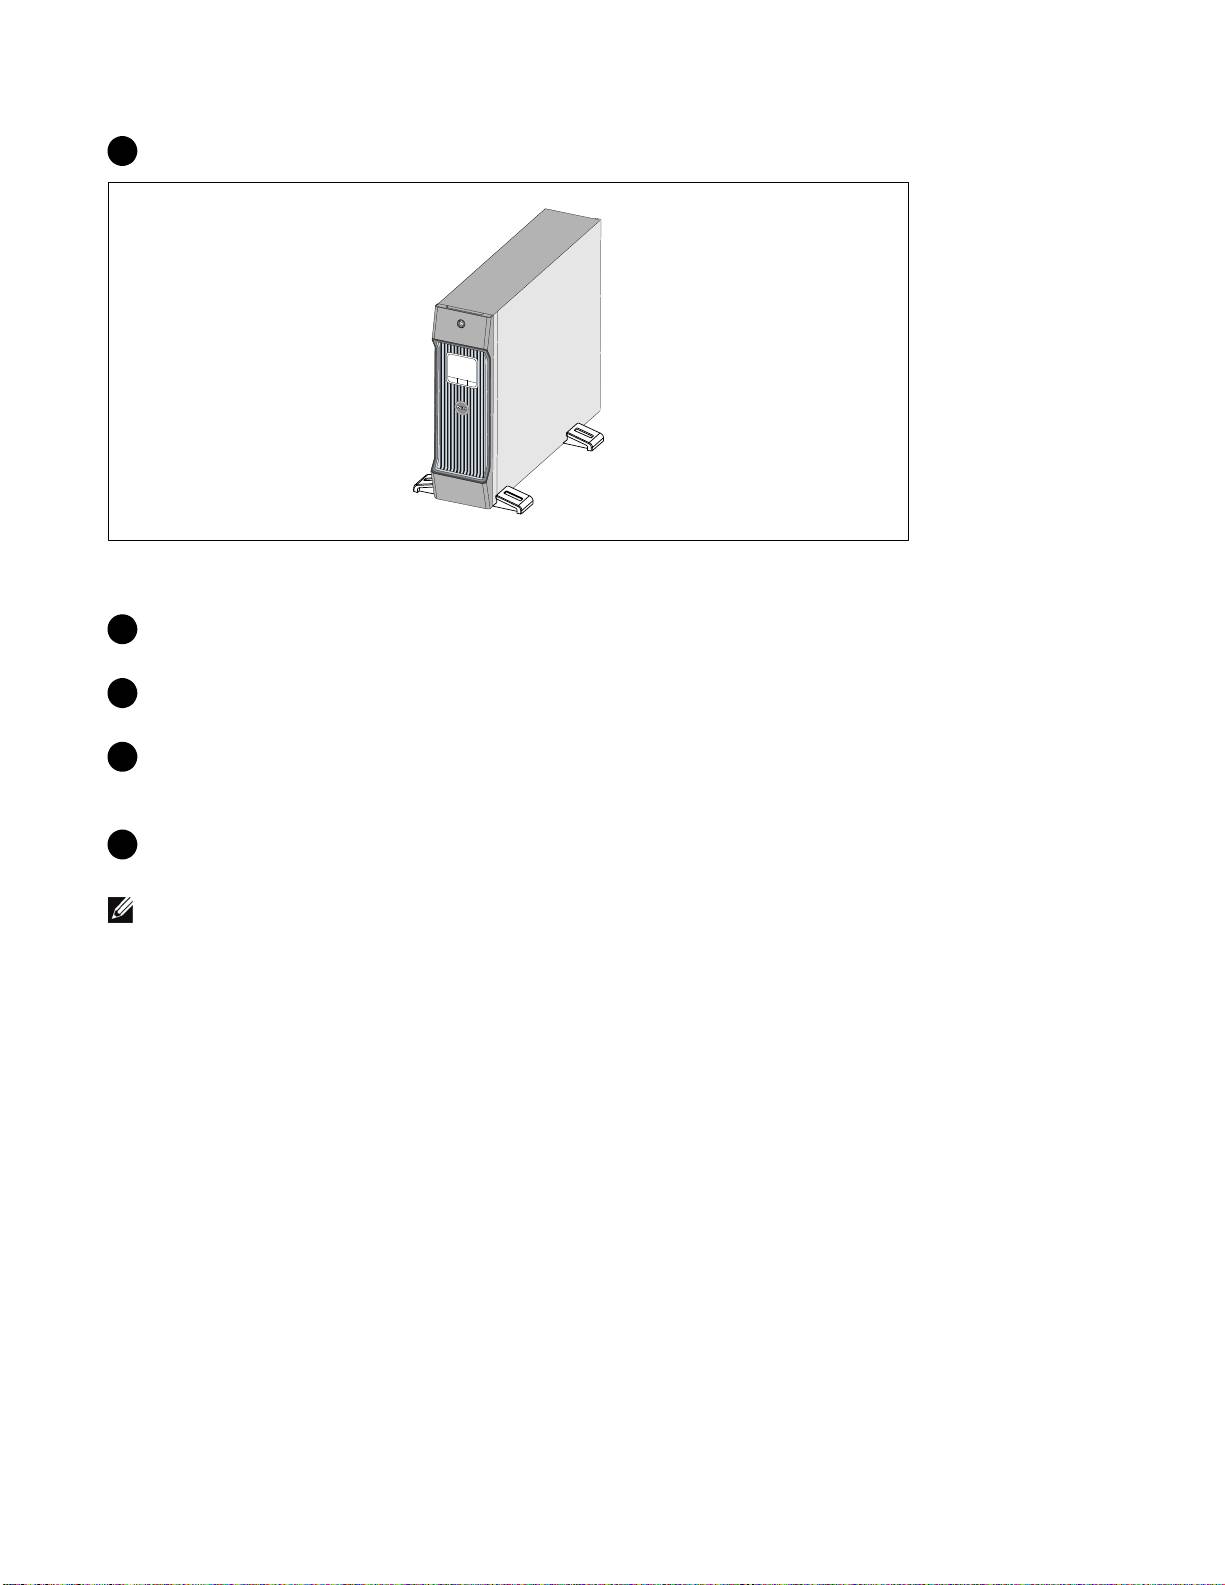
Connecting the Equipment
1
If you plan to use Dell UPS Management Software, connect your computer to the USB port using
the supplied cable.
2 If your rack has conductors for grounding or bonding of ungrounded metal parts, connect the
ground cable (not supplied) to the ground bonding screw.
3 If an emergency power-off (disconnect) switch is required by local codes, see “Installing Remote
Emergency Power-off” (REPO) in the Dell Line-Interactive Rack UPS 1000W, 1920/1500W, and
2700/2300W User's Guide.
4 Plug the equipment to be protected into the UPS output receptacles, but do not t urn on the
protected equipment.
NOTE:
Verify that the total equipment ratings do not exceed the UPS capacity to prevent an overload alarm.
Getting Started With Your System
|
15
