Beurer WL 30: Display description 5. Initial use 6. Operation Setting the time
Display description 5. Initial use 6. Operation Setting the time: Beurer WL 30
Table of contents
- Signs and symbols 1. Safety notes 2. Intended use
- 3. Unit description
- Display description 5. Initial use 6. Operation Setting the time
- Setting and activating the alarm Deactivating the alarm
- Light function Radio function Natural sound function Sunrise function
- Sunset function Goodnight function Display illumination
- Resetting the device to factory settings 7. Cleaning and maintenance 8. Disposal 9. Technical Data
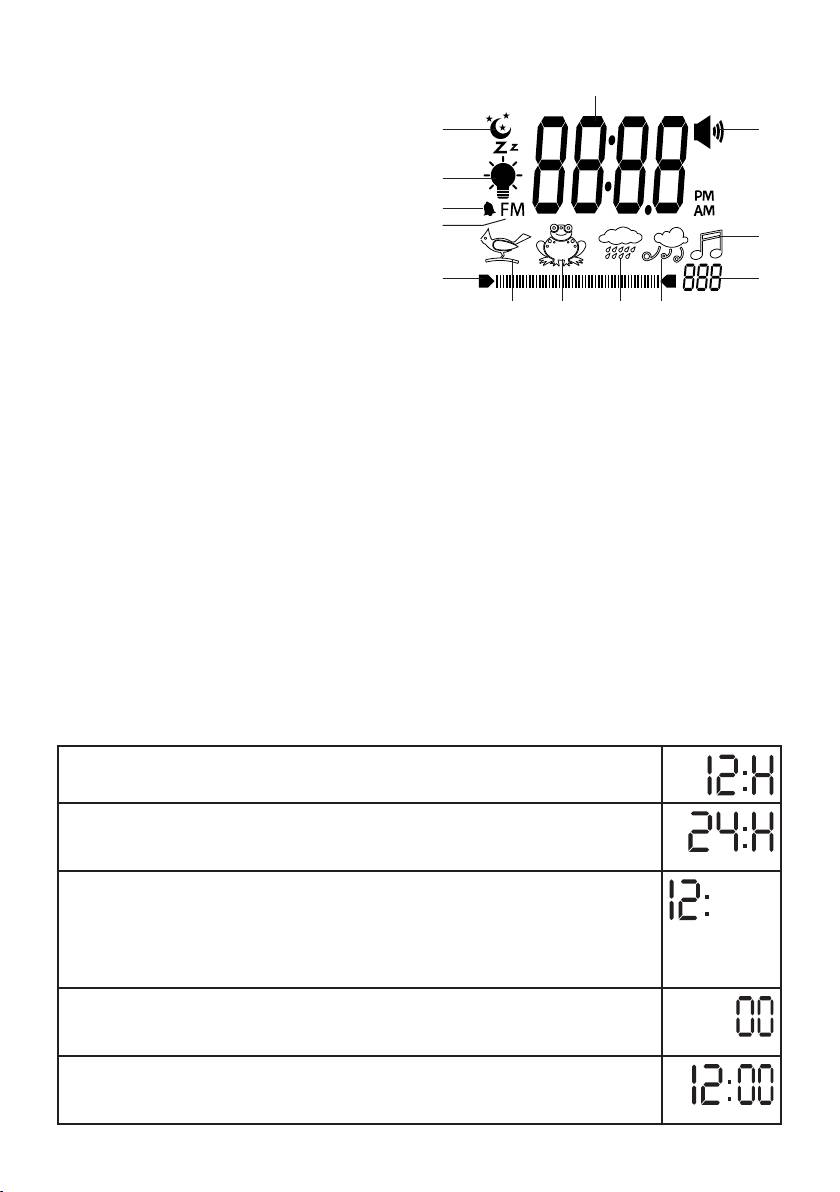
Display description
1.Time/alarmtimeorradiofrequency
1
2.“Beep”alarm
13
2
3.Radiosymbol
4.“Wind”sound
12
5.“Rainshower”sound
11
6.“Frogcroak”sound
10
3
7.“Birdsong”sound
8. Volume or light intensity setting
89
9. Volume or light intensity display
4567
10.Radiofrequencysymbol
11.Alarmsymbol
12. Light symbol
13.Moonsymbol
5. Initial use
• Removethepackagingmaterial.
• Checkthatallpartslistedarepresent.
• Checkthedevice,mainsplugandcablefordamage.
• Placethedeviceonafirm,evensurface.
• Plugthepowersupplyconnectorintothepowersupplysocketontheundersideofthedevice.
• Insertthemainsplugintoasuitablesocket.Thetimewillstarttoflashandyoucansetthehourformat.
• Positionthedeviceapprox.40cmfromyourhead.
• Remove the battery compartment cover on the rear of the device and insert the batteries according to the
correct polarity. The batteries supply power to the device in the event of a power failure. The batteries are
not intended to be used as a permanent power supply.
6. Operation
Setting the time
•Pressthetime control button.
T
he 12-hour format will flash.
Y
oucannowchoosebetween12and24-hourformat.
•To select the hour format, move the time control buttonupordown.Confirmthe
hour format by pressing the time control button.
T
he hour setting will flash on the display.
•Tosetthehour,movethetime control button up or down.
Confirmthehourbypressingthetime control button.
Tip: tonavigatethroughthehoursorminutesmorequickly,pressandholdthecon-
trol button up or down.
T
he minute setting will flash on the display.
•Tosettheminute,movethetime control buttonupordown.Confirmtheminute
by pressing the time control button.
T
he time is now set.
12
