Beurer LB 88: Rinsing the water tank, replacing the water Clean the air humidifier inside and out
Rinsing the water tank, replacing the water Clean the air humidifier inside and out: Beurer LB 88
Table of contents
- Included in delivery
- 1. Signs and symbols 2. Getting to know your instrument 3. Intended use
- 4. Safety notes Electric shock Repairs Risk of fire Risk of scalding
- Handling Disposal
- 5. Unit description 6. Initial use Fill with water
- Positioning the device 7. Operation 8. Cleaning and storage
- Cleaning the ultrasound membrane with a brush, rinsing the base Clean the water evaporation pan
- Rinsing the water tank, replacing the water Clean the air humidifier inside and out
- Storage 9. Replacement parts
- 10. What if there are problems? 11. Technical data
- 12. Replacement items
5) Shoulddirtyresidueremainintheevaporation
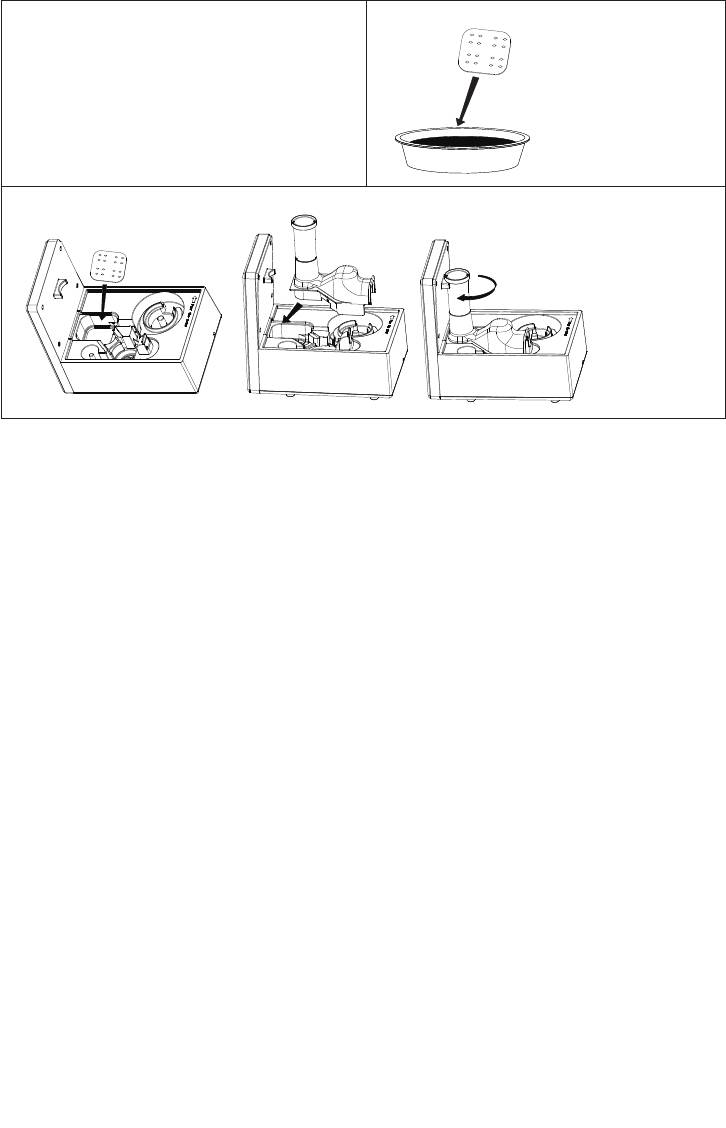
6) Rinse the anti-lime pad in clear water.
pan, pour some clean, fresh water into the base unit
andemptyitoutviathesideedge.
7) Reinsert the anti-lime pad and position the air outlet back on the base unit.
Rinsing the water tank, replacing the water
•
C
lean the water tank regularly, at least once a week if using daily.
•
U
seamildcleaningproductorvinegar/vinegar-basedcleaner.
•
C
lean the thread of the screwed plug using the brush.
•
F
ill the water tank halfway with water.
•
T
ightly close the water tank using the screwed plug.
•
S
hakethewatertankbyrockingitbackandforthseveraltimes.
•
E
mpty out the water completely.
•
R
epeat the process using clean, fresh water.
Clean the air humidifier inside and out
•
E
mptythewaterfromthebaseunitviathesideedge.
•
W
ipe the air humidifier with a damp cloth inside and out.
O
nlyuseamildflushingagentorvinegar/vinegar-basedcleanertoperformcleaningwork.
Descaling
Descaling the ultrasound membrane
Hardwatercancauselimescaletobuildupinthedeviceandespeciallyontheultrasoundmembrane.This
formswhitedeposits.Descalethedeviceregularly.
•
D
rop some descaler onto the ultrasound membrane.
•
L
eaveittotakeeffectfortwotofiveminutes.
•
C
lean the ultrasound membrane using the cleaning brush.
•
R
inse the base unit twice with clean, fresh water.
Cleaning inside the base unit
•
D
ip a damp, soft cloth briefly in descaling solution.
•
U
se a damp cloth to wipe the inside of the base unit.
•
C
arefully pour some clean, fresh water into the base unit.
•
E
mptythewaterfromthebaseunitviathesideedge.
•
R
epeat the process using clean, fresh water.
20


