Hach-Lange POLYMETRON 9523 Basic User Manual: Maintenance
Maintenance: Hach-Lange POLYMETRON 9523 Basic User Manual
8. If the calibration passed, push enter to continue.
9. If the option for operator ID is set to YES in the CAL OPTIONS menu, enter an operator ID. Refer
to Change calibration options on page 22.
10. On the NEW SENSOR screen, select whether the sensor is new:
Option Description
YES The sensor was not calibrated previously with this controller. The days of operation and previous
calibration curves for the sensor are reset.
NO The sensor was calibrated previously with this controller.
11. With the sensor still in the process push enter. The output signal returns to the active state and
the measured sample value is shown on the measure screen.
Note: If the output mode is set to hold or transfer, select the delay time when the outputs return to the active
state.
Change calibration options
The user can set a calibration reminder or include an operator ID with calibration data from this
menu.
1. Push the menu key and select SENSOR SETUP>[Select Sensor]>CALIBRATE.
2. If the pass code is enabled in the security menu for the controller, enter the pass code.
3. Select CAL OPTIONS and push enter.
4. Use the arrow keys to select an option and push enter.
Option Description
CAL REMINDER Sets a reminder for the next calibration in days, months or years—select the required
delay from the list.
OP ID ON CAL Includes an operator ID with calibration data—YES or NO (default). The ID is entered
during the calibration.
Maintenance
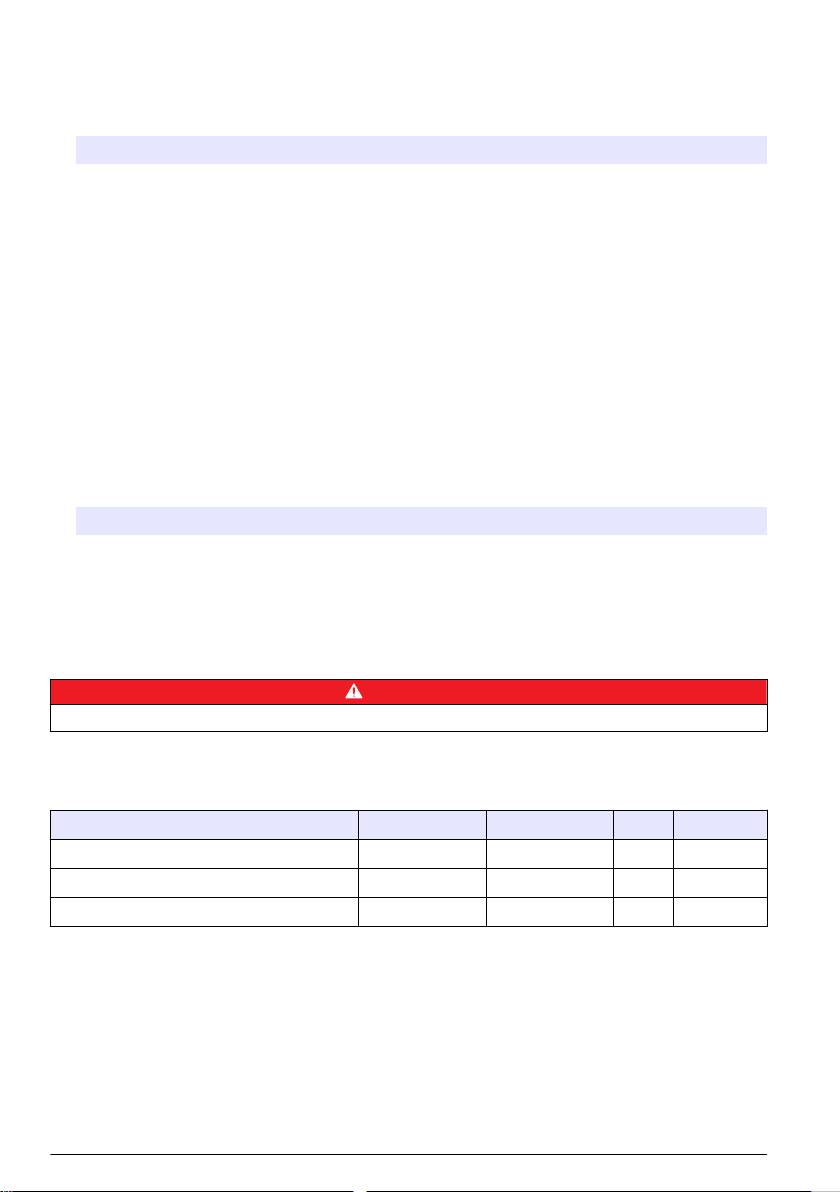
D A N G E R
Multiple hazards. Only qualified personnel must conduct the tasks described in this section of the document.
Service schedule
The following table shows the recommended service schedule:
Every 3 Months Every 6 Months Yearly As Needed
Validation (check with referenced measure) X X X X
Calibration (measure) X X
Calibration (temperature) X
22 English
Cleaning the controller
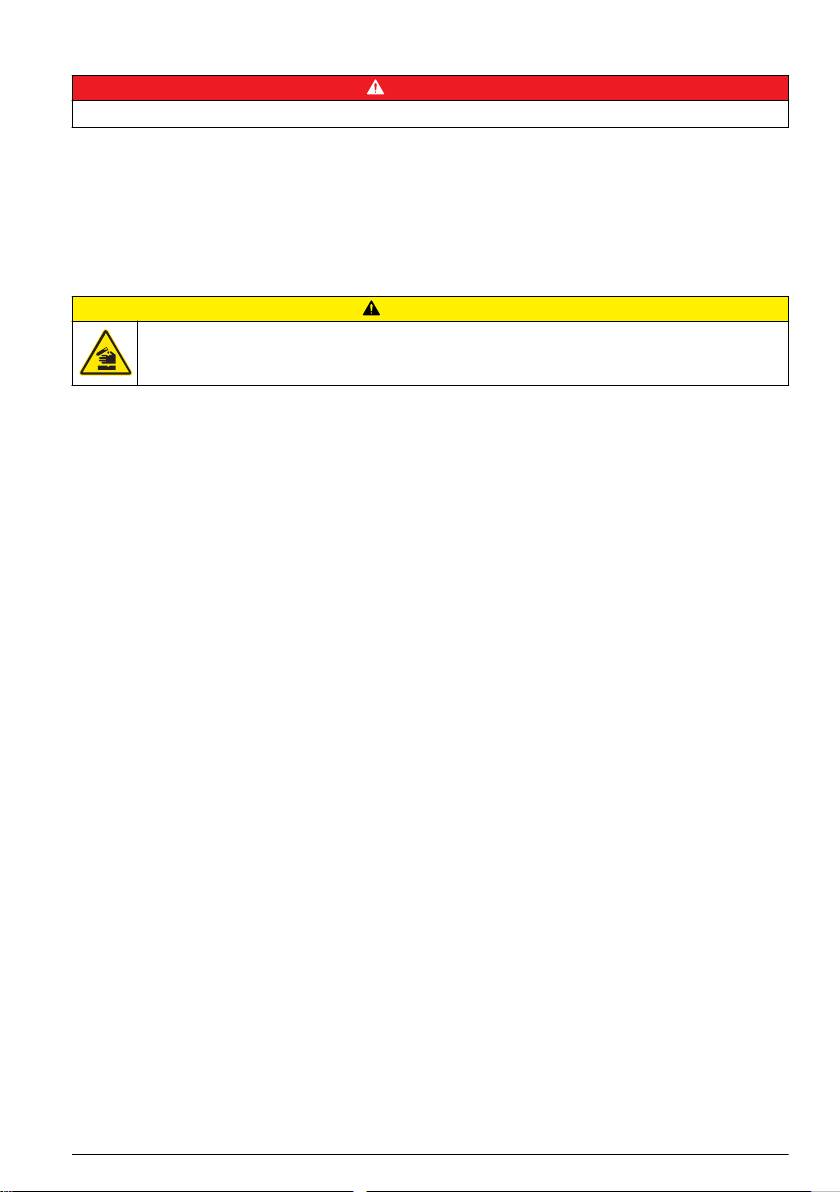
D A N G E R
Always remove power from the controller before performing maintenance activities.
Note: Never use flammable or corrosive solvents to clean any part of the controller. Use of these solvents may
degrade the environmental protection of the unit and may void the warranty.
1. Make sure the controller cover is securely closed.
2. Wipe the controller exterior with a cloth dampened with water, or with a mixture of water and mild
detergent.
Replace the resin
C A U T I O N
Chemical exposure hazard. Dispose of chemicals and wastes in accordance with local, regional and
national regulations.
The cartridge of resin can be replaced with a new cartridge, or as an alternative, keep the cartridge
and replace only the resin. In order to take advantage of the full system specifications, we
recommend the use of nuclear grade cationic resin.
1. Stop the sample flow using the sample flow adjustment valve.
2. Replace the cartridge or resin:
• Cartridge—refer to Resin cartridge installation on page 9.
• Resin—refer to Figure 7. Make sure to add deionized water at regular intervals when new resin
is added to compact the resin.
3. Open the degassing valve.
4. Open the sample flow adjustment valve and ensure everything is watertight and there are no
leaks.
5. Close the degassing valve when the measuring cell is free of air.
6. Set the sample flow to the required rate (between 5 and 20 L/h).
7. Reset the resin options. Refer to Resin option on page 19.
English
23
Оглавление
- English..............................................................................................................................3 Deutsch..........................................................................................................................25 Italiano............................................................................................................................48 Français.........................................................................................................................71 Español..........................................................................................................................94 Português....................................................................................................................118 中文...............................................................................................................................141 Nederlands.................................................................................................................160 Polski............................................................................................................................184 Suomi............................................................................................................................207 Русский........................................................................................................................229
- Table of contents
- General information
- Installation
- Analyzer startup
- Operation
- Maintenance
- Troubleshooting
- Inhaltsverzeichnis
- Allgemeine Informationen
- Installation
- Analysator starten
- Benutzeroberfläche und Navigation
- Wartung
- Fehlerbehebung
- Sommario
- Informazioni generali
- Installazione
- Avvio dell'analizzatore
- Interfaccia utente e navigazione
- Manutenzione
- Risoluzione dei problemi
- Table des matières
- Généralités
- Installation
- Mise en marche de l'analyseur
- Interface utilisateur et navigation
- Entretien
- Recherche de panne
- Tabla de contenidos
- Información general
- Instalación
- Inicio del analizador
- Interfaz del usuario y navegación
- Mantenimiento
- Solución de problemas
- Índice
- Informação geral
- Instalação
- Arranque do analisador
- Interface do utilizador e navegação
- Manutenção
- Resolução de problemas
- 目录
- 基本信息
- 安装
- 启动分析仪
- 操作
- 维护
- 故障排除
- Inhoudsopgave
- Algemene informatie
- Installatie
- Opstarten analysator
- Gebruikersinterface en navigatie
- Onderhoud
- Foutenopsporing
- Spis treści
- Instalacja
- Uruchamianie analizatora
- Interfejs użytkownika i nawigacja
- Konserwacja
- Rozwiązywanie problemów
- Sisällysluettelo
- Yleistietoa
- Asentaminen
- Analysaattorin käynnistäminen
- Käyttö
- Huolto
- Vianmääritys
- Содержание
- Общая информация
- Монтаж
- Запуск анализатора
- Пользовательский интерфейс и навигация
- Техническое обслуживание
- Выявление и устранение неисправностей
