Hotpoint-Ariston C 34S M5 R/HA: S ta r t- u p an d u se
S ta r t- u p an d u se: Hotpoint-Ariston C 34S M5 R/HA
2
0
GB
S ta r t- u p an d u se
*
O
nly
available
in
certain
models.
Burner
ø Cookware diameter (cm)
Fast (R)
24 - 26
Semi Fast (S)
16 - 20
Auxiliary (A)
10 - 14
U
s
i
n
g
t
h
e
h
o
b
L
i
gh
ti
n
g
t
h
e
b
u
r
ne
r
s
For each BURNER knob there is a complete ring
showing the strength of the flame for the relevant
burner.
To light one of the burners on the hob:
1. Bring a flame or gas lighter close to the burner.
2. Press the BURNER knob and turn it in an
anticlockwise direction so that it is pointing to the
ma
x
imum flame setting
-
.
3. Ad
j
ust the intensit
y
of the flame to the desired
level b
y
turning the BURNER knob in an
anticlockwise direction. This ma
y
be the minimum
setting
+
, the ma
x
imum setting
-
or an
y
position
in between the two.
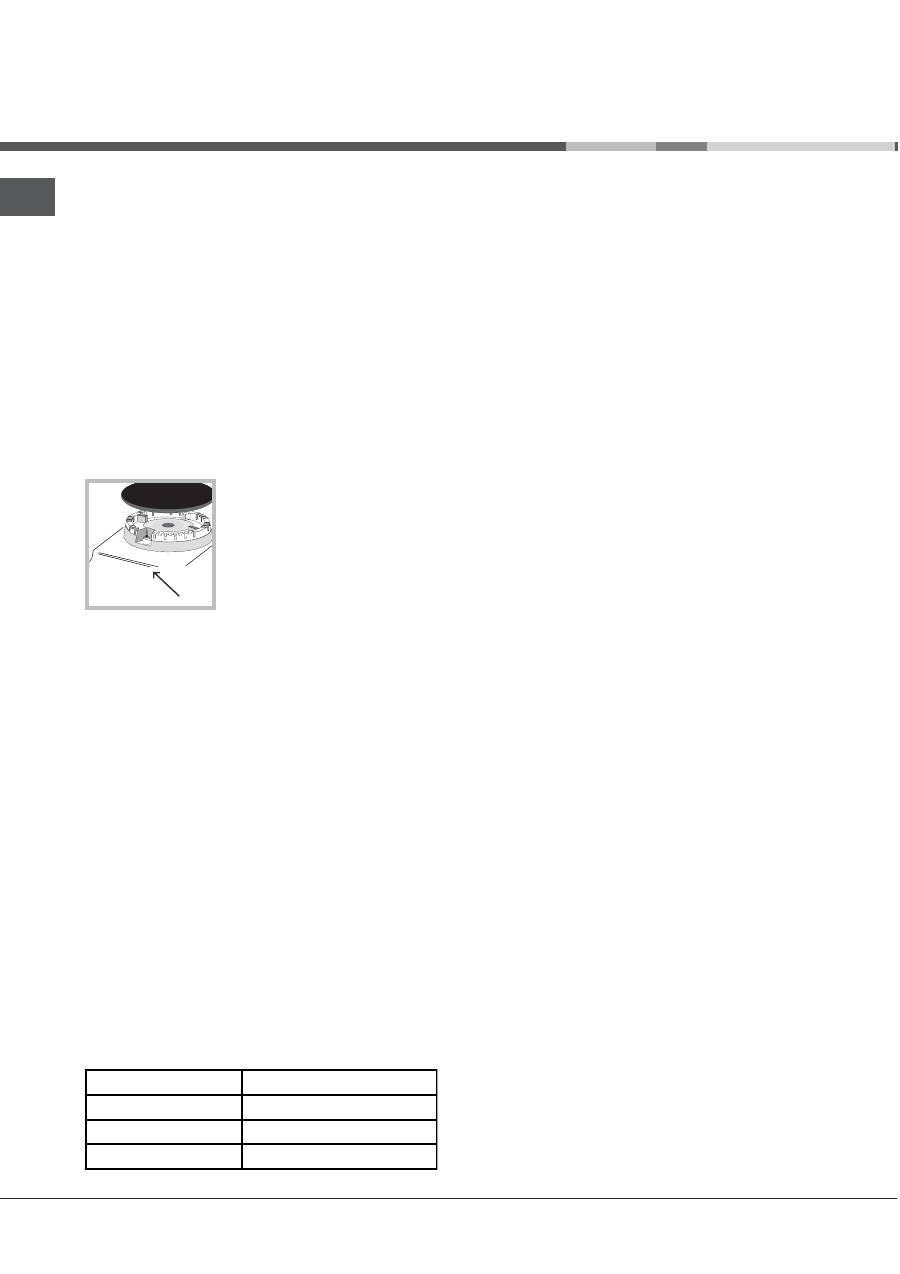
If the appliance is fitted with
an electronic lighting
device* (
see figure
), press
the BURNER knob and turn
it in an anticlockwise
direction, towards the
minimum flame setting, until
the burner is lit. The burner
ma
y
be e
x
tinguished when the knob is released. If
this occurs, repeat the operation, holding the knob
down for a longer period of time.
If the flame is accidentall
y
e
x
tinguished, switch
off the burner and wait for at least 1 minute before
attempting to relight it.
If the appliance is equipped with a flame failure
safet
y
device*, press and hold the BURNER knob
for appro
x
imatel
y
2-3 seconds to keep the flame
alight and to activate the device.
To switch the burner off, turn the knob until it
reaches the stop position XXX.
P
ra
c
ti
c
al
a
dv
i
c
e
on
us
in
g
t
h
e
b
u
rner
s
For the burners to work in the most efficient wa
y
possible and to save on the amount of gas
consumed, it is recommended that onl
y
pans that
have a lid and a flat base are used. The
y
should
also be suited to the size of the burner.
To identif
y
the t
y
pe of burner, please refer to the
diagrams contained in the Burner and nozzle
specifications.
U
s
i
n
g
t
h
e
o
v
en
The first time
y
ou use
y
our appliance, heat the
empt
y
oven with its door closed at its ma
x
imum
temperature for at least half an hour. Ensure that the
room is well ventilated before switching the oven off
and opening the oven door. The appliance ma
y
emit
a slightl
y
unpleasant odour caused b
y
protective
substances used during the manufacturing process
burning awa
y
.
Before operating the product, remove all plastic film
from the sides of the appliance.
1. Select the desired cooking mode b
y
turning the
SELECTOR knob.
2. Select the recommended temperature for the
cooking mode or the desired temperature b
y
turning
the T
H
ERMOSTAT knob.
A list detailing cooking modes and suggested
cooking temperatures can be found in the relevant
table (
see Oven cooking advice table
).
During cooking it is alwa
y
s possible to:
Change the cooking mode b
y
turning the
SELECTOR knob.
Change the temperature b
y
turning the
T
H
ERMOSTAT knob.
Set the total cooking time and the cooking end
time (
see below
).
Stop cooking b
y
turning the SELECTOR knob to
the 0 position.
Never put ob
j
ects directl
y
on the bottom of the
oven; this will avoid the enamel coating being
damaged. Onl
y
use position 1 in the oven when
cooking with the rotisserie spit.
Alwa
y
s place cookware on the rack(s) provided.
T
H
E
R
M
O
STAT
in
d
i
c
ator
li
g
h
t
When this is illuminated, the oven is generating
heat. It switches off when the inside of the oven
reaches the selected temperature. At this point the
light illuminates and switches off alternatel
y
,
indicating that the thermostat is working and is
maintaining the temperature at a constant level.
O
v
en
li
g
h
t
This is switched on b
y
turning the SELECTOR knob
to an
y
position other than 0. It remains lit as long
as the oven is operating. B
y
selecting
8
with the
knob, the light is switched on without an
y
of the
heating elements being activated.

2
1
GB
C
oo
k
i
n
g
m
o
d
es
A temperature value can be set for all cooking
modes between 50°C and MAX, e
x
cept for the
following modes:
GRILL and DOUBLE GRILL (recommended: set
onl
y
to MAX power level).
FAN-ASSISTED DOUBLE GRILL (recommended:
do not e
x
ceed 200°C).
a
STATI
C
OVE
N
mode
Both the top and bottom heating elements will be
activated. When using this traditional cooking mode,
it is best to use onl
y
one rack at a time, otherwise
the heat will not be distributed evenl
y
.
b
FA
N
O
VE
N
mode
The top and bottom heating elements will switch on
and the fan will begin to operate. Since the heat
remains constant throughout the oven, the air cooks
and browns food in a uniform manner. A ma
x
imum
of two racks ma
y
be used at the same time.
c
G
RI
LL
mode
The central part of the top heating element is
switched on. The high and direct temperature of the
grill is recommended for food that requires a high
surface temperature (veal and beef steaks, fillet
steak and entrecôte). This cooking mode uses a
limited amount of energ
y
and is ideal for grilling
small dishes. Place the food in the centre of the
rack, as it will not be cooked properl
y
if it is placed
in the corners.
2
D
O
U
B
LE
G
RI
LL
mode
The top heating element and the turnspit will be
activated.
This provides a larger grill than the normal grill
setting and has an innovative design that improves
cooking efficienc
y
b
y
50% and eliminates the cooler
corner areas. Use this grilling mode to achieve a
uniform browning on top of the food.
T
D
O
U
B
LE
G
RI
LL
mode
The top heating element and the turnspit are
activated and the fan begins to operate. This
combination of features increases the effectiveness
of the unidirectional thermal radiation of the heating
elements through forced circulation of the air
throughout the oven. This prevents the food from
burning on top b
y
enabling heat to penetrate into the
food more effectivel
y
; it is therefore an ideal wa
y
of
cooking food quickl
y
under the grill or for grilling large
pieces of meat without having to use the turnspit.
The GRILL, DOUBLE GRILL and FAN-ASSISTED
DOUBLE GRILL cooking modes must be performed
with the oven door shut.
When using the GRILL and DOUBLE GRILL
cooking modes, place the rack in position 5 and the
dripping pan in position 1 to collect cooking
residues (fat and/or grease). When using the FAN-
ASSISTED DOUBLE GRILL cooking mode, place the
rack in position 2 or 3 and the dripping pan in
position 1 to collect cooking residues.
E
le
c
t
r
on
i
c
ti
m
e
r
This function displa
y
s the time and works as a timer
which counts down to zero.
All functions will be implemented appro
x
imatel
y
7
seconds after the
y
have been set.
R
e
s
ettin
g
t
h
e
c
lo
c
k
After the appliance has been connected to the
power suppl
y
, or after a power cut, the clock displa
y
will begin to blink, showing the figure:
0:00
Press button
G
and then buttons
-
and
+
to set
the e
x
act time. Press and hold the buttons to
quicken the count upwards.
An
y
necessar
y
modifications can be made b
y
repeating the above process.
T
i
m
er
f
eat
u
re
This function ma
y
be accessed b
y
pressing the
n
button, after which the displa
y
will show the s
y
mbol
n
. Ever
y
time the
+
button is pressed it
corresponds to a time increase of 10 seconds, until
it reaches 99 minutes and 50 seconds. After this
point, each press of the button represents an
increase of one minute, up to a ma
x
imum of 10 hours.
Pressing the
-
button reduces the time.
After the time period has been set, the timer will
begin to count down. When the timer reaches zero,
the buzzer will sound (this ma
y
be stopped b
y
pressing an
y
button).
The time ma
y
be displa
y
ed b
y
pressing the
G
button, and the
n
s
y
mbol indicates that the timer
function has been set. After appro
x
imatel
y
7 seconds,
the displa
y
will automaticall
y
revert to the timer.
22
GB
*
Onl
y
available in certain models.
C
oo
k
in
g
on
s
e
v
eral
s
h
el
v
e
s
s
i
m
u
ltaneo
us
l
y
If it is necessar
y
to use two racks, use the FAN
OVEN cooking mode
b
, as this is the onl
y
cooking
mode suited to this t
y
pe of cooking. We also
recommend that:
Positions 1 and 5 are not used. This is because
e
x
cessive direct heat can burn temperature
sensitive foods.
Positions 2 and 4 are used and that food that
requires more heat is placed on the rack in
position 2.
When cooking foods that require different cooking
times and temperatures, set a temperature that is
halfwa
y
between the two recommended
temperatures (
see Oven cooking advice table
)
and place the more delicate food on the rack in
position 4. Remove the food that requires a
shorter cooking time first.
When cooking pizzas on several racks with the
temperature set to 220°C, the oven is preheated
for 15 minutes. Generall
y
speaking, cooking on
the rack in position 4 takes longer: we
recommend that the pizza cooked on the lowest
rack position is removed first, followed b
y
the
pizza cooked in position 4 a few minutes later.
Place the dripping pan on the bottom and the rack
on top.
C
an
c
ellin
g
a
ti
m
e
t
h
at
h
a
s
alrea
d
y b
een
s
et
Press the - button until the displa
y
shows
0:00.
A
d
j
us
tin
g
t
h
e
b
u
zz
er
v
ol
u
m
e
After selecting and confirming the clock settings,
use the - button to ad
j
ust the volume of the alarm
buzzer.
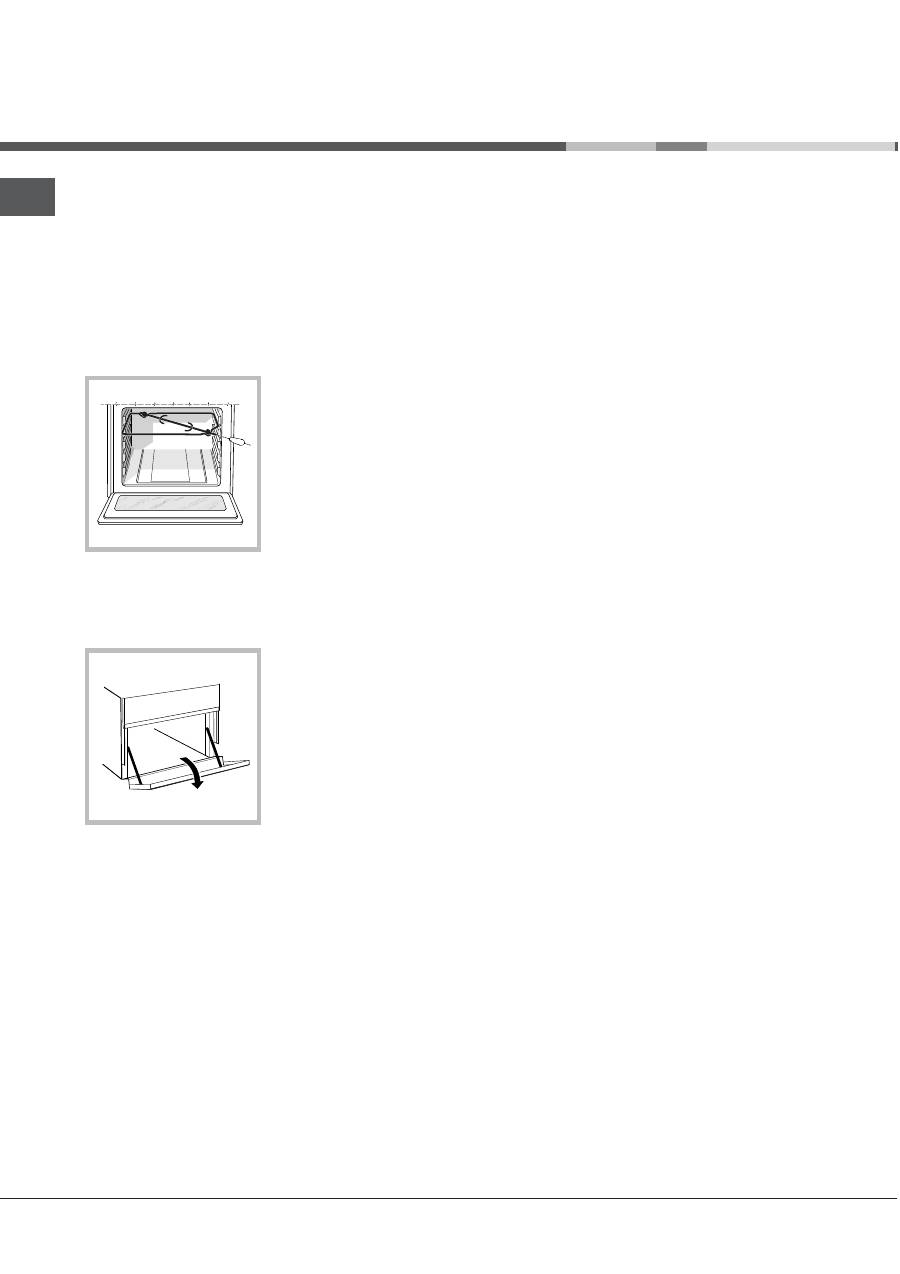
R
oti
ss
erie
To activate the
rotisserie function (
see
diagram
) proceed as
follows:
1. Place the dripping
pan in position 1.
2. Place the rotisserie
support in position 4
and insert the spit in the
hole provided on the
back panel of the oven.
3. Activate the rotisserie b
y
selecting
2
or
T
with
the SELECTOR knob.
L
o
w
er
c
o
m
p
art
m
ent
*
There is a compartment
underneath the oven
that ma
y
be used to
store oven accessories
or deep dishes. To
open the door pull it
downwards (
see
figure
).
The internal surfaces of the compartment (where
present) ma
y
become hot.
Do not place flammable materials in the lower oven
compartment.
2
3
GB
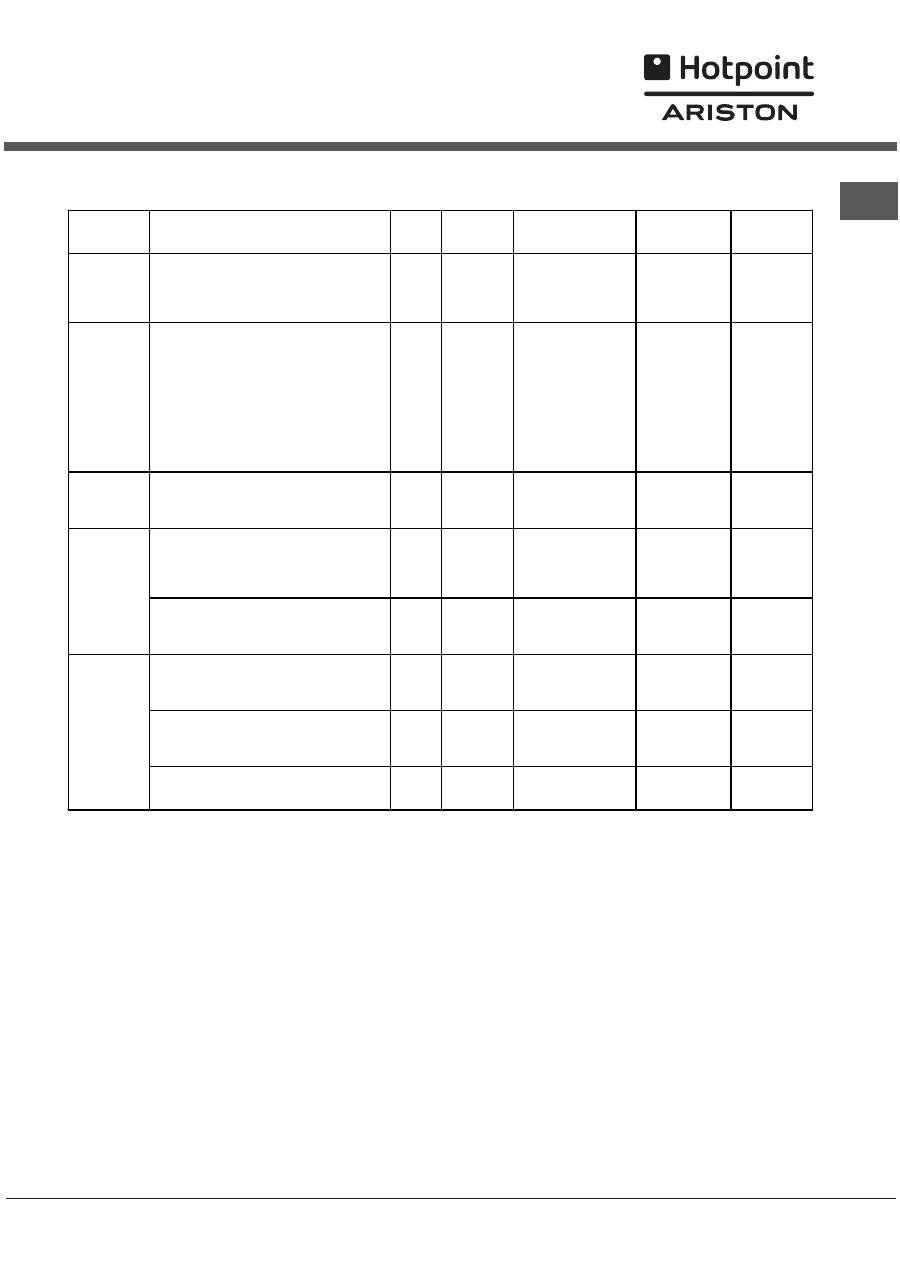
O
v
en
c
oo
k
i
n
g
a
dv
i
c
e
ta
b
le
Cooking
modes
Foods
Weight
(in kg)
Rack
position
Preheating time
(min)
Recommended
Temperature
(°C)
Cooking
time
(minutes)
Static
Duck
Roast veal or beef
Roast pork
Biscuits (shortcrust pastry)
Tarts
1
1
1
-
1
3
3
3
3
3
15
15
15
15
15
200
200
200
180
180
65-75
70-75
70-80
15-20
30-35
Fan-assisted
Pizza (on 2 racks)
Lasagne
Lamb
Roast chicken + potatoes
Mackerel
Sponge cake made with yoghurt
Cream puffs (on 2 racks)
Biscuits (on 2 racks)
Sponge cake (on 1 rack)
Sponge cake (on 2 racks)
Savoury pies
1
1
1
1+1
1
1
0.5
0.5
0.5
1
1.5
2 and 4
3
2
2 and 4
2
2
2 and 4
2 and 4
2
2 and 4
3
15
10
10
15
10
10
10
10
10
10
15
230
180
180
200
180
170
190
180
170
170
200
15-20
30-35
40-45
60-70
30-35
40-50
20-25
10-15
15-20
20-25
25-30
Grill
Sole and cuttlefish
Squid and prawn kebabs
Cod fillet
Grilled vegetables
1
1
1
1
4
4
4
3/4
5
5
5
5
Max
Max
Max
Max
8-10
6-8
10
10-15
Veal steak
Cutlets
Hamburgers
Mackerel
Toast
1
1
1
1
4 pcs
4
4
4
4
4
5
5
5
5
5
Max
Max
Max
Max
Max
15-20
15-20
7-10
15-20
2-3
Double Grill
With the rotisserie
Spit-roast veal
Spit-roast chicken
Spit-roast lamb
1.0
1.5
1.0
-
-
-
5
5
5
Max
Max
Max
80-90
70-80
70-80
Grilled chicken
Cuttlefish
Chicken (on the spit) +
potatoes (on the dripping pan)
1.5
1.5
1.5
-
2
2
-
2
5
5
5
5
200
200
200
200
55-60
30-35
70-75
70-75
With the rotisserie
Spit-roast veal
Spit-roast chicken
Spit-roast lamb
1.5
1.5
1.5
-
-
-
5
5
5
200
200
200
70-80
70-80
70-80
Fan-assisted
Double Grill
With multi-spit rotisserie
(where present)
Meat kebabs
Vegetable kebabs
1.0
0.8
-
-
5
5
200
200
40-45
25-30
Оглавление
- Installazione
- D es c rizione d ell a pp are cch io
- A vv io e u tilizzo
- P re c a u z ioni e c on s i g li
- M an u ten z ione e cu ra
- A ss i s ten z a
- Op eratin g I n s tr uc tion s
- I n s tallation
- D e s c ri p tion o f t h e a pp lian c e
- S ta r t- u p an d u se
- P r e c a u ti ons a n d ti p s
- Care an d maintenan c e
- Ð óêîâîäñòâî ïî ýêñïëóàòàöèè
- Óñòàíîâêà
- Î ïèñàíè å èçä å ëèÿ
- Â êëþ÷ å íè å è ý êñïëóàòàöèÿ
- Ïð å äîñòîðîæíîñòè è ð å êîì å íäàöèè
- Ò å õíè÷ å ñêî å îáñëóæèâàíè å è óõîä


")