Vitek VT-3539: SETTING THE TIME AND ALARM Setting the time:
SETTING THE TIME AND ALARM Setting the time:: Vitek VT-3539
Table of contents
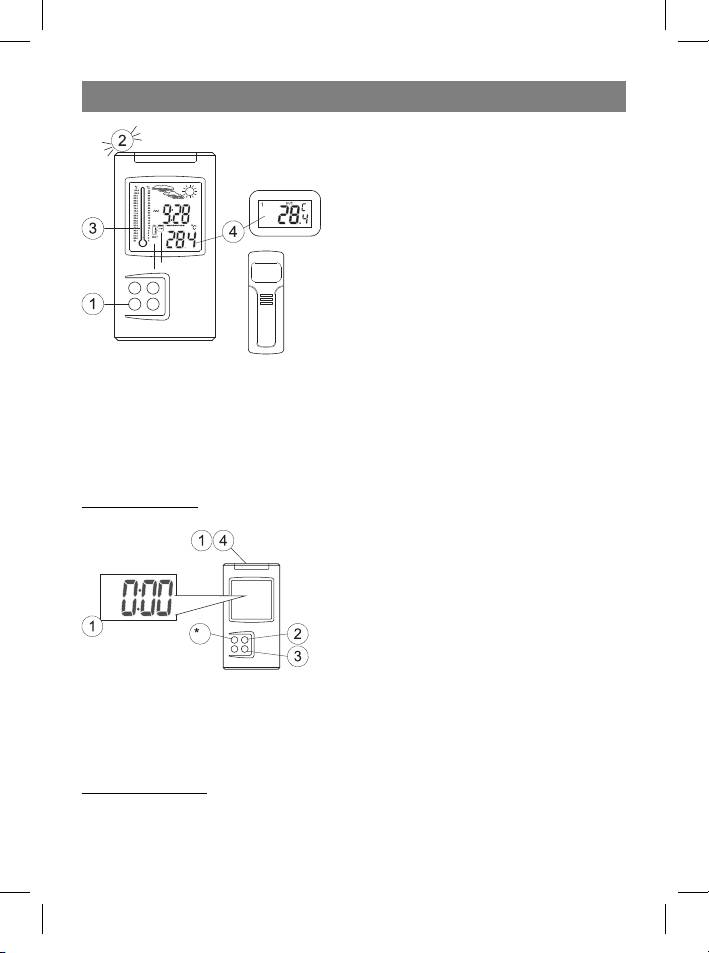
- WEATHER STATION USER INSTRUCTIONS Features: Block with main display:
- Remote sensors: OPERATING CONTROLS
- READ BEFORE USING For best results: GETTING STARTED Step 1: Setting up the remote sensor:
- Step 2: Receiver settings SYNCHRONIZING THE OUTDOOR TEMPERATURE READING Auto-detect function: Manual learning function (Search for remote sensor signals):
- SETTING THE TIME AND ALARM Setting the time:
- WEATHER CONDITIONS DISPLAY
- Hi and Lo symbols on the display Temperature trend indicator The temperature trend indicator shows the temperature trend registered by a separate sensor over the past half-hour. TEMPERATURE CONDITIONS REPORT Temperature conditions reporting symbols Black ice warning
- TEMPERATURE ALARM SETTINGS High temperature alarm Low temperature alarm When the alarm will be heard
- BACKLIGHT USING AN EXTERNAL WIRED SENSOR LOW BATTERY INDICATOR Receiver:
- Remote sensor:
- RESOLVING MALFUNCTIONS Problem Resolution
- TECHNICAL CHARACTERISTICS Meteorological station receiver Meteorological station remote sensor MINIMUM SERVICE LIFE - 3 YEARS
ENGLISH
1. While in current time display mode, press
and hold the Channel button for 3 seconds.
2. An audible alert will be heard. This means
the detection function has been activated.
3. Each time a remote sensor is located, an
audible alert will be emitted and the “CH”
symbol will blink on the display.
4. Temperature data from the remote sensor
will be displayed on the LCD.
• The auto-detect function is runs automatically for about 3 minutes.
• If the detection function finished unsuccessfully, make sure that the remote sensors
are located within the operating range of the receiver or try moving them to a new
location.
SETTING THE TIME AND ALARM
Setting the time:
1 Press and hold the Mode/Snooze but-
ton for 3 seconds to enter the time settings
mode.
2 Set the desired hours by pressing the
Hour/+/Max button.
3 Set the desired minutes by pressing the
Minute/-/Min button.
4 Press the Mode/Snooze button to save the settings.
• Press the Alarm/°C/°F button to switch between 12-hour and 24-hour time for-
mats.
Setting the alarm:
5 Press the Mode/Snooze button to choose the Clock Alarm mode; the “AL” symbol
will appear on the display.
6
35391.indd 635391.indd 6 23.05.2006 17:08:5123.05.2006 17:08:51


