Philips Ganzkörperbräuner: instruction
Class: Health products
Type:
Manual for Philips Ganzkörperbräuner
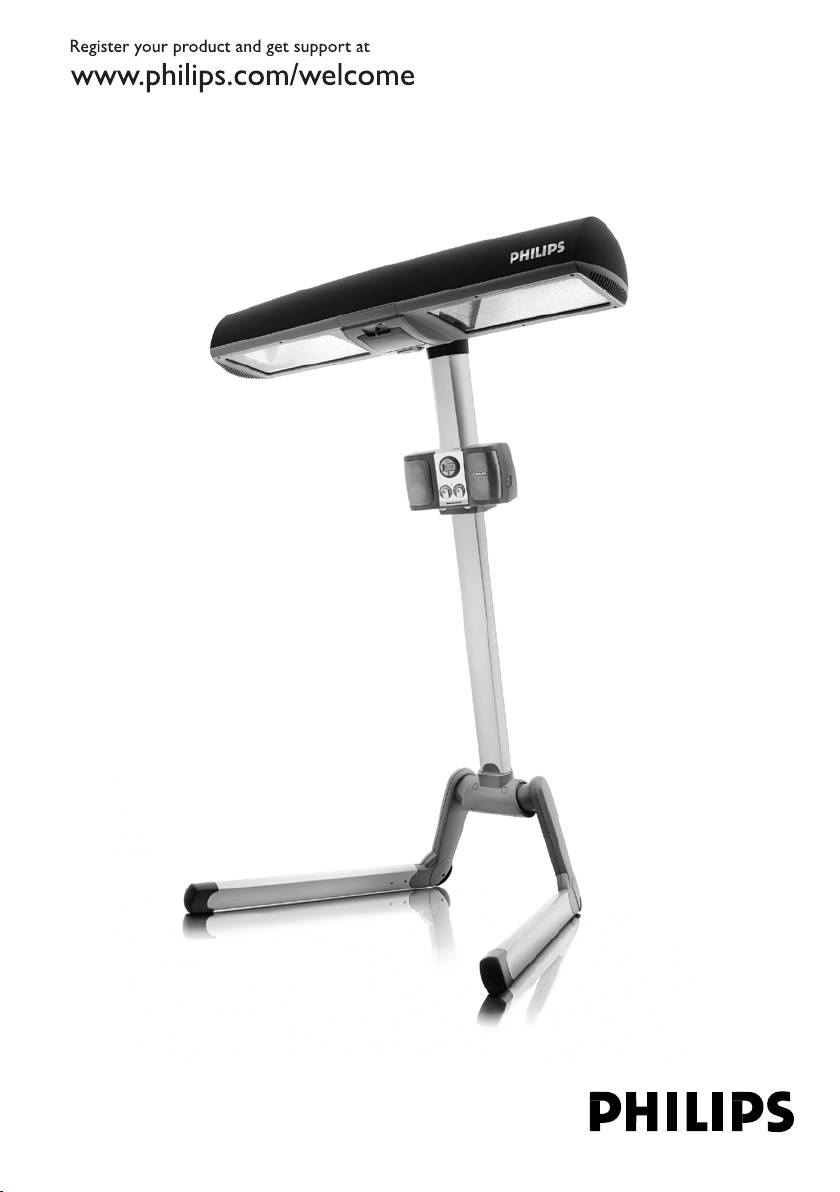
HP8565, HP8560, HP8550

2
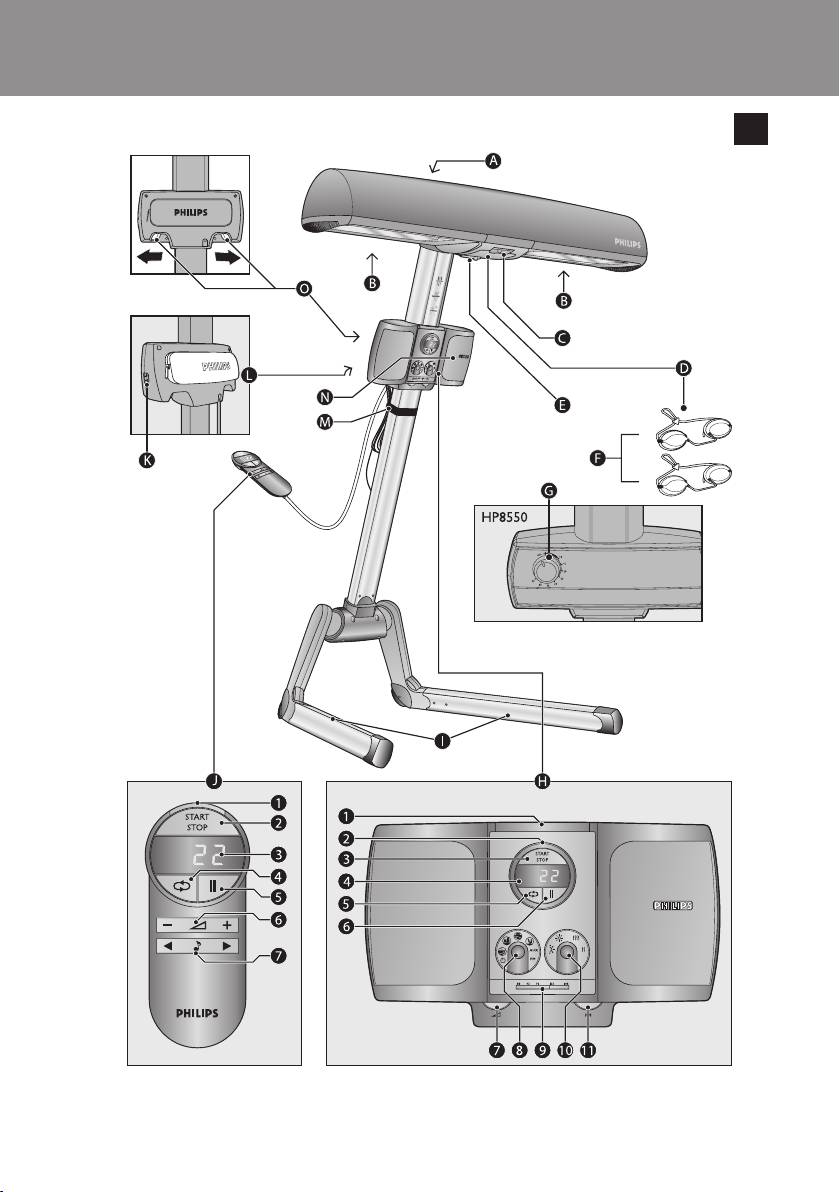
2 3 4 5
6 7 8 9
10 11 12 13
14
15 16 17
18
19
20
21
3
1

4

ENGLISH 6
DANSK 18
DEUTSCH
30
43
ESPAÑOL
58
FRANÇAIS 71
ITALIANO
84
NEDERLANDS
97
NORSK
110
POLSKI 122
PORTUGUÊS 135
148
SVENSKA 162
TÜRKÇE
174
186
HP8565, HP8560, HP8550
Annotation for Philips Ganzkörperbräuner in format PDF
Top 10 manuals
100.00
NZXT HALE90 1000W99.99
Samsung SM-R38099.97
AEG BSB 18C99.97
Dell 2700W99.97
Smeg KSEC70X99.96
Beurer HDE 4099.96
Pyramida KH 50 v.299.96
MSI CSM-H81M-P3299.96
AEG HR 562799.95
Melissa 640-048