Philips FC9204: instruction
Class: Household, kitchen appliances, electronics and equipment
Type:
Manual for Philips FC9204
Register your product and get support at
www.philips.com/welcome
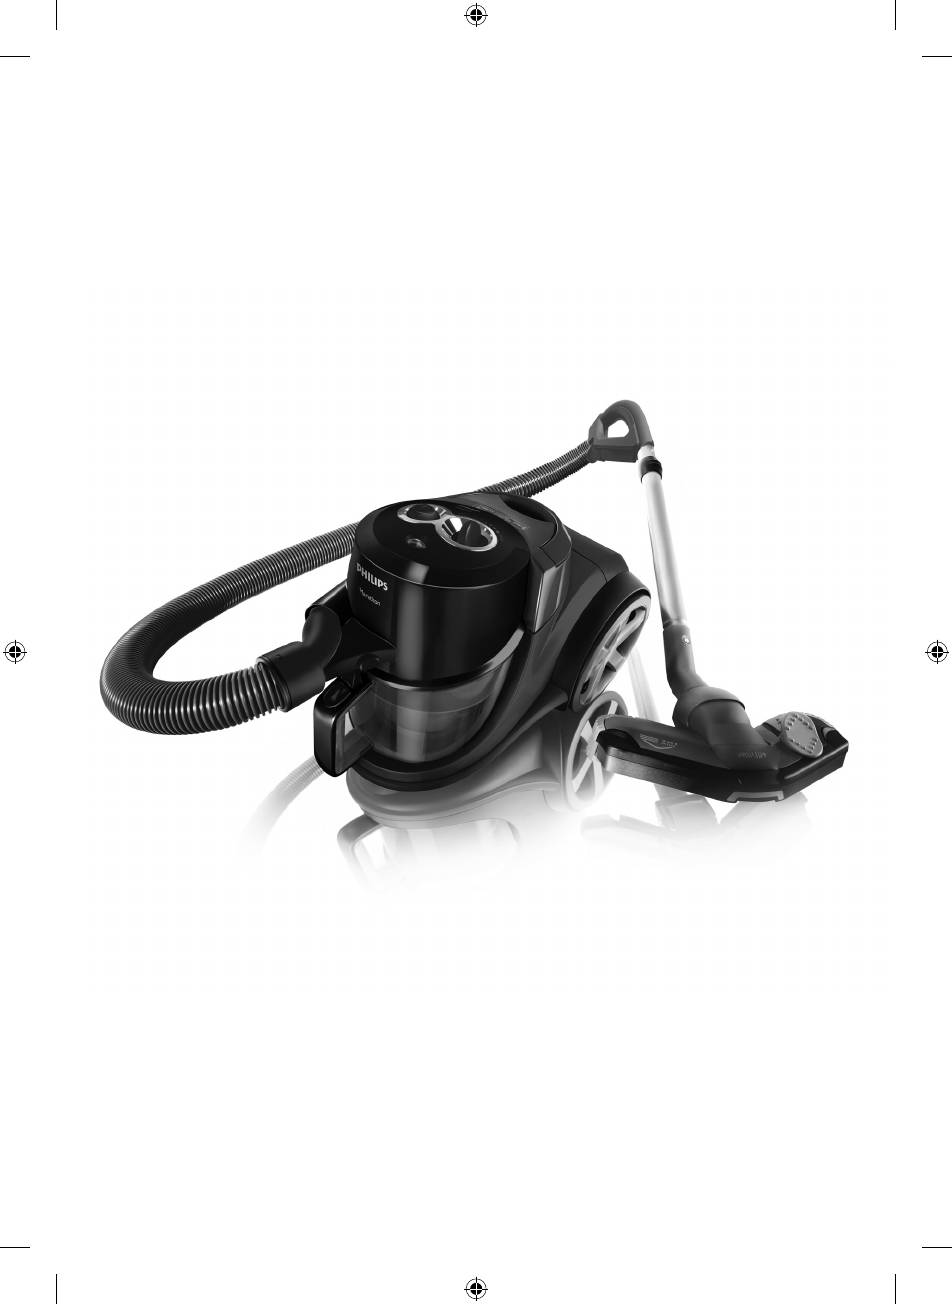
FC9219-FC9200
4222_003_3573_2_DFU-Booklet_A5_v1.indd 1 27-06-11 14:22
FC9219-FC9200
4222_003_3573_2_DFU-Booklet_A5_v1.indd 2 27-06-11 14:22
1
4222_003_3573_2_DFU-Booklet_A5_v1.indd 3 27-06-11 14:23

4222_003_3573_2_DFU-Booklet_A5_v1.indd 4 27-06-11 14:23
Table of contents
ENGLISH 6
19
32
45
58
71
84
97
110
123
136
149
162
175
188
201
225
237
FC9219-FC9200
4222_003_3573_2_DFU-Booklet_A5_v1.indd 5 27-06-11 14:23
Annotations for Philips FC9204 in format PDF
Top 10 manuals
100.00
NZXT HALE90 1000W99.99
Samsung SM-R38099.97
AEG BSB 18C99.97
Dell 2700W99.97
Smeg KSEC70X99.96
Beurer HDE 4099.96
Pyramida KH 50 v.299.96
MSI CSM-H81M-P3299.96
AEG HR 562799.95
Melissa 640-048