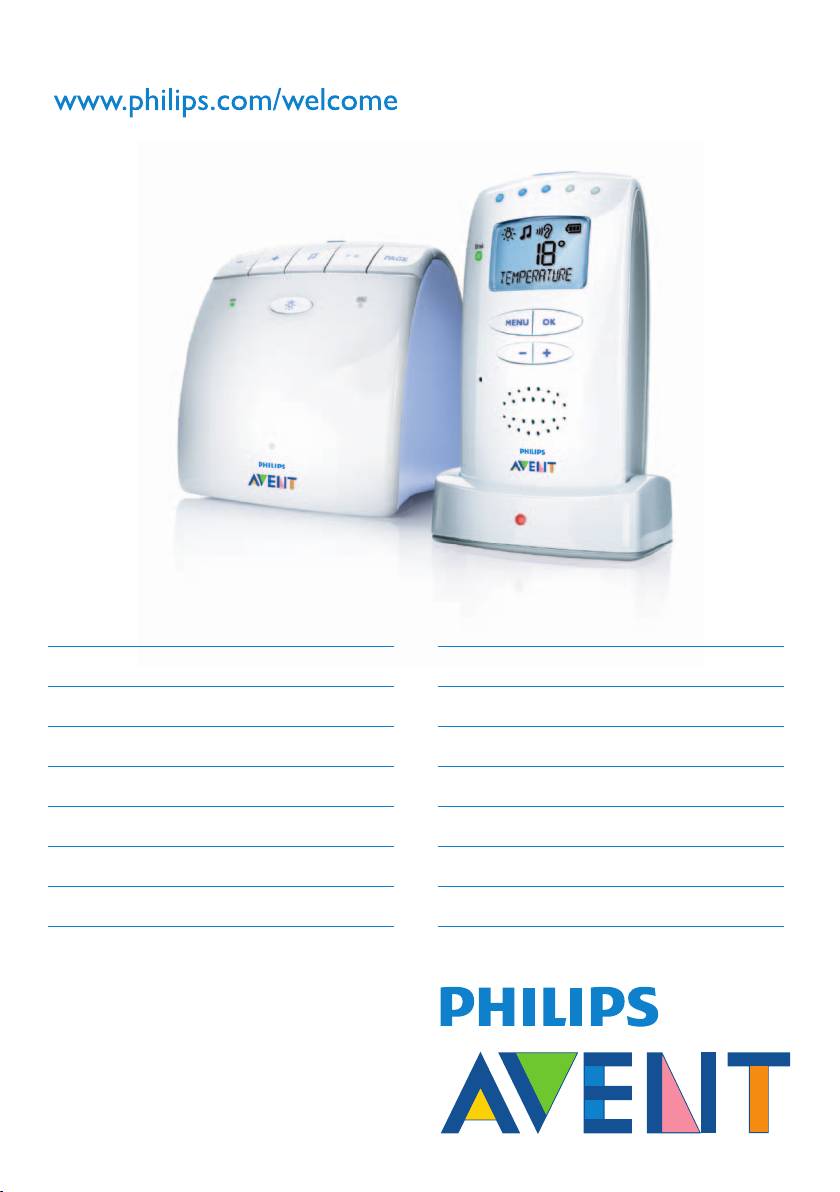
Philips SCD525: instruction
Class: Networks, communications, telecommunications, internet, security
Type: Baby Monitor
Manual for Philips SCD525
Register your product and get support at
SCD525
EN User manual 5
LV Lietotājarokasgrāmata 127
BG Ръководствозапотребителя 20
PL Instrukcjaobsługi 141
CS Příručkaprouživatele 37
RO Manualdeutilizare 156
ET Kasutusjuhend 51
RU Руководствопользователя 171
HR Korisničkipriručnik 65
SK Príručkaužívateľa 187
HU Felhasználóikézikönyv 80
SL Uporabniškipriročnik 202
KK Қолданушының нұсқасы 95
SR Korisničkipriručnik 216
LT Vartotojovadovas 112
UK Посібниккористувача 231

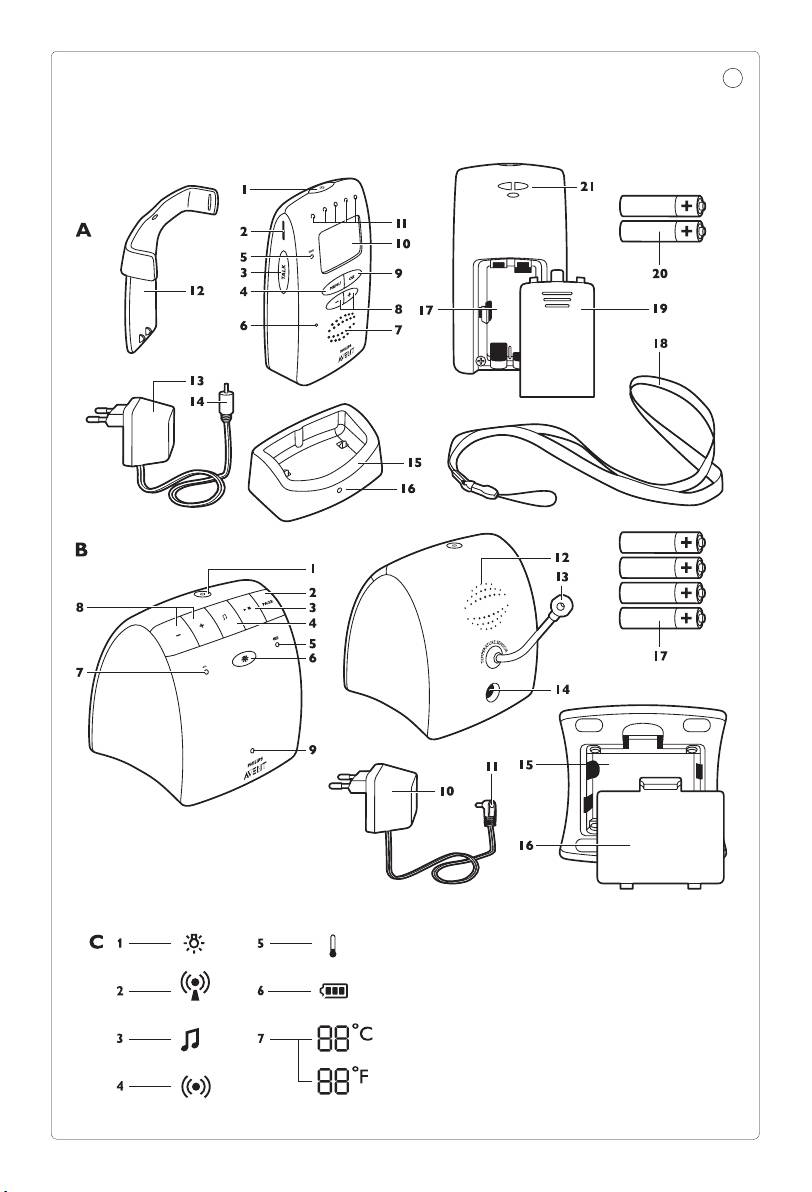
1


16 Charging light
1 Introduction
17 Compartment for rechargeable batteries
18 Neck strap
Congratulations on your purchase and welcome
19 Lid of compartment for rechargeable
ENGLISH
batteries
support that Philips AVENT offers, register your
20 Rechargeable batteries (included)
product at www.philips.com/welcome.
21 Opening for neck strap
Philips AVENT is dedicated to producing
caring, reliable products that give parents the
B Baby unit
reassurance they need. This Philips AVENT baby
1 On/off button 3
monitor provides round-the-clock support
2 PAGE button
by ensuring you can always hear your baby
3 Play/stop button E
clearly without any distracting noise. The DECT
4 Lullaby button K
technology guarantees zero interference and a
5 Battery light T
crystal clear signal between the baby unit and the
6 Nightlight button Q
parent unit.
7 Power-on light
The temperature sensor enables you to monitor
8 Volume +/– buttons
the temperature in your baby’s room, and offers
9 Microphone
you personalised settings to help keep your baby’s
10 Adapter
room comfortable.
11 Large appliance plug
12 Loudspeaker
13 Temperature sensor
14 Socket for large appliance plug
2 General
15 Compartment for non-rechargeable
batteries
description (Fig. 1)
16 Lid of compartment for non-rechargeable
batteries
A Parent unit
17 Non-rechargeable batteries (not included)
1 On/off button 3
2 Slot for belt clip
C Display
3 TALK button
1 Nightlight symbol
4 MENU button
2 ECO symbol
5 LINK light
3 Lullaby symbol
6 Microphone
4 Sound alert
7 Loudspeaker
5 Temperature alert
8 Menu and volume +/– buttons
6 Battery symbol
9 OK button
7 Room temperature indication
10 Display
(Celcius or Fahrenheit)
11 Sound level lights
For other display indications and volume/
12 Belt clip
sensitivity levels, see chapters ‘Features’
13 Adapter
and ‘Menu options’.
14 Small appliance plug
15 Charger
