Philips FC8716: instruction
Class: Household, kitchen appliances, electronics and equipment
Type:
Manual for Philips FC8716
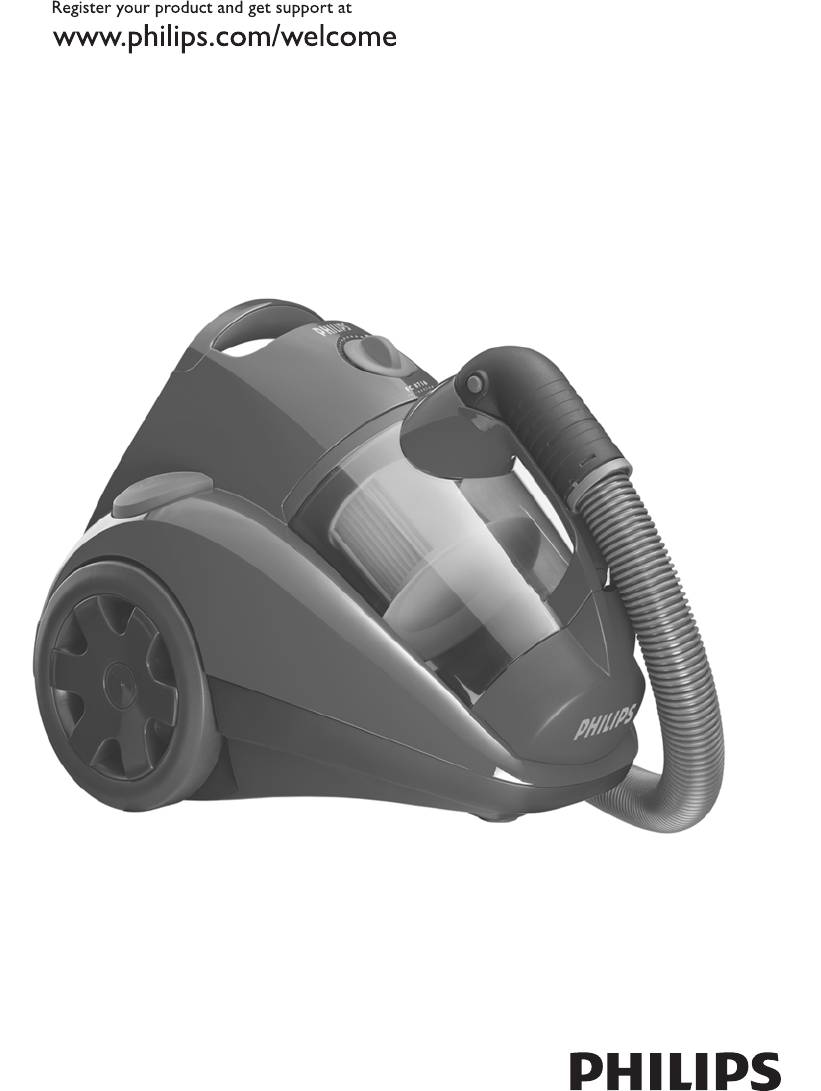
FC8749-FC8710
2
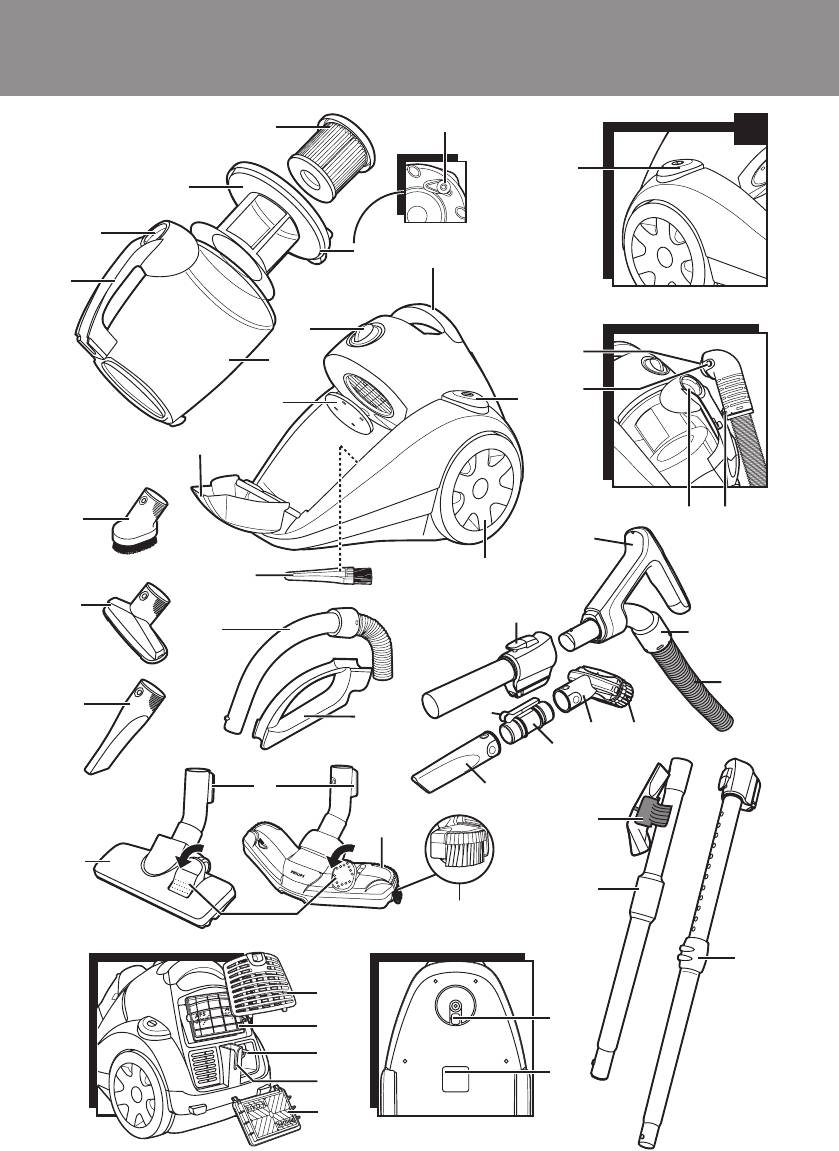
3
1
6
1
14
2
3
6
9
4
8
15
5
16
7
10
13
173
18
29
11
12
19
23
21
30
31
20
24
22
27 28
26
33
25
37
35
32
38
36
34
39
40
45
41
42
46
43
44
4

6
21
36
51
67
83
98
113
129
145
160
175
191
206
222
237
264
277
Annotations for Philips FC8716 in format PDF
Top 10 manuals
100.00
NZXT HALE90 1000W99.99
Samsung SM-R38099.97
AEG BSB 18C99.97
Dell 2700W99.97
Smeg KSEC70X99.96
Beurer HDE 4099.96
Pyramida KH 50 v.299.96
MSI CSM-H81M-P3299.96
AEG HR 562799.95
Melissa 640-048