Zelmer 28Z013 – страница 4
Инструкция к Утюгу Zelmer 28Z013
61GW28-009_v01
Control light (6) – glows, indicating that the iron is on.
Burst of steam – Always follow the garment manufacturer’s
Control light goes off when the required temperature is reached. The –
ironing instructions mentioned at the garment label.
iron is now ready for use.
This function provides extra amount of steam to remove stubborn –
Remove the iron from the stand as described in “How to Use Iron –
wrinkles at clothes and hanging garments.
Lock”.
Unwind and straighten the – power cord (11).
After operation lock the iron with stand as described in “How to Use –
Fill the iron as described in “How to ll water”. –
Iron Lock”.
Lock the iron with stand as described in “How to Use Iron Lock”. –
Move the – Temperature Dial (9) in anti-clockwise direction to „MIN”;
Connect the iron to a suitable mains supply outlet. –
the iron is switched off.
Turn the – Temperature Dial (9) in clockwise direction to ●●● position.
Disconnect the iron from mains supply outlet. –
See preparation for operation.
When the iron gets cool completely, store it vertically in a safe place. –
Control light (6) – glows, indicating that the iron is on.
Steam ironing – Always follow the garment manufacturer’s
Control light goes off when the required temperature is reached. The –
iron is now ready for use.
ironing instructions mentioned at the garment label.
Remove the iron from the stand as described in “How to Use Iron –
Unwind and straighten the – power cord (11).
Lock”.
Lock the iron with stand as described in “How to Use Iron Lock”. –
Press the – Burst of Steam Button (4) once – steam will shoot from the
Fill the iron as described in “How to ll water”. –
holes of the soleplate.
Connect the iron to a suitable mains supply outlet. –
For stubborn wrinkles, wait a few seconds before pressing the Burst of –
Turn the – Temperature Dial (9) in clockwise direction to ●●● position.
Steam Button (4) again. Most wrinkles can be removed within three
(For optimum steam quality, do not use ● or ●● setting for steam
presses.
ironing).
After nishing move the – Temperature Dial (9) in anti-clockwise
Control light (6) – glows, indicating that the iron is on.
direction to „MIN”; the iron is switched off.
Control light goes off when the required temperature is reached. The –
Move the – Steam Control Knob (3) to position.
iron is now ready for use.
After operation lock the iron with stand as described in “How to Use –
Remove the iron from the stand as described in “How to Use Iron –
Iron Lock”.
Lock”.
Disconnect the iron from mains supply outlet. –
Move the – Steam Control Knob (3) to selected position, in order to set
When the iron gets cool completely, store it vertically in a safe place. –
the amount of steam.
ATTENTION:
After nishing move the – Temperature Dial (9) in anti-clockwise
It may be necessary to press the burst of steam button a few times
direction to „MIN”; the iron is switched off.
to start this function.
Move the – Steam Control Knob (3) to position.
For optimum steam quality, do not operate the Burst Of Steam more
After operation lock the iron with stand as described in “How to Use –
than three times after the pilot light goes off.
Iron Lock”.
Disconnect the iron from mains supply outlet. –
When the iron gets cool completely, store it vertically in a safe place. –
62 GW28-009_v01
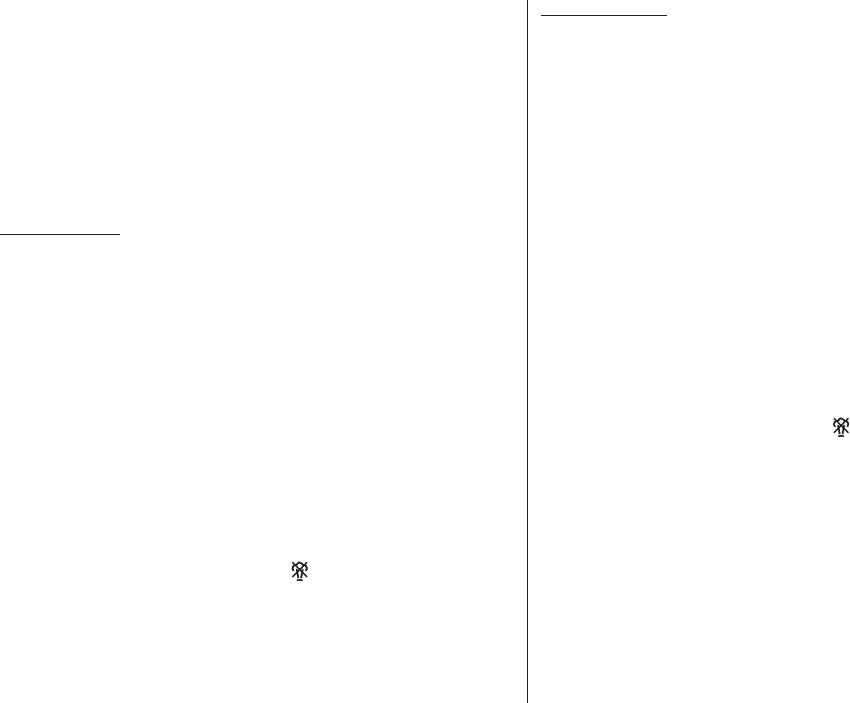
Burst of steam in vertical position – Always follow the garment
For optimum steam quality, do not operate the Burst Of Steam more
manufacturer’s ironing instructions mentioned at the garment label.
than three times after the pilot light goes off.
This function provides extra amount of steam to remove wrinkles on
Hold the iron some centimetres away from delicate garments (arti-
delicate garments in hanging position, hanging curtains, or other hanging
cial, silk, velvet etc.), otherwise they can be damaged.
fabrics.
Warning:
Build-in Anti-scale system
Do not apply steam on any clothes or fabrics that are being worn by
human or pets. Temperature of steam is very high.
The build-in anti-scale cartridge is designed to reduce the build-up of lime
scale which occurs during steam ironing. This will prolong the work-ing
Fill the iron as described in “How to ll water”. –
life of your iron. However, please note that the anti-scale cartridge will not
Connect the iron to a suitable mains supply outlet (see „Preparation –
completely stop the natural process of lime scale build-up.
for operation“).
Turn the – Temperature Dial (9) in clockwise direction to ●●● position.
Control light (6) – glows, indicating that the iron is on.
Self-cleaning
Control light goes off when the required temperature is reached. The –
This function removes the scales and minerals built up in the Steam
iron is now ready for use.
Chamber.
Remove the iron from the stand as described in “How to Use Iron –
The iron will remain in the best condition if this function is performed at
Lock”.
least once a month or more regularly depending on the hardness of the
Hold the iron between 15 and 30 centimetres away from the garment. –
water used.
Press the – Burst of Steam Button (4) once – steam will shoot from the
Fill the iron as described in “How to ll water”. –
holes of the soleplate.
Lock the iron with stand as described in “How to Use Iron Lock”. –
For stubborn wrinkles, wait a few seconds –
Connect the iron to a suitable mains supply outlet. See „Preparation –
before pressing the Burst of Steam Button
for operation”.
(4) again. Most wrinkles can be removed
Turn the – Temperature Dial (9) in clockwise direction to „MAX“
within three presses.
position.
After nishing move the – Temperature Dial (9)
Control light (6) – glows, indicating that the iron is on.
in anti-clockwise direction to „MIN”; the iron is
Control light goes off when the required temperature is reached. The –
switched off.
iron is now ready for use.
Lock the iron with stand as described in “How –
Wait for one more cycle; pilot light glows and goes off. –
to Use Iron Lock”.
After nishing move the – Temperature Dial (9) in anti-clockwise
Move the – Steam Control Knob (3) to
direction to „MIN”; the iron is switched off.
position.
Disconnect the iron from mains supply outlet. –
Disconnect the iron from mains supply outlet. –
Hold the iron horizontally over a sink. –
When the iron gets cool completely, store it –
Press and hold the – Self-Cleaning Knob (7).
vertically in a safe place.
Steam and boiling hot water will drain from the holes on the soleplate –
It may be necessary to press the burst of steam button a few times
washing away the scales and minerals that have built up inside the
to start this function.
Steam Chamber.
63GW28-009_v01
Gently move the iron back and forth until the water tank is empty. –
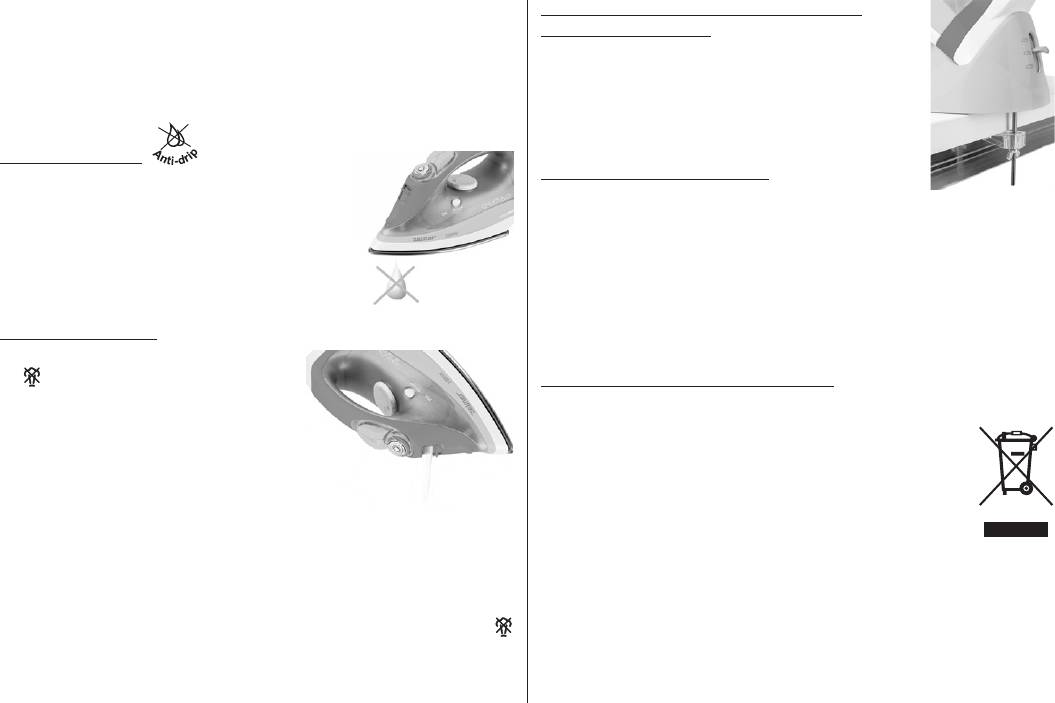
How to apply the handle for fastening
When Self-Cleaning is complete, release the Self-Cleaning Knob. –
to the ironing board
Rest your iron at the stand and allow to fully cool down. –
The bottom part of the iron stand includes the
Wipe the soleplate with a cold damp cloth. –
handle for fastening it to the ironing board. It is very
Caution!
useful to secure the iron stand to the table. You shall
Keep skin/body away from the hot water.
fasten it according to the photo.
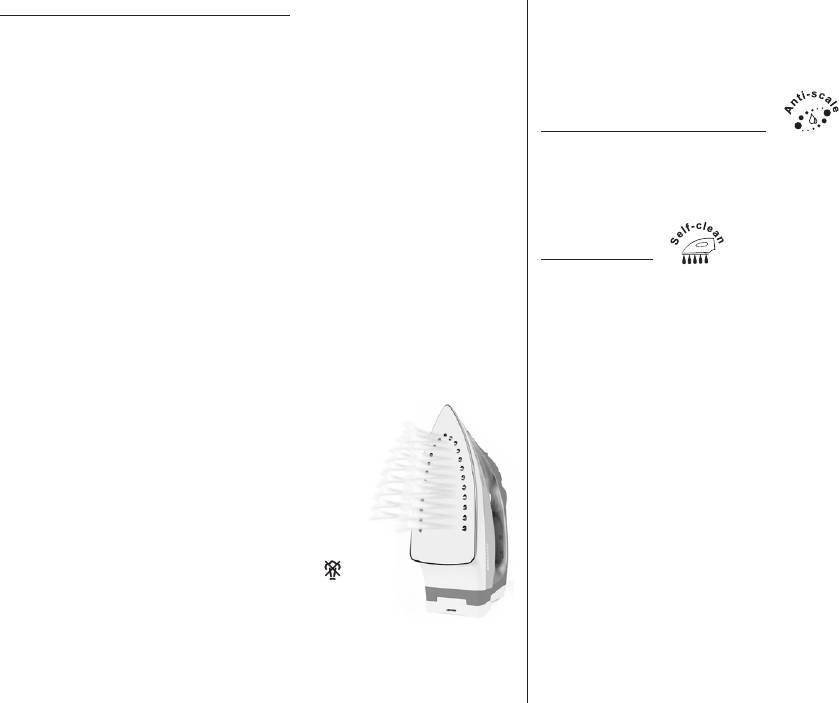
Anti-drip system
Cleaning and maintenance
The system, which is designed to prevent water
escaping from the sole-plate when the iron is too
Disconnect the iron from mains supply outlet. –
cold automatically.
The iron should get cool completely before cleaning. –
During use, the anti-drip system may emit a loud
Use a damp cloth and gentle washing liquid for cleaning. –
clicking sound, par-ticularly during heat-up or whilst
Do not use aggressive detergents like cream, milk, paste etc. to –
cooling down. This is perfectly normal and indicates
clean the casing. They can remove graphic symbols such as: scales,
that the system is functioning correctly.
marking, caution signs, etc.
Never use sharp or rough objects to remove the deposits on the sole –
Draining the water
plate.
Never use any abrasive, vinegar or descaling agents to clean the iron. –
Move the – Steam Control Knob (3) to
position.
Ecology – Environment protection
Disconnect the iron from mains supply –
Each user can protect the natural environment. It is neither difcult nor
outlet.
expensive.
Remove the iron from the stand as –
In order to do it: put the cardboard packing into recycling
described in “How to Use Iron Lock”.
paper container; put the polyethylene (PE) bags into
Press the – Burst of Steam Button (4),
container for plastic.
to release any trapped water when the
When worn out, dispose the appliance to particular disposal
soleplate still hot.
centre, because of the dangerous elements of this appliance,
Press the – Spray Buttons (5), to release any trapped water.
which can be hazardous for natural environment.
Turn the iron upside down and gently shake it to remove the remaining –
water.
Do not dispose into the domestic waste disposal!!!
When the iron gets cool completely, lock the iron with stand as –
described in “How to Use Iron Lock”, and store in a safe place.
Before storage make sure that Steam Control Knob (7) is in
The manufacturer/importer does not accept any liability for any damages resulting
position.
from unintended use or improper handling.
The manufacturer/importer reserves his rights to modify the product any time in
order to adjust it to law regulations, norms, directives, or due to construction, trade,
aesthetic or other reasons, without notifying in advance.
GW28-009_v01


