Ridgid RB-3W: инструкция
Раздел: Электроинструменты
Тип:
Инструкция к Ridgid RB-3W
Tools For The Professional
TM
HC-2
HC-2W
RB-3W
EN
P. 1
FR
P. 5
ES
P. 9
DE
P. 13
NL
P. 17
IT
P. 21
PT
P. 25
SV
P. 29
DA
P. 33
NO
P. 37
FI
P. 41
PL
P. 45
CZ
P. 49
SK
P. 53
RO
P. 57
HU
P. 61
EL
P. 65
HR
P. 69
SL
P. 73
SR
P. 77
RU
P. 81
TR
P. 87
R I D G E T O O L C O M P A N Y

Original instructions - English
This machine is designed for drilling holes in cement blocks
and brickwork using the appropriate RIDGID diamond core bits
EN
and accessories. We strongly recommend that it NOT be modi-
ed and/or used for any application other than for which is was
HC-2, HC-2W & RB-3W
intended including powering other equipment. Ensure that the
total work area can be viewed from the operating position. Use
Operating Instructions
barriers to keep people away. When drilling in ceilings or walls
ensure there are no electrical mains, gas or water pipes that may
be accidentally drilled. Use a metal detector for location before
WARNING! Read these instruc-
drilling. Take care that falling debris will not cause any injury.
tions and the accompanying
safety booklet ca refully before
IMPORTANT NOTE
This tool is for professional use only
using this equipment. If you are uncer-
Ensure correct diamond core bit is being used for the application
tain about any aspect of using this tool,
and that the bit is in good condition. The unit has a high torque
contact your RIDGID distributor for more
and the following precautions should be taken to avoid injury:
information.
• Donotforcethetoolandtakecarenottoblockthebit
whilst drilling.
• Ensurethatyouarecorrectlyandrmlyholdingthetool
Failure to understand and follow all in-
with both hands when working.
structions may result in electric shock,
• Donotusethetoolwitharmsextendedorifbothfeetare
re, and/or serious personal injury.
not on a rm stable surface.
SAVE THESE INSTRUCTIONS!
OPERATION
The EC declaration of conformity (890-011-320.10) will accom-
Side handle
pany this manual as a separate booklet when required.
When drilling by hand always use the drill with the side handle
xed (Fig. 1).
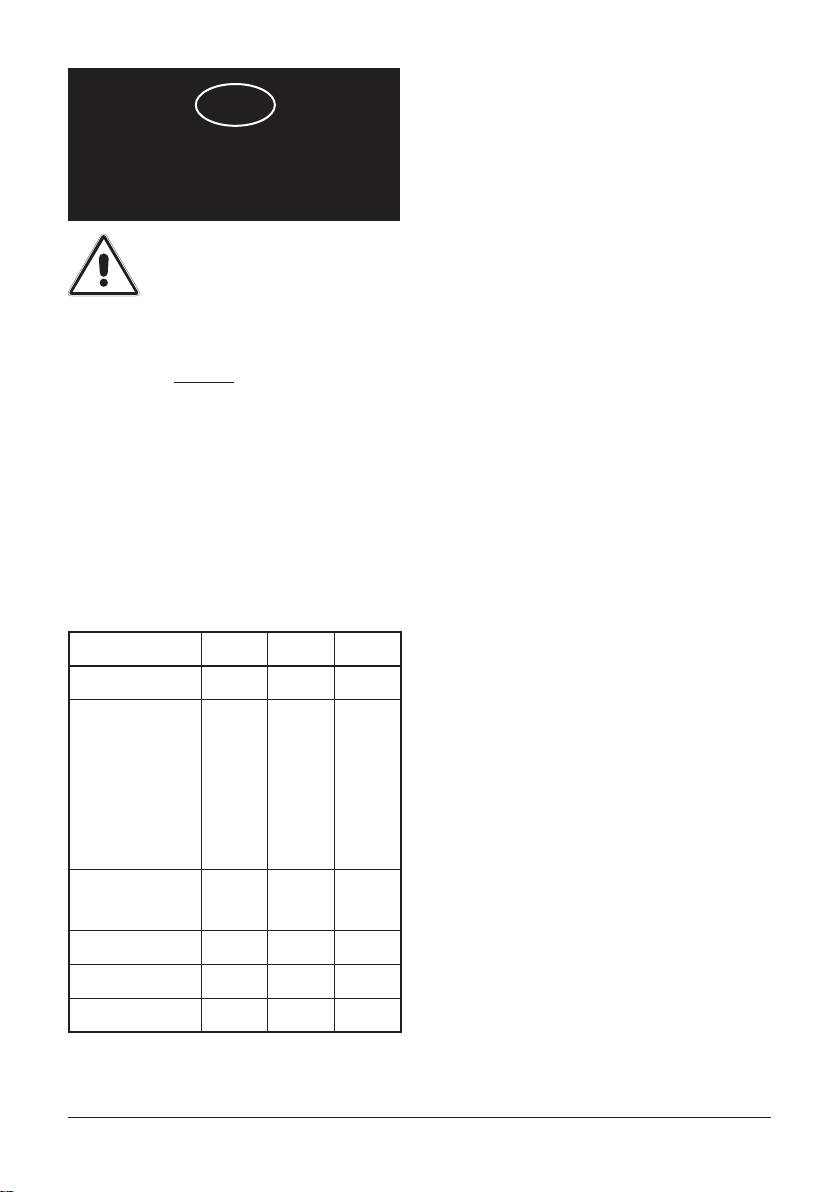
SPECIFICATIONS
HC2 HC-2W RB-3W
Electronic ON/OFF switch
The speed is increased the further the switch is depressed allow-
Motor (Watts): 1800 1800 1900
ing precise control during drilling. In normal conditions always
Max. drill bit size (mm)
work at the maximum speed.
Handheld dry: 132 132* 162*
Speed selection (HC-2 & RB-3W models) (Fig. 2)
Check the recommended speed for the size of diamond drill be-
Handheld wet: 80 80 70
ing used.
With stand (dry): 132 132 162
CAUTION: only change speeds when the machine has stopped
With stand (wet): 132 132 162
and only in a clockwise direction! (Note: it may help to slightly
rotate the spindle manually if any resistance is felt).
RPM min(-1): 0-800/
0-800/
0-550/
0-1570
0-1570
0-1250/
DRY DRILLING
0-2700
The dust generated by certain materials can be injurious to your
Shaft: 1/2” BSP 1/2” BSP 1/2” BSP
health. Where possible always operate machines in a well-venti-
Weight (kg.): 5,6 6,0 6,8
lated area and use adequate protective dust masks. We strongly
recommend the use of the dust extractor with a vacuum cleaner
Collar diameter (mm): 53 53 53
(See Fig. 3).
* Always use the dust extractor 68416 when dry drilling
PB 1
2
The bits that should be used are 1/2” BSP (F) bits for dry drilling.
Important! test unit (the cut-out device) before each use
There are two rangesavailable.
- Plug unit into power supply socket.
- Press reset to switch on unit. Red indicator will show.
For dry drilling we recommend the use of a pilot drill system (See
- Press test button: Unit must switch off and indicator will be
Fig. 3).
black.
Do not use machine if unit does not switch off when test
Use slow speeds in order to safely introduce the core bit in the
button is pressed.
material (5-10 mm). The pilot drill may now be removed and
- Press reset to use equipment.
high speed can be used. When drilling, regularly retrieve the
- If unit switches off repeatedly do not use and have the
core bit to clear the dust and debris.
equipment inspected by a RIDGID service center.
For dry drilling the dust extractor only (58616) must be used
Note: Unit switches off and must be reset after power has been
(Fig. 4).
disconnected. Connect the water hose to the water inlet on the
machine. Adjust water flow with tap. Be sure to use enough wa-
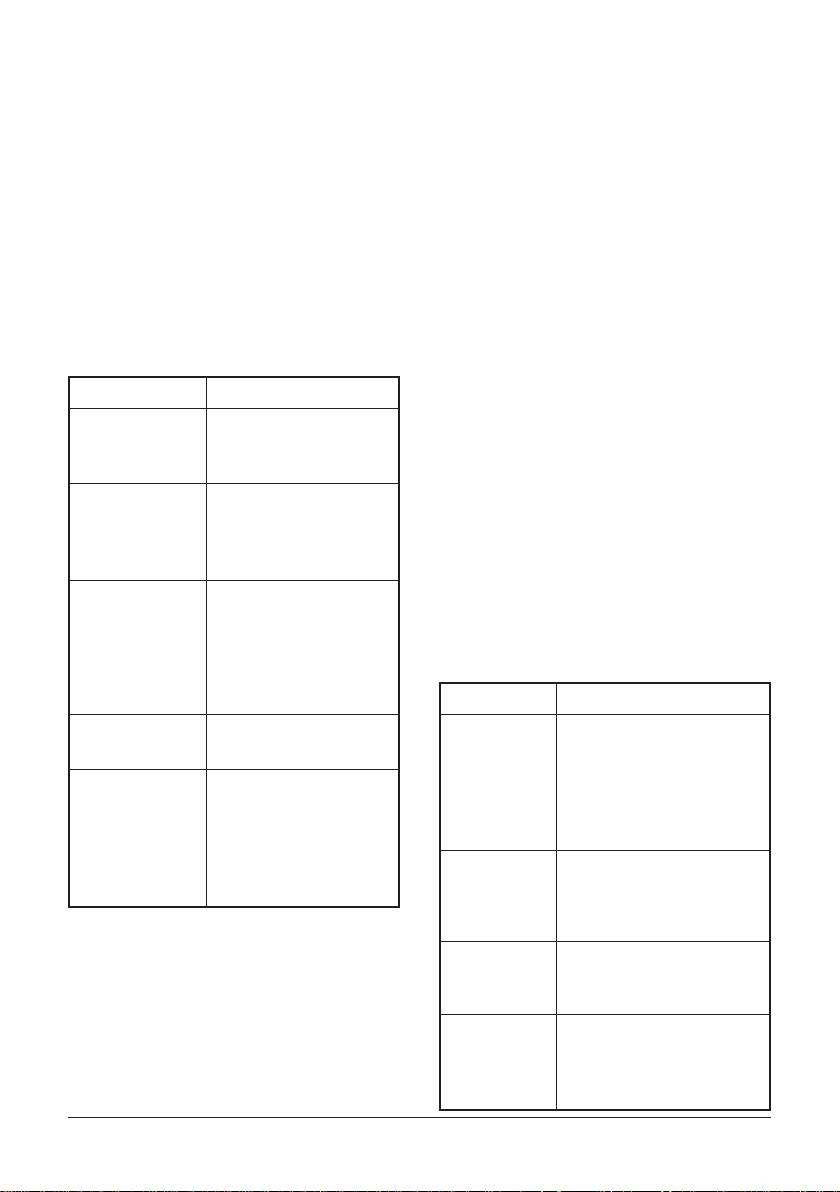
Cause and eects when dry drilling
ter (4-5 l/min).
Cause Effect
Core bits
Drilling speed (rpm)
Diamond bit does not drill. The
The core bits that are used to drill wet are wet bits 1/2” (M).
too low.
core glazes and eventually stops
- For handheld drilling we strongly recommend to use full
drilling.
crown core bits.
- For drilling with stand (cat 59016) segmented bits can be
Drilling speed too fast. Diamond bit glazes, polishes and
used.
penetrates slowly. Eventually it
stops drilling and starts melting.
To mount a 1/2” (M) core bit on the HC-2 W / RB-3 (W)the adapter
It needs redressing.
1/2” F - 1/2” F is used (included in standard equipment HC-2 W /
RB-3(W), see Fig. 4).
Cutting debris and
The drilling dust cannot escape.
For wet drilling with HC-2 use the kit for wet hand drilling (Cat. no.
drilling dust is not
It builds up between the side
52596). This kit is standard equipment with the HC-2C.
cleared regularly.
of the borehole and the wall of
the core bit. It creates heat and
Cause and eects when wet drilling
friction. The core bit will jam and
overheat. Use dust extractor!
Cause Effect
Excessive pressure is
The core bit does not have time to
Insufficient water. Excessive diamond wear because the
applied.
drill. The segments glaze.
diamonds are inadequately cooled
and the material being drilled does
Insufficient feed
The core bit does not cut
not get washed away. Ultimately the
pressure.
but polishes. Core bit needs
segments will melt or segment loss
resharpening. If not resharpened
will occur.
in time it will heat up and
ultimately melt or segment loss
Excessive water. The segments do not get
occurs.
resharpened, they start polishing. The
result will be good diamond bit life
but slow drilling speed.
WET DRILLING
The HC-2(W)/RB-3(W) is equipped with a protective Cut-Out
Drilling speed too
The diamond segments grind
Device (PRCD). This device must be connected and operating
slow.
rather than cut. The result is slow
correctly before attempting any drilling with water.
penetration and short bit life.
Drilling speed too
The diamond segments are polishing
fast.
and glazing. Penetration is slow and
ultimately the diamond bit will stop
penetrating.

2 3
2 3
PROBLEM SOLVING DRY AND WET DRILLING
- Core bit is being forced too hard: reduce feed pressure.
1. Diamond core does not cut
- Insucient cooling water.
- Core is glazed or not suciently dressed: redress with
sharpening stone.
7. Segments are folding in or out
- Problem with bit or machine: check and replace when
- Excessive pressure.
necessary.
- Too high speed.
- The drilling machine is left on “hammer”.
2. Diamond drill does not cut or drills too slowly
- RPM too high or too low: check speed.
8. Core is lodged within the diamond bit
- Insucient feed pressure.
- The heat has expanded the material which is now lodged in
- Diamond bit is glazed or polished: use sharpening stone.
the bit: let it cool down, eventually use water.
- When dry drilling: material is too hard to drill dry.
- The core has broken within the diamond bit: remove core.
- When wet drilling: a lot of steel is being drilled: continue
- The bit has lost its side clearance: check that the bit,
slowly, give the core bit the time to drill through the steel.
machine etc. is running concentric. If necessary retip the
diamond bit.
3. Diamond core jams in the hole
- Operator is not holding the drill straight enough.
9. No water owing out of the bore hole (wet drilling)
- The drilling debris is not cleared regularly and is jamming
- Water swivel, drill spindle or water supply are blocked; free
the core bit: use dust extractor.
the blockage.
- Diamond bit is bent (damaged): check and replace.
- Material within bit is blocking the water: remove core from
- Wet drilling: inadequate water supply.
the bit.
- Motor clutch set is worn out: replace.
OVERLOAD PROTECTION
4. Diamond core is wearing too quickly
Mechanical: Clutch will disengage if the
- Incorrect drilling speed: check RPM. Try next faster speed.
drill bit is blocked.
- Excessive feed pressure: reduce force.
- Wet drilling: insucient water.
Thermal: If unit is continuously
- Wet drilling: Material is very abrasive and/or heavily
overloaded the thermal
reinforced: use special bit.
overload will disconnect
- Drilling machine not held steadily.
the supply.
- Drilling machine is hammering: don’t use the hammering
HC-2W,
system for core drilling.
Electronic: Electronic protection will
RB-3W
disconnect supply if unit is
5. Segments of the diamond core are losing side clear-
overloaded. After unit has
ance
stopped remove load and
- Drilling machine not held steadily.
restart.
- Bit spindle or adapters are damaged.
- Core bit is damaged or bent.
Red LED: This lights up when you
- Insucient water.
overload the motor.
- Material is too abrasive: use special bit.
- Dry drilling: Cutting/drilling dust is building up and
jamming the core: regularly clear the hole or use the dust
extraction.
6. Segment loss
- Core bit doesn’t run concentric.
- Drilling/cutting debris is building up and is jamming the
core.
- Material cannot be drilled dry.

MAINTENANCE
Keep the tool clean and prevent any accumulation of dust or par-
ticles that may penetrate inside the tool.
After 300 hours work, have the carbon brushes checked by a
RIDGID service station.
The brushes will need to be replaced when they become shorter
than 5 mm.
To service the HC-2W / RB-3W seals: remove circlip, unscrew the
adapter (attention left hand) and remove the 3 seals. Replace
these with the 3 seals in the “seal kit HC-2W” cat. 68506 ”seal kit
RB-3W” cat 84086.
For all other service and maintenance take the machine to a
RIDGID authorized service center.
4
Оглавление
- HC-2, HC-2W & RB-3W
- HC-2, HC-2W a RB-3W
- HC-2, HC-2W y RB-3W
- HC-2, HC-2W & RB-3W
- HC-2, HC-2W e RB-3W
- HC-2, HC-2W & RB-3W
- HC-2, HC-2W og RB-3W
- HC-2, HC-2W ja RB-3W
- HC-2, HC-2W i RB-3W
- HC-2, HC-2W a RB-3W
- HC-2, HC-2W şi RB-3W
- HC-2, HC-2W & RB-3W
- HC-2, HC-2W in RB-3W
- HC-2, HC-2W i RB-3W
- HC-2, HC-2W и RB-3W
- HC-2, HC-2W ve RB-3W
