Brother FAX 1170: Fax Settings
Fax Settings: Brother FAX 1170
19
CHAPTER THREE
Fax
Settings
3
Fax Settings
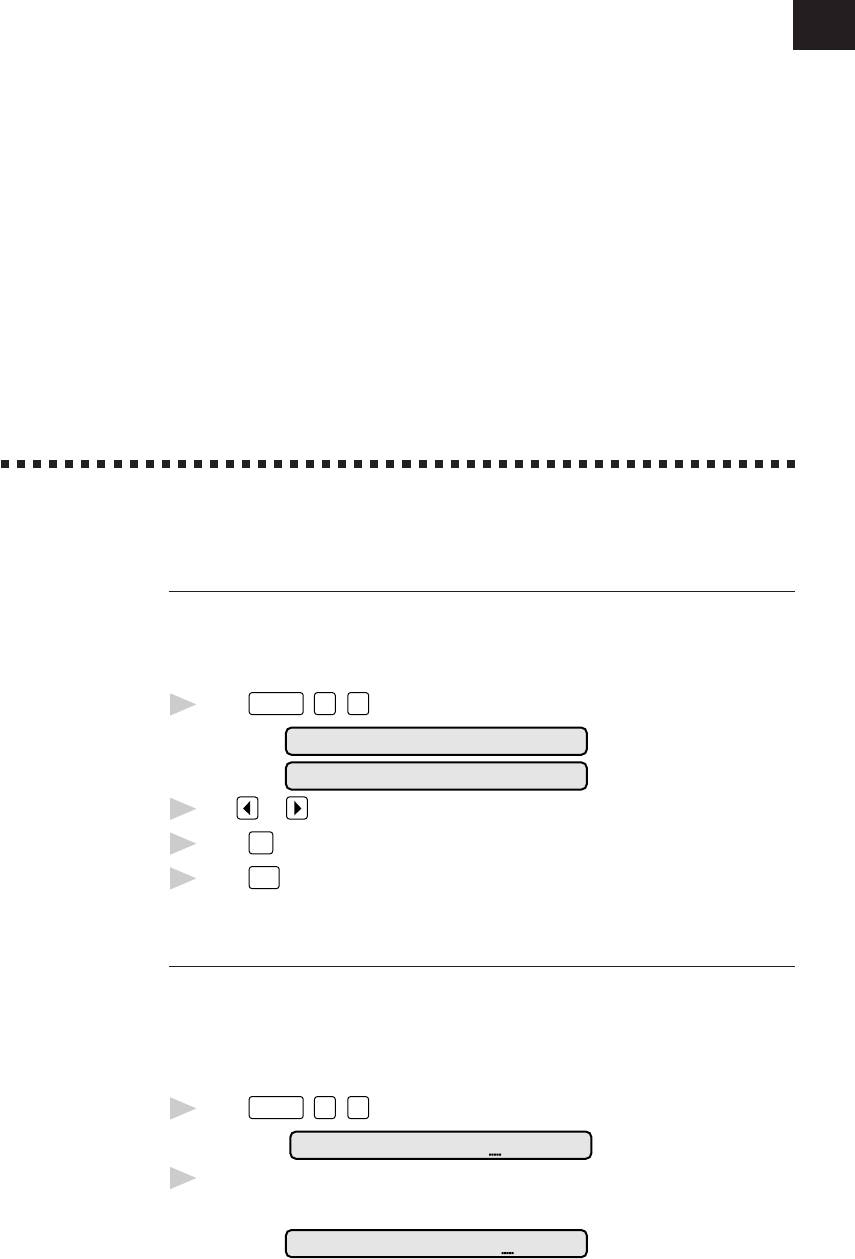
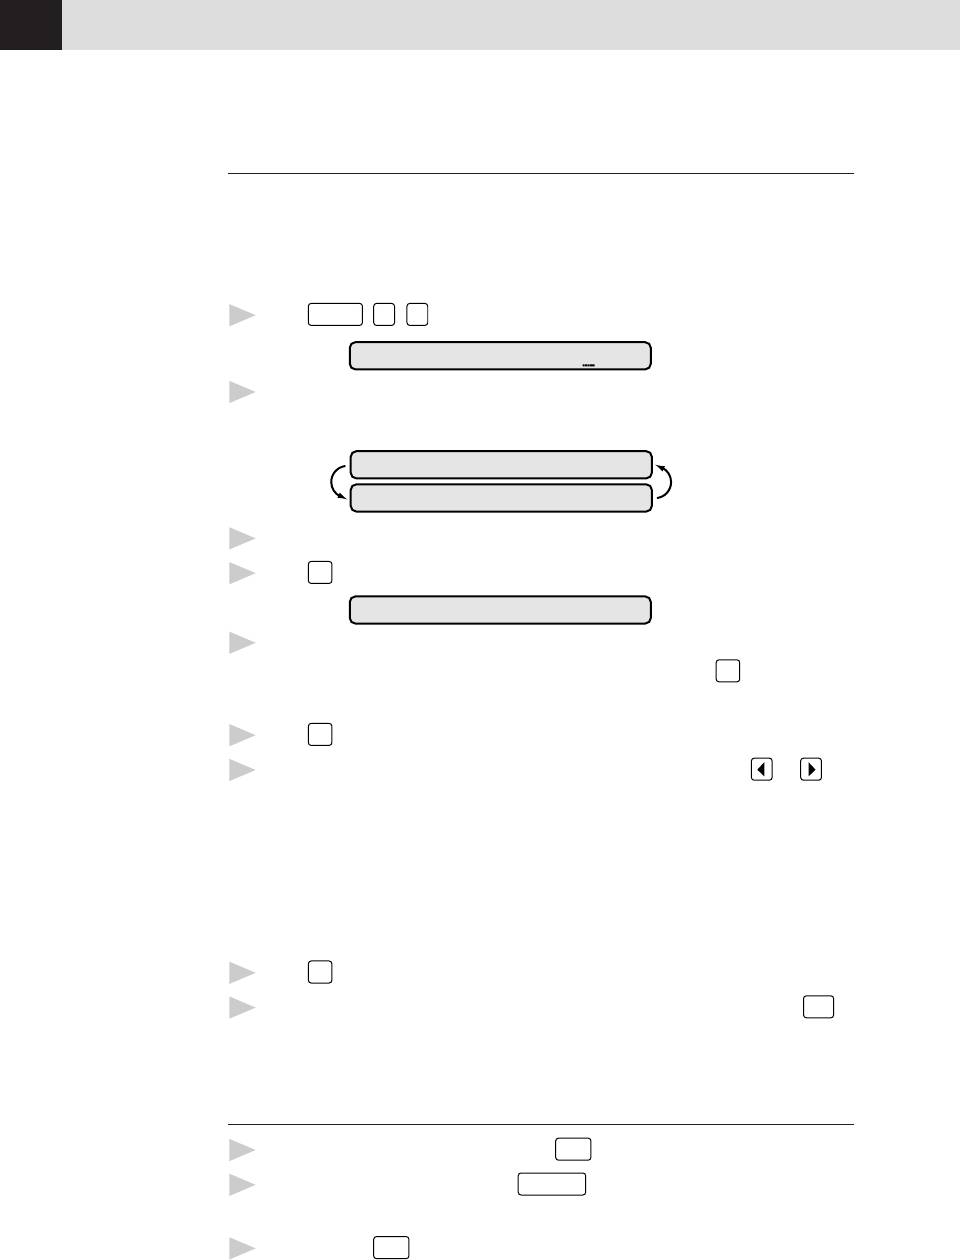
Setting Dialing Mode (Tone/Pulse)
Your fax machine comes set to accommodate tone (multi-frequency) dialing
service. If you have pulse (rotary) dialing service, you must change the dialing
mode.
1
Press
Function
,
6
,
1
. The screen prompts you to select TONE or PULSE.
DIALING:TONE
DIALING:PULSE
2
Use or to select dialing mode.
3
Press
Set
when the screen displays the dialing mode you want.
4
Press
Stop
.
Setting Date and Time
Your fax machine displays the date and time, and prints it on every fax you send.
In the event of a power failure, the fax machine maintains date and time
information for about one hour. All other settings remain unaffected.
1
Press
Function
,
7
,
1
. The screen prompts you to enter the year.
ENTER YEAR:XX
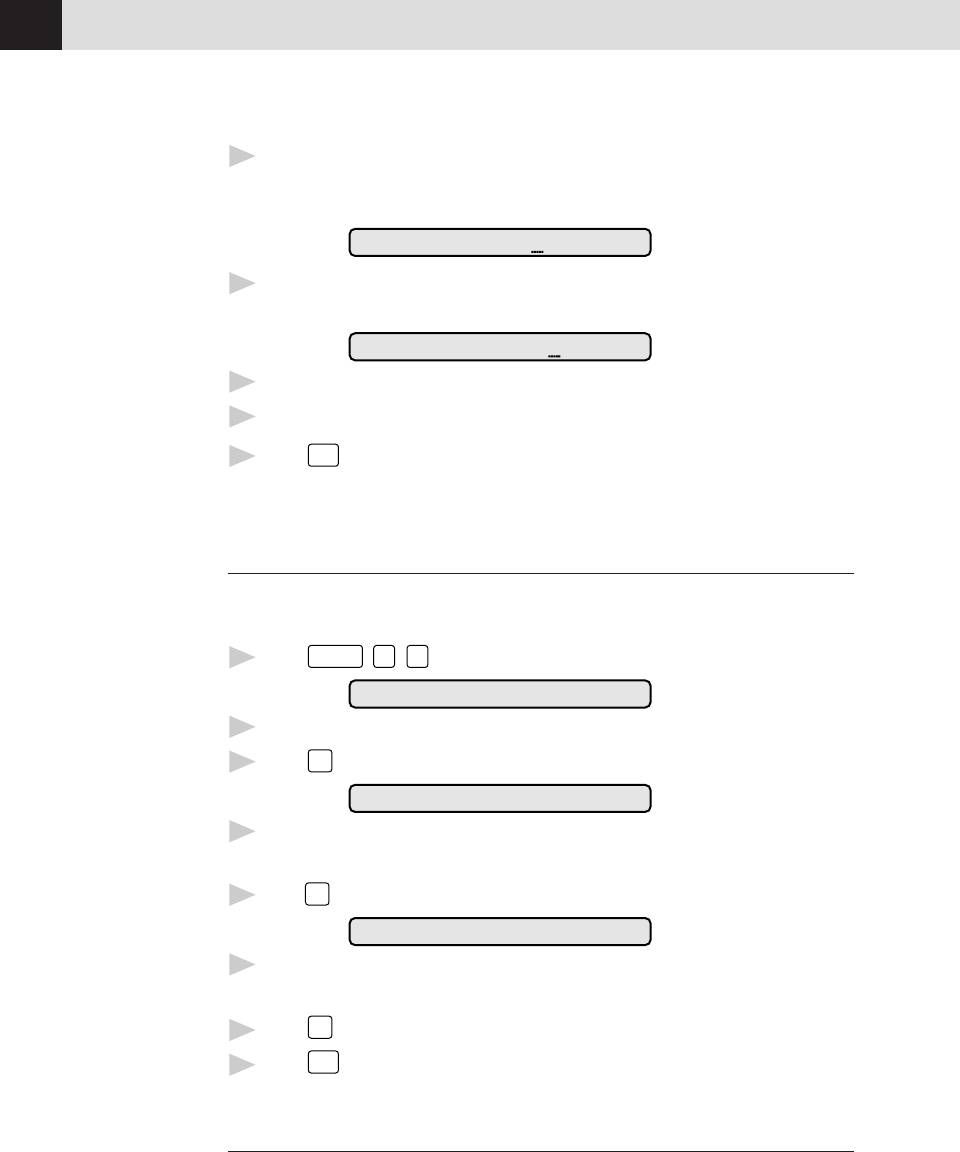
2
Enter the last two digits of the year. The screen displays your entry, then
prompts you to enter the month.
ENTER MONTH:XX
CHAPTER THREE
20
3
Enter two digits for the month (for example, enter 09 for September, or 10 for
October). The screen displays your entry, then prompts you to enter
the day.
ENTER DAY:XX
4
Enter two digits for the day (for example, 06). The screen displays your entry,
then prompts you to set the time.
ENTER TIME:XX:XX
5
Enter the time in 24-hour format (for example, enter 15:25 for 3:25 PM).
6
Wait two seconds.
7
Press
Stop
. The screen now displays the date and time you set, and displays it
whenever the fax machine is standing by.
Setting Station ID
See
You can store your name, fax number, and telephone number to be printed on the
Composing
fax Cover Page, and on all fax pages.
Electronic
Cover Page
Function
1
Press
,
7
,
4
. The screen prompts you to enter your fax number.
p. 48
FAX:
See
2
Enter your fax number (up to 20 digits). The screen displays your entry.
Entering
3
Press
Set
. The screen prompts you to enter your telephone number.
Text
p. 20
TEL:
4
Enter your telephone number (up to 20 digits). If your telephone number
and fax number are the same, enter the same number again.
5
Press
Set
. The screen prompts you to enter your name or your company name.
NAME:
6
Use the keypad to enter your name (up to 20 characters). (You can use the
chart on page 21 to help you enter letters.)
Press
Set
to confirm.
7
Press
Stop
. The screen returns to the date and time.
8
Entering Text
When you are setting certain functions, such as the Station ID, you may need to
enter text into the fax machine. Most number keys have three or four letters
printed above them. The keys for 0, #, and ✳ don’t have printed letters because
they are used for special characters.
FAX SETTINGS
21
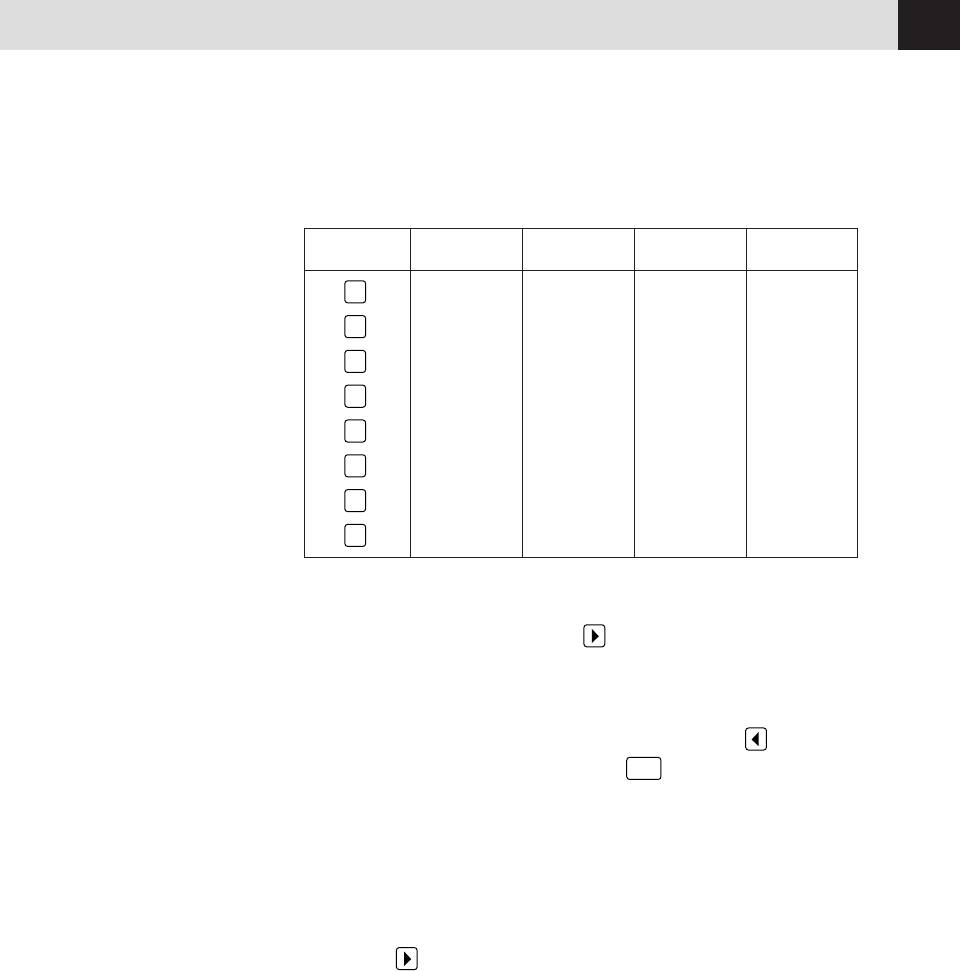
By pressing the appropriate number key the correct number of times, you can
access the character you want.
Press Key one time two times three times four times
2
ABC
3
DEF
4
GHI
5
JKL
6
MNO
7
PQRS
8
TUV
9
WXYZ
Inserting spaces
If you want to enter a blank space, press twice.
Making corrections
If you entered a letter incorrectly and want to change it, press to move the
cursor under the last correct letter. Then press
Clear
; all letters above and to the
right of the cursor are deleted. Re-enter the correct text and/or digits. You can also
back up and type over incorrect letters.
Repeating letters
If you need to enter a character assigned to the same key as the previous
character, press
to move the cursor to the right.
Special characters and symbols
Press
for (space) ! “ # $ % & ‘ ( ) * + , - . /
*
Press # for : ; < = > ? @ [ ] ^ _
Press Ø for Ä Ë Ö Ü À Ç È É 0
CHAPTER THREE
22
NOTICE: The Telephone Consumer Protection Act of 1991 makes it unlawful for
any person to use a computer or electronic device to send any message via a
telephone fax machine unless such messages clearly contain, in a margin at the
top or bottom of each transmitted page, or on the first page of the transmission,
the date and time it is sent and an identification of the business or other entity or
other individual sending the message and the telephone number of the sending
machines or such business, other entity, or individual. In order to program this
information into your fax machine, you should complete the steps described on
page 19 and 20.
■ The telephone number you enter is used only for Call Back Message and
Cover Page features.
■ If you do not enter a fax number, no additional information can be entered.
See
■ To enter a space, press .
ALL DIAL
Report
■ If your Station ID has already been programmed, the screen prompts “1” to
p. 65
make a change, or “2” to exit without changing.
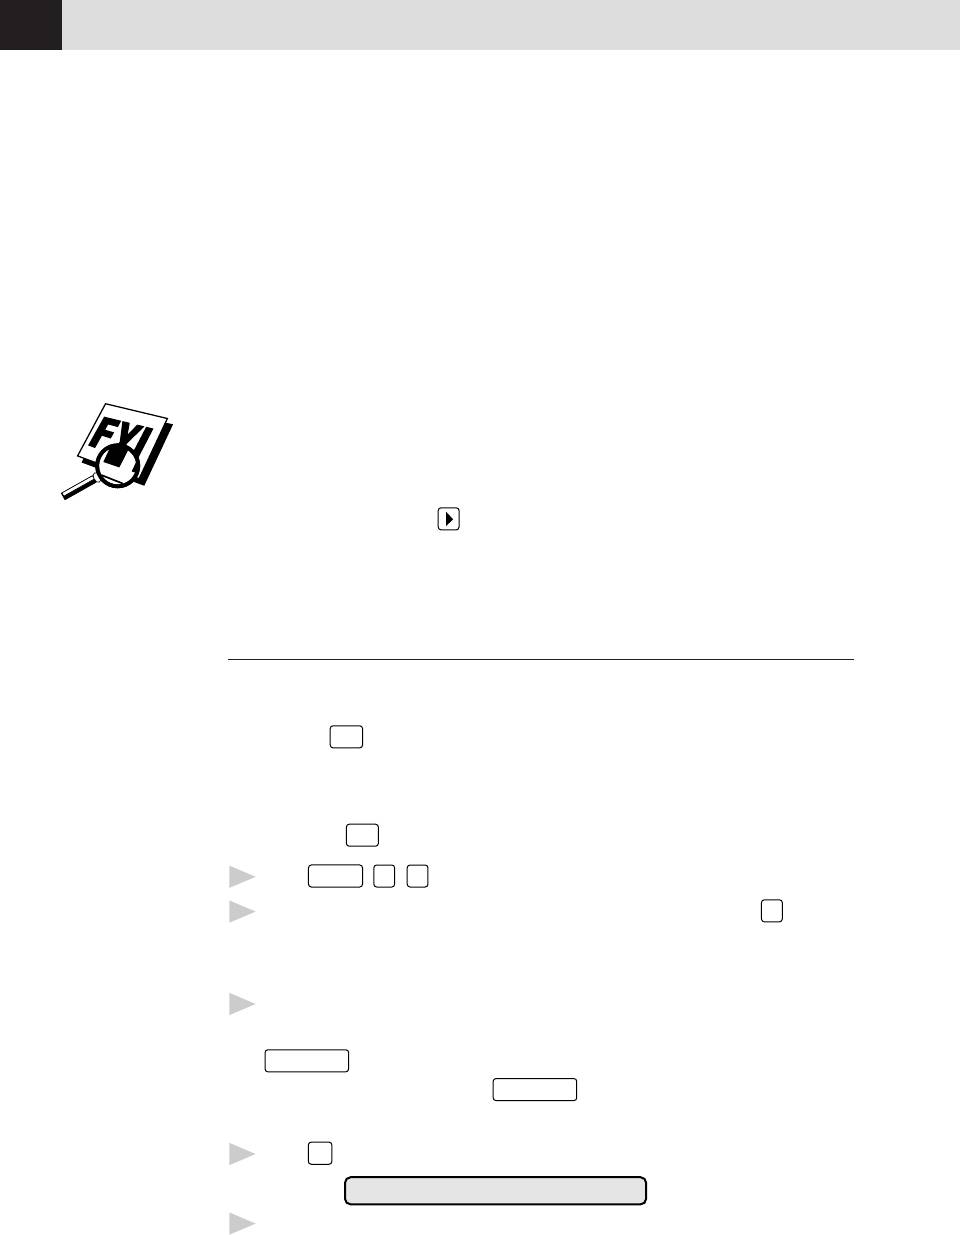
Storing One Touch Dial Numbers
You can store 24 fax/phone numbers that you can dial by pressing one key. You
can also store names with these numbers. When you press a
One Touch dial
location and
Start
, the screen displays the name or number as the call is dialed.
One Touch keys are not the dial pad keys. They are the 12 keys (numbers
01-24) located to the right of the dial pad. Numbers 13-24 are accessed by
holding down
Shift
while you press the appropriate One Touch key.
1
Press
Function
,
4
,
1
.
2
Press the One Touch key where you want to store a number. (Key
01
is
pre-programmed for Brother Fax-Back System (USA only). You can override
it if you wish.) The screen displays the location you selected.
3
Enter a number (up to 20 digits). If you want to enter a pause in the
dialing sequence (to wait for an “outside line,” for example), press
Redial/Pause
as you’re entering digits. You can enter only one pause in each
AUTO DIAL number. Pressing
Redial/Pause
enters a 3.5-second pause when the
number is dialed, and a dash appears on the screen.
4
Press
Set
. The screen prompts you to enter a name for this number.
NAME:
5
Use the dial pad to enter the name (up to 15 characters). You can use the
chart on page 21 to help you enter letters — OR — Go to Step 6 to store the
number without a name.
FAX SETTINGS
23
6
Press
Set
. The screen prompts you to select the type of number this is. Use
or to select the type you want.
FAX a fax only number
TEL a telephone (voice) number
F/T both a fax and telephone (voice) number
CHAIN a number (usually an access code) for chain dialing.
7
Press
Set
.
8
Return to Step 2 to store another One-Touch number — OR — Press
Stop
to exit.
When you dial an AUTO DIAL number, the screen displays the name you’ve
stored, or, if you haven’t stored a name, the number you’ve stored.
You can use chain dialing to store long dialing sequences. For example, to store
9 1 201 555 1234 987 65 4321, divide the number into 2 parts. Store the
first part as a Chain type number (this tells the system that the dialing sequence is
not complete).
CHAIN — 9 1 201 555 1234
The last part of the One-Touch number must be stored as any of the other
following 3 types.
FAX or F/T or TEL — 987 65 4321
Now, when you dial, just press the two keys (one after the other, in order) where
you’ve stored the two parts of the number.
If you are using Chain Dialing with a credit card number, do not send an
electronic cover page. The credit card number will appear on it.
One Touch Dialing
1
Pick up the handset — OR — Press
Hook
.
2
When you hear a dial tone, press the One Touch key of the location you
want to call.
If you try to use a One Touch location with no number stored in it, you hear a
warning sound, and the screen displays “NOT REGISTERED.” The display
returns to normal after 2 seconds.
CHAPTER THREE
24
Storing Speed Dial Numbers
You can store Speed Dial numbers, when you dial by pressing only three keys.
Model FAX 1170 has 26 Speed Dial locations, Models FAX 1270, MFC 1770 and
MFC 1780 have 36. Even if you lose electrical power, numbers stored in memory
will not be lost.
Press
Function
1
,
4
,
2
. The screen prompts you to enter a location.
SPEED-DIAL? #
2
Use the keypad to enter a 2-digit location (01 - 26 or 36). The screen displays
your entry, then prompts you to enter the number you’re storing.
#05
ENTER & SET
3
Enter the number (up to 20 digits).
4
Press
Set
. The screen now prompts you to store a name with this number.
NAME:
5
Use the keypad to enter the name (up to 15 characters). You can use the
chart on page 21 to help you enter letters — OR — Press
Set
and go to
Step 7 to store the number without a name.
6
Press
Set
.
7
The screen prompts you to select the type of number this is. Use or to
select the type you want.
FAX a fax number
TEL a telephone (voice) number
F/T both a fax and telephone number
CHAIN a number (usually an access code) for chain dialing.
8
Press
Set
.
9
Return to Step 2 to store another Speed Dial number — OR — Press
Stop
to exit.
Speed Dialing
1
Pick up the handset — OR — Press
Hook
.
When you hear a dial tone, press
Speed Dial
2
, then press the two-digit
Speed Dial number.
3
If you pressed
Hook
to dial the call, pick up the handset when the other party
answers. (The speaker works only one way; the other party won’t be able to
hear you unless you pick up the handset.)
FAX SETTINGS
25
Changing One Touch and
Speed Dial Numbers
If you try to store a One Touch or Speed Dial number in a location where a
number is already stored, the screen displays the current name stored there, then
prompts you to either
1. CHANGE — OR — 2. EXIT.
1
Press
1
to change the number stored — OR — Press
2
to exit without
making a change.
2
If you want to erase the number, press
Clear
when the cursor is to the far left
of the digits.
3
If you want to change a digit, use or to position the cursor under the
digit you want to change, then press
Clear
.
4
Enter a new number.
5
Follow the directions from Step 4 in Storing One Touch Numbers or Storing
Speed Dial Numbers.
Setting Groups for Broadcasting
See
Number Groups allow you to send the same fax message to many fax numbers by
Storing
pressing only one One Touch key (Broadcasting) and
Start
. First, you’ll need to
One Touch
store each fax number as a One Touch or Speed Dial number. Then, you can
Dial
Numbers
combine them into a Group. Each Number Group uses a One Touch key. Finally,
p. 22
you can have up to 6 small Number Groups, or you can assign many numbers to
and
one large group. If you have Model FAX 1170 you can assign up to 49 numbers to
Storing
one large group, and for Models FAX 1270, MFC 1770 and MFC 1780 up to 59
Speed Dial
Numbers
numbers to one large group.
p. 24
1
Press
Function
,
4
,
3
. The screen displays
SELECT ONE-TOUCH
2
Select a One Touch key to be the Group Number. (For example, press one
touch location
02
for group 2.)
3
Use the dial pad to enter the group number (for example, press
1
for
group 1).
SETUP GROUP:GO
ENTER & SET
CHAPTER THREE
26
4
Use the keypad to enter the One Touch or Speed Dial numbers in this group.
For example, enter
0
3
,
0
5
,
0
2
. Enter a before
Speed Dial locations; enter a
before One Touch locations.
G01:#O3#O5*O2
5
Press
Set
. The screen prompts you to enter a name.
NAME:
ENTER & SET
6
Use the keypad and the chart on pages 20-21 to enter a name for the group
(for example, NEW CLIENTS).
7
Press
Set
.
8
Press
Stop
to exit.
You can print a list of all One Touch and Speed Dial numbers. See Chapter 9,
“Printing Reports and Lists.”
Setting Beeper Level
You can set the beeper to LOW, HIGH or OFF. The machine comes set to LOW.
When the beeper is set to LOW or HIGH, the fax machine beeps every time you
press a key or make an error, and at the end of fax sending or receiving.
1
Press
Function
,
5
,
2
.
2
Press or to select your setting.
3
When the screen displays the setting you want, press
Set
.
4
Press
Stop
to exit.
Memory Storage
All settings in the SET AUTO DIAL, USER OPTIONS, TEL OPTIONS, and SETUP
SYSTEM functions are stored permanently and will be retained even in the event
of a power failure.


